

As you can see from the logo at the end of the post this week, I am joining a blog hop entitled ‘Sew Much Fun’, organised by Jen of Faith and Fabric. All the designers in this blog hop are sharing a FREE patchwork block pattern with you and you can find links to their blocks at the end of this post.
My block is called ‘Happy House’, and it’ s based on my actual (quite quirky) home, which used once to be a Salvation Army Hall!
Requirements
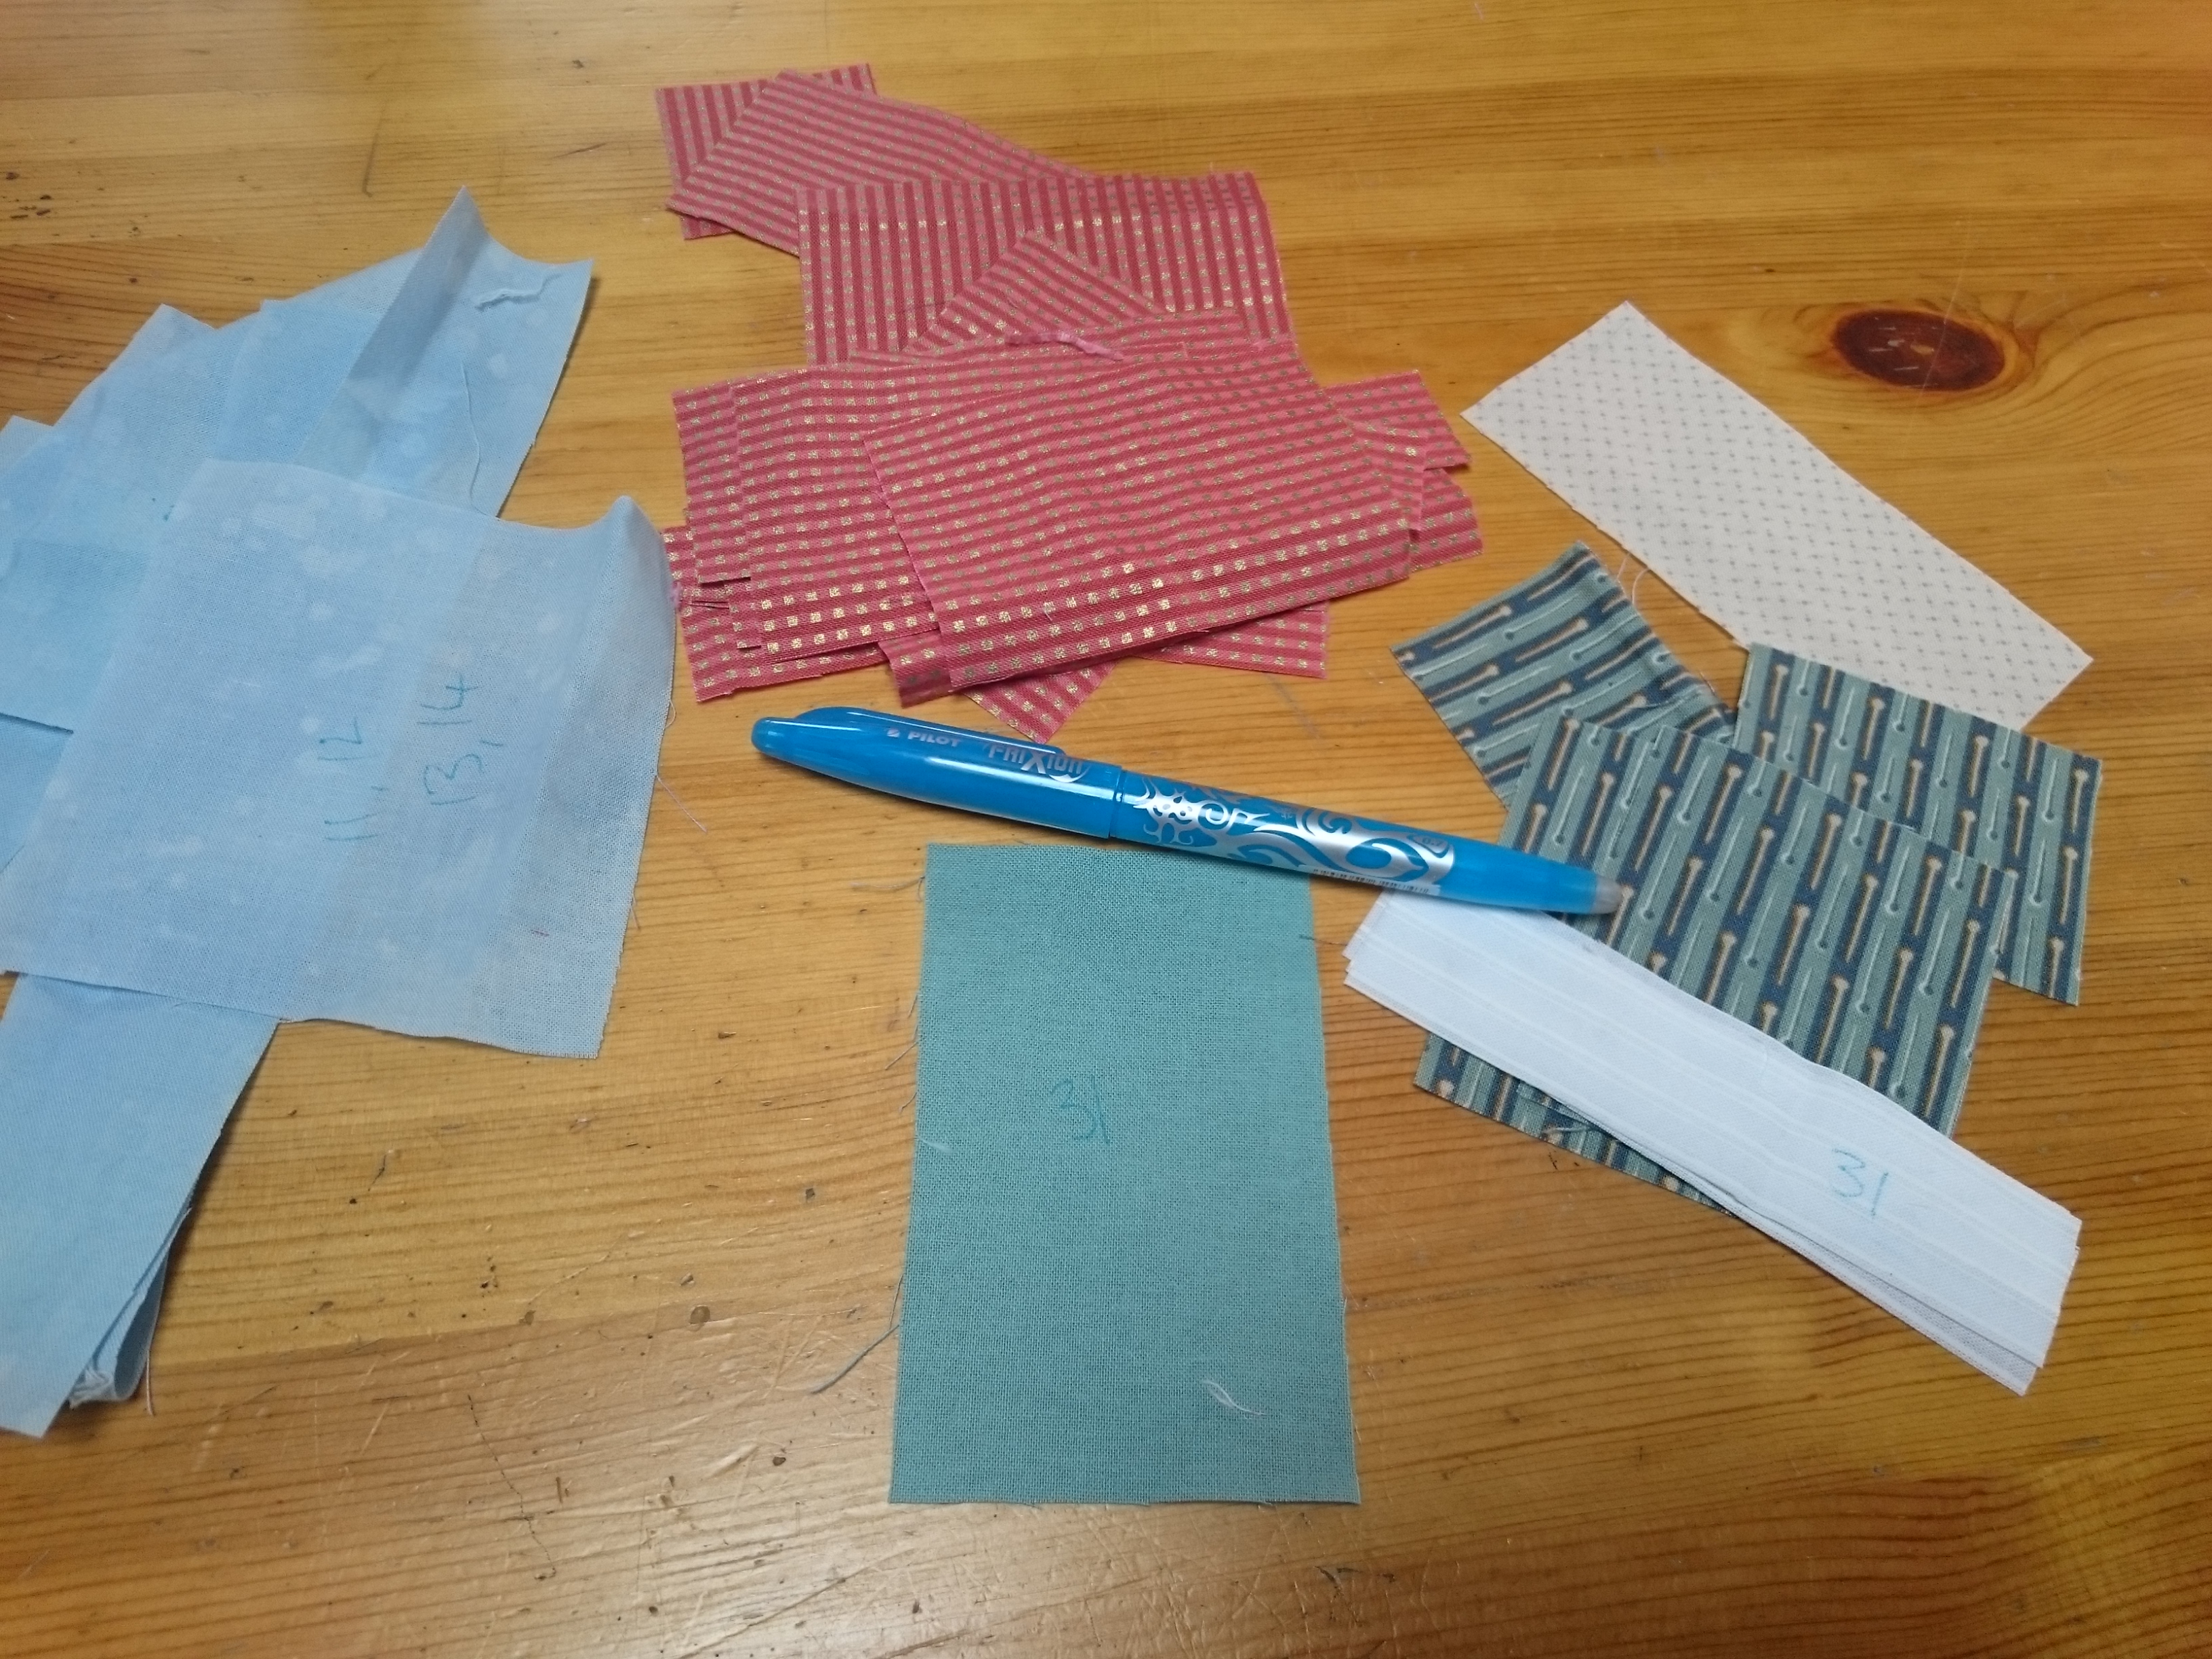
You will need approximately: 9” x 9” of sky blue fabric; 18” x 12” of brick red fabric; 3” x 5” cream fabric; 11” x 6” dark blue fabric; 10” x 2” white fabric; 3” x 5” light green fabric and sewing thread.

Cutting list
Cut out the pieces in numerical order, checking against the drawing below so you understand where they fit. Measurements are given in inches, first the height and then the width. Mark each piece with its number using a heat-erasable or water-erasable pen.
NB Pieces 38, 39, 40 and 41 are appliqué pieces which should be bonded onto background pieces and secured with a zig-zag stitch, as per instructions, before they are assembled.
Here is the diagram of the block:

Pieces 1, 6: 1½” x 5½” sky blue
2, 5: Cut one square 1⅞” x 1⅞” sky blue
3, 4: Cut one square 1⅞” x 1⅞” brick red
7, 9: 2” x 4½” sky blue
8: 2” x 4½” brick red
10, 16: 10 x 1½” sky blue
11, 15: Cut one square 3⅞” x 3⅞” sky blue
12, 14: Cut one square 3⅞” x 3⅞” brick red
13: 2½” x 4½” brick red
17: 2” x 4½” cream
18, 20: 1½” x 3½” brick red
19: 1½” x 4½” brick red
21, 23, 25, 27: 4½” x 1¼” brick red
22, 26: 1½” x 1½” dark blue
24: 1½” x 4½” brick red
28, 34: 3″ x 2” dark blue
29, 33: 4½” x 1″ brick red
30, 32: 4½” x 1″ white
31: 4½” x 2½” light green
35, 36: 2½” x 3½” brick red
37: 1” x 4½” white
38: rectangle 2″ x 3″ dark blue, with the two top corners rounded as shown in the diagram
39: rectangle 1″ x 3″ dark blue, with the two top corners rounded as shown in the diagram
40, 41: square 1″ x 1″ with the bottom two corners slice off as shown in the diagram
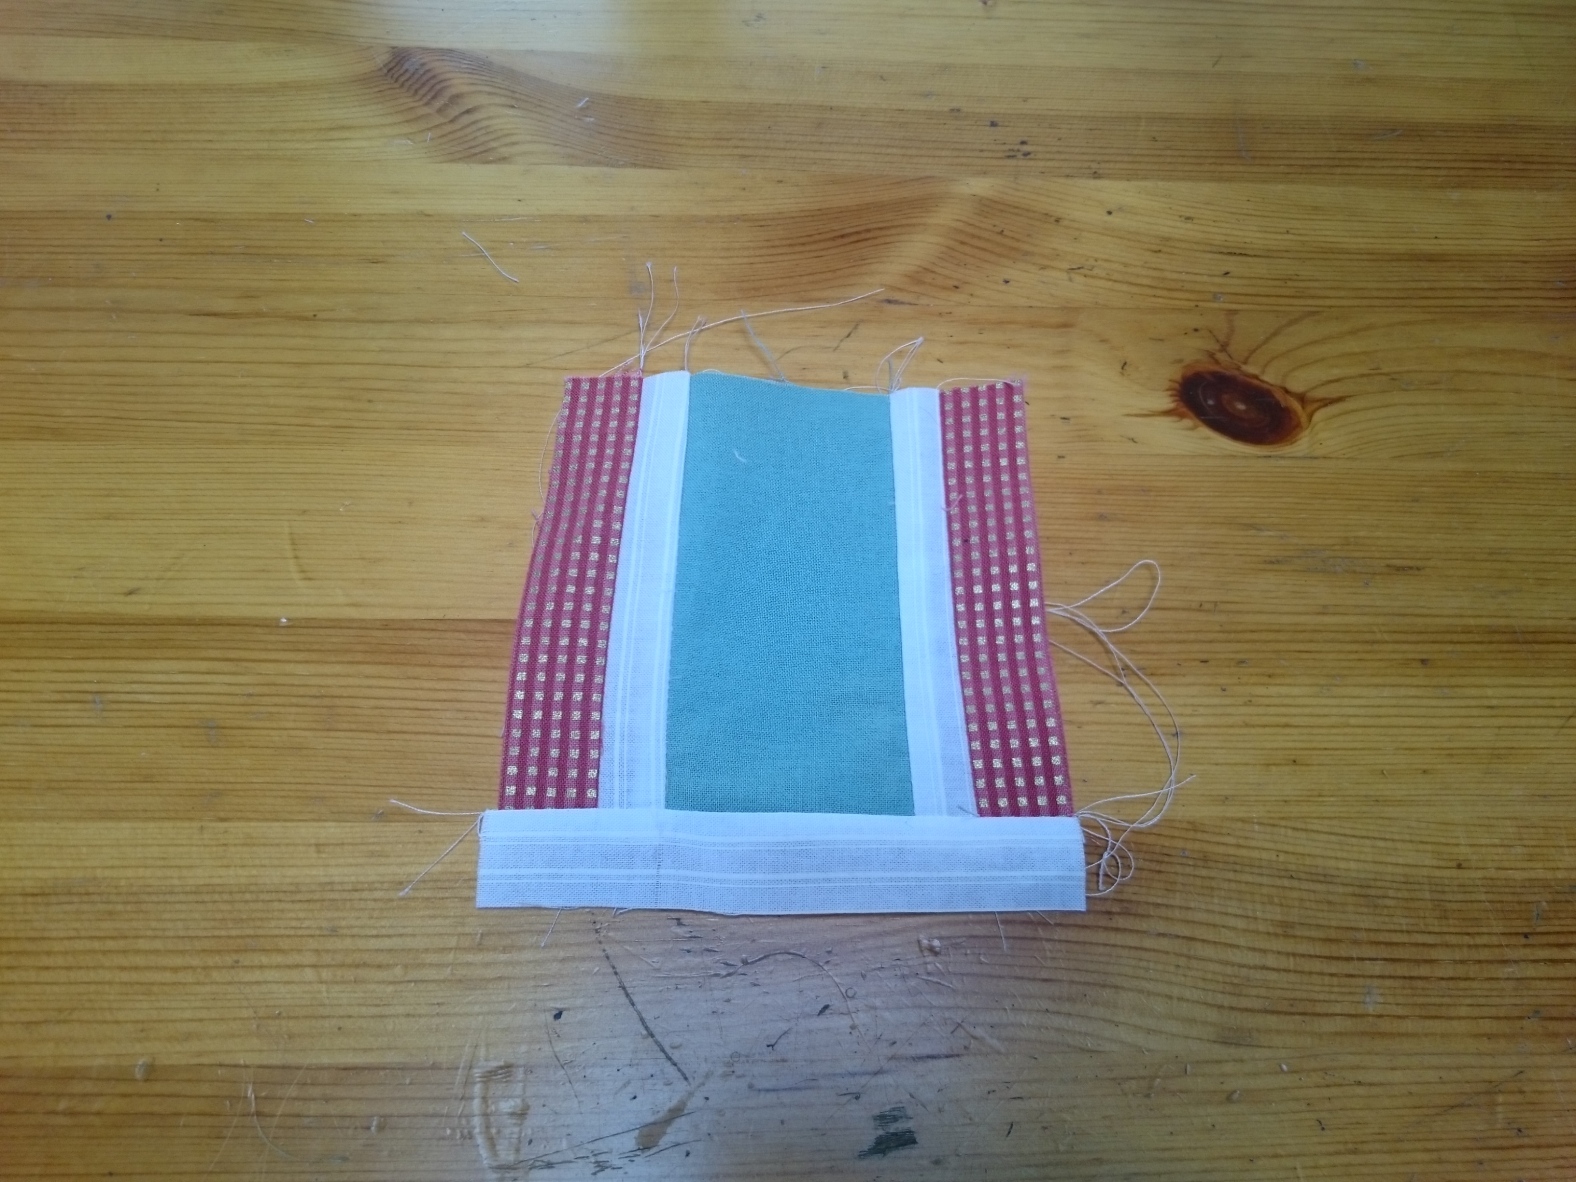
To make:
Use ¼” seams throughout. After each step press each seam once to set the stitching, then again, to press the seam allowances over to one side.
A. Bond piece 38 to the centre of piece 13 and stitch around the outline with a zig-zag stitch, using a blue thread. Attach piece 39 to the centre of piece 24 in the same way.
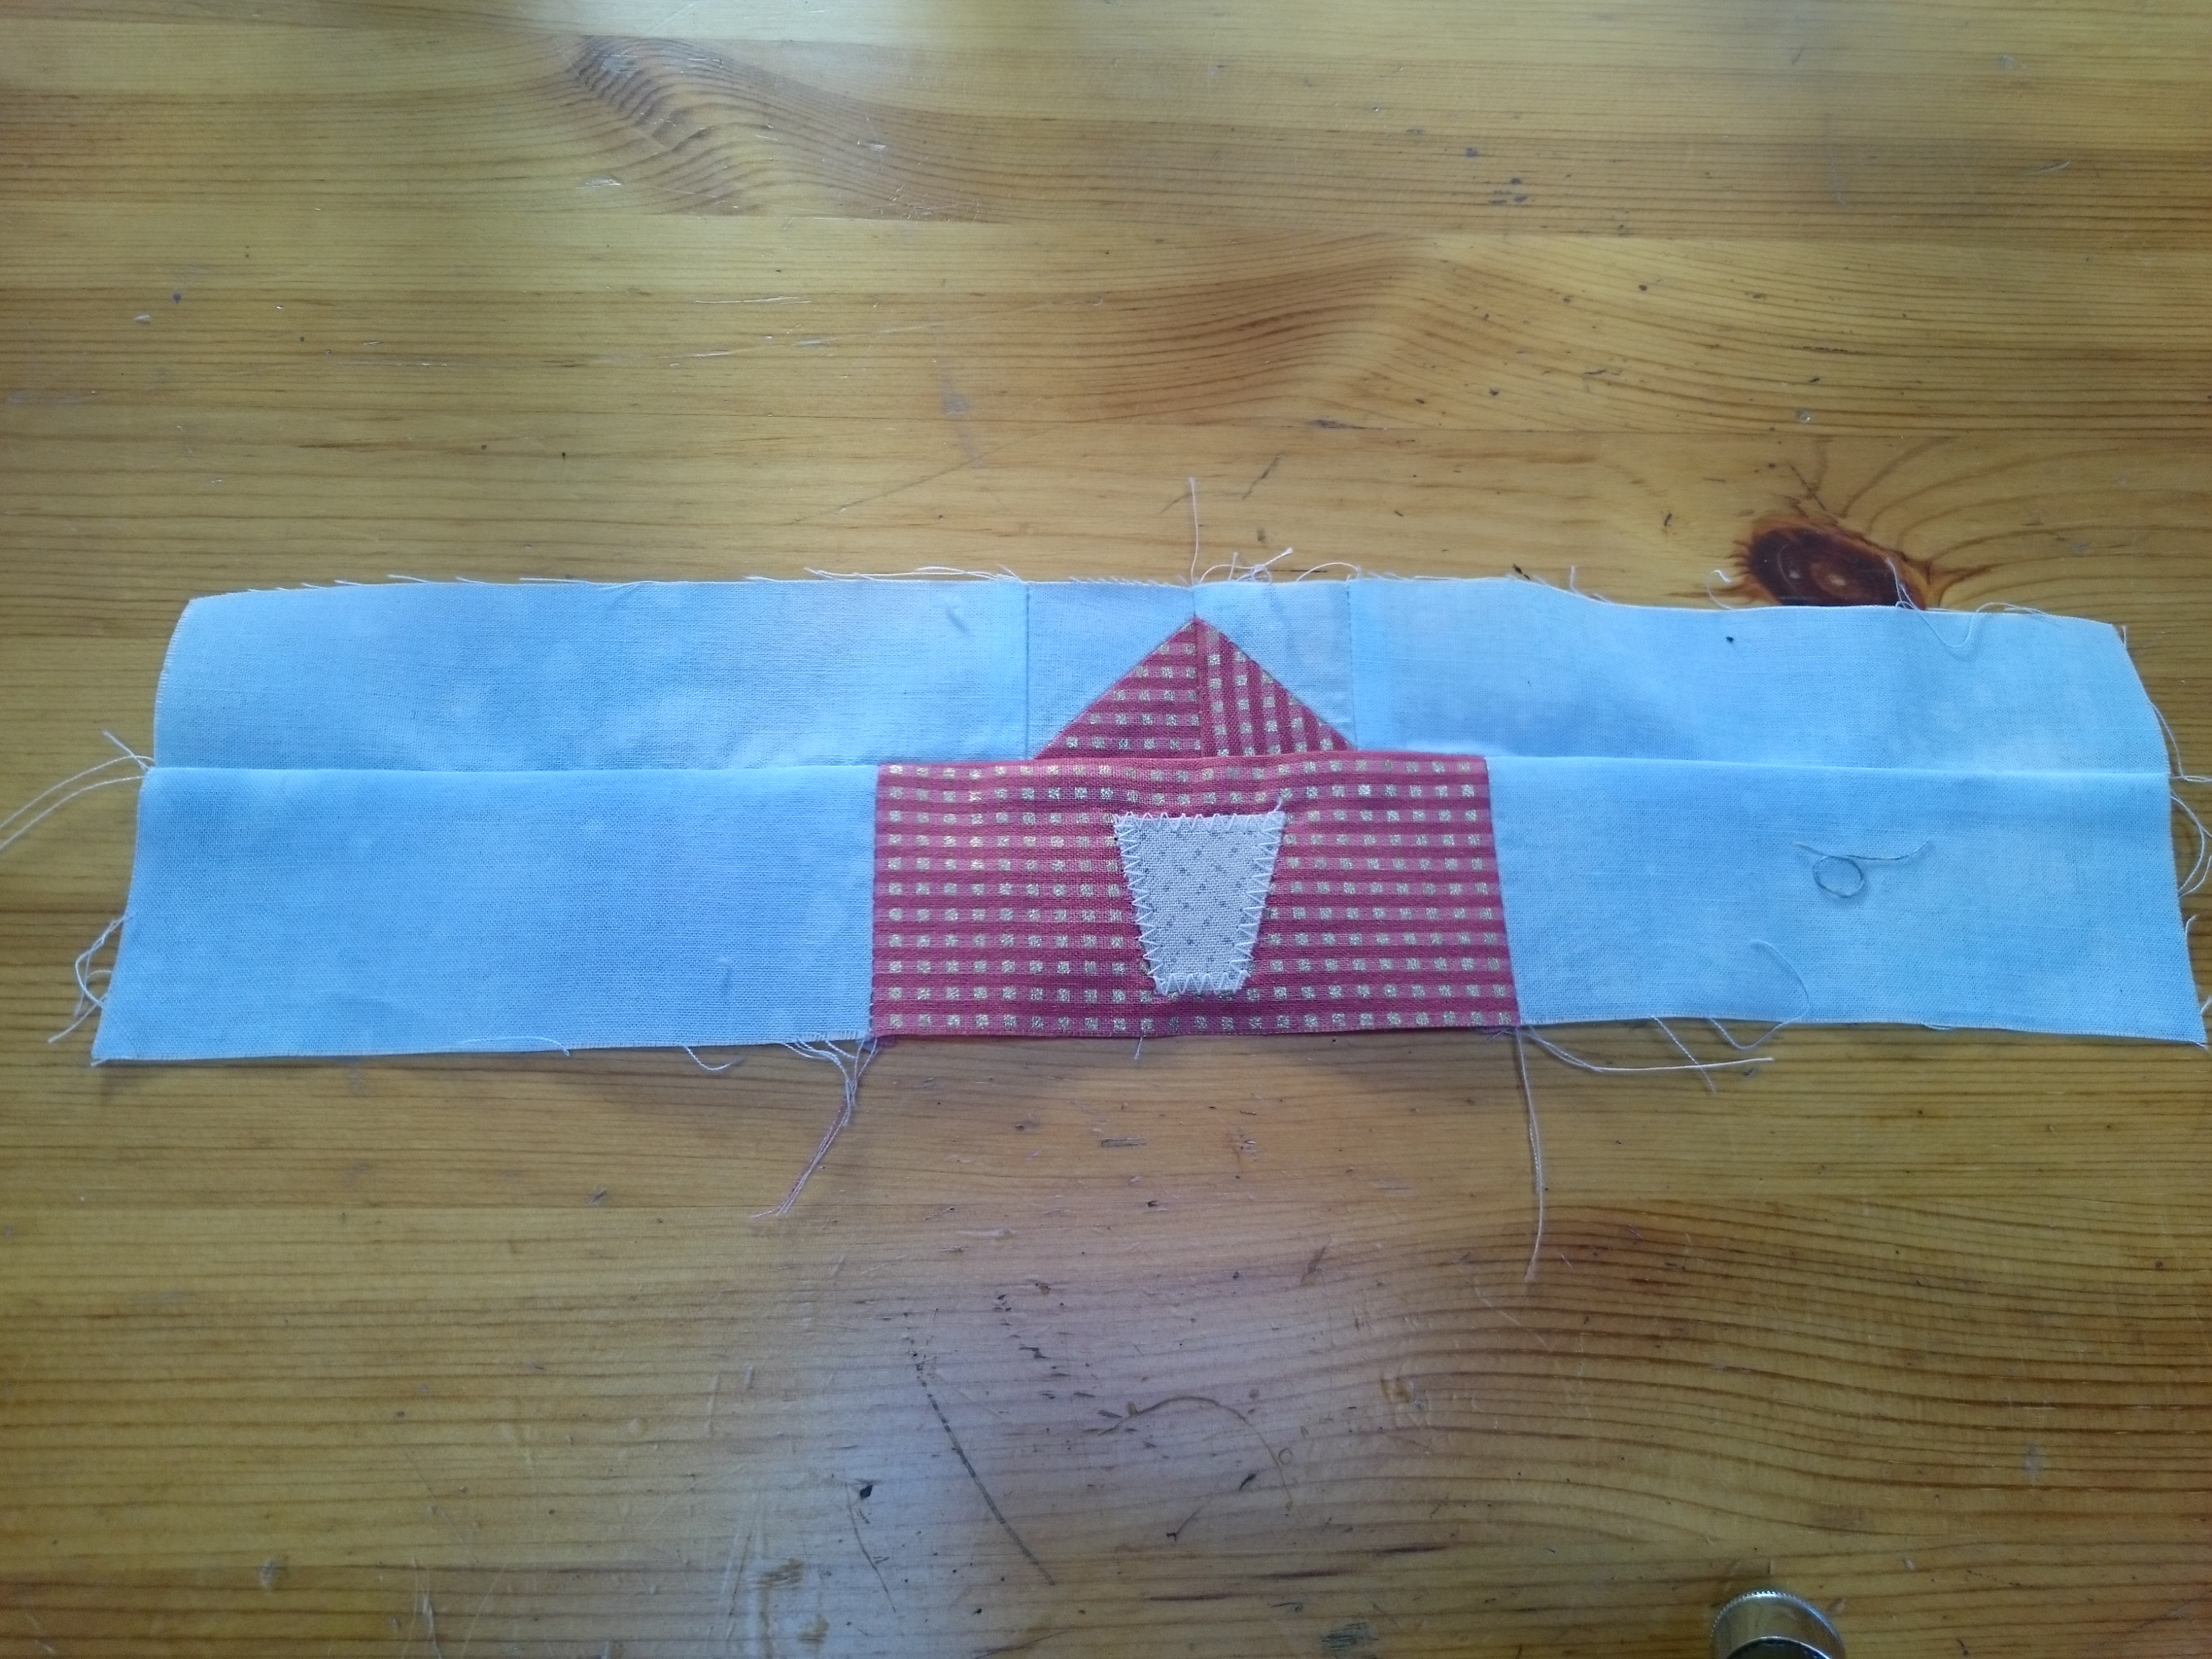
B Bond piece 41 to the centre of piece 19, positioned ¼” from both the top and bottom edges. Stitch around the outline with a zig-zag stitch, using a cream thread. Attach piece 40 to the centre of piece 8, positioned ¼” from the bottom edge and ¾: from the top edge, and stitch in the same way.
C. Create the two half-square units 2/3 and 4/5. Lay the blue square on top of the red square right sides together and draw a line diagonally across the wrong side of the blue square. Stitch a line ¼” away from the line, on each side of this line. Cut along the line. Open out the two squares and press.
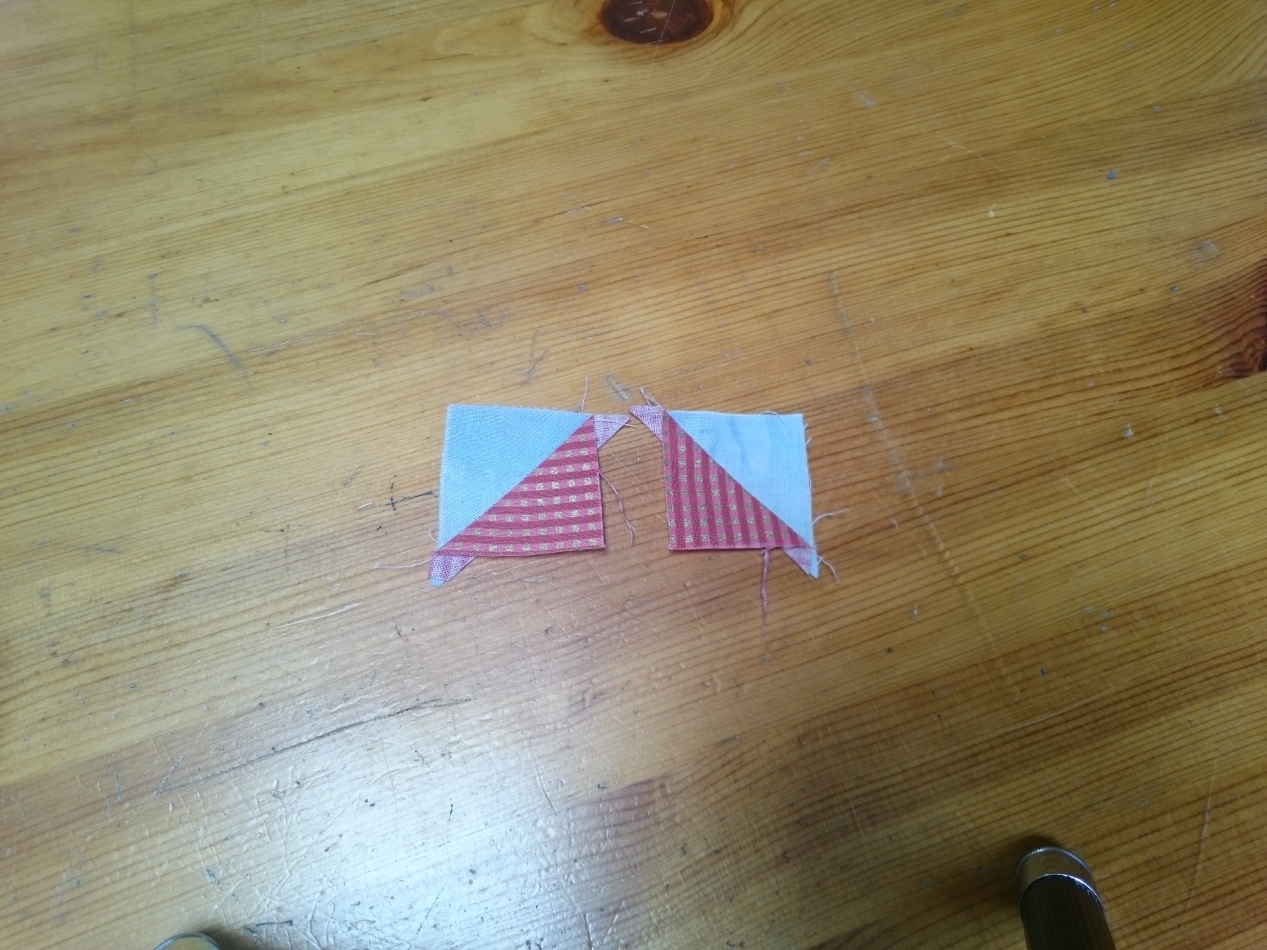
D. Join these two squares so the red fabric forms a triangle (the peak of the roof). Then stitch piece 1 to the left of this unit and piece 6 to the right of this unit.
E. Join piece 7 to the left of piece 8 and join 9 to the right of piece 8.
F. Join the 7/8/9 strip to the 1/2/3/4/5/6 strip and set aside.
G. Make two half-square units as you did in step C, using the 11/15 blue square and the 12/14 red square. Stitch 18 below one unit and 20 below the other, following the diagram.
H. Join 22 to 28. Attach 21 to one side and 23 to the other. Stitch piece 35 below this unit. Repeat this process with pieces 25, 26, 27, 34 and 36.
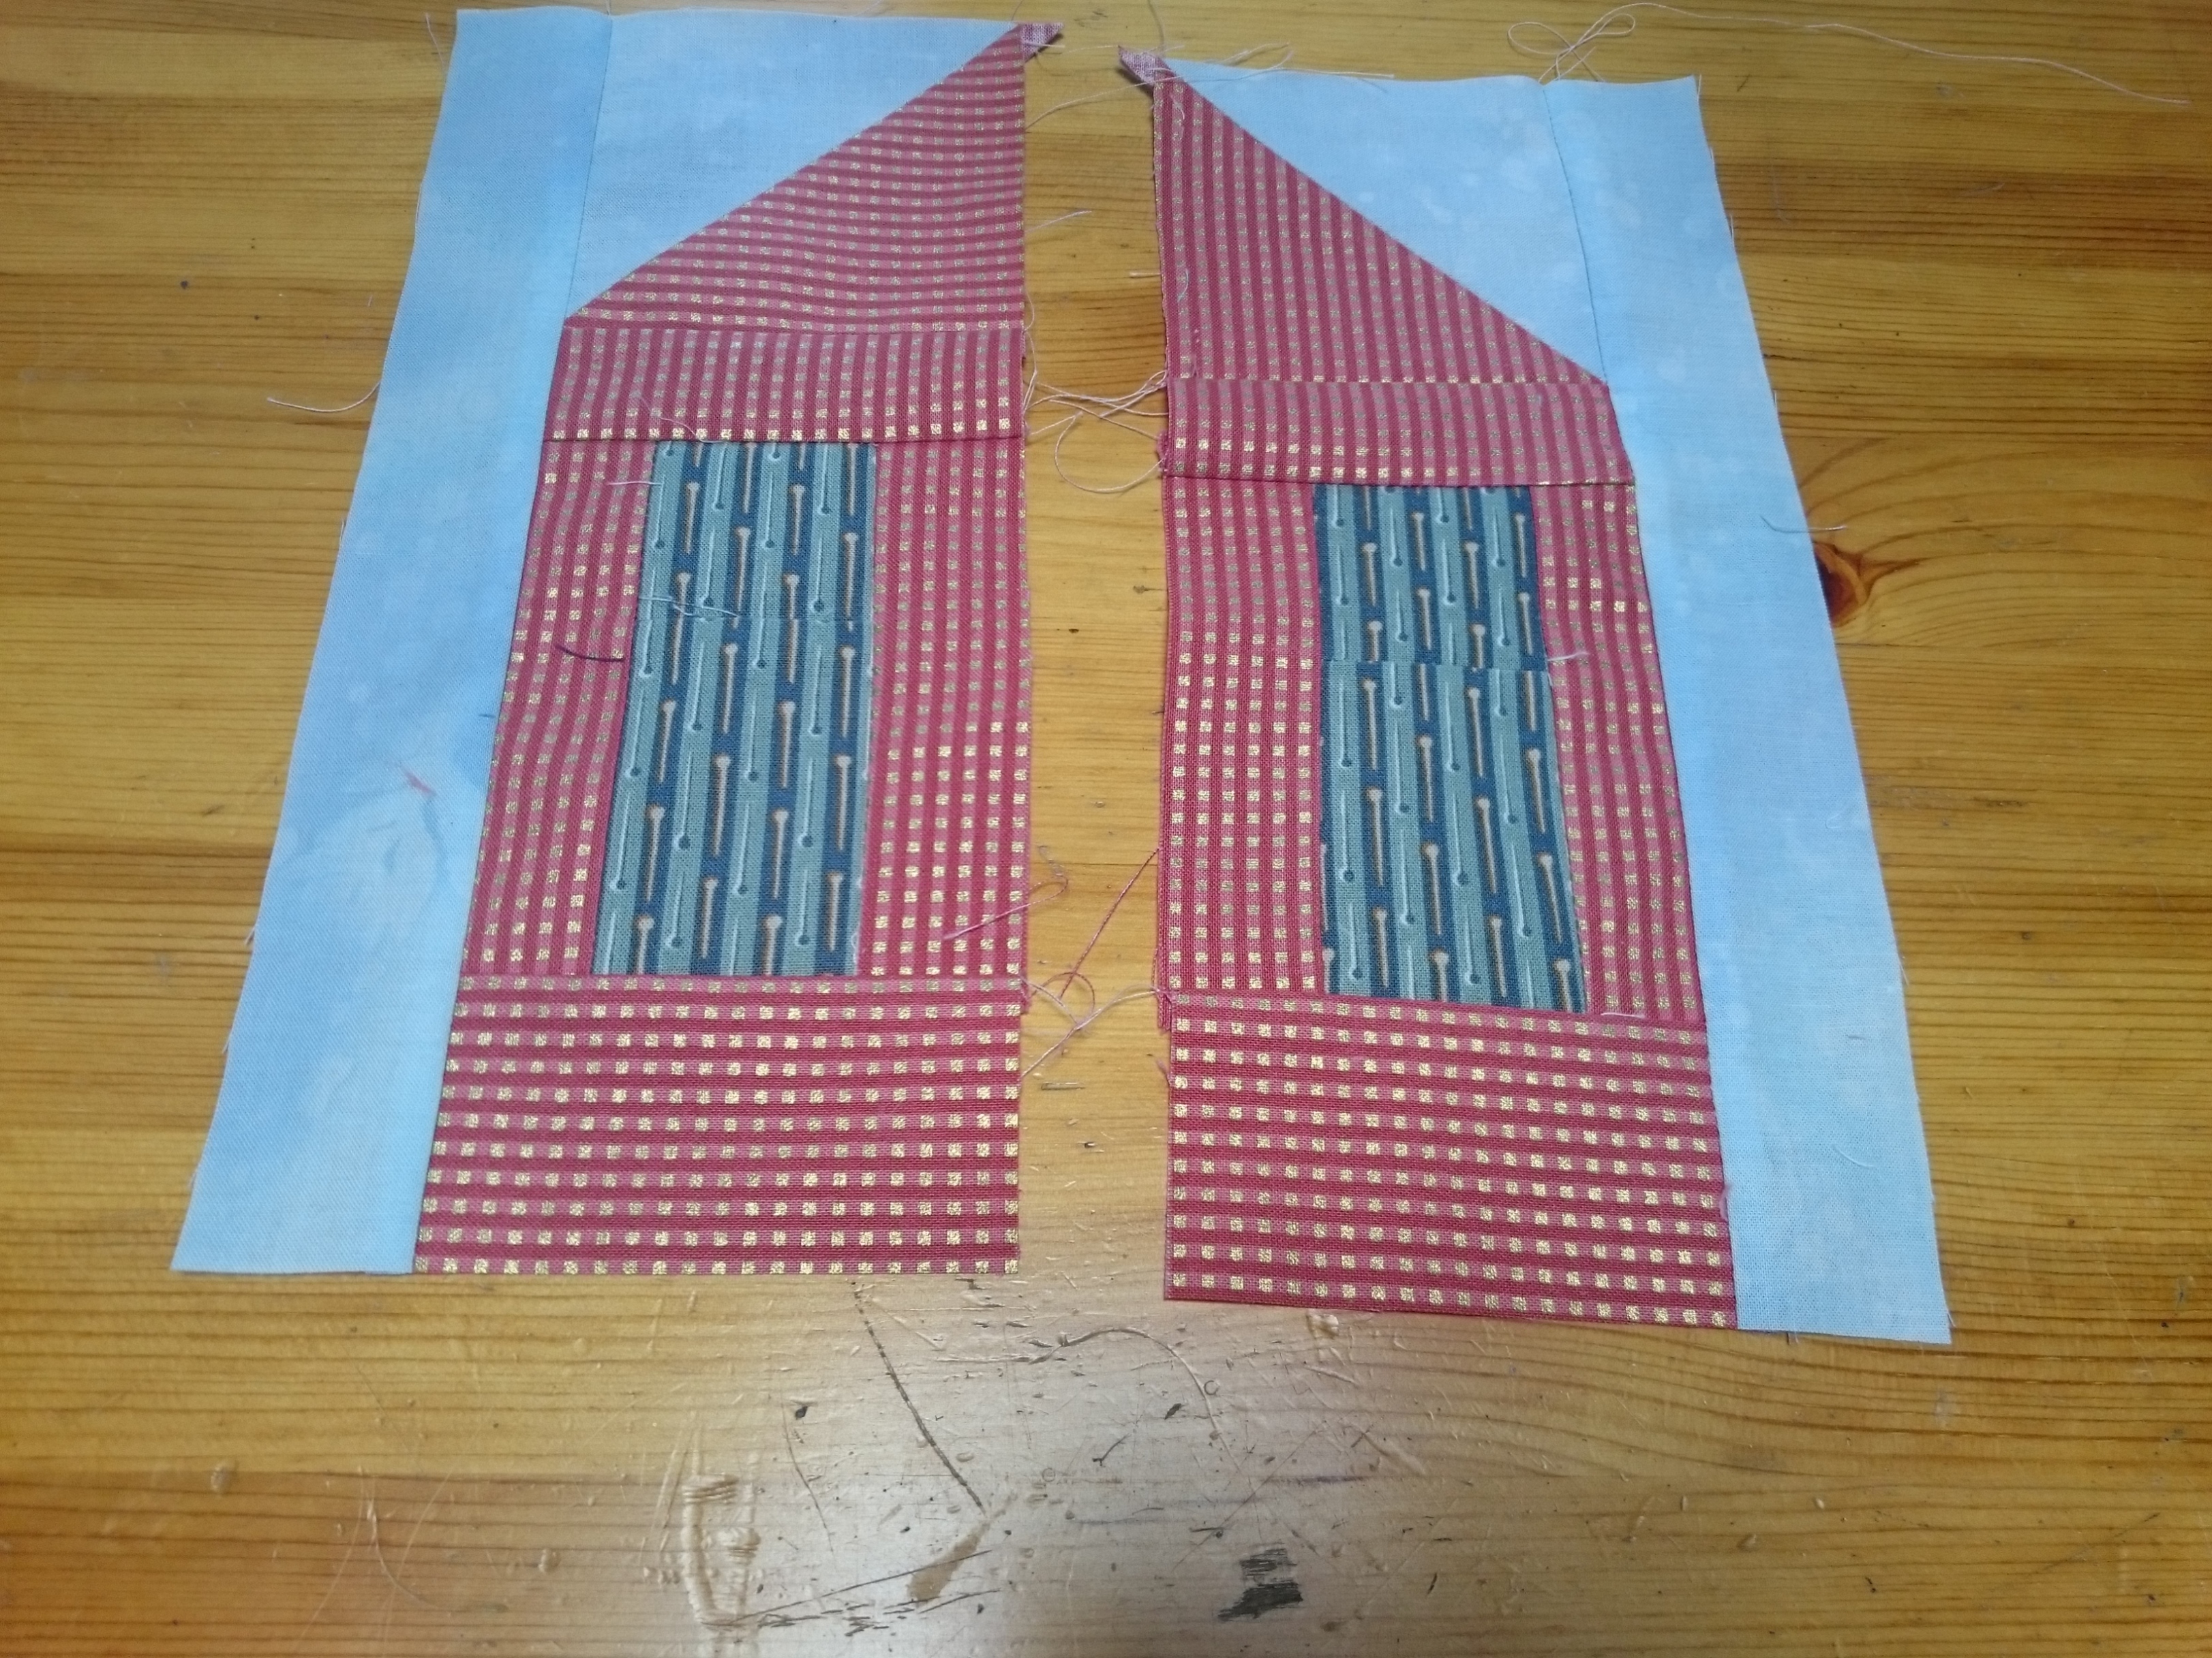
I. Join the 11/12/18 unit to the window unit (21/22/23/28/35) and then add piece 10 on the left. Set aside.
J. In the same way, join the 14/15/20 unit to the window unit (25/26/27/36) and then add piece 16 on the right. Set aside.
K. Join 13 (red with dark blue window) to 17 (cream). Then attach piece 19 (red with cream) below. Finally add piece 24 (red with dark blue window) below 19. Set aside.
L. Attach 29 (red) to 30 (white) and then join these to the left of 31 (light green). Attach 32 (white) to 33 (red) and then join these to the right of 31 (light green).
M. Join piece 13/17/19/24 to the door unit (29/30/32/33)
N. Stitch a window unit on either side of the door unit, ensuring that the roof slopes the correct way on each side.
O. Finally, attach the top roof unit that you completed in step F to the door and windows.
That’s it! I hope you have fun making the block, and that you check out the other bloggers who are getting involved. They are:
| Jen Frost (hostess) from Faith and Fabric | For Jen’s block, click here. |
| Michelle Bartholomew | For Michelle’s block, click here. |
| Leanne Parsons from Devoted Quilter | For Leanne’s block, click here. |
| Laura Piland from Slice of Pi Quilts | For Laura’s block, click here. |
| Amanda Ogden | You’re here! |
| Kathy Bruckman from Kathy Kwilts | For Kathy’s block, click here |
| Jen Shaffer from Patterns By Jen | For Jen’s block, click here |
| Rachel Rossi from Rachel Rossi design | For Rachel’s block, click here |

If you have a friend who would enjoy this blog, please would you forward it to them? If you would like to read this blog every week, look for the words ‘Follow this blog by email’ and enter your email address. The blog posts will arrive each Monday in your in-box. If you would like to receive my special monthly newsletter, complete with colour inspiration, design inspiration and a free tutorial, please cIick here I will never share your email with anyone.
Thank you for reading my blog. Quilt patterns are here, Fabrics are here, Classes are here
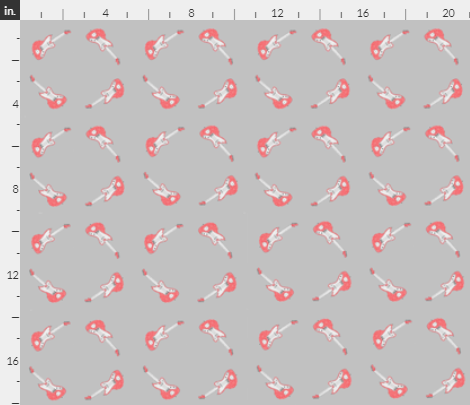
This is my ‘Guitars’ fabric. You can find it here.

I love this house block! I’m getting ready to create my own pattern for some houses to teach at a local quilt guild workshop next year.
LikeLike
Your little house is adorable! It reminds me of the little red schoolhouse my husband went to as a child.
LikeLike
I’m so pleased you like it, thank you.
LikeLike
Thank you. My house really does look like that. It was converted from a Salvation Army Hall to a house before we moved in, but it keeps it’s original shape and feel. Yes, it’s very like a schoolhouse.
LikeLiked by 1 person