I make a lot of quilts. This means that I end up with a large number of pieces of wadding left over. If that happens to you too, then this week’s blog post is for you. I am going to show you two ways of joining oddments of wadding to make enough for a new quilt.
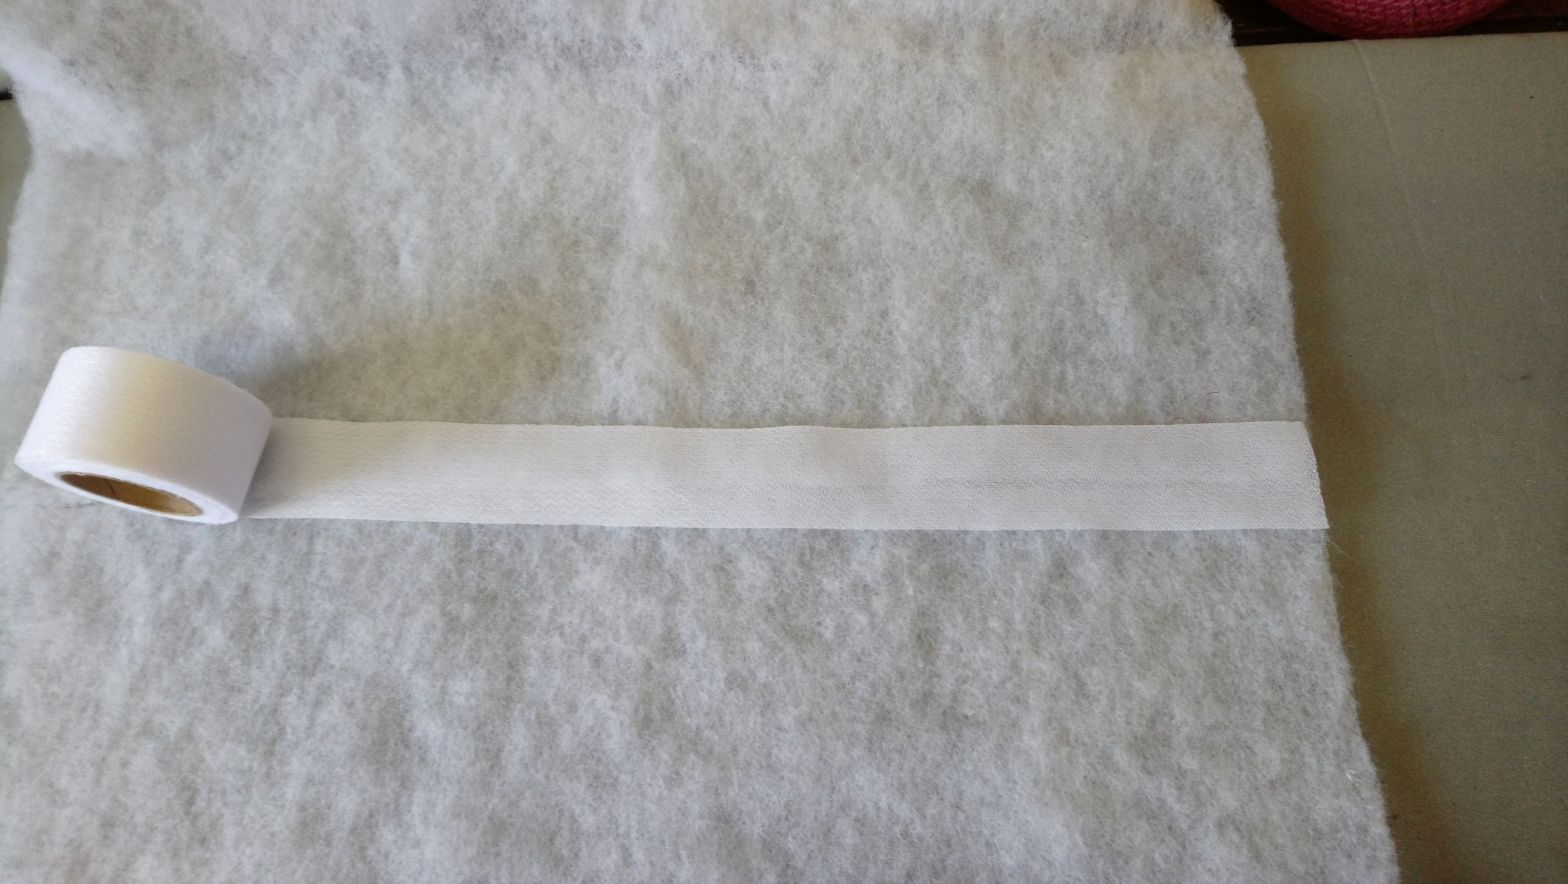
Firstly I’ll demonstrate the use of this tape ‘Heat Press’. I tried the tape out on 80/20 wadding (80% cotton/20% polyester) and also on a two-ounce weight 100% polyester wadding.

I used a roll one and a half inches wide and 15 yards long. This gave me enough to join pieces for a single-bed quilt. It depends of course on how small your wadding scraps are!

It’s important to sort your off-cuts of wadding by type – don’t try to join wadding of different colours or different weights. I suggest once you have gathered enough of one type, that you cut all your pieces into rectangles with a quilter’s ruler and then work out how you are going to compile your jigsaw. If you cut several of them to the same width (even if they are different lengths), it will be simpler to join them.

I drew the tape off the roll in the same way that you would a length of sticky tape (Sellotape). I cut it exactly to the length I needed, as shown here. The wadding pieces were butted against each other end to end.

The tape is set with heat. I placed a piece of baking paper over the top and then used a fairly hot iron to quickly press it.
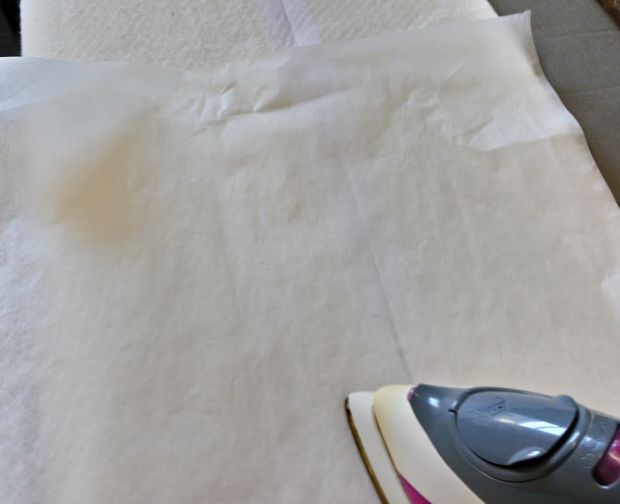
This gave a good bond, as seen below.

This was the paper I used, very ordinary and not expensive.

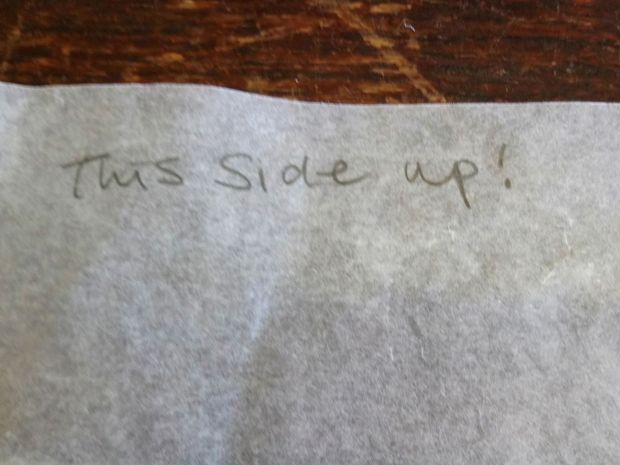
This is the key to using the paper: write on one side! The tape works with textile adhesive and you do not want that to end up on your iron. So keeping the paper the same way up each time is crucial!
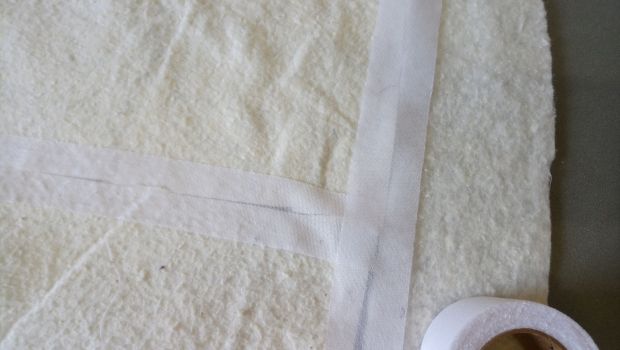
One you have pieces joined in one direction (say, the length you need for your new quilt), then work widthways until you have enough.
Next I experimented with the tape in the same way, but this time with the 100% polyester wadding (see below). I was very cautious indeed with the iron as I was fearful of melting the wadding. The tape did work and it made a join that was flexible and not too stiff. The joins in both cases were not at all noticeable when I quilted the quilts concerned. (Both newly-created wadding pieces are now inside finished quilts.)

I am very pleased to have found a way of using wadding pieces. I feel it’s a good use of resources (cutting down on waste, which is better for the environment) and it also makes better use of the limited storage space in my studio (wadding is bulky). In addition, it saved me money overall, when compared with buying a completely new piece of wadding.
This is the traditional way of joining binding, using herringbone stitch. It will take you much longer and the join will be slightly less secure.
Insert the needle into your fabric and do a few small stitches on the spot to secure. With the two edges butted together as shown, insert your needle on the opposite side, lower down than the spot you started at and take a stitch with the needle pointing upwards.

Now take the next stitch across on the first side, further down again, and once more make a stitch going upwards.

Continue like this all the way down until the two edges are completely joined together. Don’t make the stitches too big and ensure that the edges are aligned. You need to make sure that no bumps are created which will make life difficult when you layer up the quilt.

Thank you for reading my blog.
Did you know that I have a new baby quilt pattern out called ‘Bears and Squares’? You can find it here.

Thank you for reading my blog. Quilt patterns are here, Fabrics are here, Classes are here.
Click the ‘Follow’ button to get a blog-post by email each Monday and click here if you would like the monthly newsletter with design and colour inspiration, etc.

Hi Amanda, I’ve often herring bone stitched wadding but never taped it. Planning a new quilt and have lots of small wadding pieces so will give tape method a go. Thanks for the tip. Hettie
LikeLike
Dear Hettie, thanks for your comment about the tape. It was certainly quick. Amanda
LikeLike