SO… the deed is done and the die is cast. Fourteen years after qualifying in Textiles and Surface pattern, I am going to hang up my teacher’s bag, stow away (or throw away!) all those lesson plans and BE an artist designer. The day after the end of term, I was headed for France and the Big French Road Trip (more of that later) and filled up with two weeks of sunshine and design inspiration.
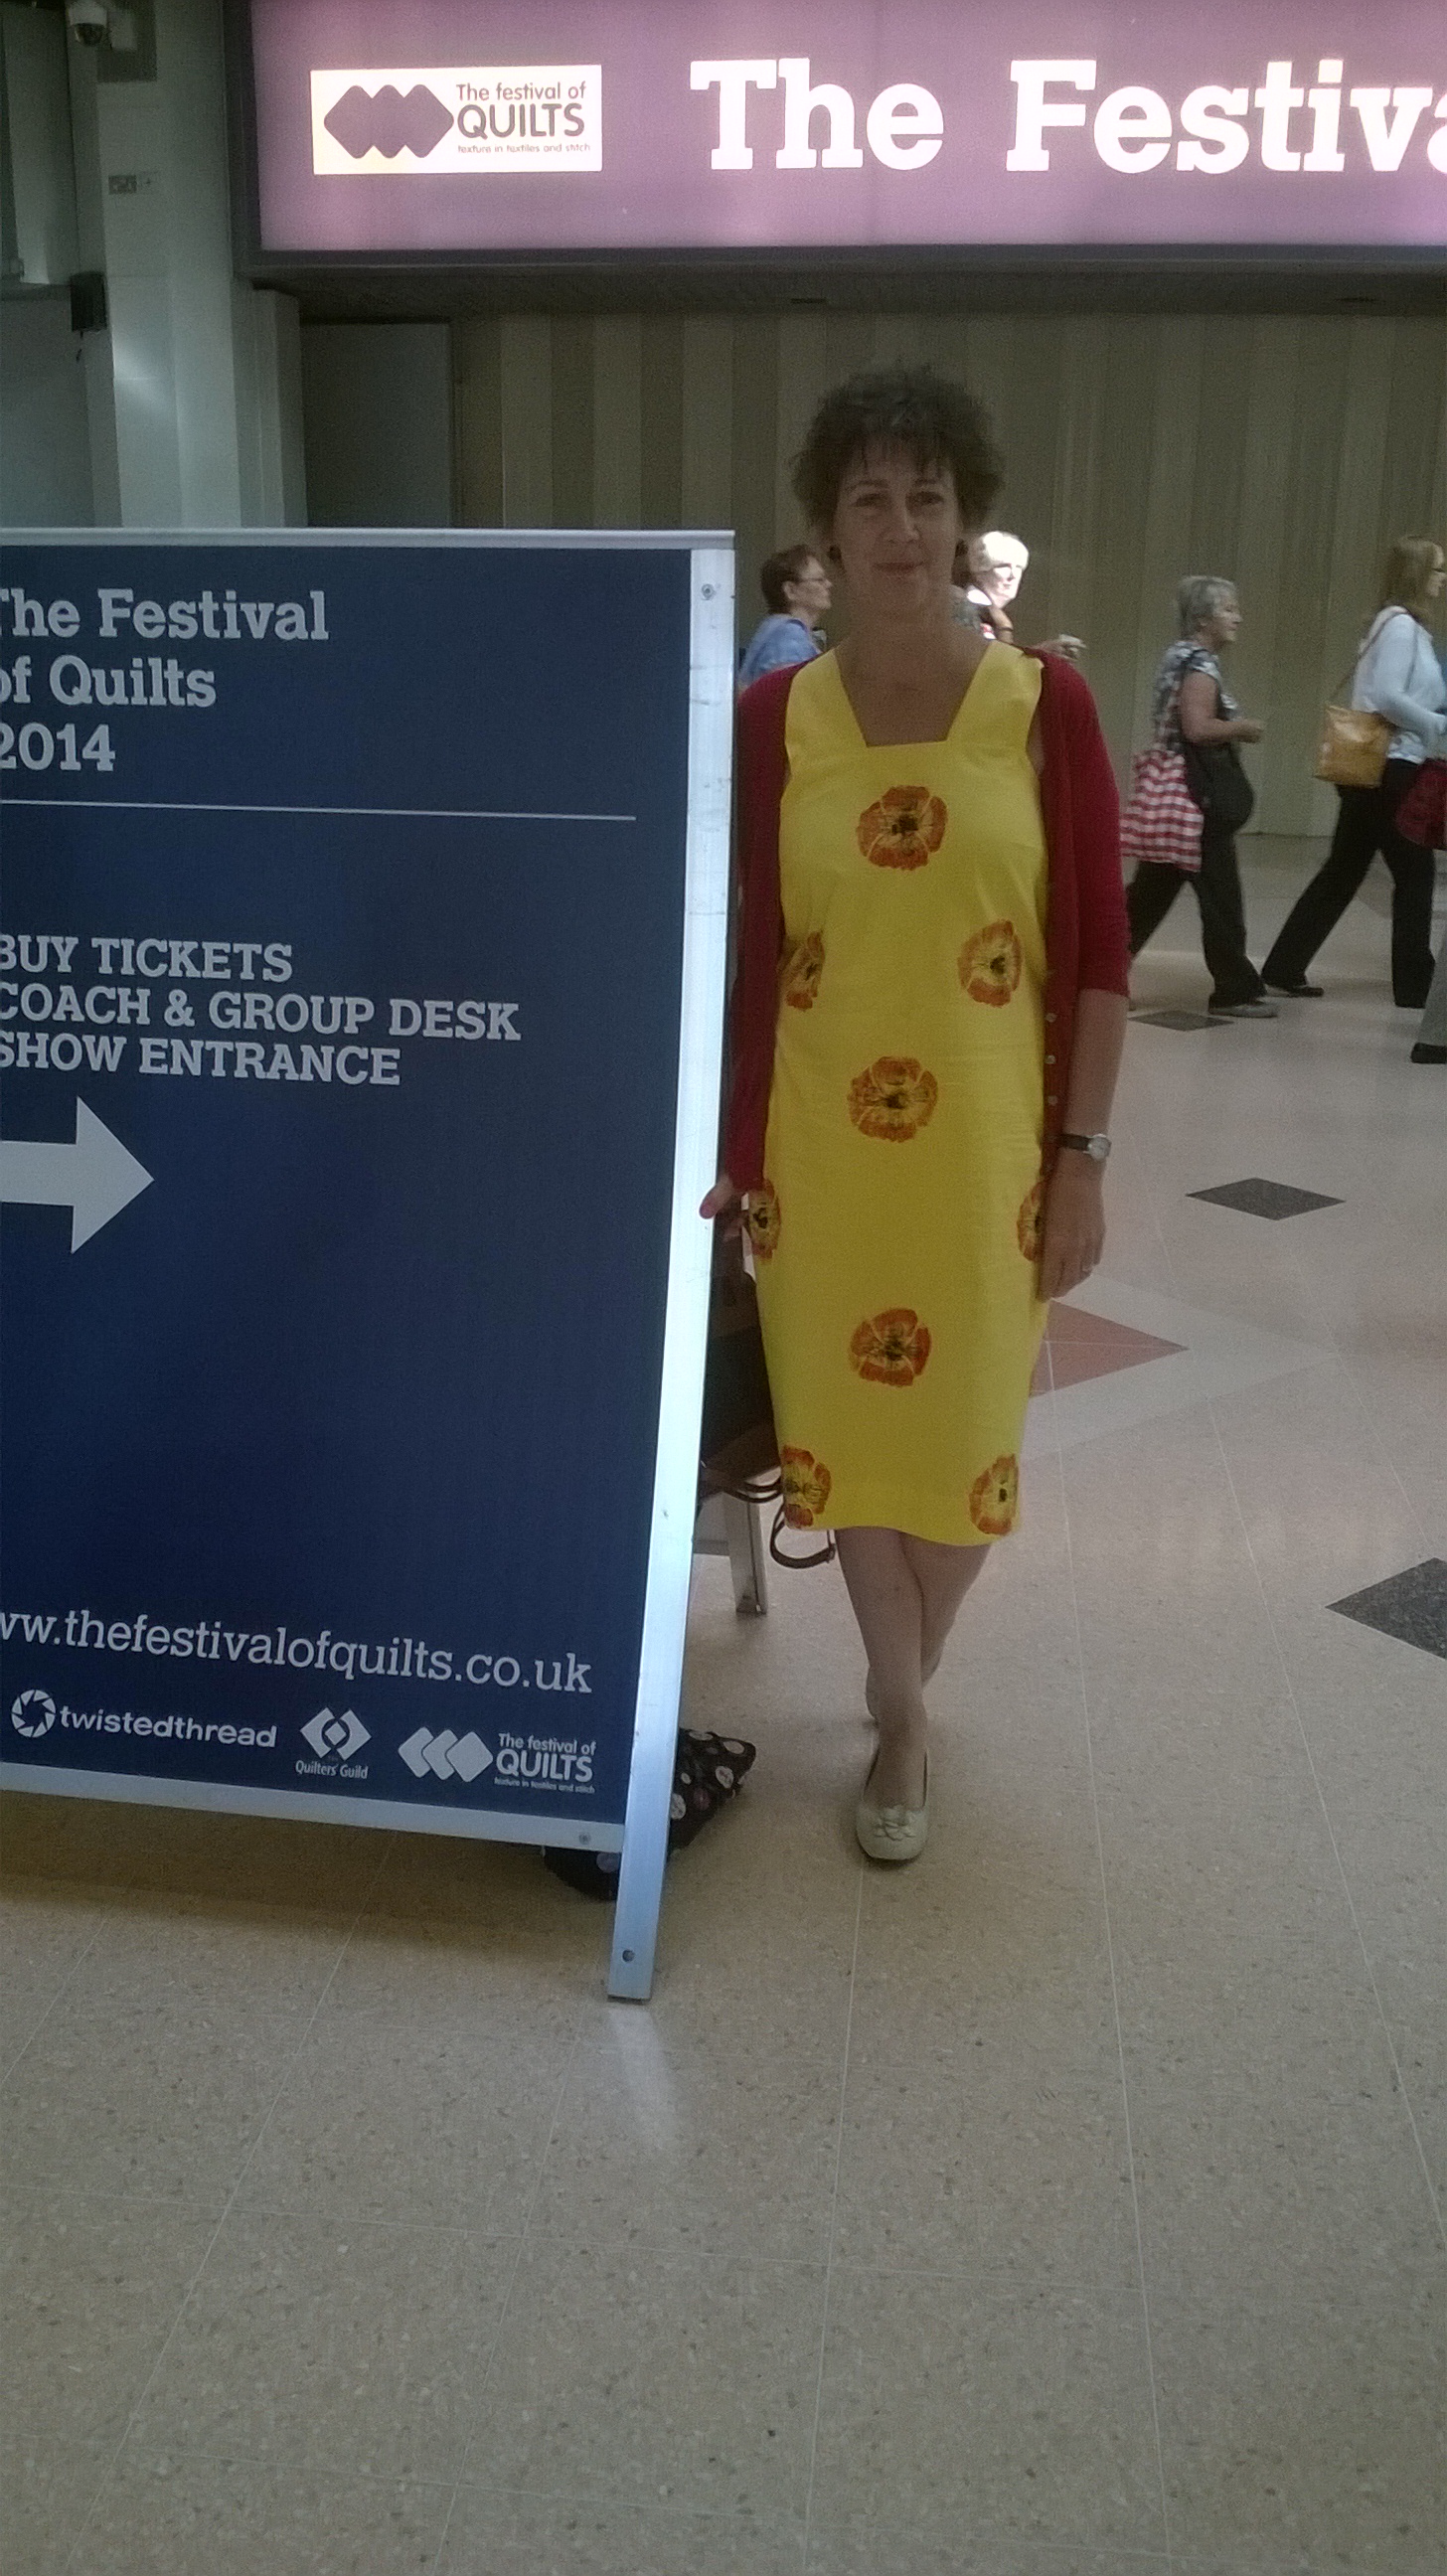
Next stop was to be the ‘Festival of Quilts’ Show at the NEC, so I set myself a challenge to dye, make and print three dresses to wear at the show in the three days between arriving back in the UK and going to the show.
Day 1 (straight off the ferry from Amsterdam!) I purchased three double sheets from local charity shops and three packs of Dylon dye from Wilko in red, blue and yellow. Apart from the dye, the challenge was that everything should be recycled.
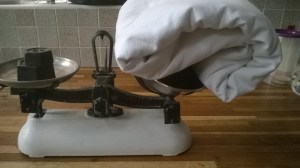
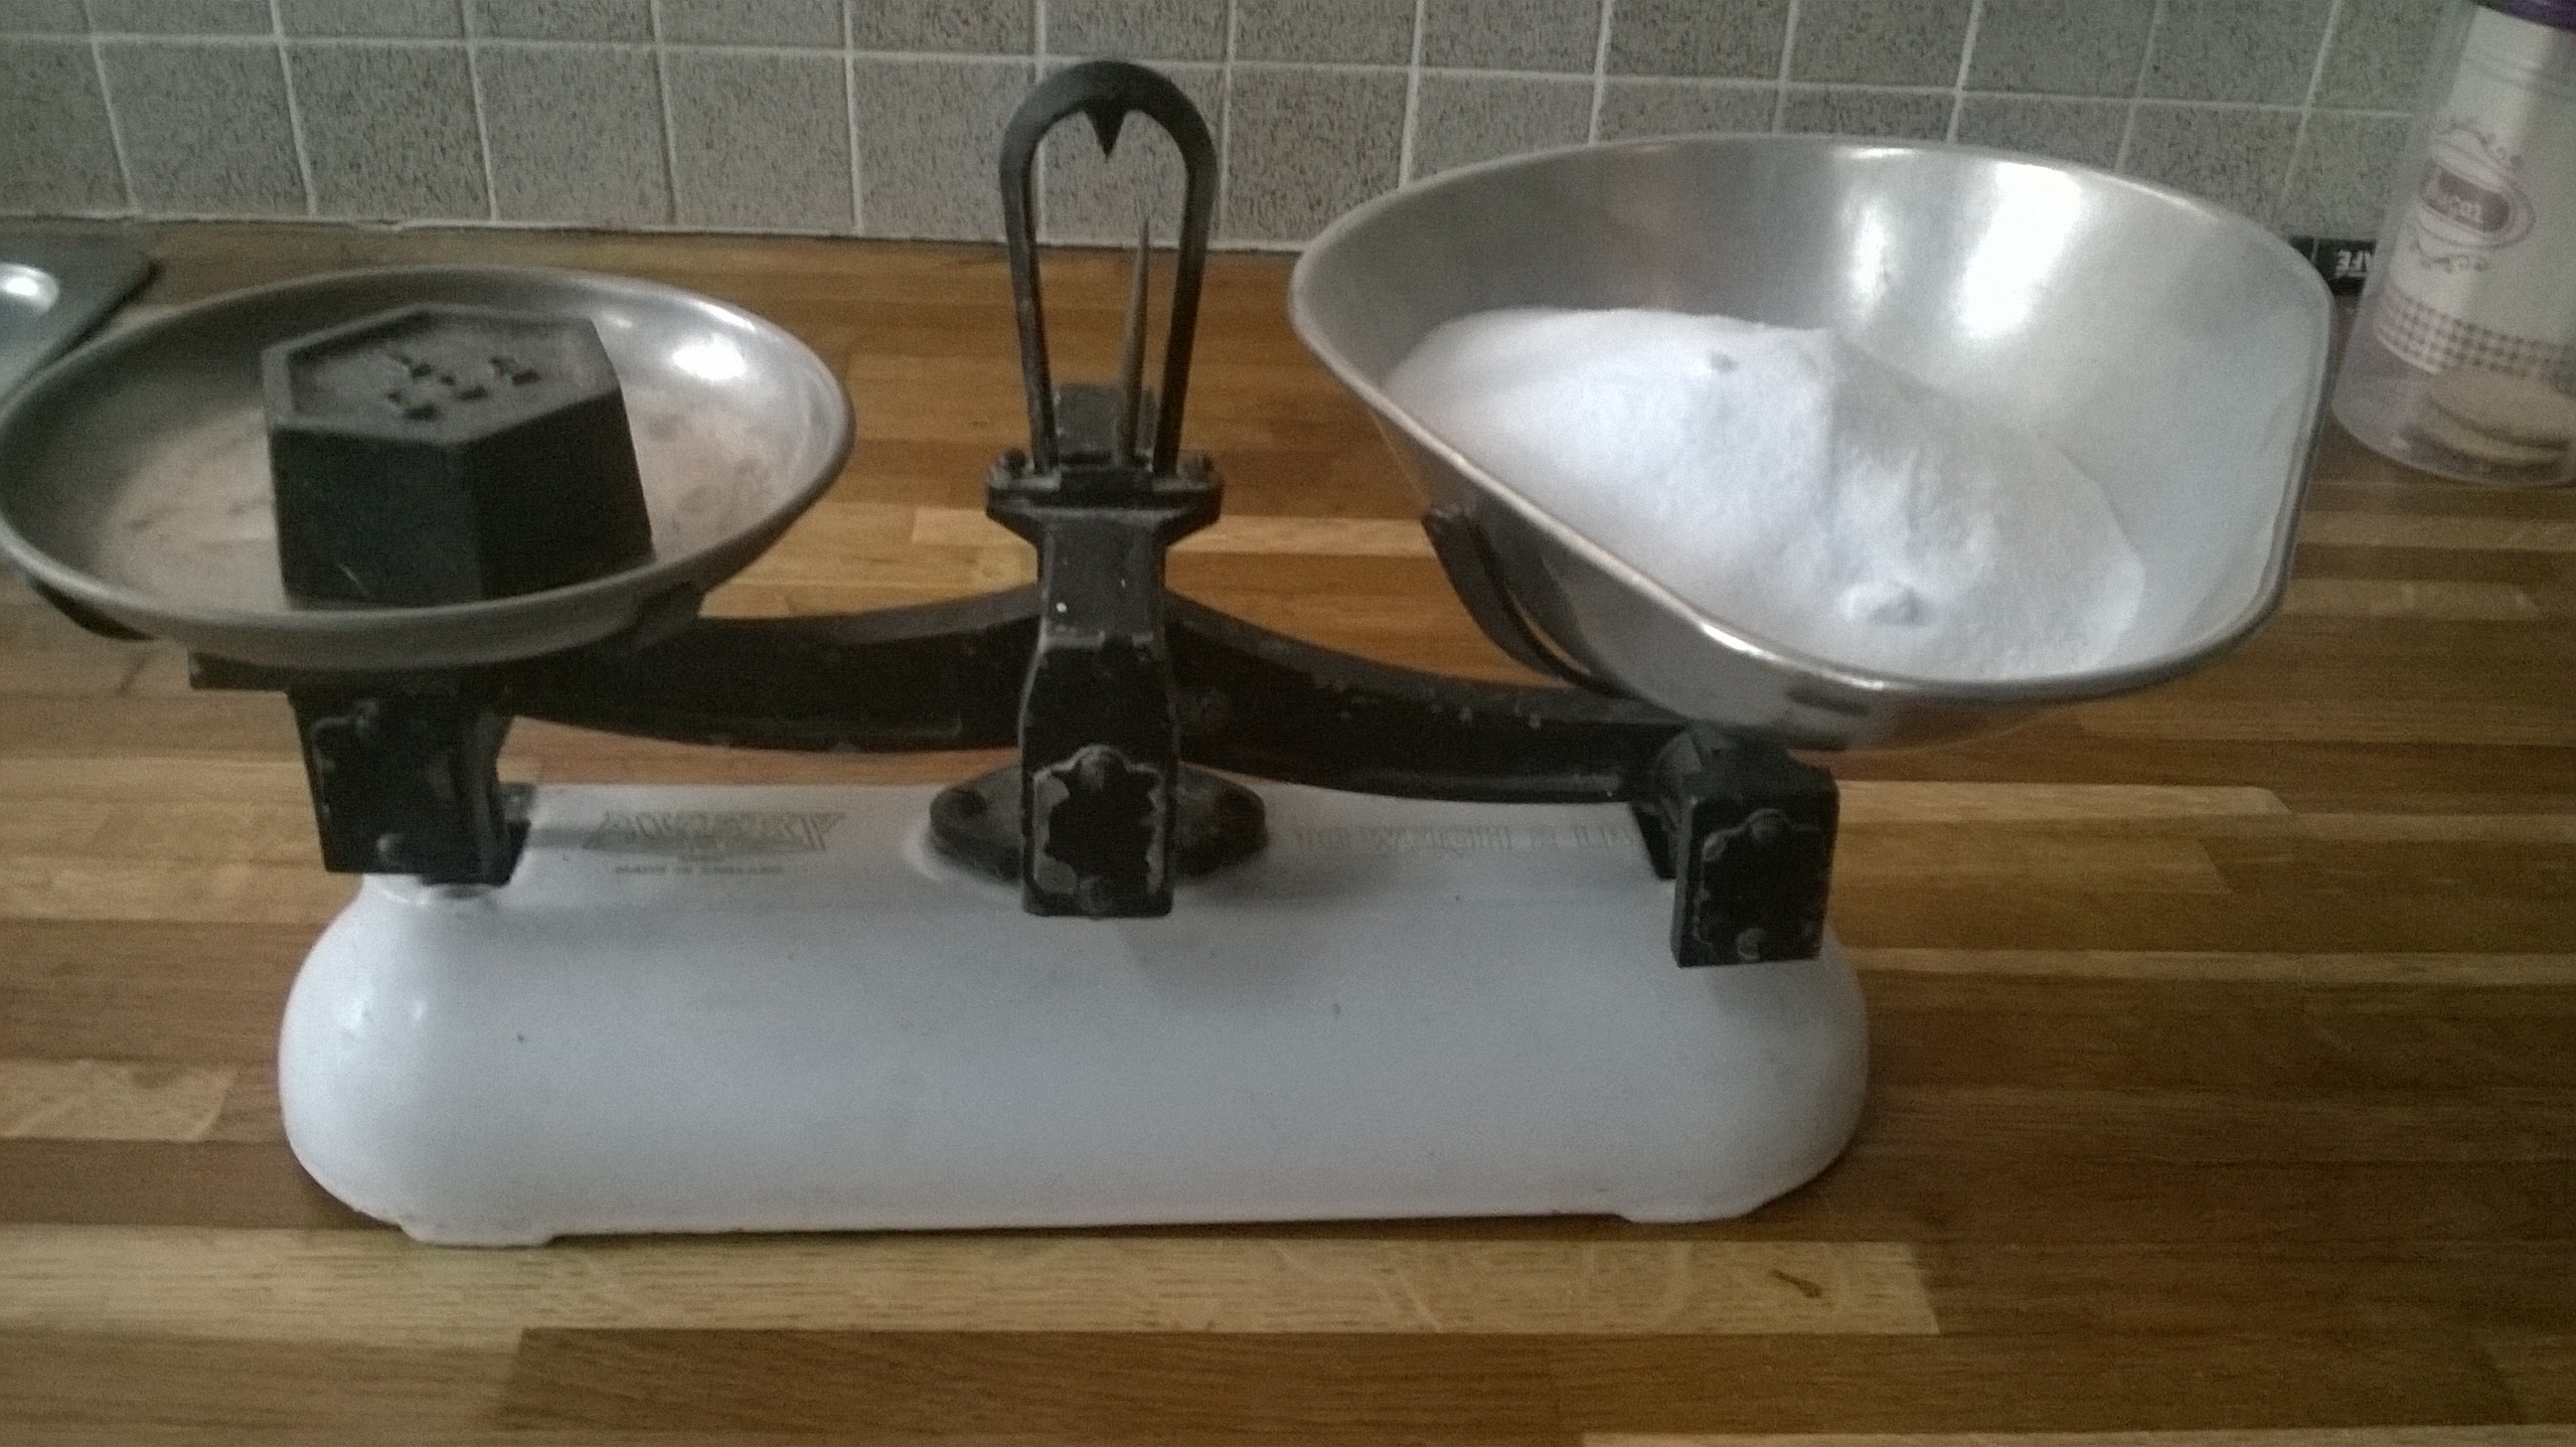
Each sheet had to be weighed, to ensure that the box of dye (costing £4.99 each) would be enough to dye the whole amount. With the larger sheet, the dye gives a paler colour (the red one) but with the smaller sheet – weighing in at around 700g – the colour was deep and exactly the shade it said on the box. The dye goes into the washing machine first, then 500g salt, which must cover the dye powder. The manufacturers like you to put the fabric in damp, but I got better results with dry fabric. (You do need to wash it first if the fabric is new.) These dyes work at 40 degrees, but not on an ‘Eco’ setting as there is not enough water in the wash. On my machine the ‘Sportswear’ setting was the one! It took six washes in all: one to dye and one to wash afterwards, for each colour. Then each coloured fabric piece was hung out on the ‘solar dryer’.
![WP_20140812_007[1]](https://amandajanetextiles.com/wp-content/uploads/2014/08/wp_20140812_0071.jpg)

.
Day 2 (once the unpacking from the camping holiday was done) I shopped quickly for zips in charity shops (I had a recycled red one in stock and found blue and yellow ones – amazing).
Next, I traced and adjusted the pattern for the first dress from my collection of old patterns, pinned it on to the blue fabric and cut out.
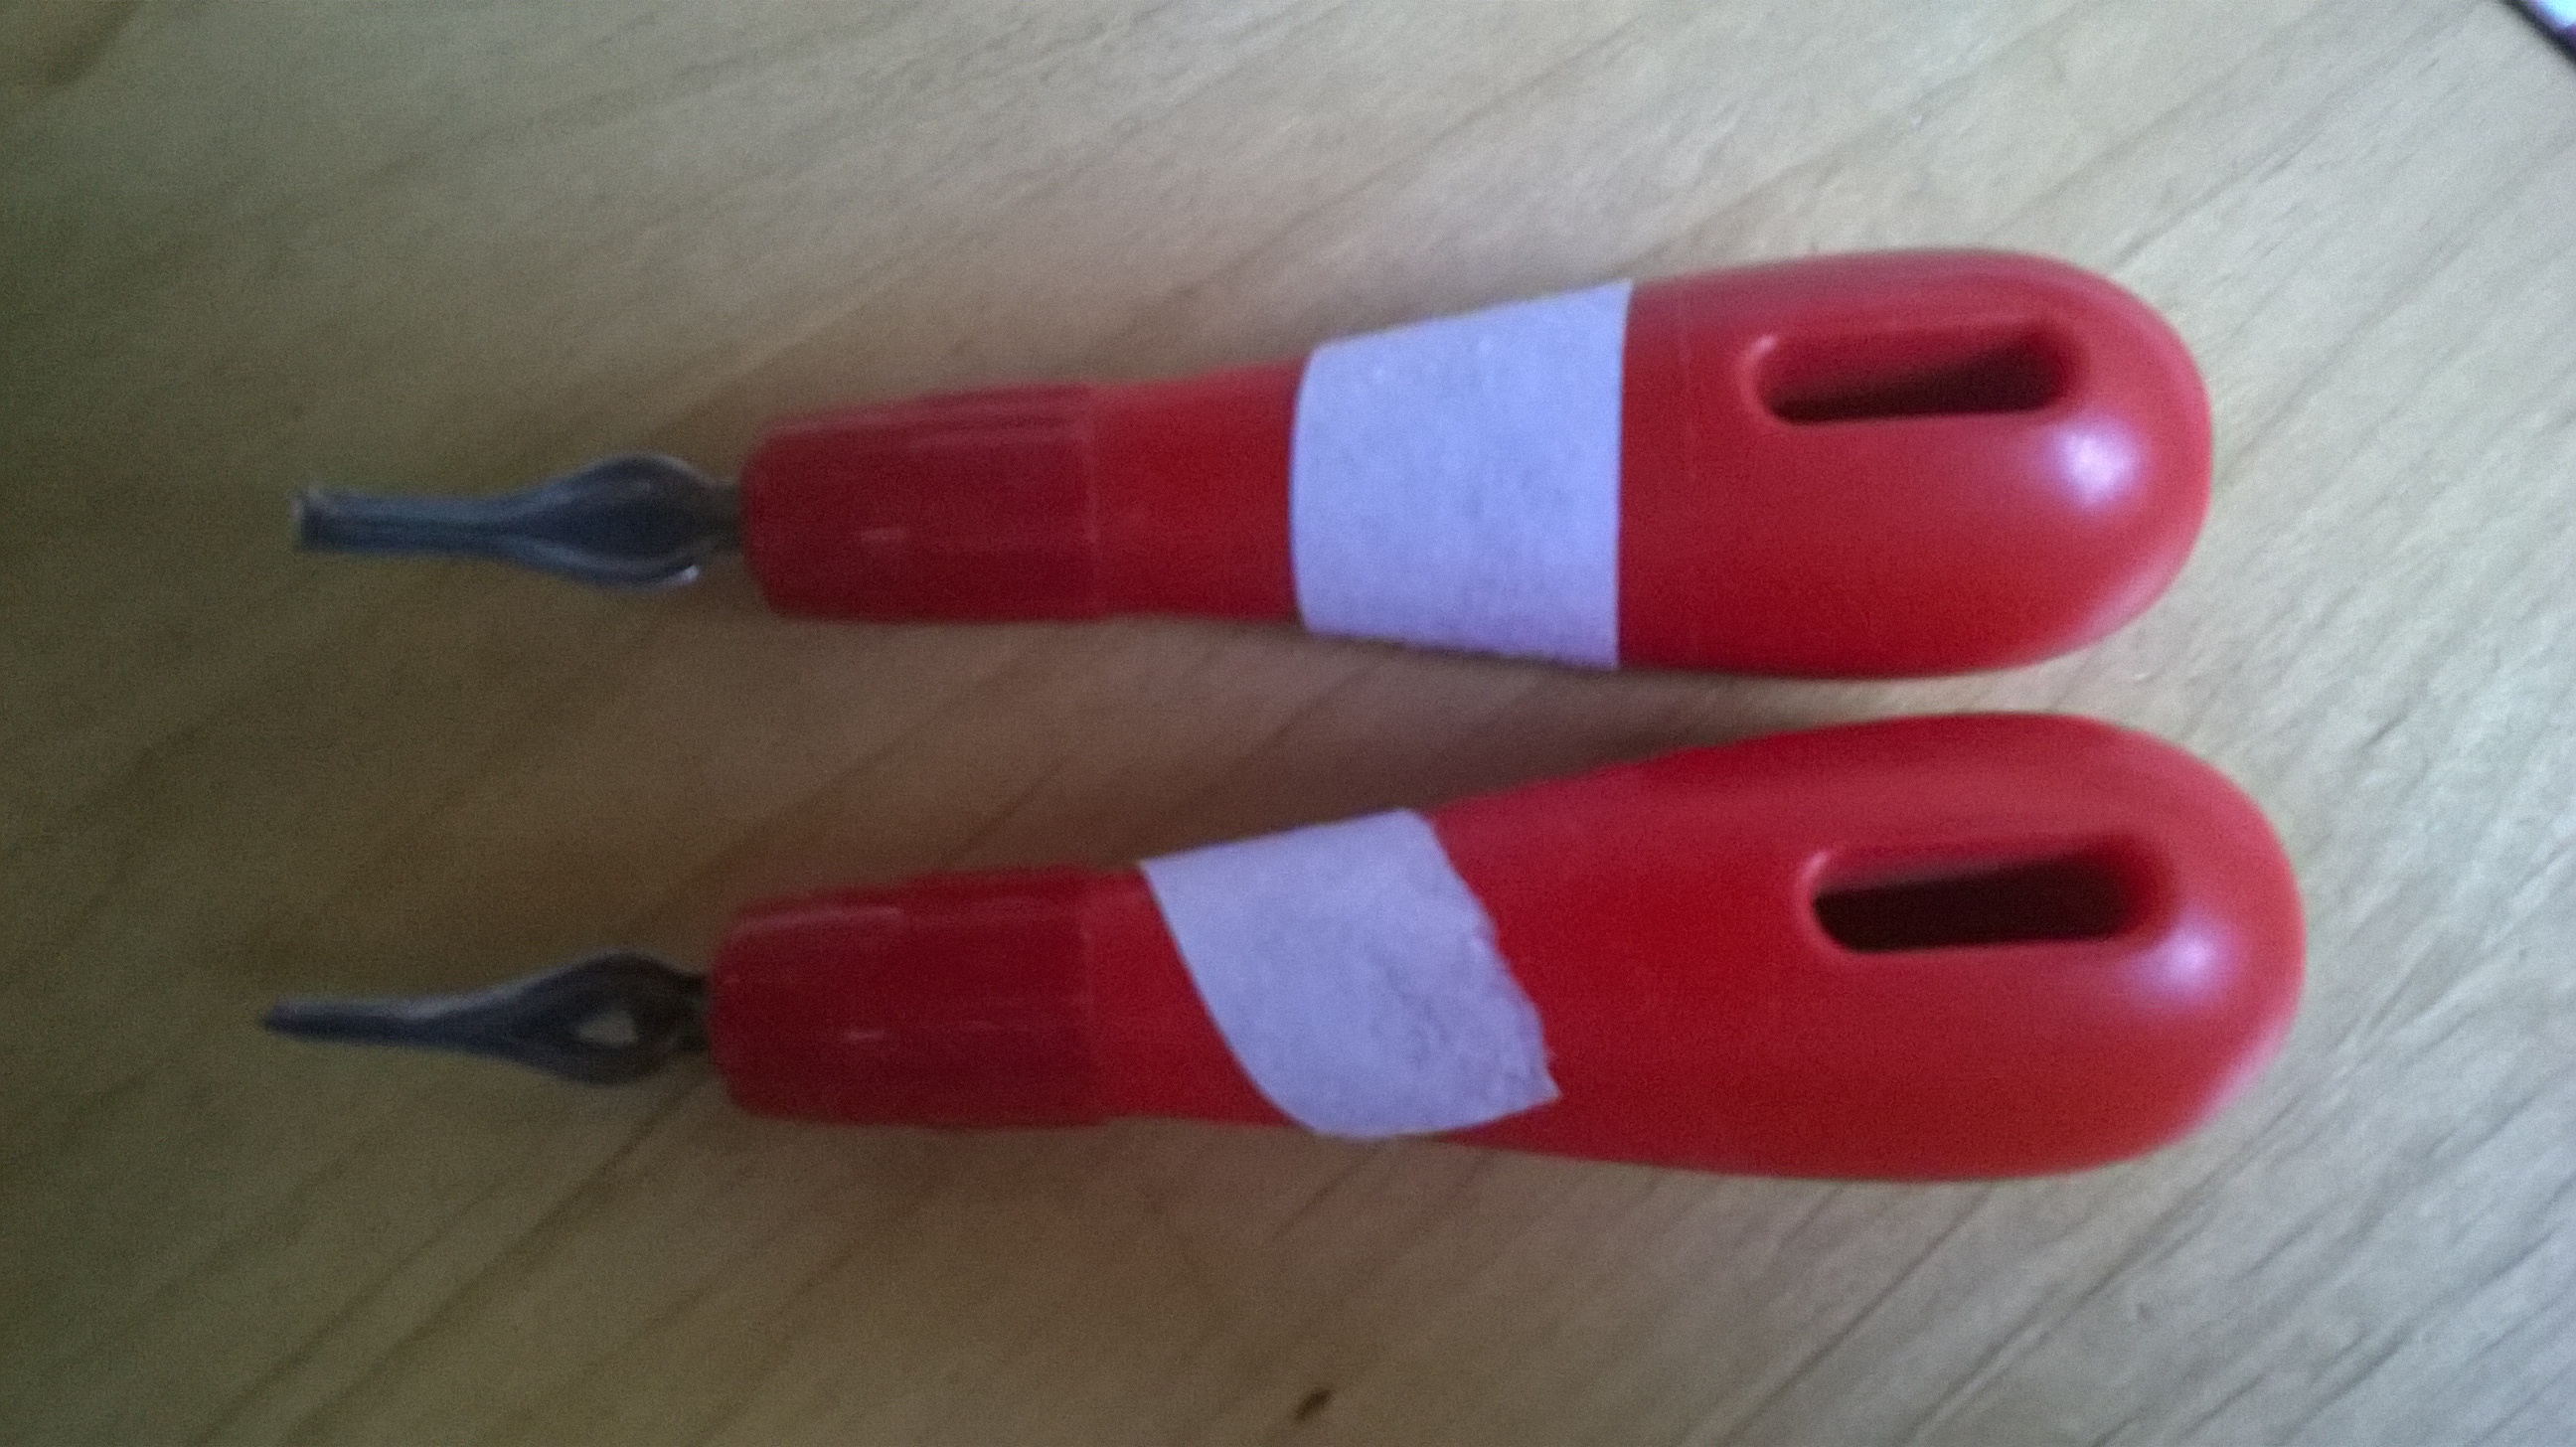
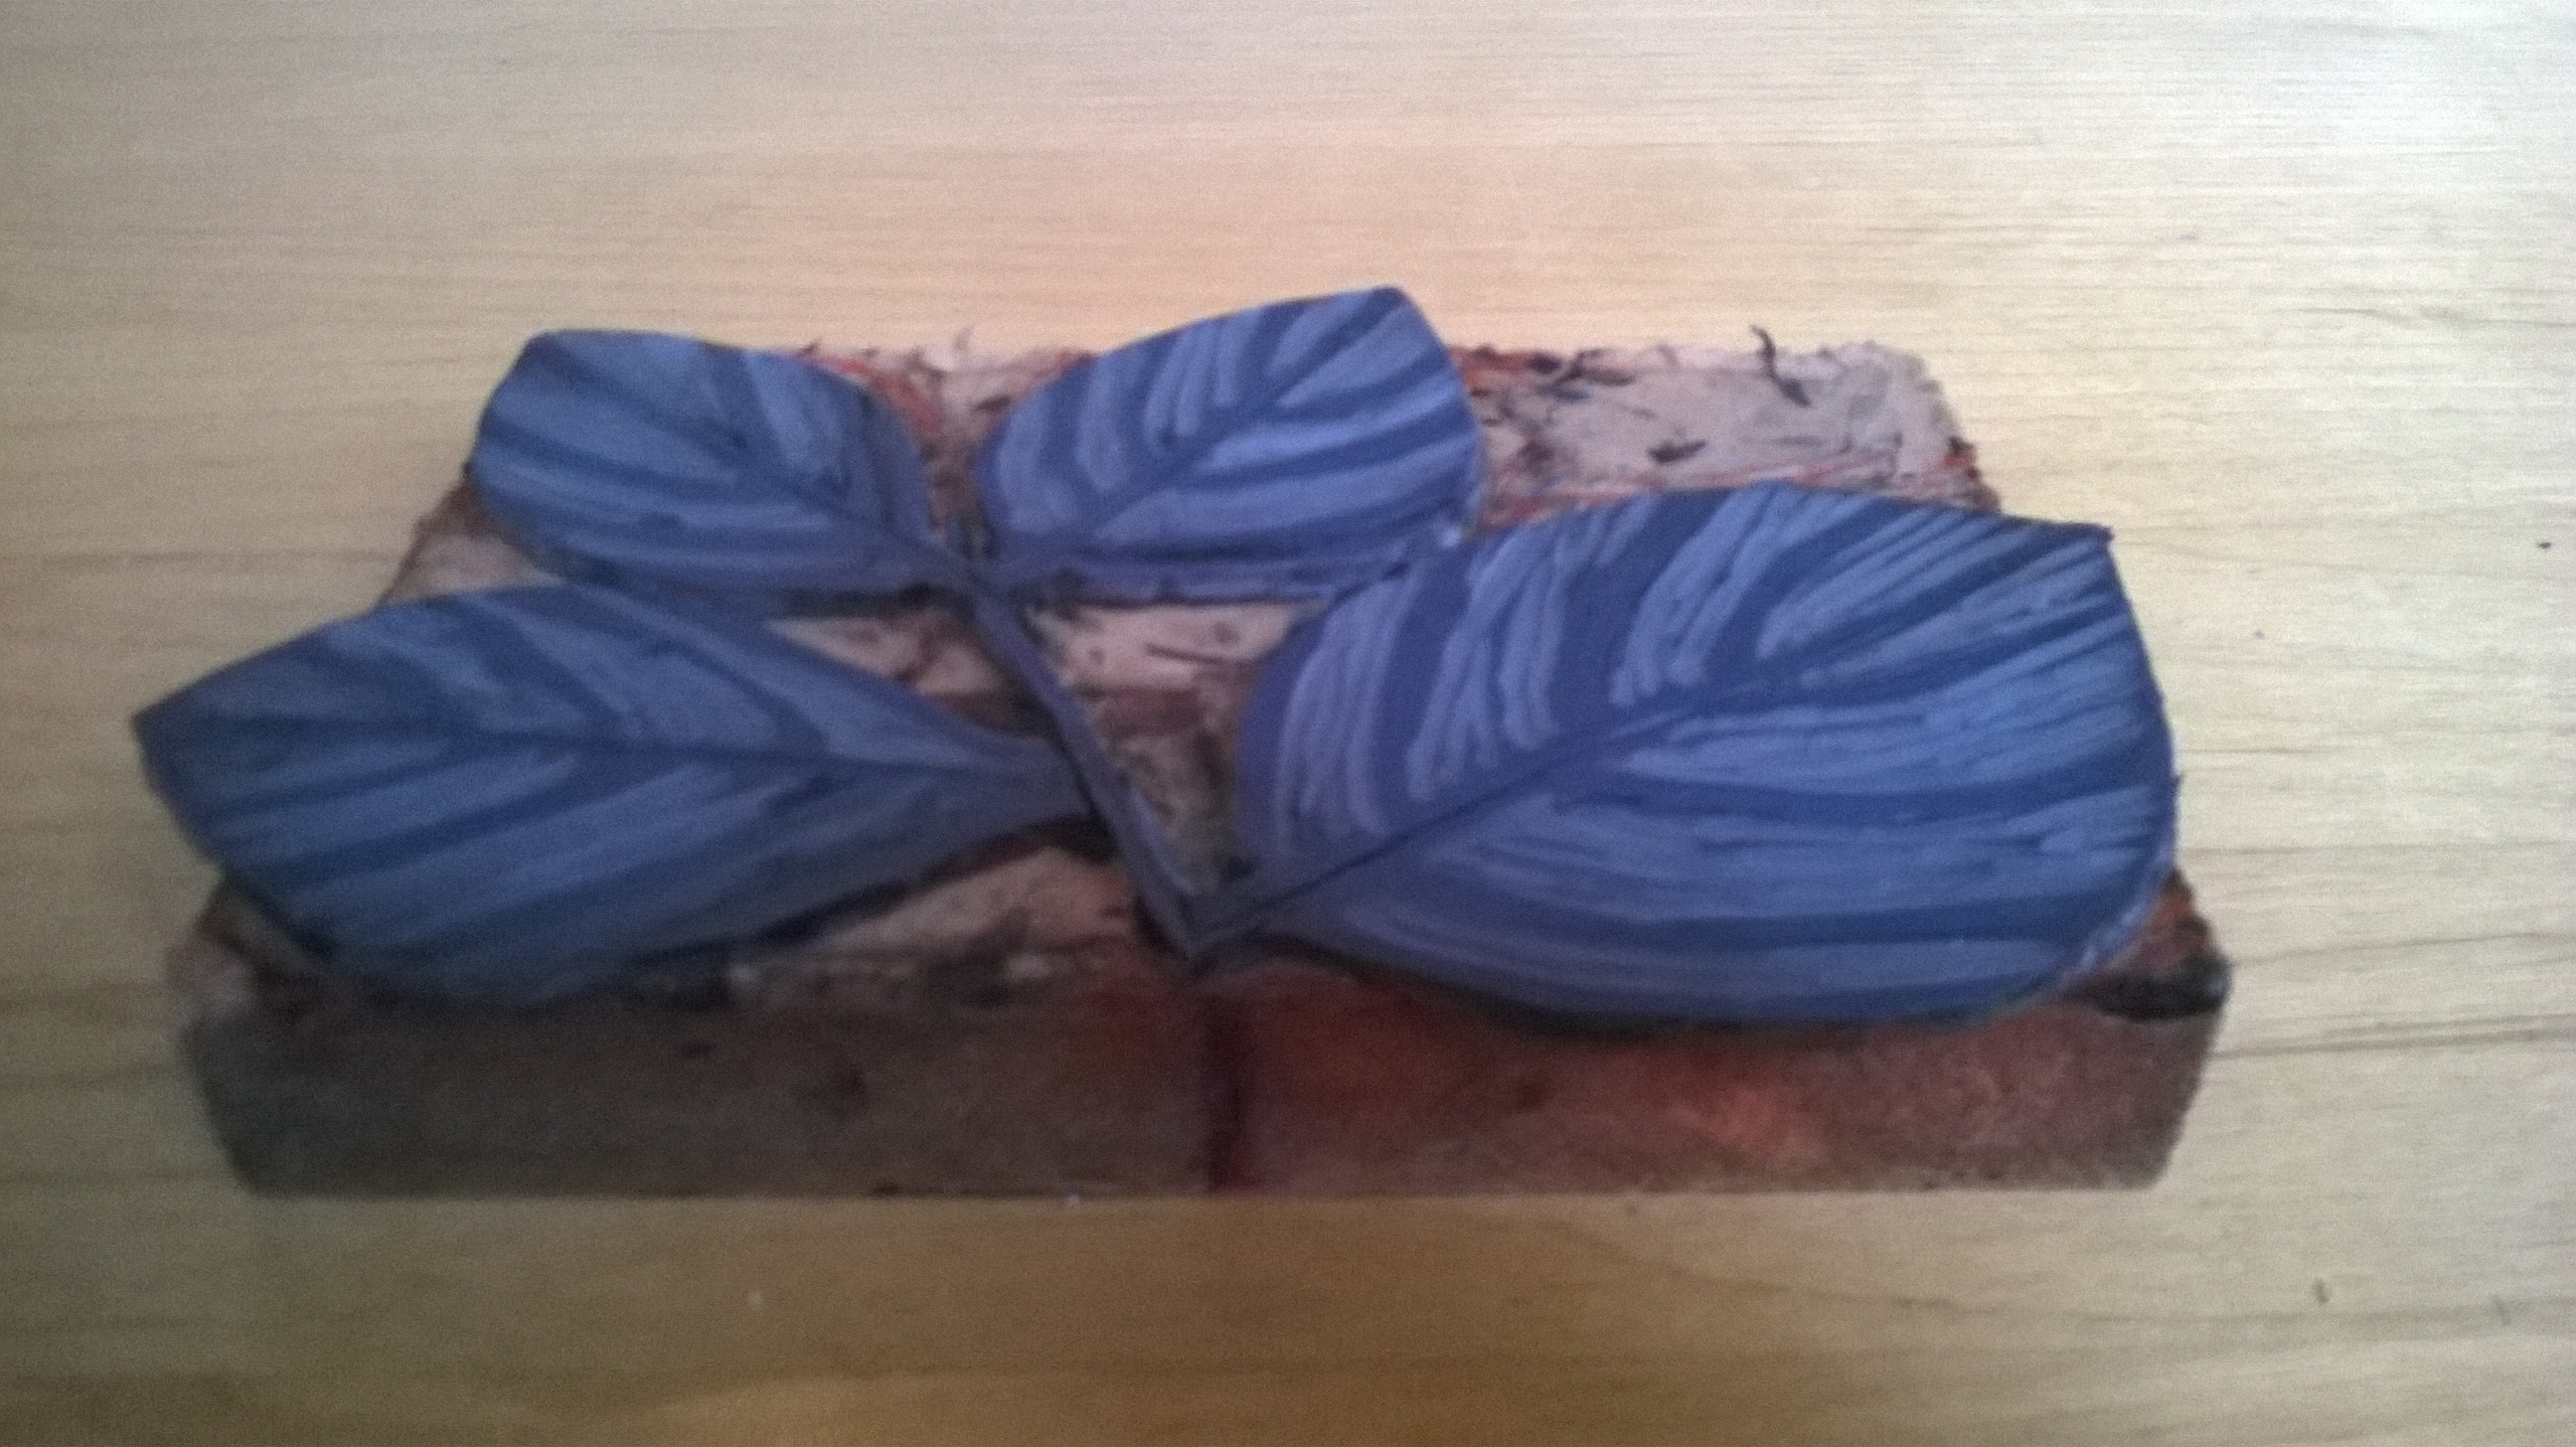
Next I made a lino cut (based on a rubbing of leaves found on one of the French campsites) by drawing directly onto the lino with pencil. The lino was cut out with two different lino cutters, one narrow and one broad and then scissors were used to cut round the leaf shapes The lino cut was attached to a block of wood with double-sided tape. The print was made with Speedball fabric paint (found in a skip!). The block was printed twice to make the design. Once dry, it had to be ironed for 3-5 minutes to ‘cure’ it.
Day 3 (the day before leaving for Birmingham) I washed the sample print in the machine with a piece of white cotton to be sure that (a) the blue dye wasn’t going to run and that (b) the print had remained – all fine.
Then came the pattern for the yellow dress, which I altered and then cut out.
After that, the blue dress was printed around the hem.
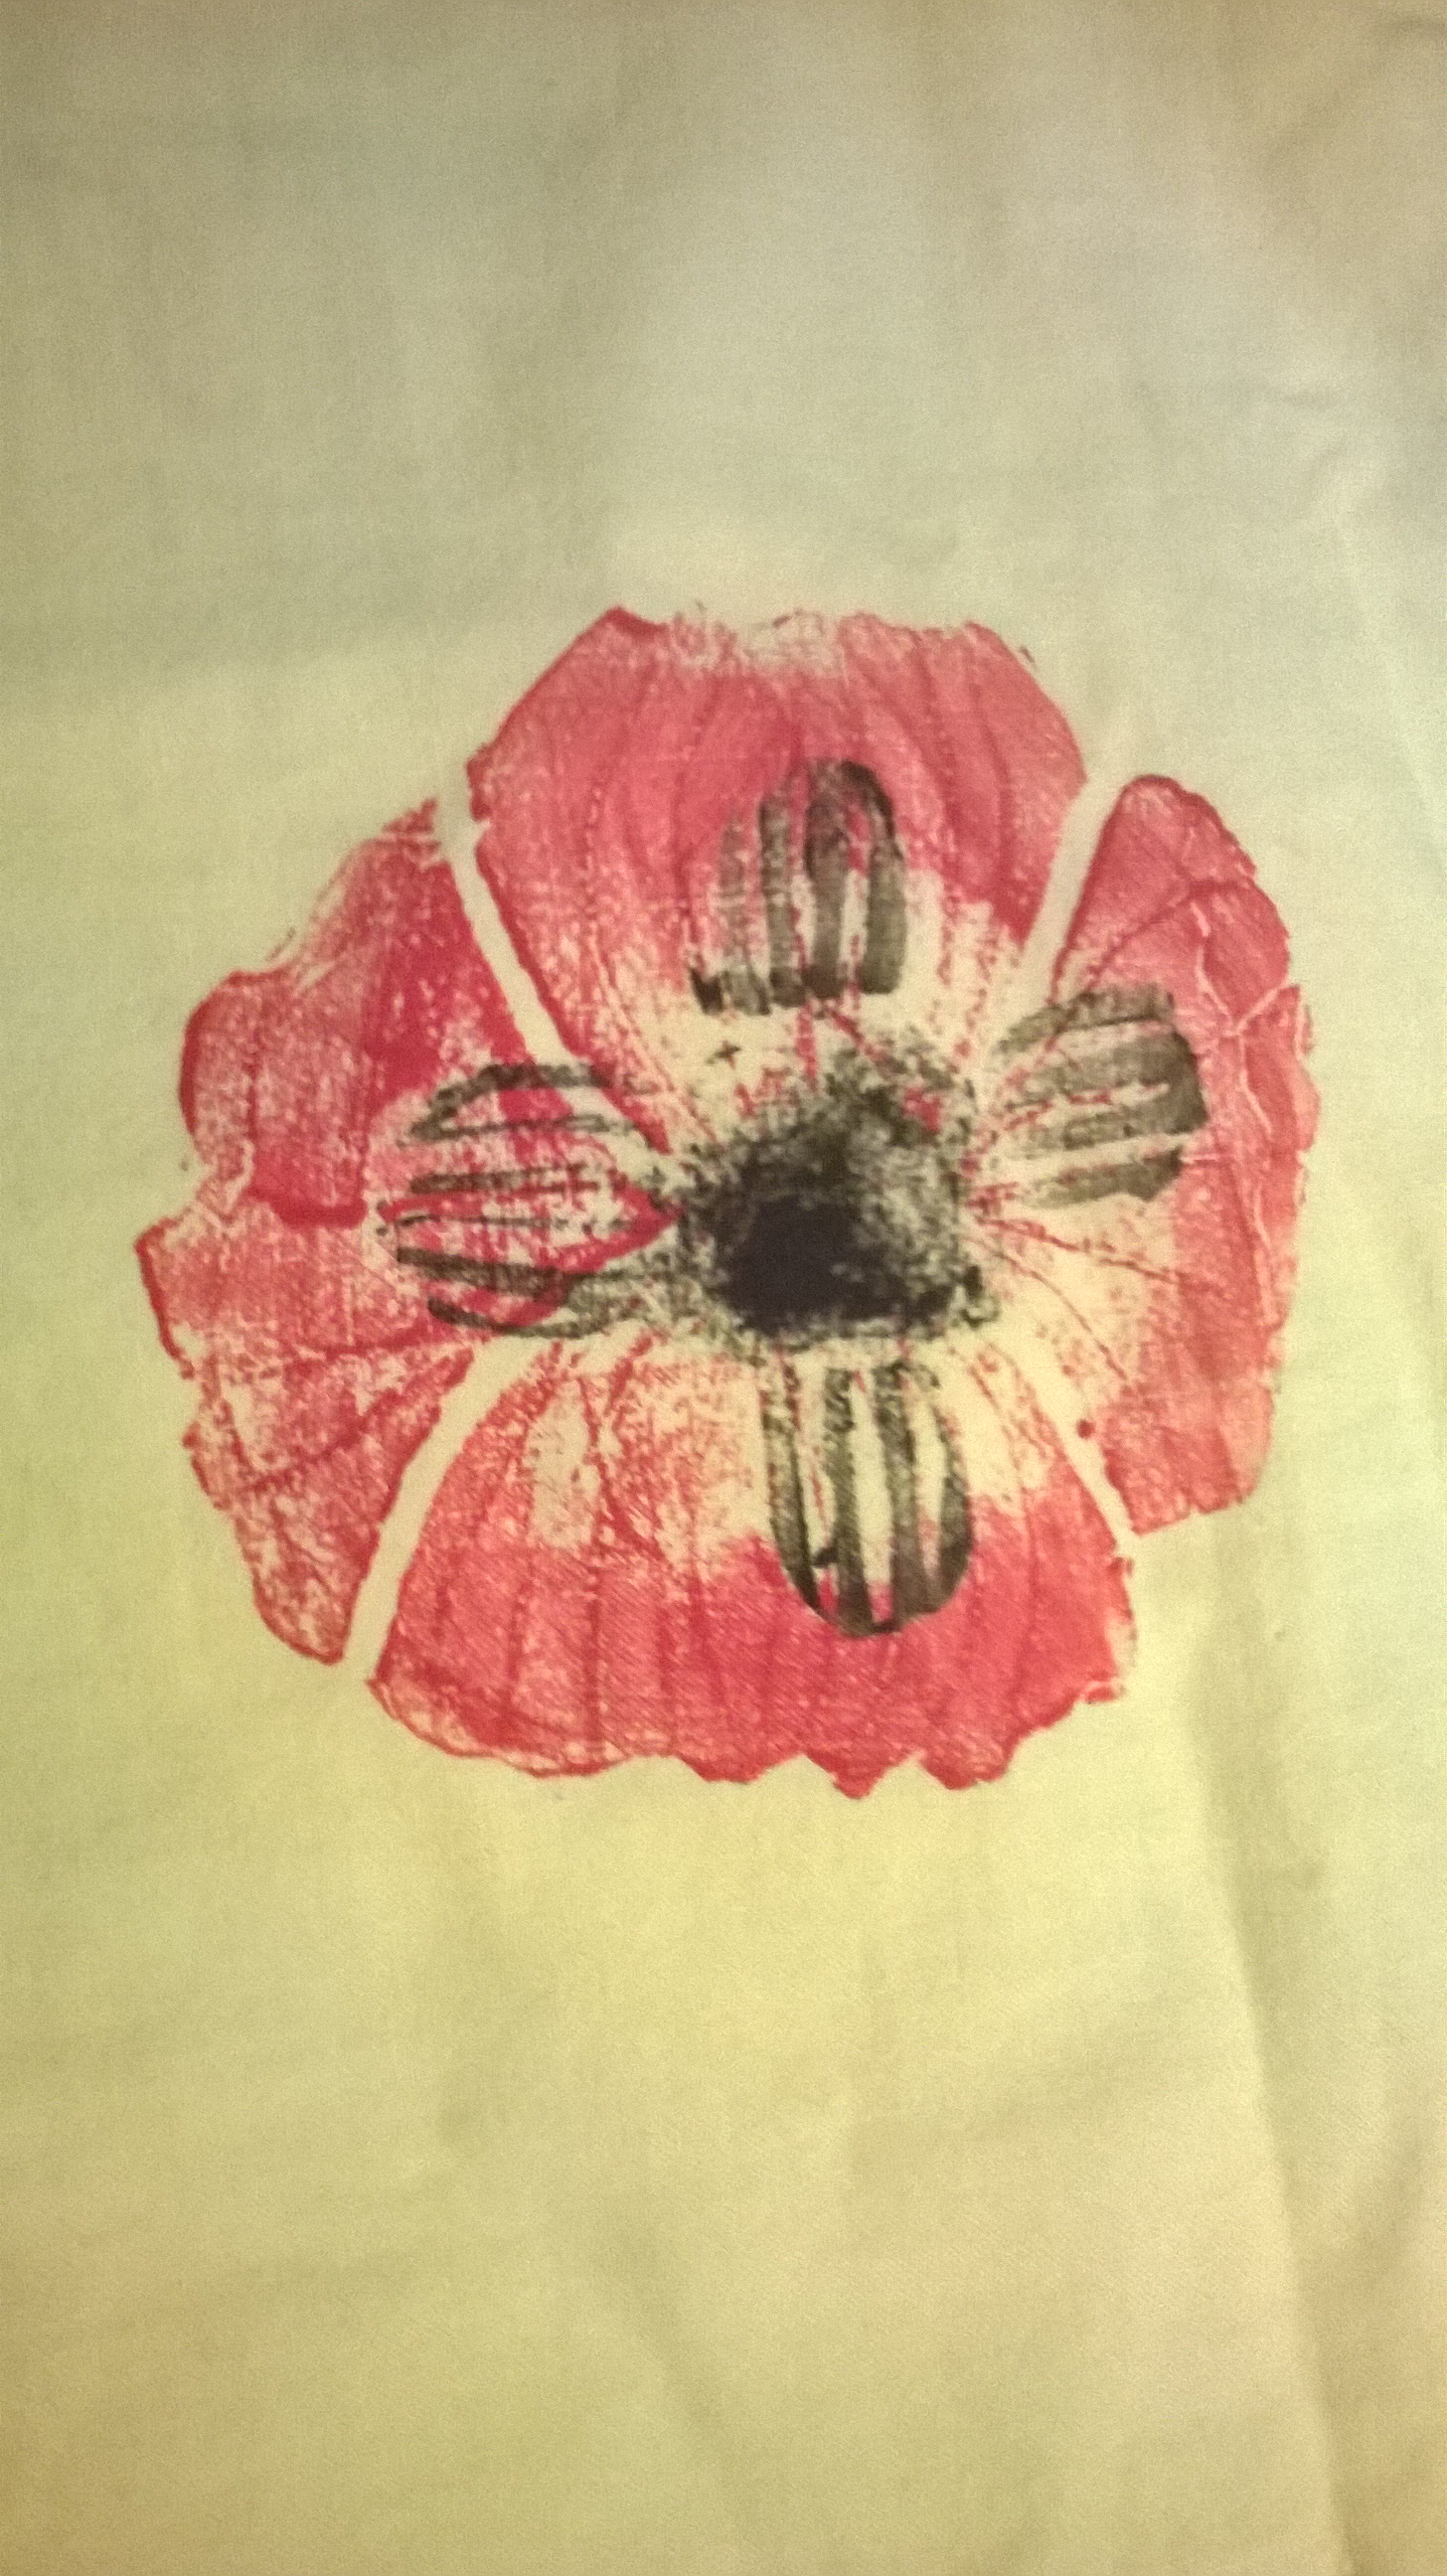
Two new lino-cuts were created for the yellow dress. This time, the lino was cut out with scissors, before using a lino-cutter to create lines. The resulting poppy design was printed onto the dress pieces, red first and then black.
Next, the red dress was cut out and all the pieces (including sleeves) were printed with a dark brown, which looks grey on the fabric, in a simple five-petal flower design. The printing block for this one was made by cutting the petal shapes out from lino off-cuts and sticking them to the block with double-sided tape.
At this point, a large amount of tidying up was necessary…
Time was running out for my challenge, so I sewed together the blue dress and most of the yellow dress during the evening.
Day 4 (in which I was due to travel to Birmingham) I got up early and sewed together the red dress, then packed all three dresses into a carrier with coloured thread and a sewing kit. I wasn’t driving, so the hem and bias binding sleeves of the blue dress were stitched in the car.
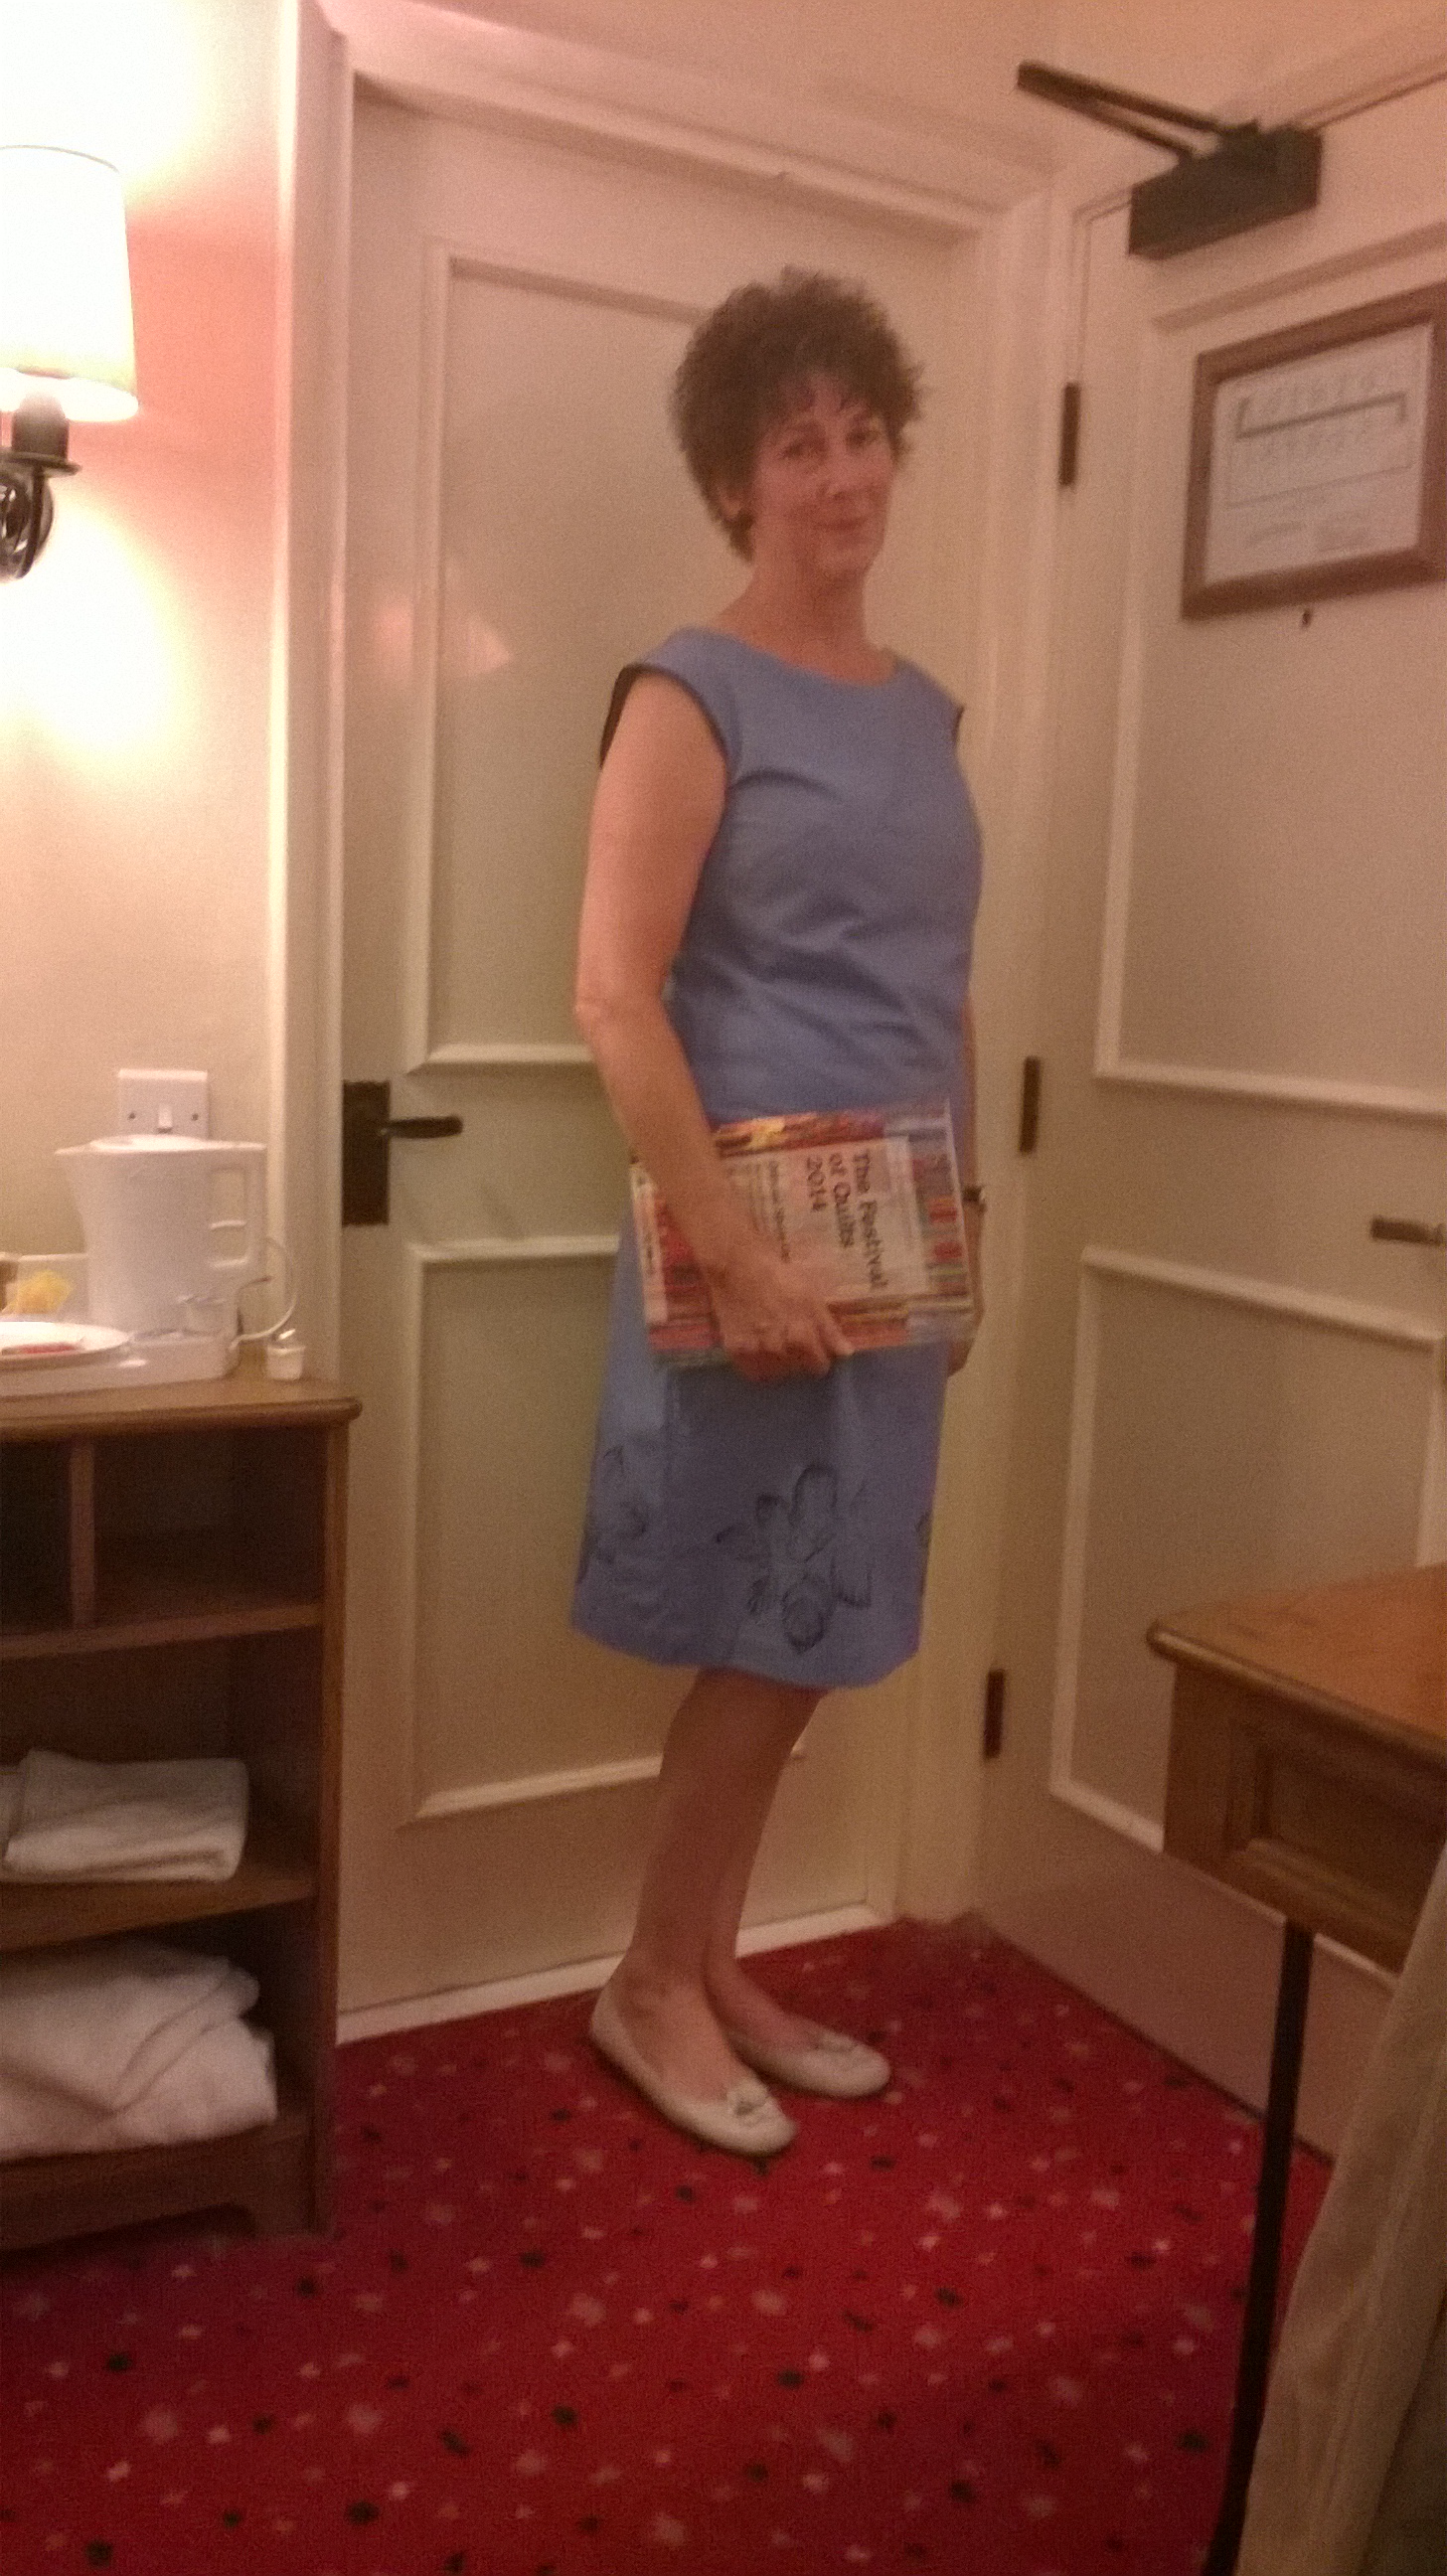
Day 5 wore the blue dress all day at the show. Finished the hem on the yellow dress in the evening.

Day 6 wore the yellow dress all day at the show. Finished the hem and sleeve hems on the red dress in the evening and early in the morning of day 7.

Day 7 wore the red dress at the show, including a visit to the wonderful ‘Colouricious’ stand, run by Jamie Malden – a fellow stitcher on a year-long course we did together a few years back. On her stall were gorgeous carved wooden stamps.

If you’d like a blog-post in your inbox each week, click the ‘Follow this blog’ button. For the monthly newsletter, with colour and design inspiration, tips, news and more, click here
Do get in touch, I would love to hear from you.
This is my ‘Little Leaf – yellow’ fabric design. You can find it here.
Thank you for reading my blog. Quilt patterns are here, Fabrics are here, Classes are here

Wow, what an adventure!!! You look great in all three dresses. Here’s to the next chapter! Well done with a very pro blog and website too. What a lady.
LikeLike
I love this blog!! Very informative and interesting!! Can’t wait to read more! The very best of luck with your new venture, I think you will be extremely successful. You have shown in this first blog, first adventure that you are truly a great, determined and creative artist!
Jen x
LikeLike
Great post and great dresses. Looking forward to seeing your future projects.
Sharon xx
LikeLike
Amanda, you are multi-talented and seem/seam to be multi-tasking massively all the time! Great Antiques Roadshow pics, and I love the emerging from the egg shot as you begin your new world of creativity. Lots of luck, love Pat x
LikeLike
Just spent a very happy hour reading your blog and looking at all the amazing things you have made. Feel privileged to have been there for the wearing of the dresses! Wow!
Kate x
LikeLike
Thanks ggreat post
LikeLike