
Many and varied are the requests that come in the ‘Amanda Jane Textiles’ office. It may not, then, surprise you to learn that I was required to make a pantomime costume over the festive season. The wearer was to have a starring role in an adapted version of ‘Alice in Wonderland’ and the costume had to be made in double-quick time. The role was ‘The King of Hearts’. You may well find yourself in need of a Fancy Dress costume, or may even be taking on a similar thespian engagement yourself, so here’s the low-down.
Fortunately, I had to hand a pair of discarded thick white cotton curtains, the type with rings riveted into the fabric at the top, (originating possibly from a famous Swedish store?). I cut off the top portion of the curtain, twisted the strip into a head-sized circle and stitched the ends in on the sewing machine. At the top, the double layer of fabric was cut into points and a ziz-zag stitch added to the edge. The the bottom edge was bound with a strip of red fabric. The hearts and circles were painted on with red acrylic paint (watered down slightly so it didn’t crack when it dried).

Next, I tried the curtain for size and cut it down the length, using one finished edge of the curtain and turning in a double hem on the unfinished side, so the final width was about 85cm.
The length of the costume needs to vary according to the wearer; I settled on a total length of 204cm, so it hung 102cm from shoulder to hem on front and back. I made sure both ends were finished with a double hem.
Next, the rectangle was folded in half lengthways (to make a front and a back). I joined the front and back by stitching the two sides together, with a seam measuring 56cm up from the bottom hem, ensuring that both lots of material were caught in. This left a good-sized arm-hole (allowing for lots of expansive theatrical gestures)!
I then folded the rectangle again, this time widthways, to find the centre of the neck and I cut out a small quarter-circle shape through all four layers (caution! an apparently smallish quarter-circle will make quite a large circle, so cut with care).
Then I bound the edge with a scrap piece of red fabric (bias binding would work well, too).
The King of Hearts is a playing card (I hope I’m not giving too much away for those who haven’t yet read Lewis Carroll!). I therefore added a detail to the shoulders so they would stick out and the card-shape would remain rectangular. I used some left-over net curtain wire, cut it to size with wire-cutters and inserted it into a channel of fabric stitched under the shoulder.
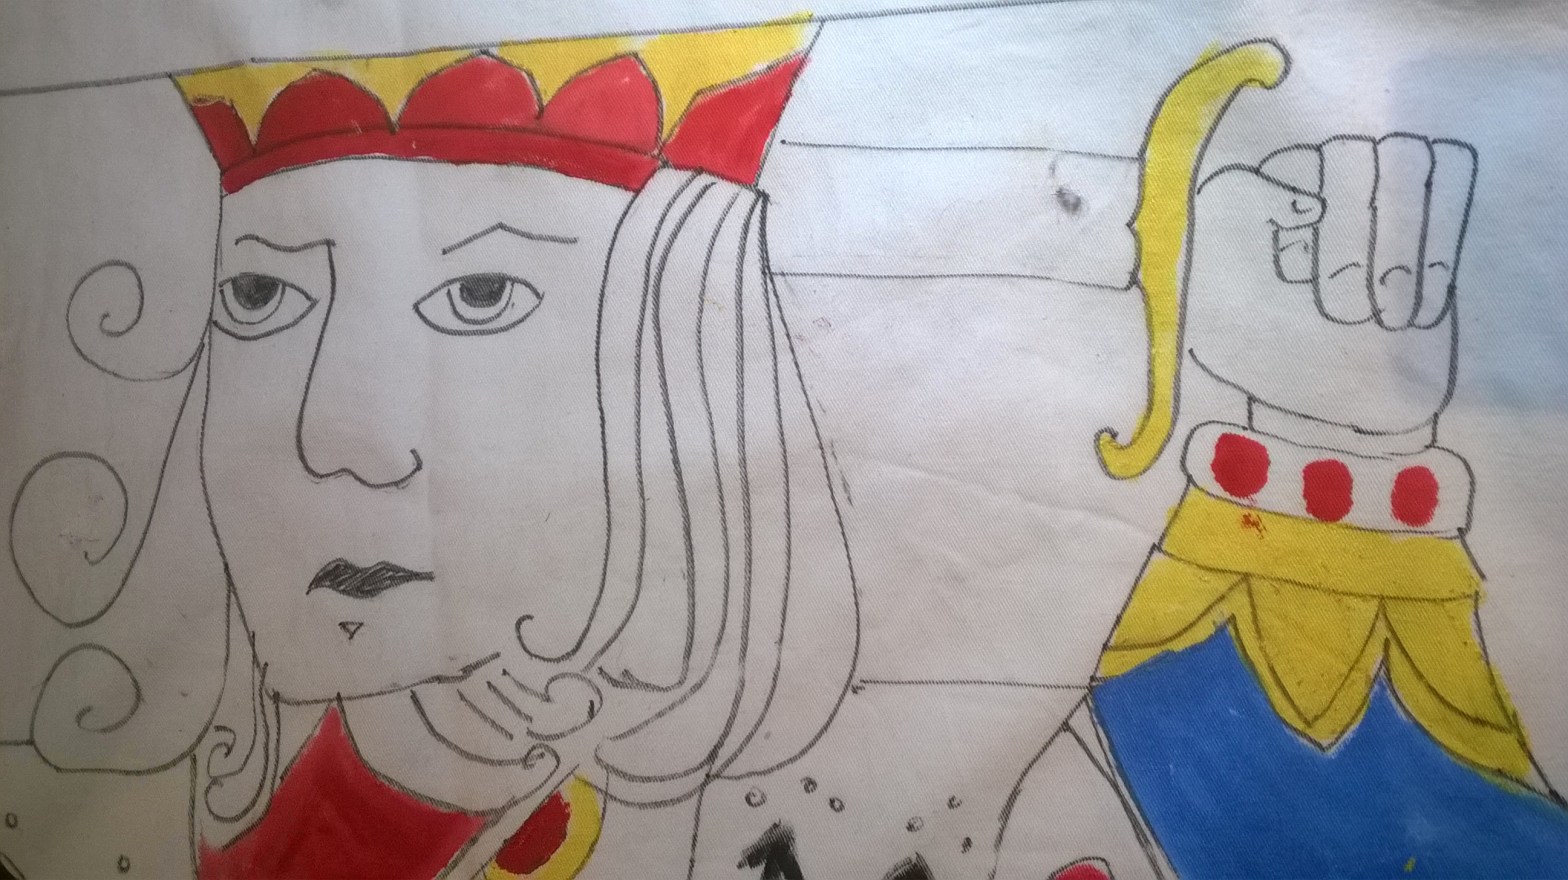
Next came the decoration, which was based on an actual playing card. The frame went in first, in pencil, with the K and heart shape in each corner. The two halves are a mirror image, so the mid point needs to be measured and drawn in.
I then started with the King’s face and sword arm and worked down to the waist. I used a large piece of tracing paper to trace the face I had drawn, turned the fabric upside down and traced it off. I did the same with the sword and then filled the other decorative details in by eye. I used pencil for the first drawing, then quickly went over the line with a waterproof black pen.

Acrylic paint in red, yellow and blue was used to colour in the design. The paint was watered down slightly (see above). It was then left to dry.

The final costume was worn over a long-sleeved white T-shirt, red tights and red and white striped socks. A curly red wig (purchased for the princely sum of one pound) provided the final touch.
‘Amanda Jane Textiles’ likes to provide complete confidentiality for clients, so I’m not at liberty to show the costume in performance. You might enjoy making your own costume though – if you do, let me know.
If you would like to follow my weekly blog, click the ‘Follow this blog’ button.
If you would like to receive my special monthly newsletter, complete with colour inspiration, design inspiration and more, click here
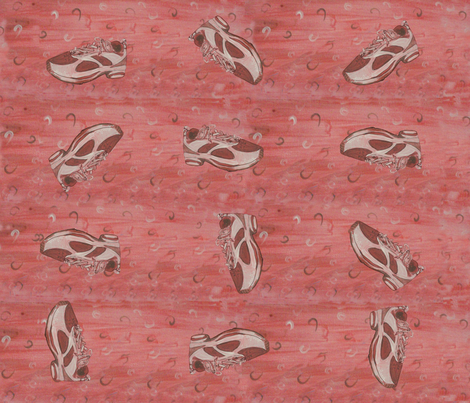
This is my ‘Fitness’ fabric design. You can find it here.
Thank you for reading my blog. Quilt Patterns are here, Fabrics are here, Classes are here
