You’ll know, if you have followed this blog for any time at all, that I am becoming increasingly conscious of the eco-friendly qualities (or otherwise) of the materials I use for quilt-making. I am trying to use only natural fibres, because of my grave concern about the issue of micro-plastics in the ocean and of fibres going into landfill that cannot biodegrade (such as polyesters).
I now only use wadding made from 100% natural fibres. Using cotton wadding poses a dilemma for the quilter. Most manufacturers tell you not to machine wash your wadding before use. They also tell you to expect a certain percentage of shrinkage when the finished quilt is washed, encouraging you to embrace a ‘vintage’ slightly wrinkly look. I’m not so keen on that idea and want my quilt to look exactly as I planned it, so I pre-soak my wadding. This is how I do it.
This is one of the brands of wadding I use. It arrives folded along its length and then rolled.

Out of it’s plastic wrapper (which I re-use for other purposes), it looks like this. If you are buying wadding by the yard you will need to fold it along its length until it looks something like this.

Next I fill a bath with barely tepid water, to a depth of about eight inches (20cm).

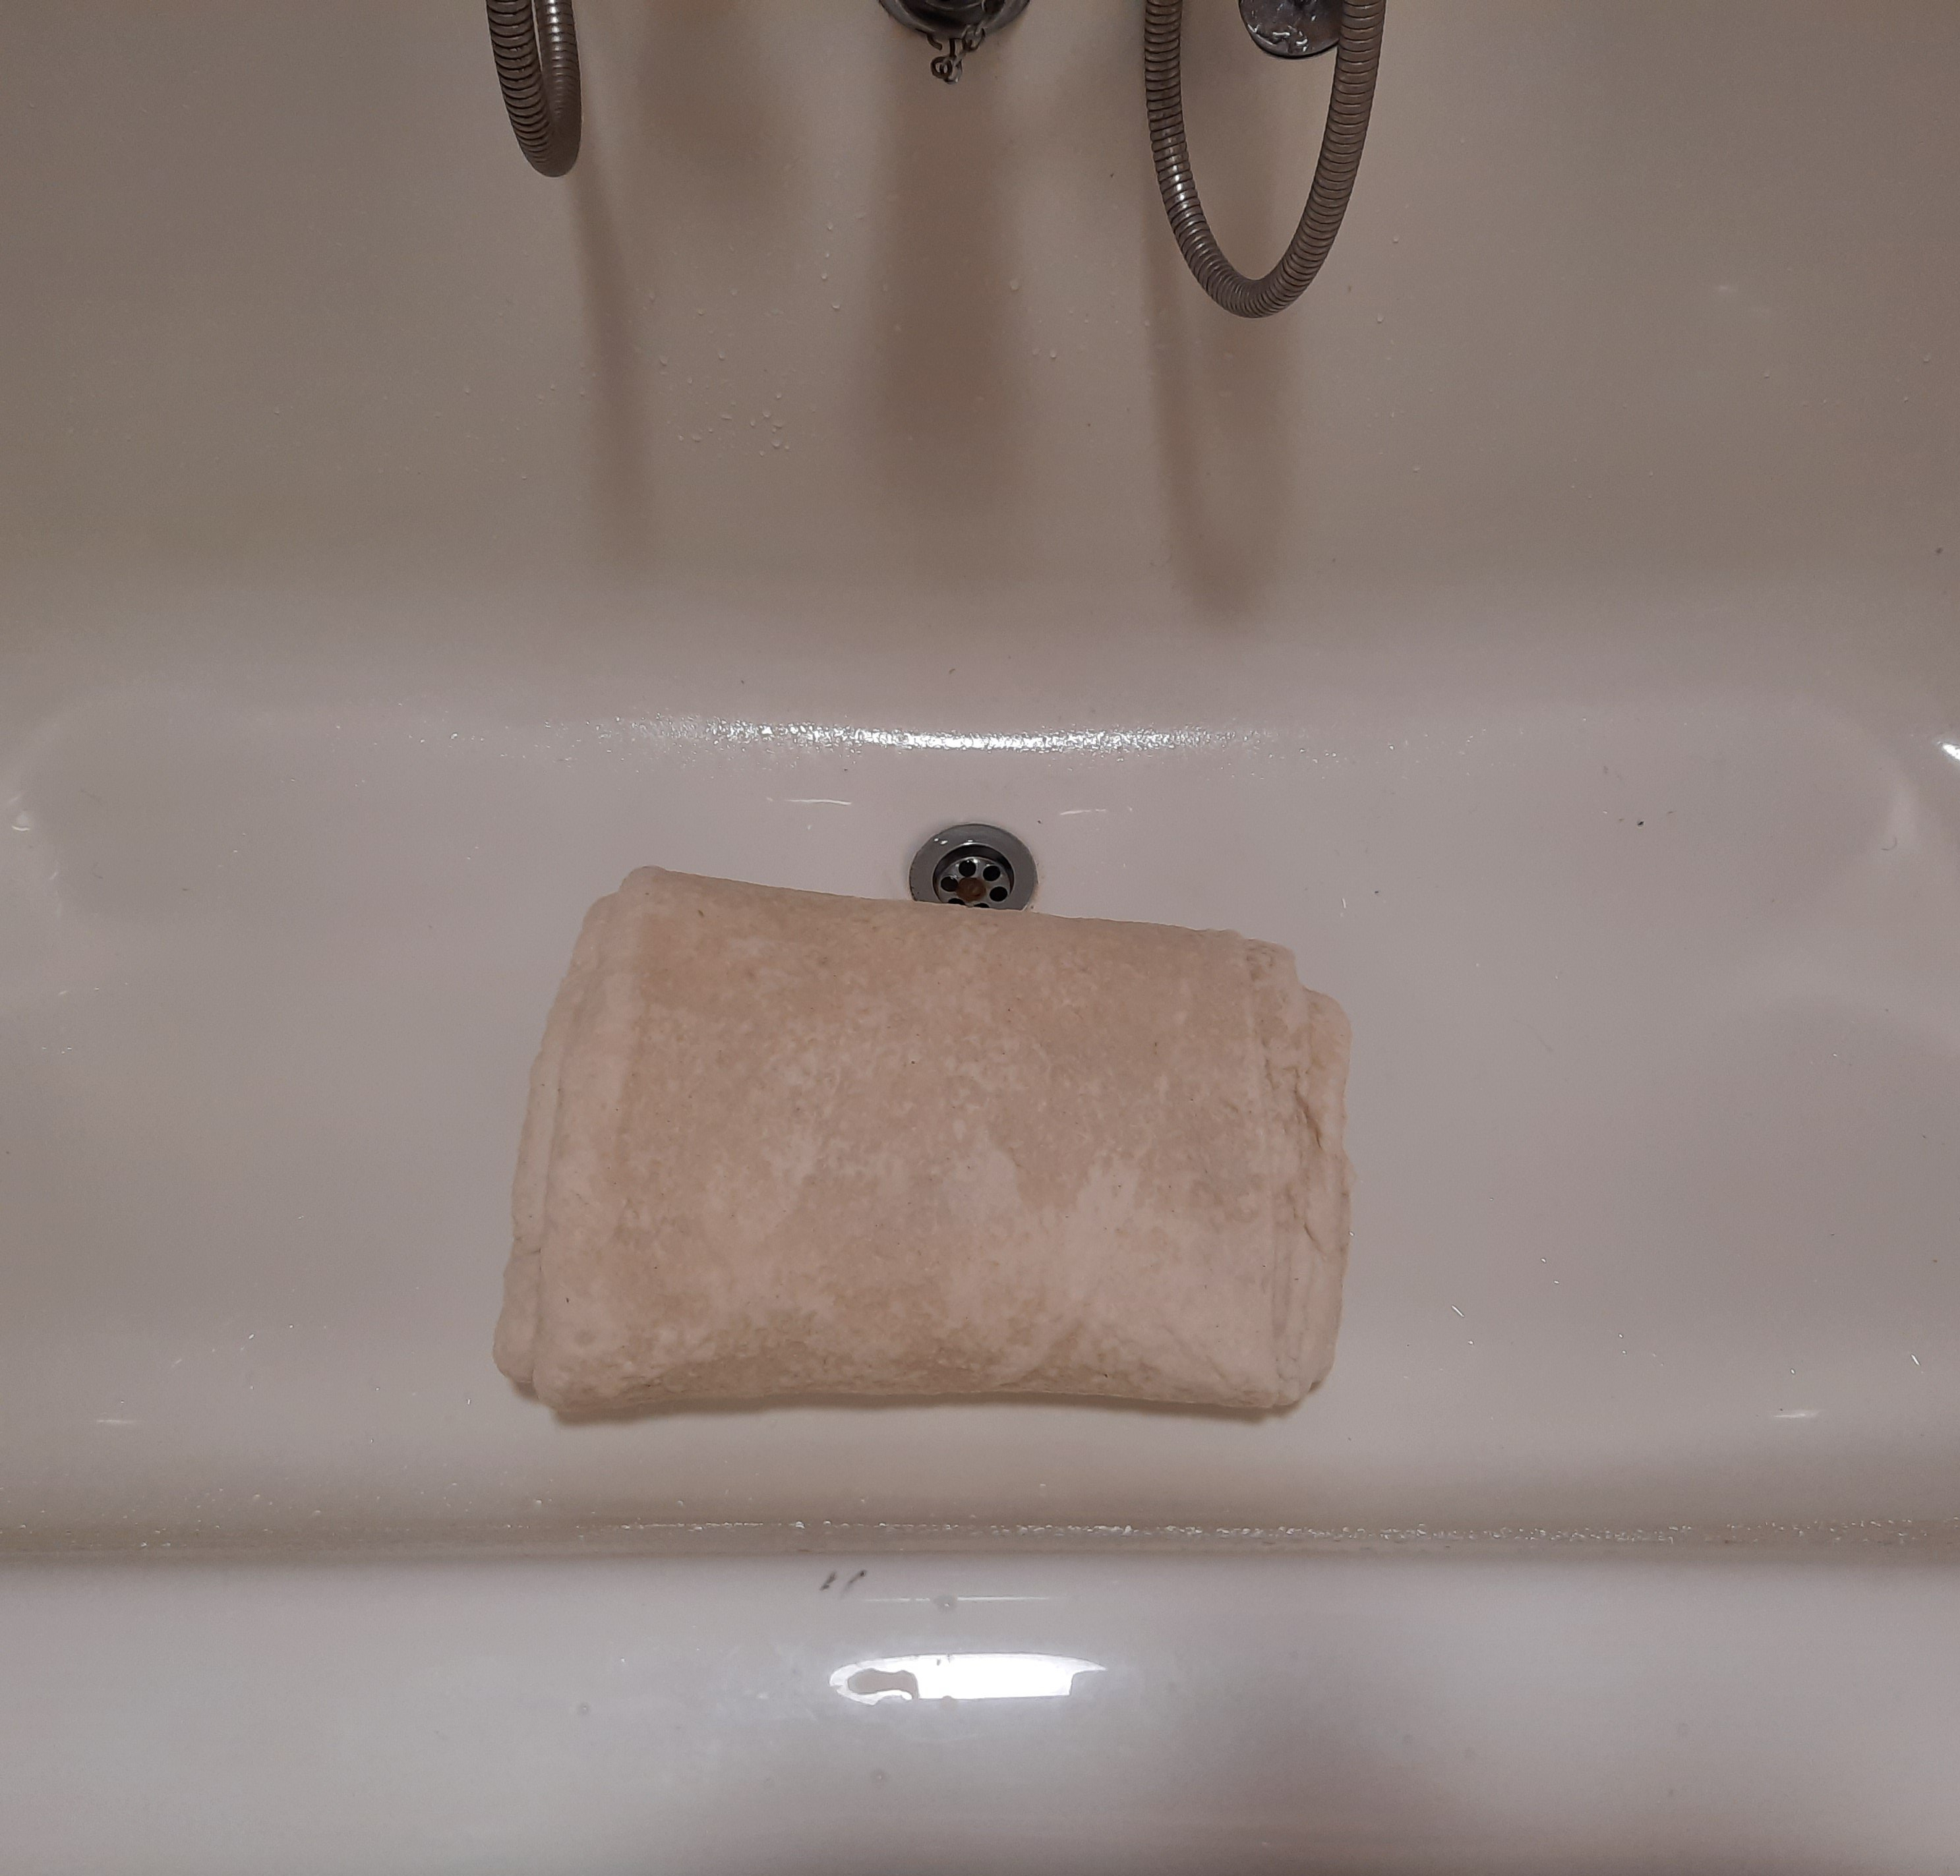
I put the long, folded piece of wadding, doubled over once, as shown, into the water and press it down below the surface of the water. I ensure that the water reaches all the layers of wadding, without manipulating the wadding too much. Then I set a kitchen timer for ten minutes.

At the end of that time, I let the water out of the bath and then gently fold the the piece again and press out the water.
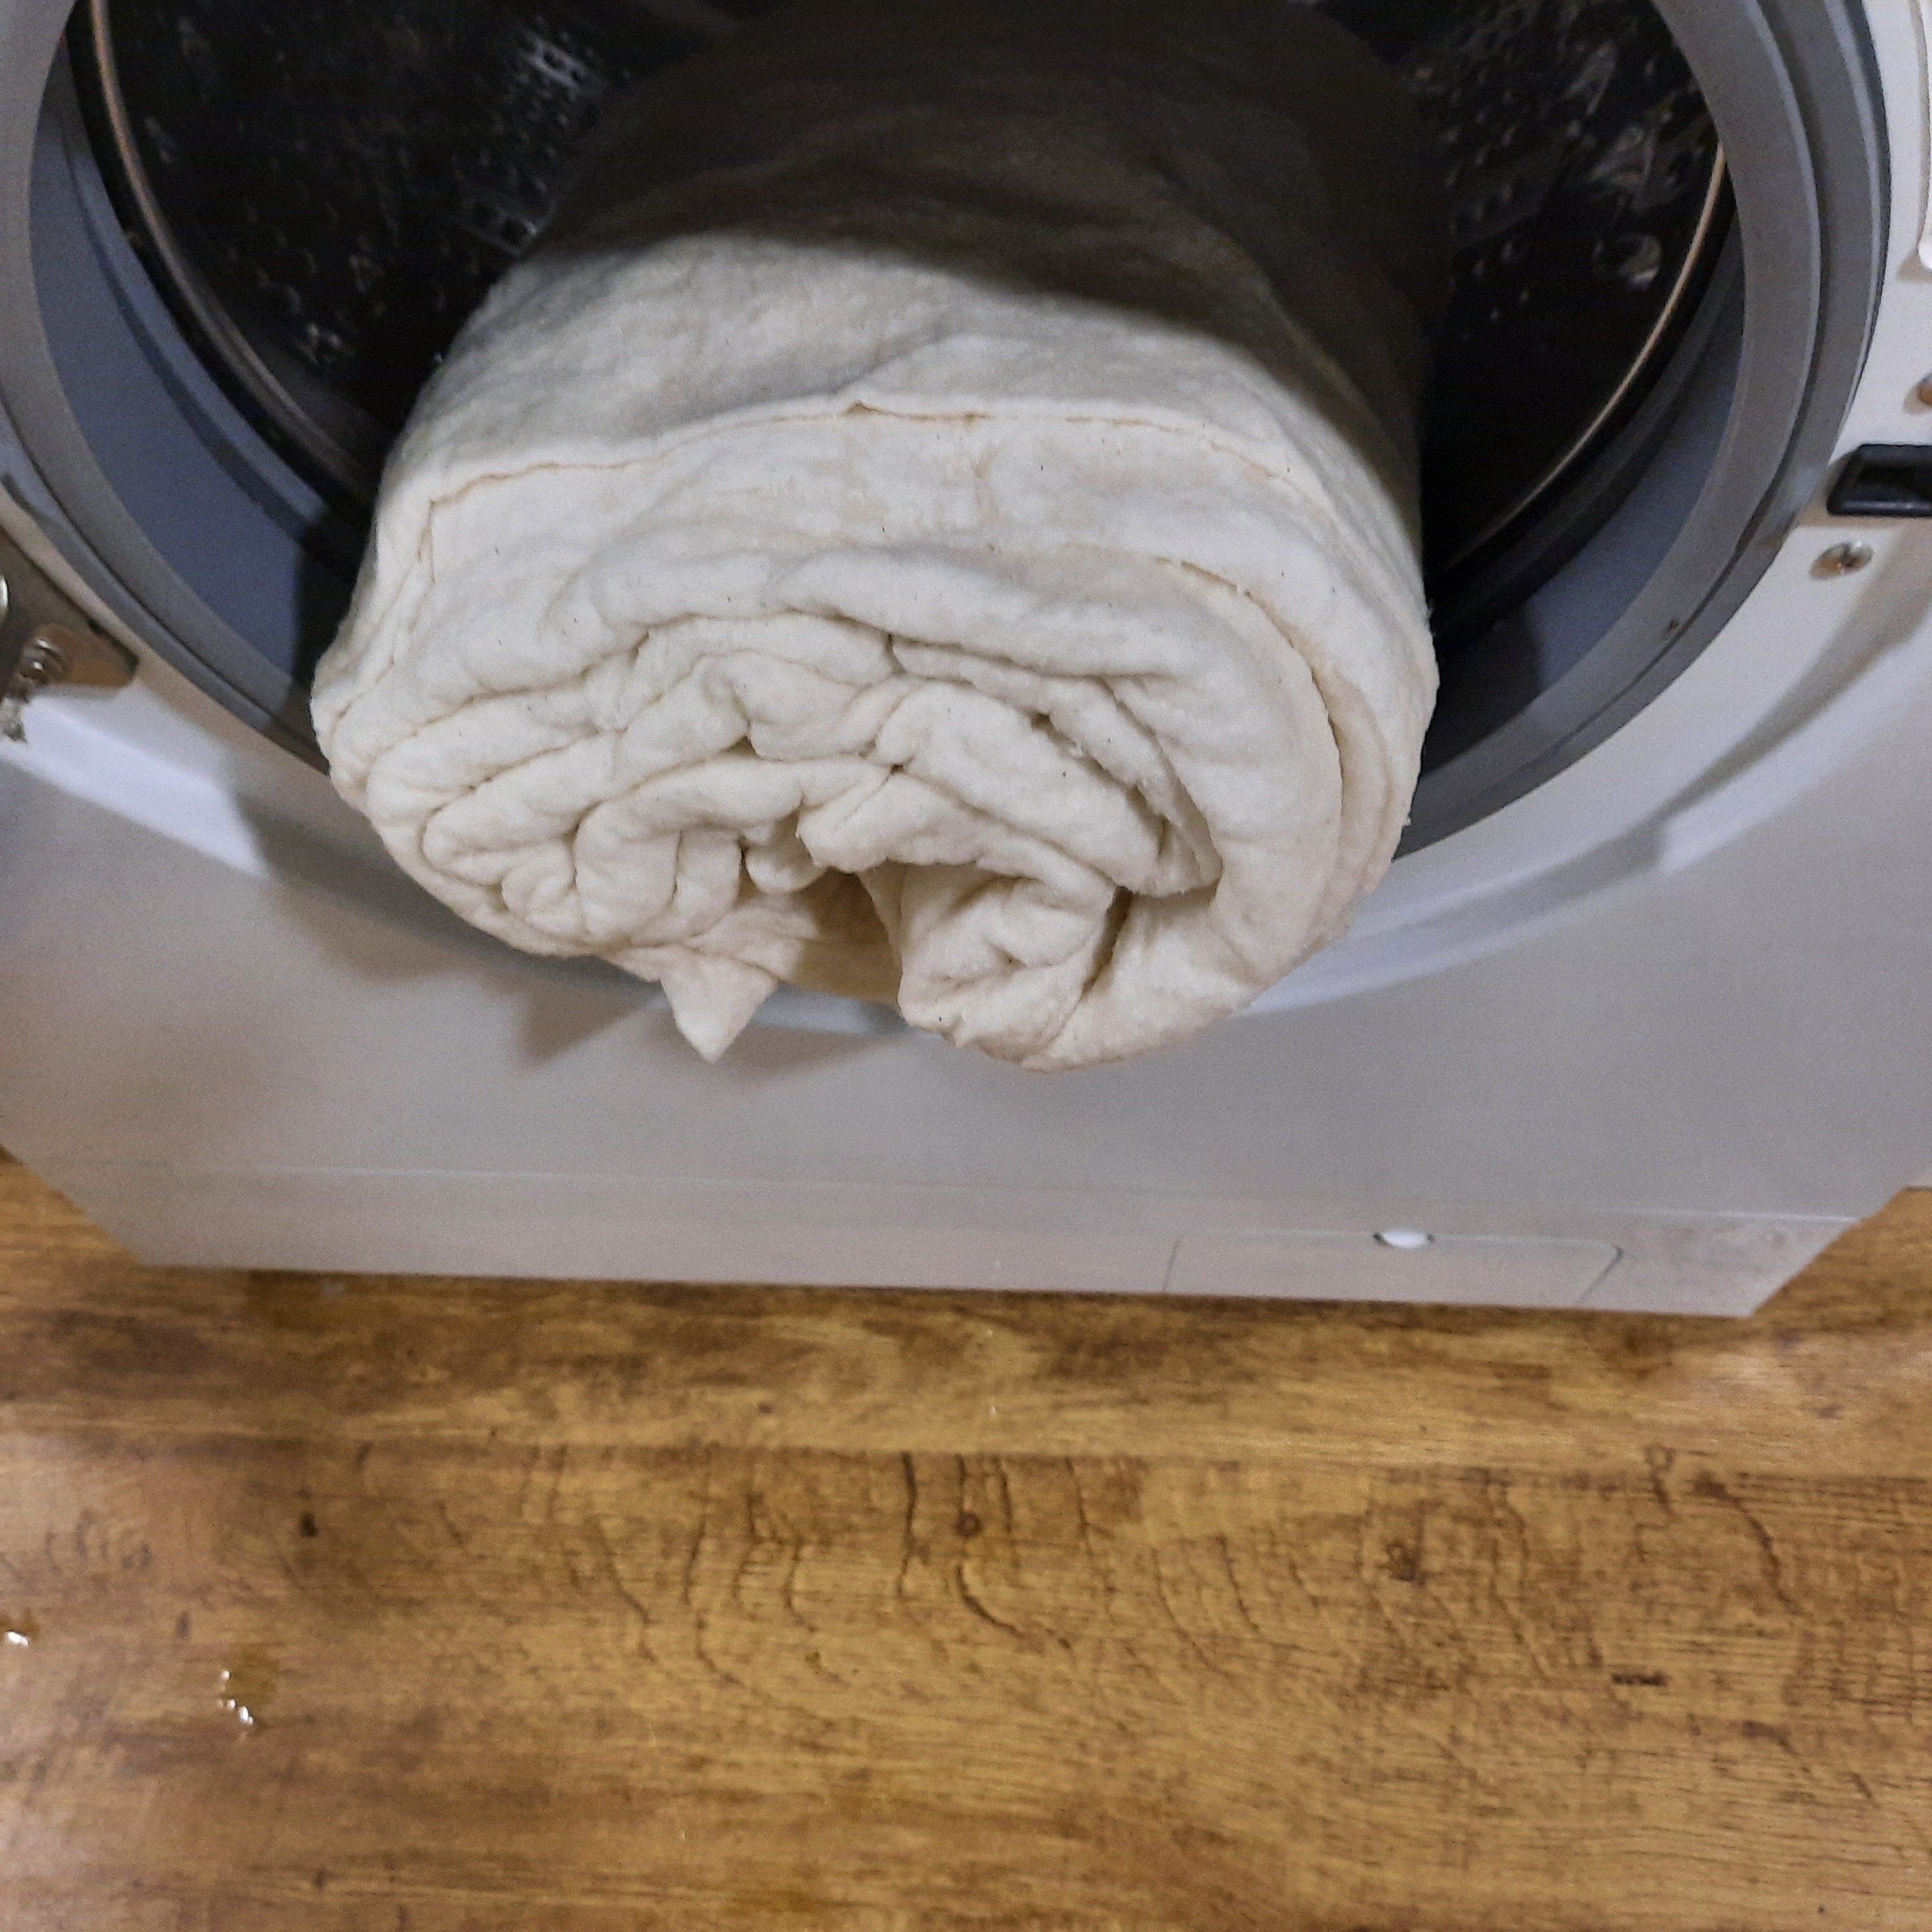
I lift the wadding carefully out of the bath and put it straight into the drum of my washing machine. I unfold the wadding back to the ‘long folds’ stage (as in photo 2) and curve it round the inside of the drum. I set the program to ‘Spin’, which on my machine takes 13 minutes. The shorter and gentler the spin cycle, the better.

This is the wadding as it comes out after the spin cycle. It is still intact and without any stretching or damage. I dry it, still in the ‘long folds’ shape on a flat laundry dryer.
I have had no problems at all with this method and I am happy to be able to use natural materials without having to become wrinkly!
Thank you for reading my blog. Quilt patterns are here, Fabrics are here, Classes are here and quilts for sale here
Click the ‘Follow’ button to get a blog-post by email each Monday and click here if you would like the monthly newsletter with design and colour inspiration, etc.
This is my best-selling fabric design ‘Quilt Labels’. Buy them here

