
This week my niece (whose son was born prematurely) forwarded to me an Instagram post from the Early Birth Association. Here it is:

I am already involved in making quilts for premature babies, so this drew my attention. I contacted the Early Birth Association to find out more. According to their website (details at the end of the post) “the EBA is run by a group of volunteer parents and family members who have had premature or unwell babies… The Early Birth Association makes a positive difference for babies, families and staff in Neonatal Care at the Trevor Mann Baby Unit at the Royal Sussex County Hospital in Brighton, and the Special Care Baby Unit at the Princess Royal Hospital in Haywards Heath.”
The Instagram post is asking for ‘Bonding Squares’ which can be used with mothers and babies who may be separated while the baby is in Special Care. I learned that “They help mum & baby to bond by smell in cases where they can’t physically be together. The families really treasure them and always keep them when they go home in their keepsakes bag.”
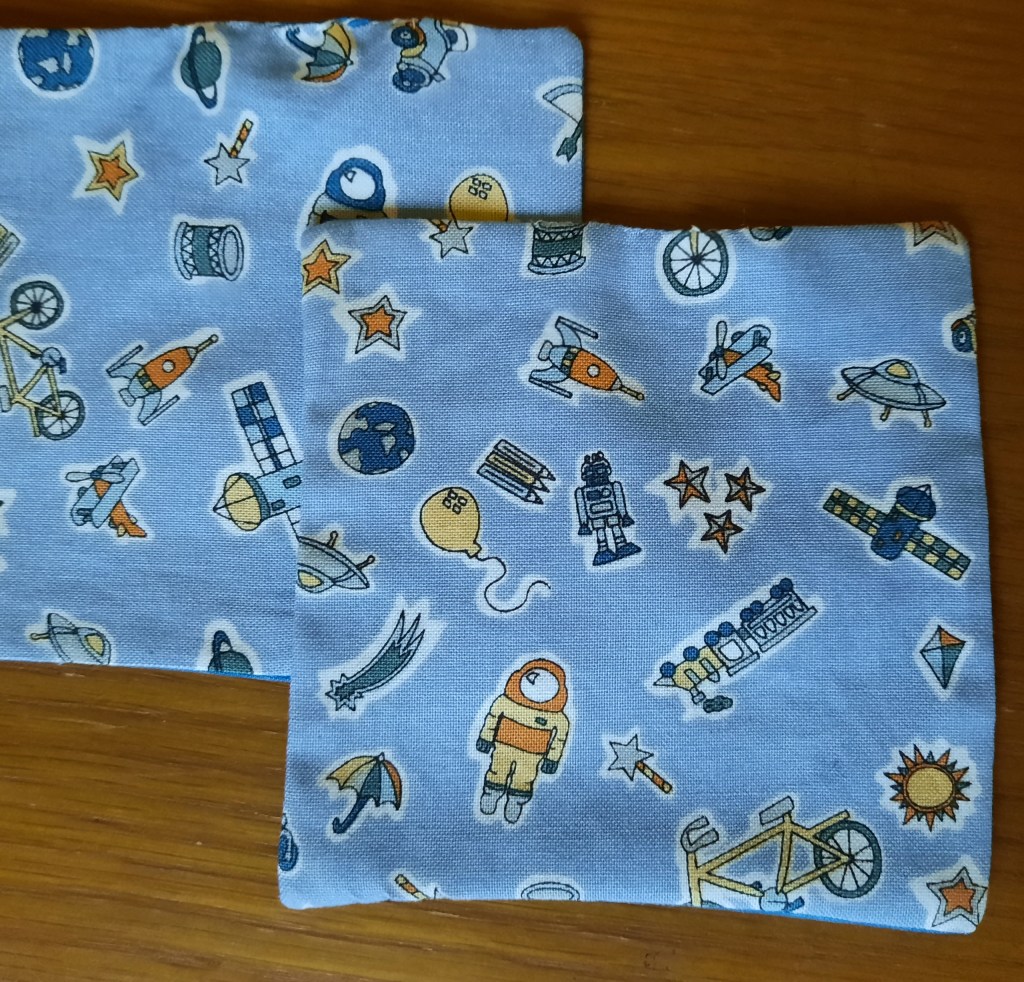
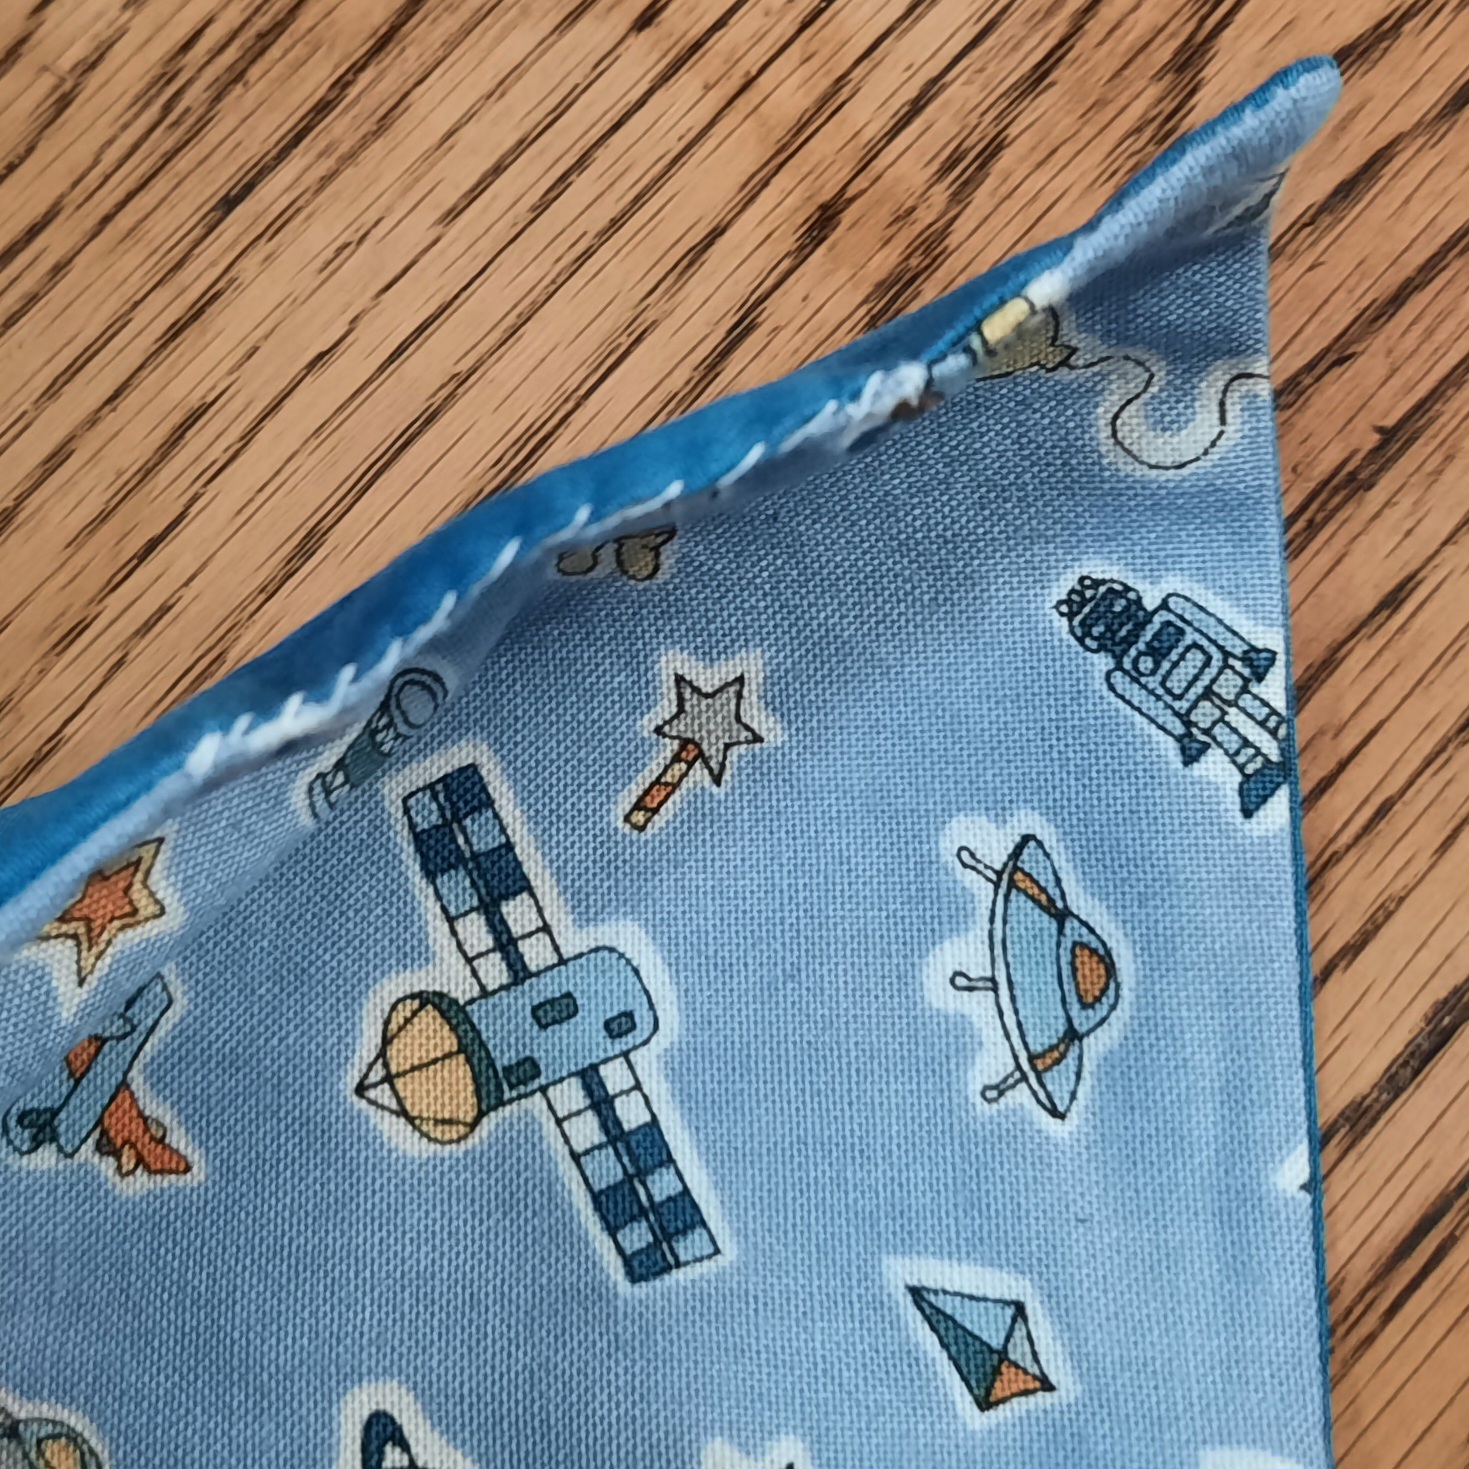
So I decided to make some Bonding Squares . Below is a single sewn fabric Bonding Square (as opposed to a knitted or crocheted one).

Bonding Squares need to be made in pairs. One square is kept with the mother and the other with the baby. Every twelve hours the squares are swopped over so the baby can get used to the scent of the mother and vice versa.
Here is how to make Bonding Squares:
1 All fabric should be washed, dried and ironed before use. You need to cut a square of fabric four and a half inches (11cm) square from 100% woven cotton. Using a quilter’s ruler and a rotary cutter makes this easier.

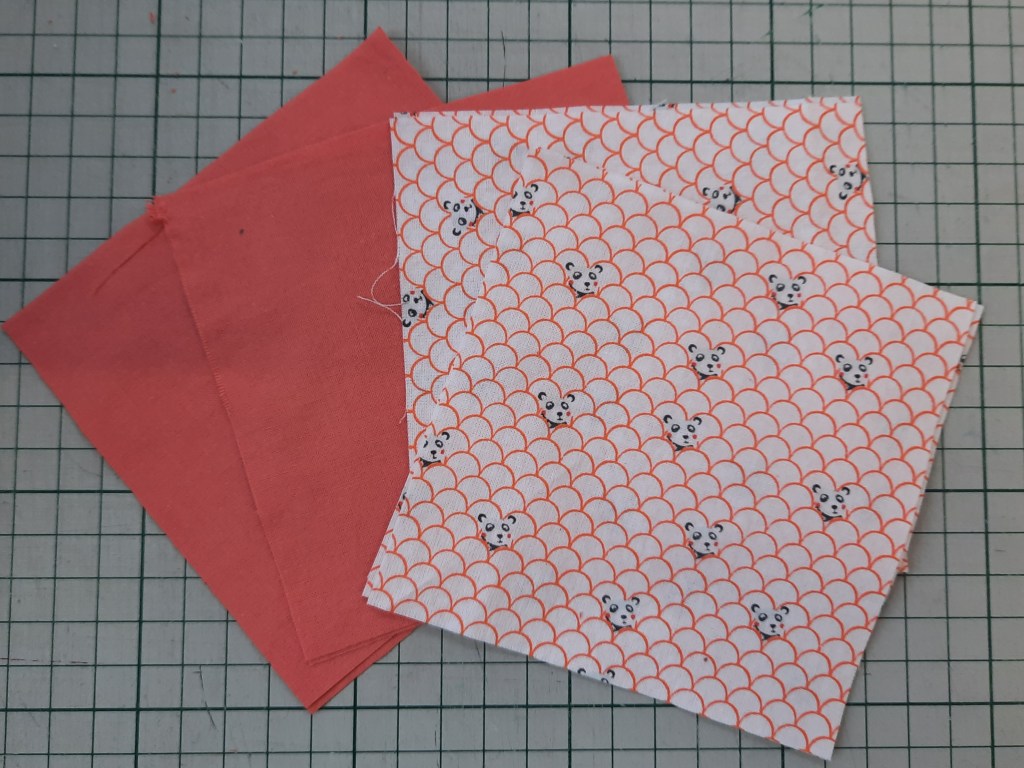
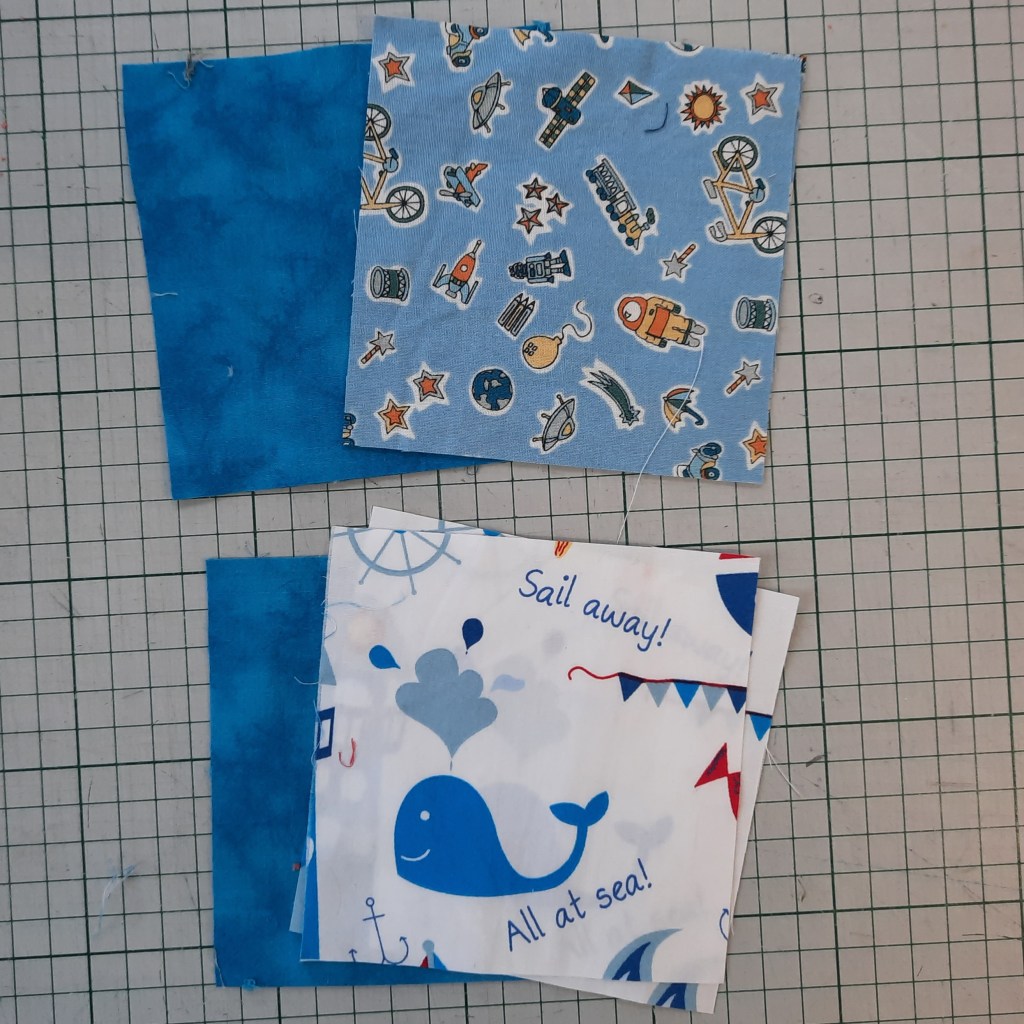
2 For each pair of Bonding Squares you need two squares of plain fabric and two squares of printed fabric as shown below.
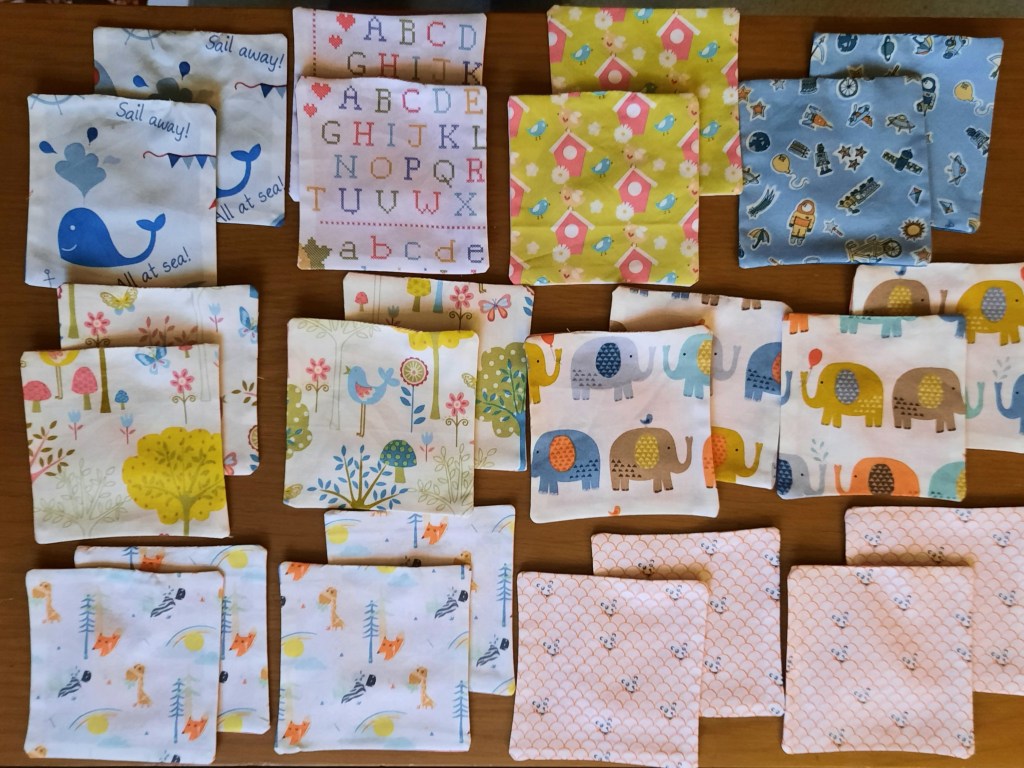
3 I did all the cutting out first with the aim of making twelve pairs of Bonding Squares (24 in all).
4 Place a plain fabric square right sides together with a printed square and pin.

5 Using a quarter-inch (6mm) machine foot helps to keep the seams at exactly quarter of an inch wide (but as an alternative, you can mark the seam on the back of the squares with a fabric marker or put a piece of masking tape on the stitch plate of your machine to mark the quarter-inch/6mm).

6 Begin to stitch along the top of the squares, starting about two-thirds of the way along the top. Do a couple of stitches and then backtack to secure the threads. Continue to stitch stopping one quarter-inch (6mm) away from the next side.

7 Insert the needle, lift up the presser foot lever (as shown) and swing the sewing round on the needle until your presser foot is facing down the next side, as shown in step 8.
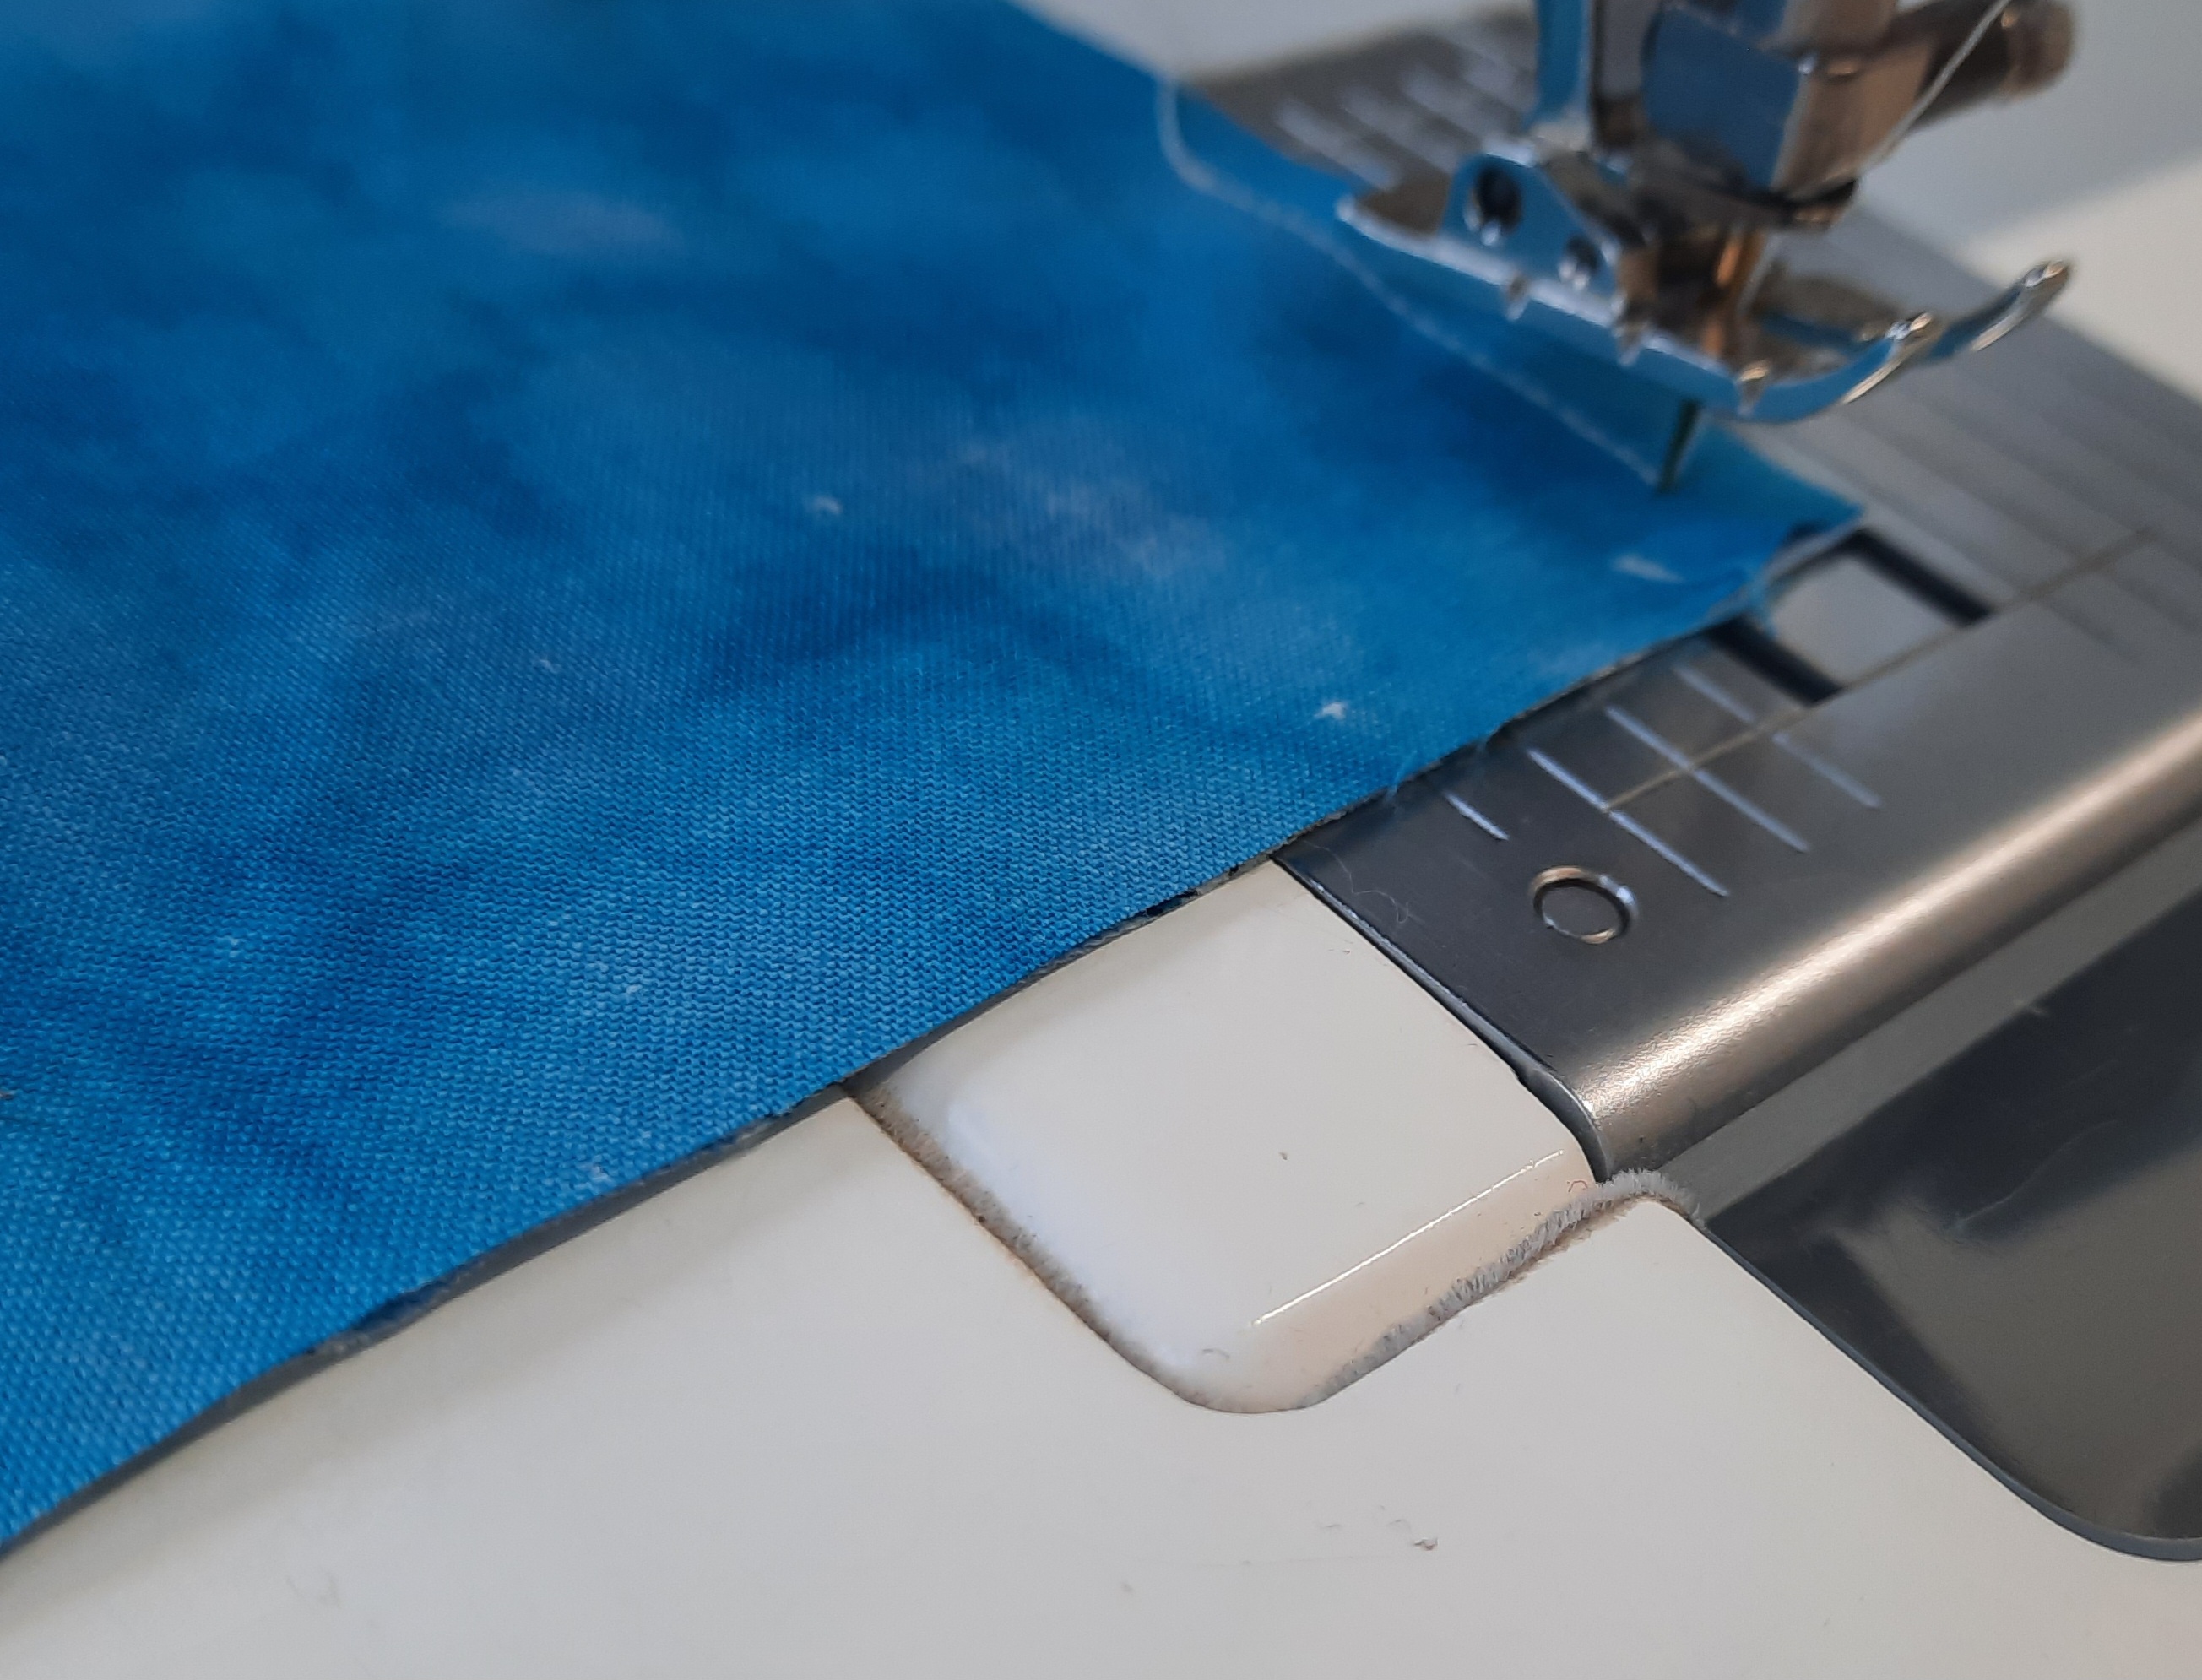
8 Lower the presser foot lever again and continue to stitch along the next side. Repeat this process on each of the remaining three corners.

9 Once you at the top of the squares again, only stitch one-third of the way along and backtack a couple of stitches as you did at the beginning. Trim off all the threads except one (which you will use at the end). Take out the pins.

10 Use a pair of sharp scissors to trim the corners of the squares (don’t go too close to the stitching.

11 Use a turner to help you turn the squares to the right side.

12 Use the point of the turner to gently push out the corners.

13 Thread a needle with the single thread that you left behind in step 10.

14 Use an overcast stitch to close the opening. Finish off the thread securely. Press the Bonding Square.
15 It makes sense to do all the machine stitching in one go and leave the hand-stitching for the moment when you can sit down to enjoy a bit of ‘slow stitching’.

An afternoon sewing could help a number of mothers and babies at a very difficult time in their lives. You could contact the Early Birth Association by email: info@earlybirth.co.uk or you contact your local neo-natal unit to see if they use Bonding Squares

Here are the ones I made.
The website for the Early Birth Association is: https://www.earlybirth.co.uk/
Thank you for reading my blog. Quilt Patterns are here, Fabrics are here, Classes are here
Click the ‘Follow’ button to get a blog-post by email each Monday and click here if you would like the monthly newsletter with design and colour inspiration, etc.
‘Dolphins’ fabric features a mother and baby – find the fabric here

