
A year-long quilt project
Welcome to the second step in the 2024 quilt project. (You can find the first one here,) As I explained in the New Year’s post here, I’ll be making a quilt this year and inviting you to join with me, here on the blog. This is what to expect:
- a new appliqué block each month
- a new embroidery stitch each month
- cheerful bright colours (but of course you can choose your own colour palette!)
- a quilt celebrating the seaside
There will be instructions at the end of the year on how to put the different blocks together to make quilt measuring 72 x 72″. However, you are welcome just make the individual blocks each month and use them in a different way.
Please note: All the instructions are free and available for your personal use. They cannot be used for commercial purposes or for teaching. I do run a small business, so if you enjoy making the quilt please consider also purchasing one of my patterns from the Etsy shop (link below) and/or tell your quilting friends about Amanda Jane Textiles. Thank you!
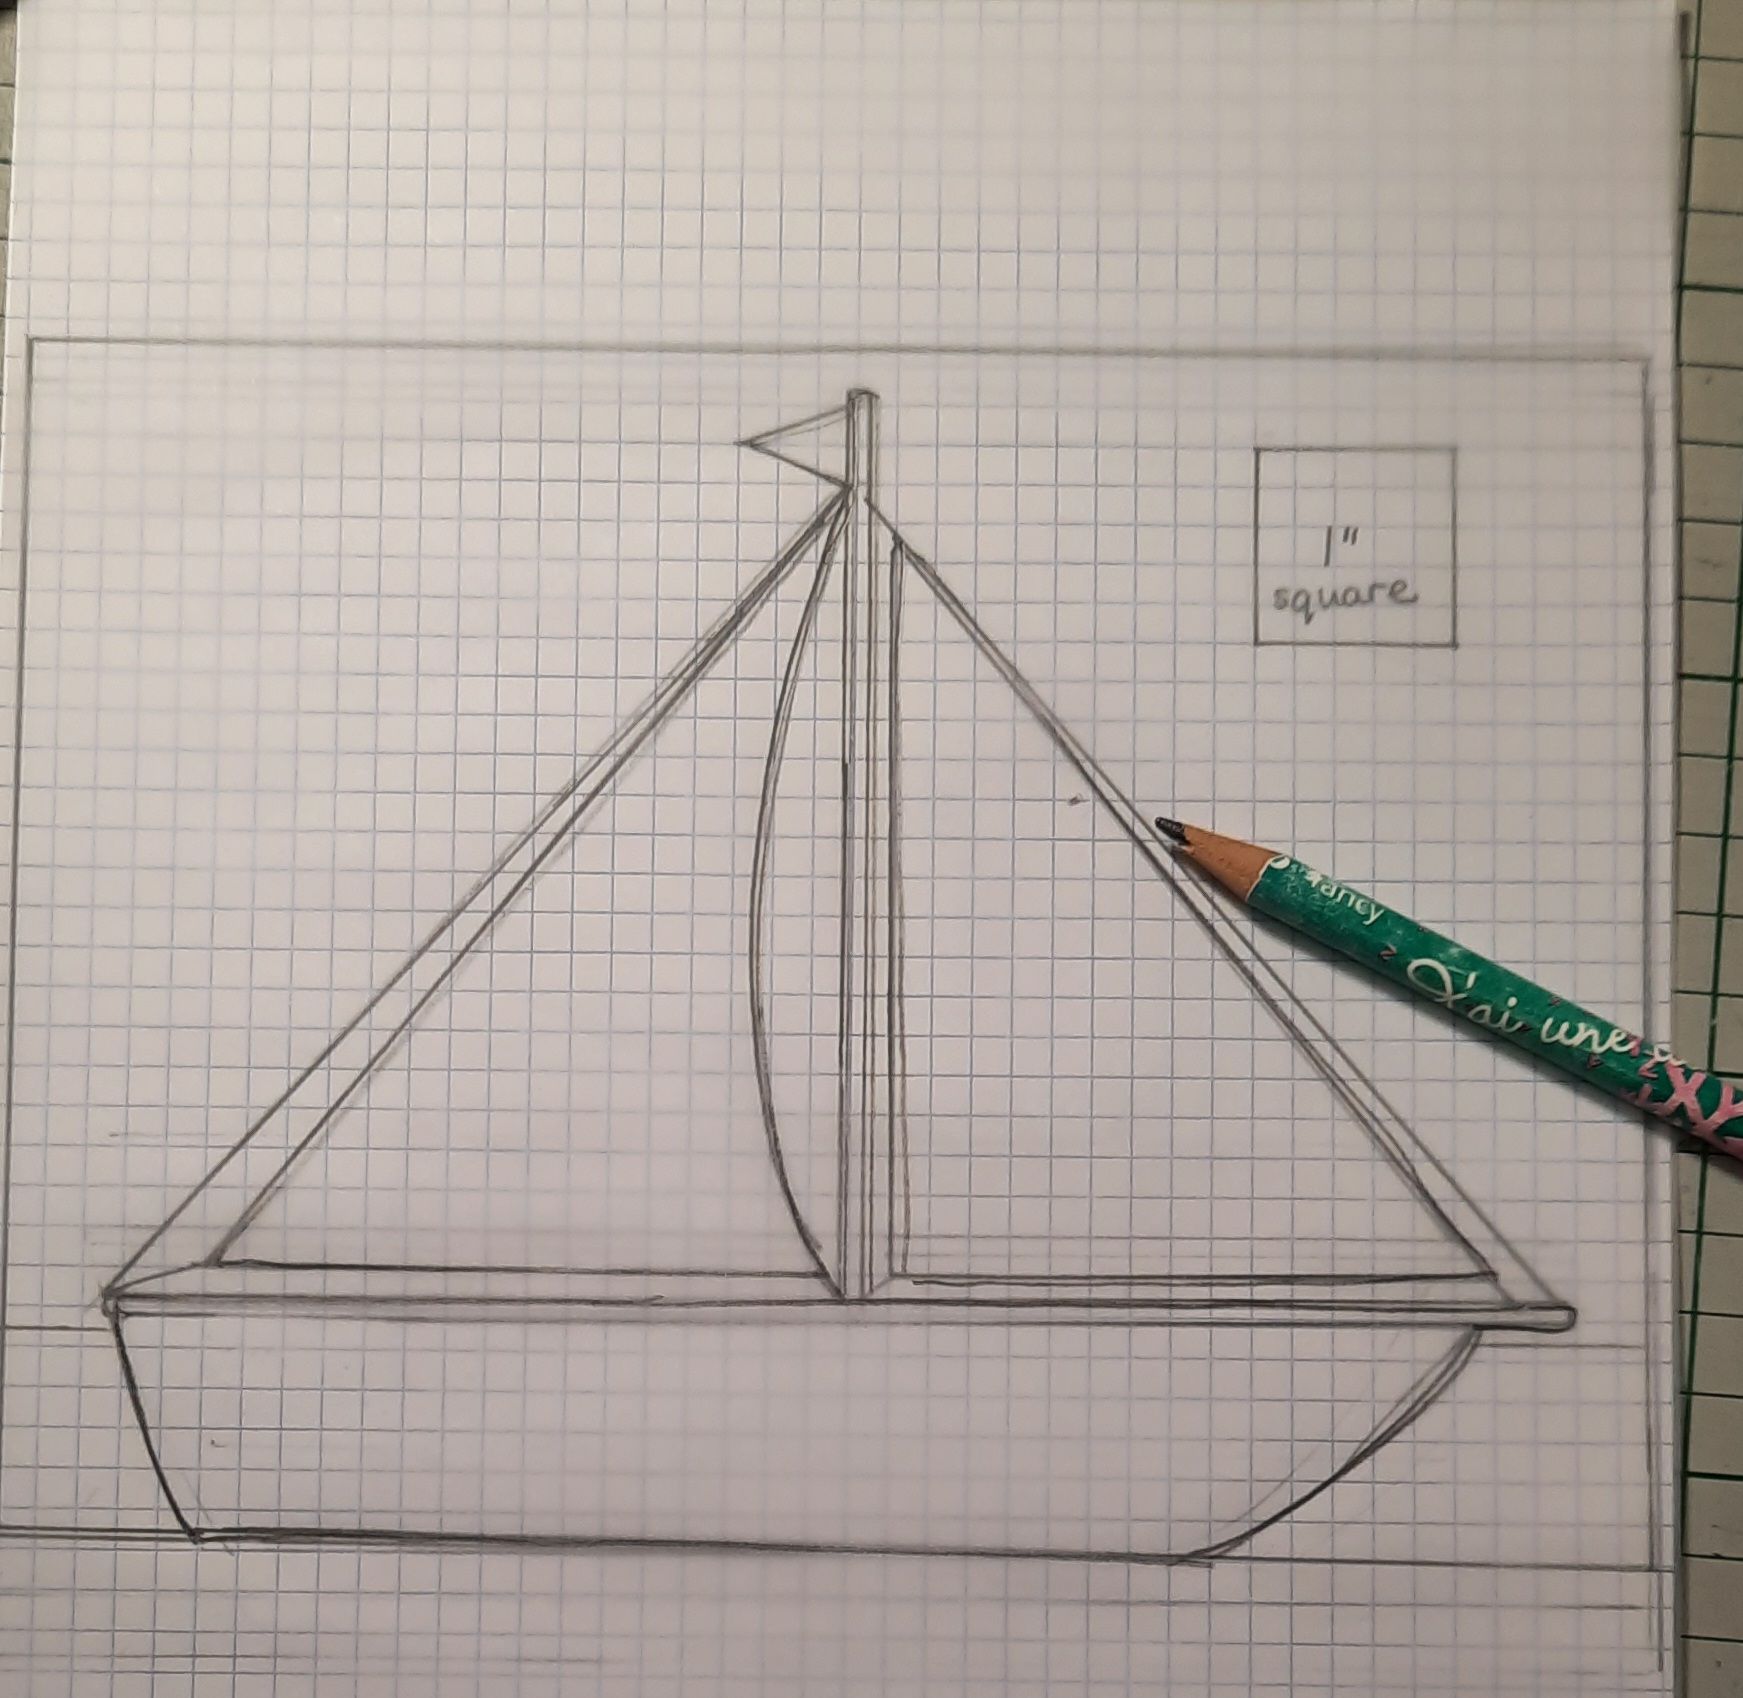
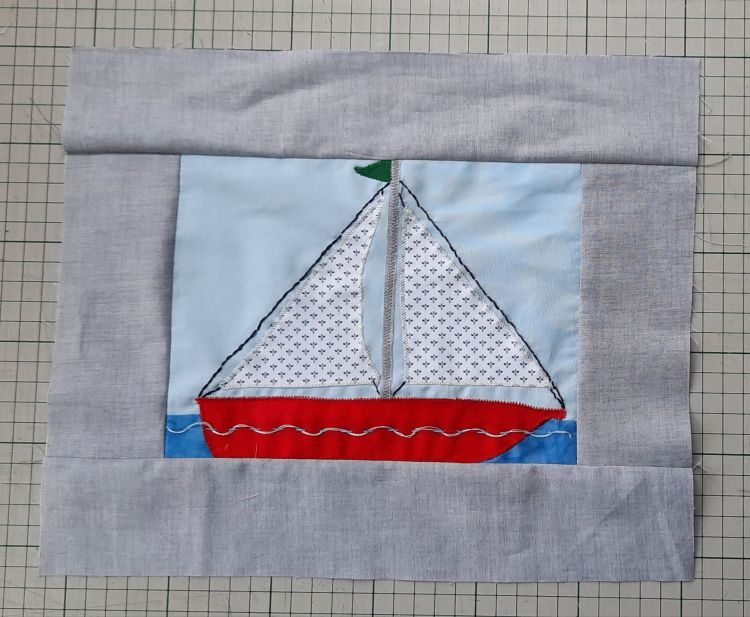
February block: The Yacht
The block is made up of a central panel, featuring a yacht with a red hull and white sails, framed by a grey border. It measures 12½ x 10½” (12 x 10″ finished in the completed quilt).
Materials
You will need:
solid colours or low-volume prints in 100% cotton fabric: 9 x 6″ pale blue; 9 x 2″ mid-blue; 7 x 5″ white; 8 x 2″ red 5 x 9″ yellow; 1 x 1″ bright green; 20 x 12″ pale grey fabric
stranded cotton for embroidery in navy, mid-blue and white
fusible web (for example Bondaweb)
blue, white, red and green sewing thread for appliqué and pale grey thread for piecing
Cutting
1 Download the template for the central panel of the block using the pink button below. Set your printer to print at A4/letter with narrow margins. You may lose a little of the image on the sides but the main information will be there. Trace the following shapes onto tracing paper (a) the outline of the outside of the two sails (b) the hull of the boat (c) the small pennant at the top of the mast (d) the mast . Cut out the tracing paper shapes and use them as templates for cutting out.
2 Trace the following shapes onto tracing paper (a) the two sails (b) the hull of the boat (c) the pennant. Cut out the tracing paper shapes and use them as templates for cutting out.
3 Cut out the two sails from the white fabric (I used white fabric with a small blue print).

4 Cut out the hull of the boat from red fabric.
5 Bond a piece of fusible web a narrow strip of grey fabric (1 x 6″) following the maker’s instructions. (Take care to protect your iron and ironing board with tracing paper or baking parchment.) Cut out a strip 5 and a quarter inches long and just under a quarter-inch wide, to made a narrow mast.
6 From the grey fabric, cut two border strips 2½ x 6½” and two border strips 2½ x 12½”.
Making the block
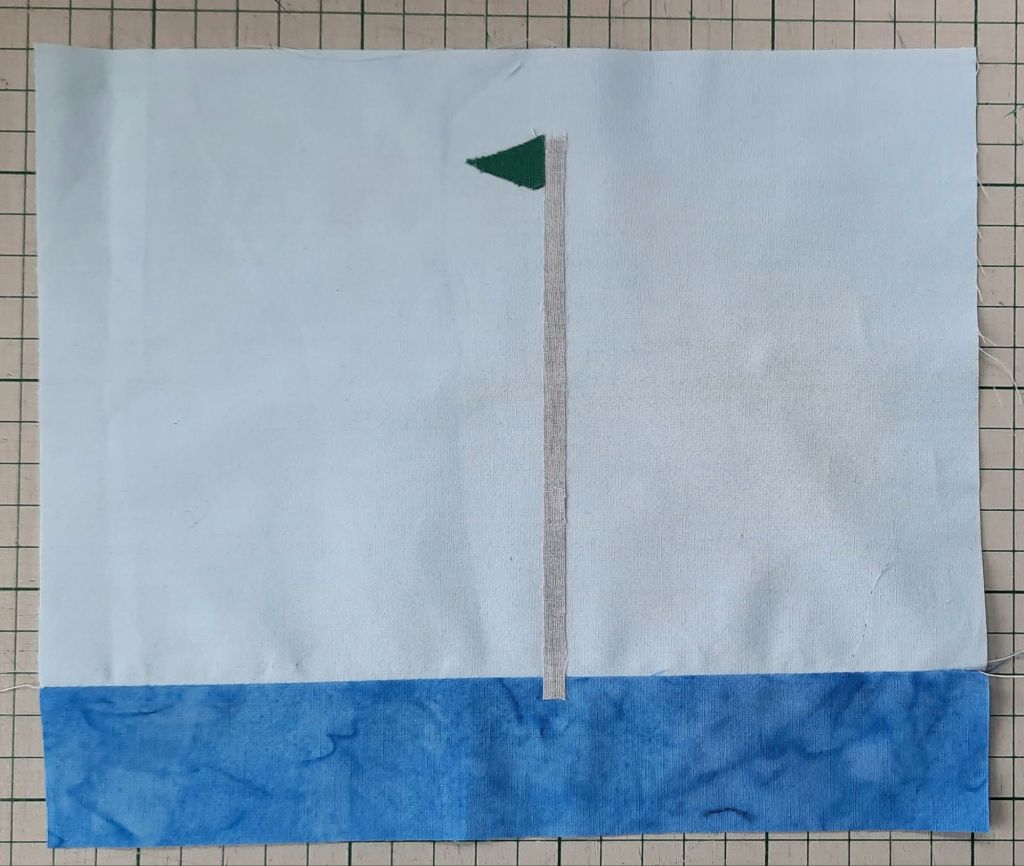
1 Create the background. Join the light-blue piece to the mid-blue piece. NB this is slightly larger than the area needed – it will be trimmed later.) Press the seam towards te mid-blue fabric.
2 Using the template as a guide, place the mast onto the background fabric. You will be trimming the background down to 10½ x 6½” when the appliqué and embroidery is complete, so take care to place the mast correctly in position (see photo below step 3). Bond in place with a hot iron.
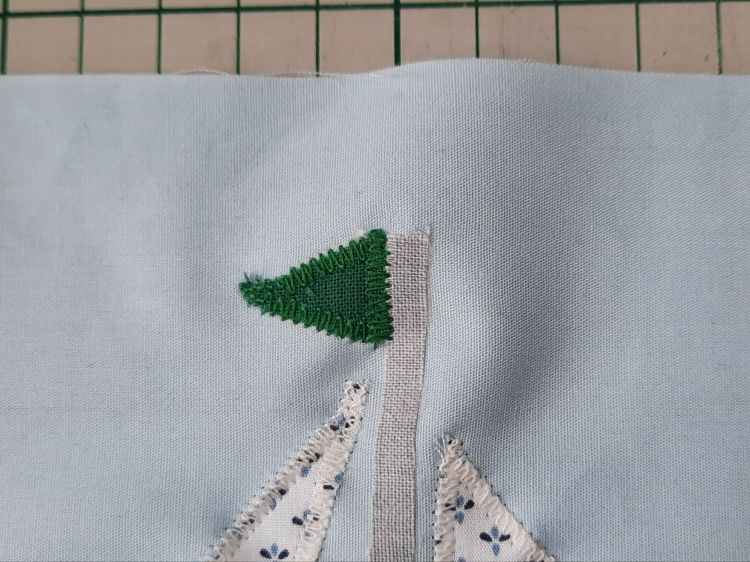
3 Bond fusible web to the back of the green fabric and cut out the pennant using your traced template. Bond the pennant to the side of the mast.
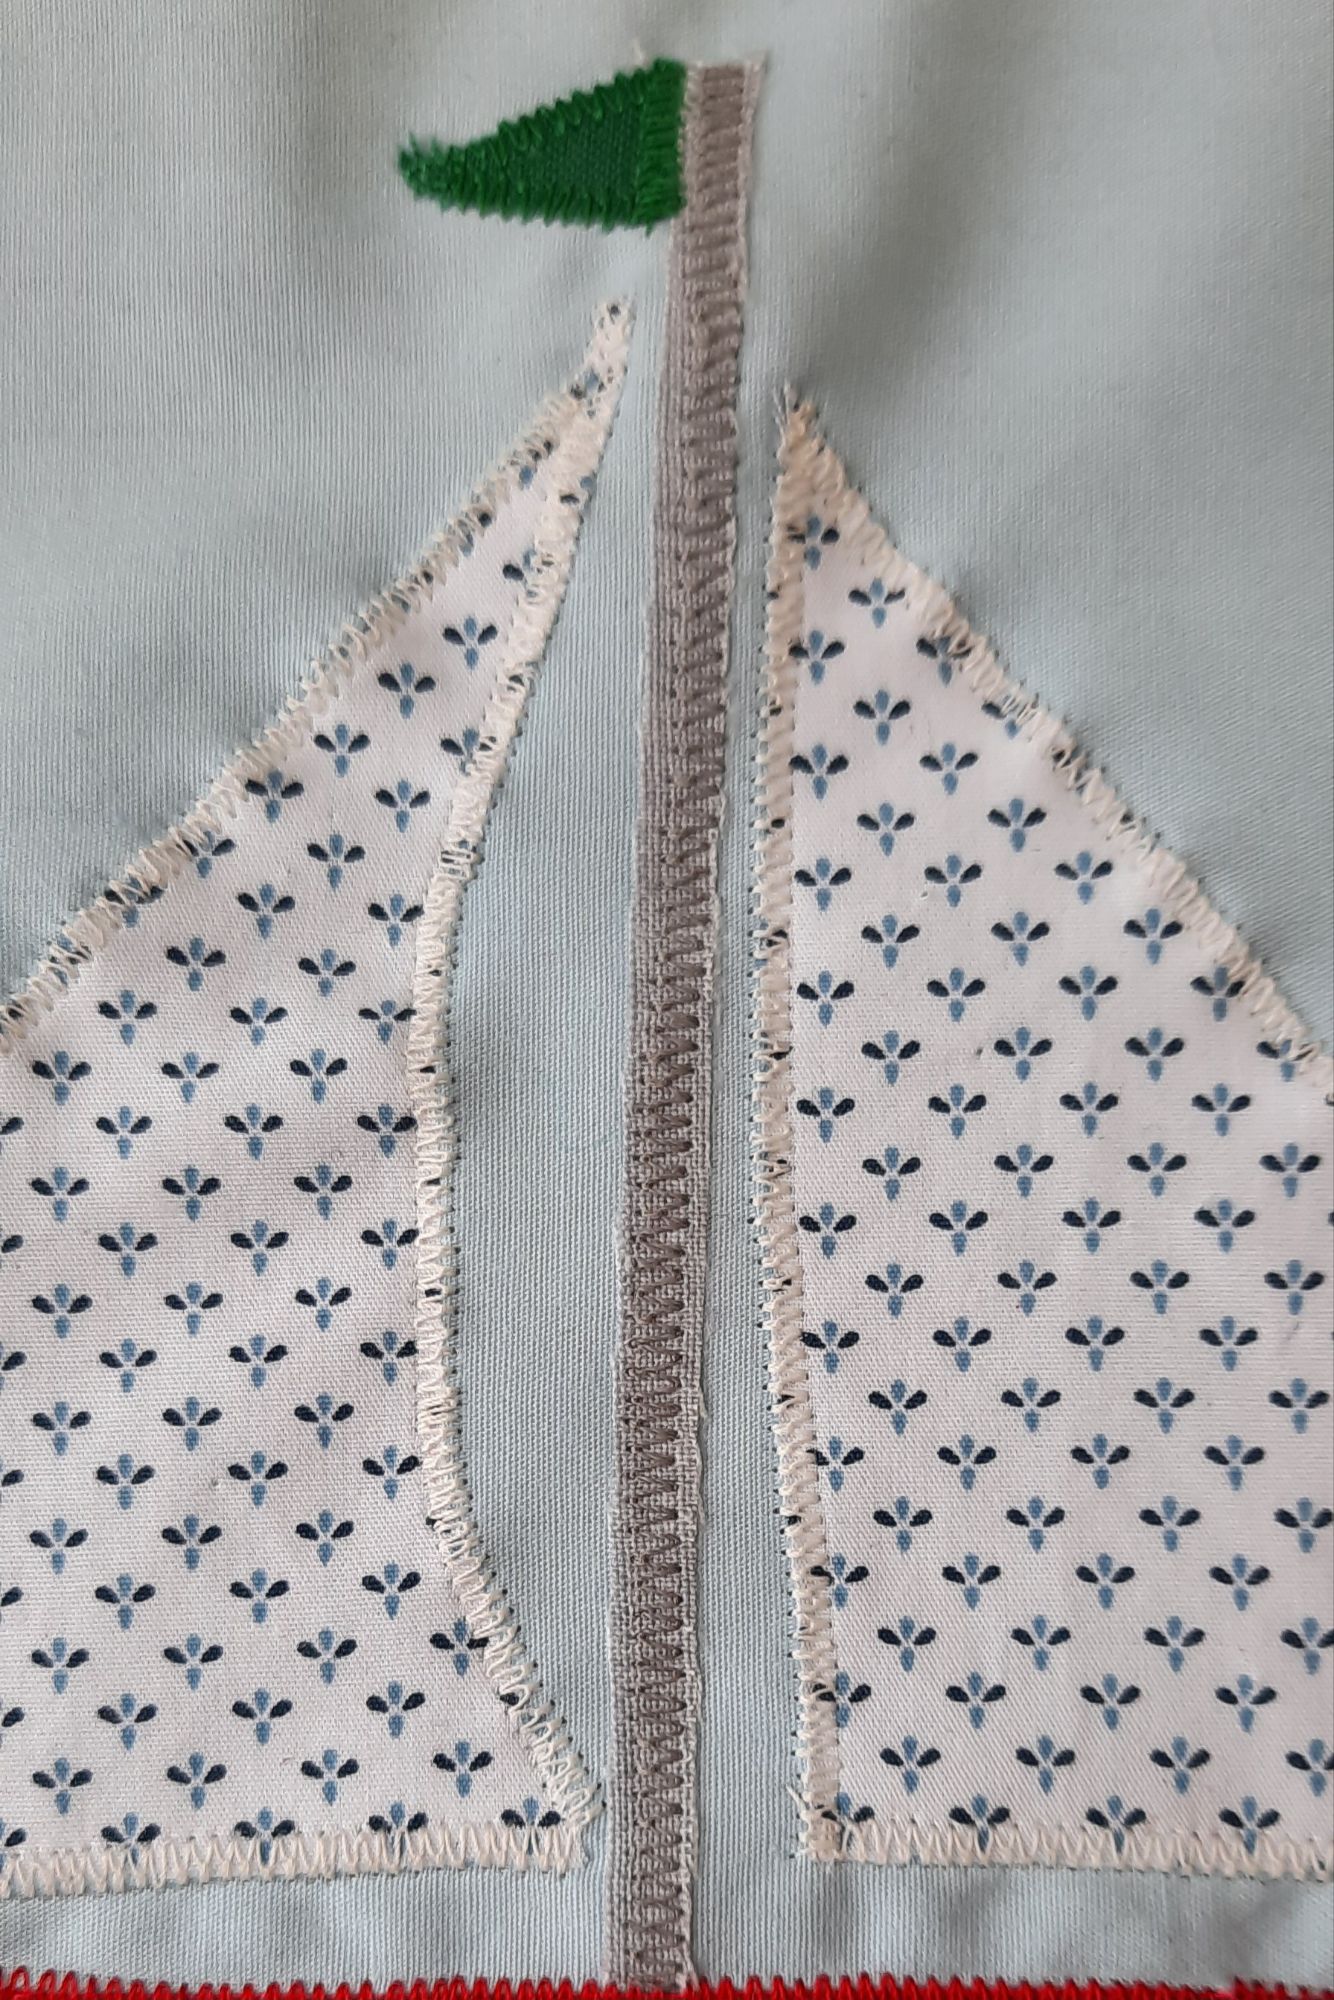
4 Place the sails and hull in position on the background. Pin in place.
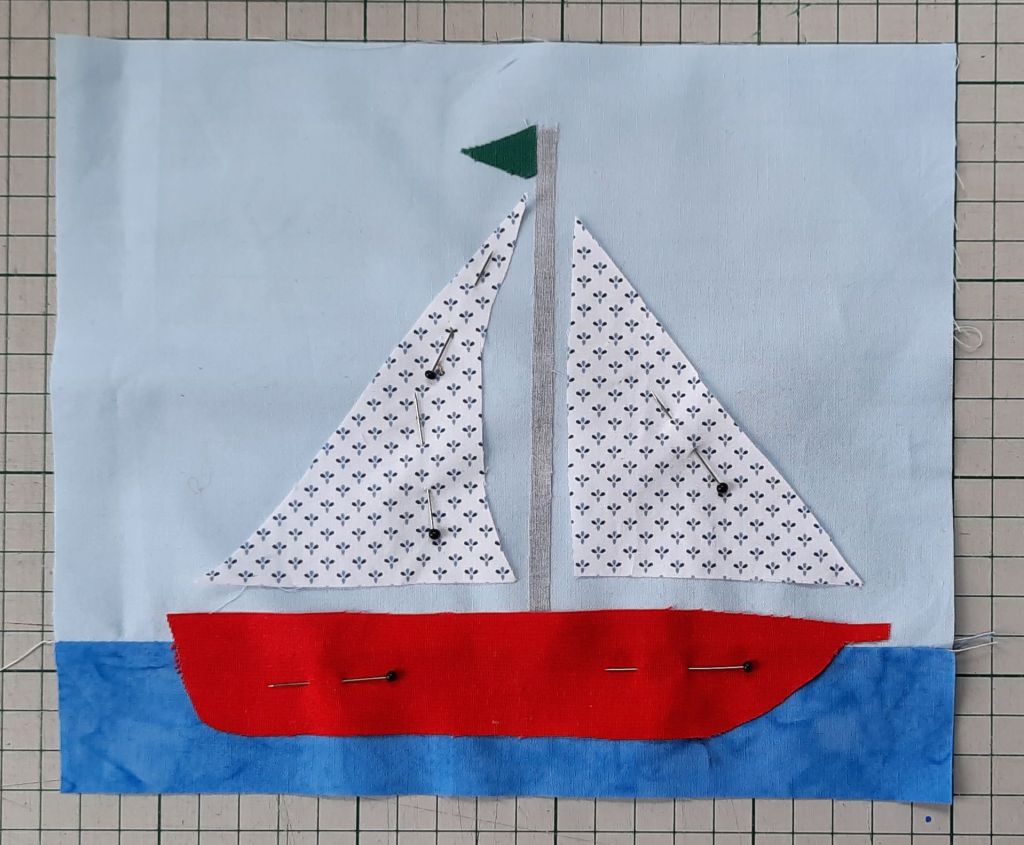
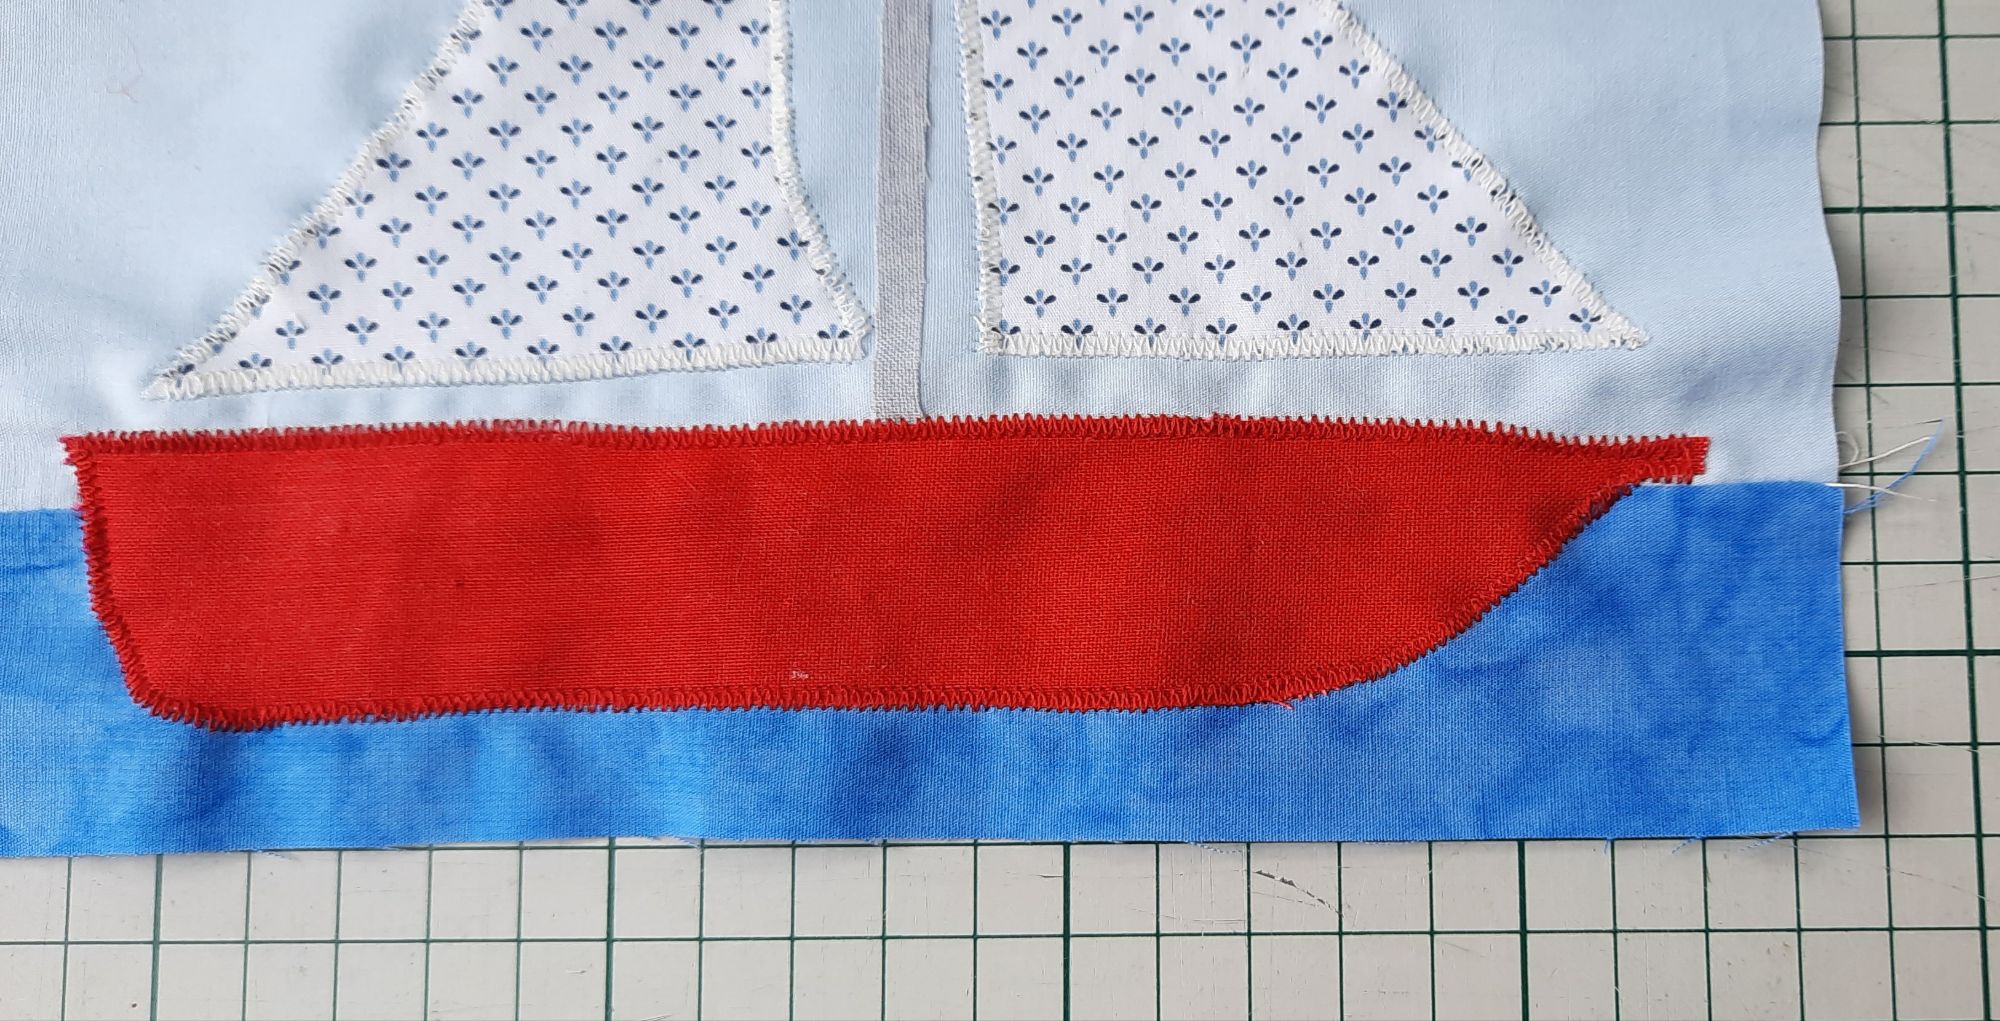
5 With white thread in your machine and a regular machine foot, set your machine to zigzag, with a stitch width of 3 and a stitch length of 1. Stitch along each edge and at the corner, insert the needle, lift the presser-foot, turn on the needle, then continue round the outside of the sail, securing it to the background fabric. Reduce the stitch width to 1.5 at the pointed corners. Take the threads to the back and finish them off with a knot. Repeat for the second sail.

6 Pin the hull of the boat onto the background. Change the sewing thread to red and use a zig-zag stitch as before to sew it into place.
7 Change the sewing thread to green. Pin the pennant to the top of the mast and and use a zig-zag stitch as before to sew it in place.
8 Stitch a row of zig-zag stitches down the mast to secure it.
9 Trim the rectangle to 8½ x 6½”. Use laced running stitch to represent the sea. Use light blue for the running stitch and white for the lacing. You can see a demonstration of how to do this embroidery stitch on my YouTube channel here.
Attach the two grey side borders, pressing the seams outwards. Attach the top and bottom borders, pressing the seams outwards.

10 Using a backstitch (see the January blog post here for details including the link to the YouTube video), embroider the five lines representing the ropes that secure the sails with two strands of navy-blue stranded cotton.
11 Press the block from the back (still using the protective paper on the ironing board).
The Yacht block is complete. Set it aside and look out for the next block in March!
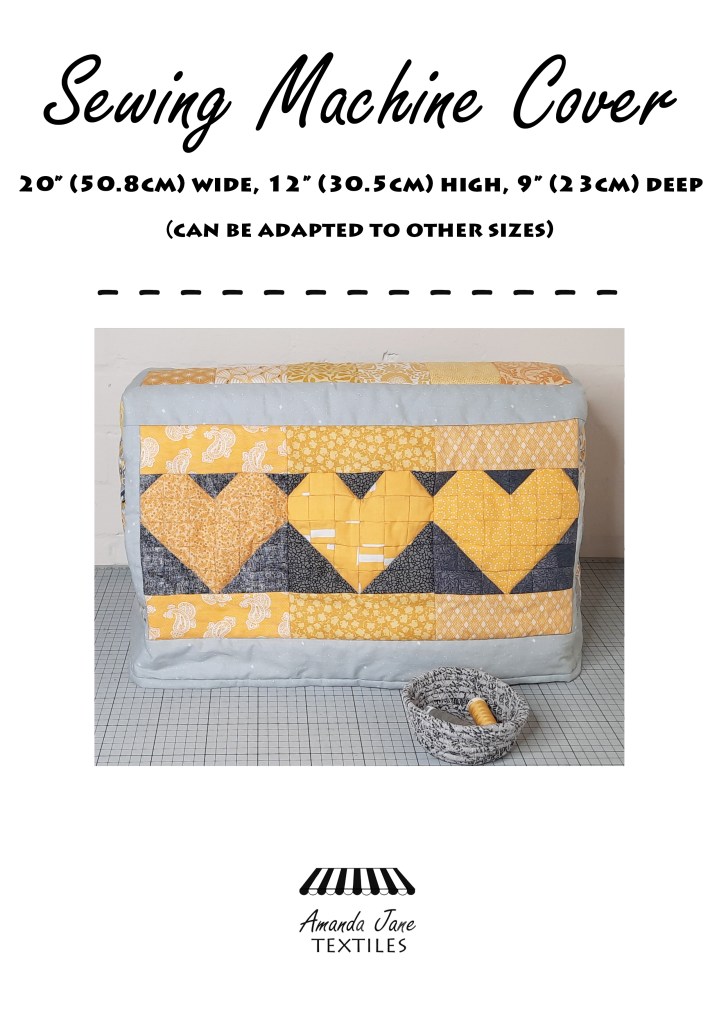
This sewing machine cover keeps your machine dust-free when not in use. Buy the pattern here
Thank you for reading my blog. Quilt Patterns are here, Fabrics are here, Classes are here
Click the ‘Follow’ button to get a blog-post by email each Monday and click here if you would like the monthly newsletter with design and colour inspiration, etc.
