
This is another post in the 2024 series on Basic Sewing Skills.
Press studs
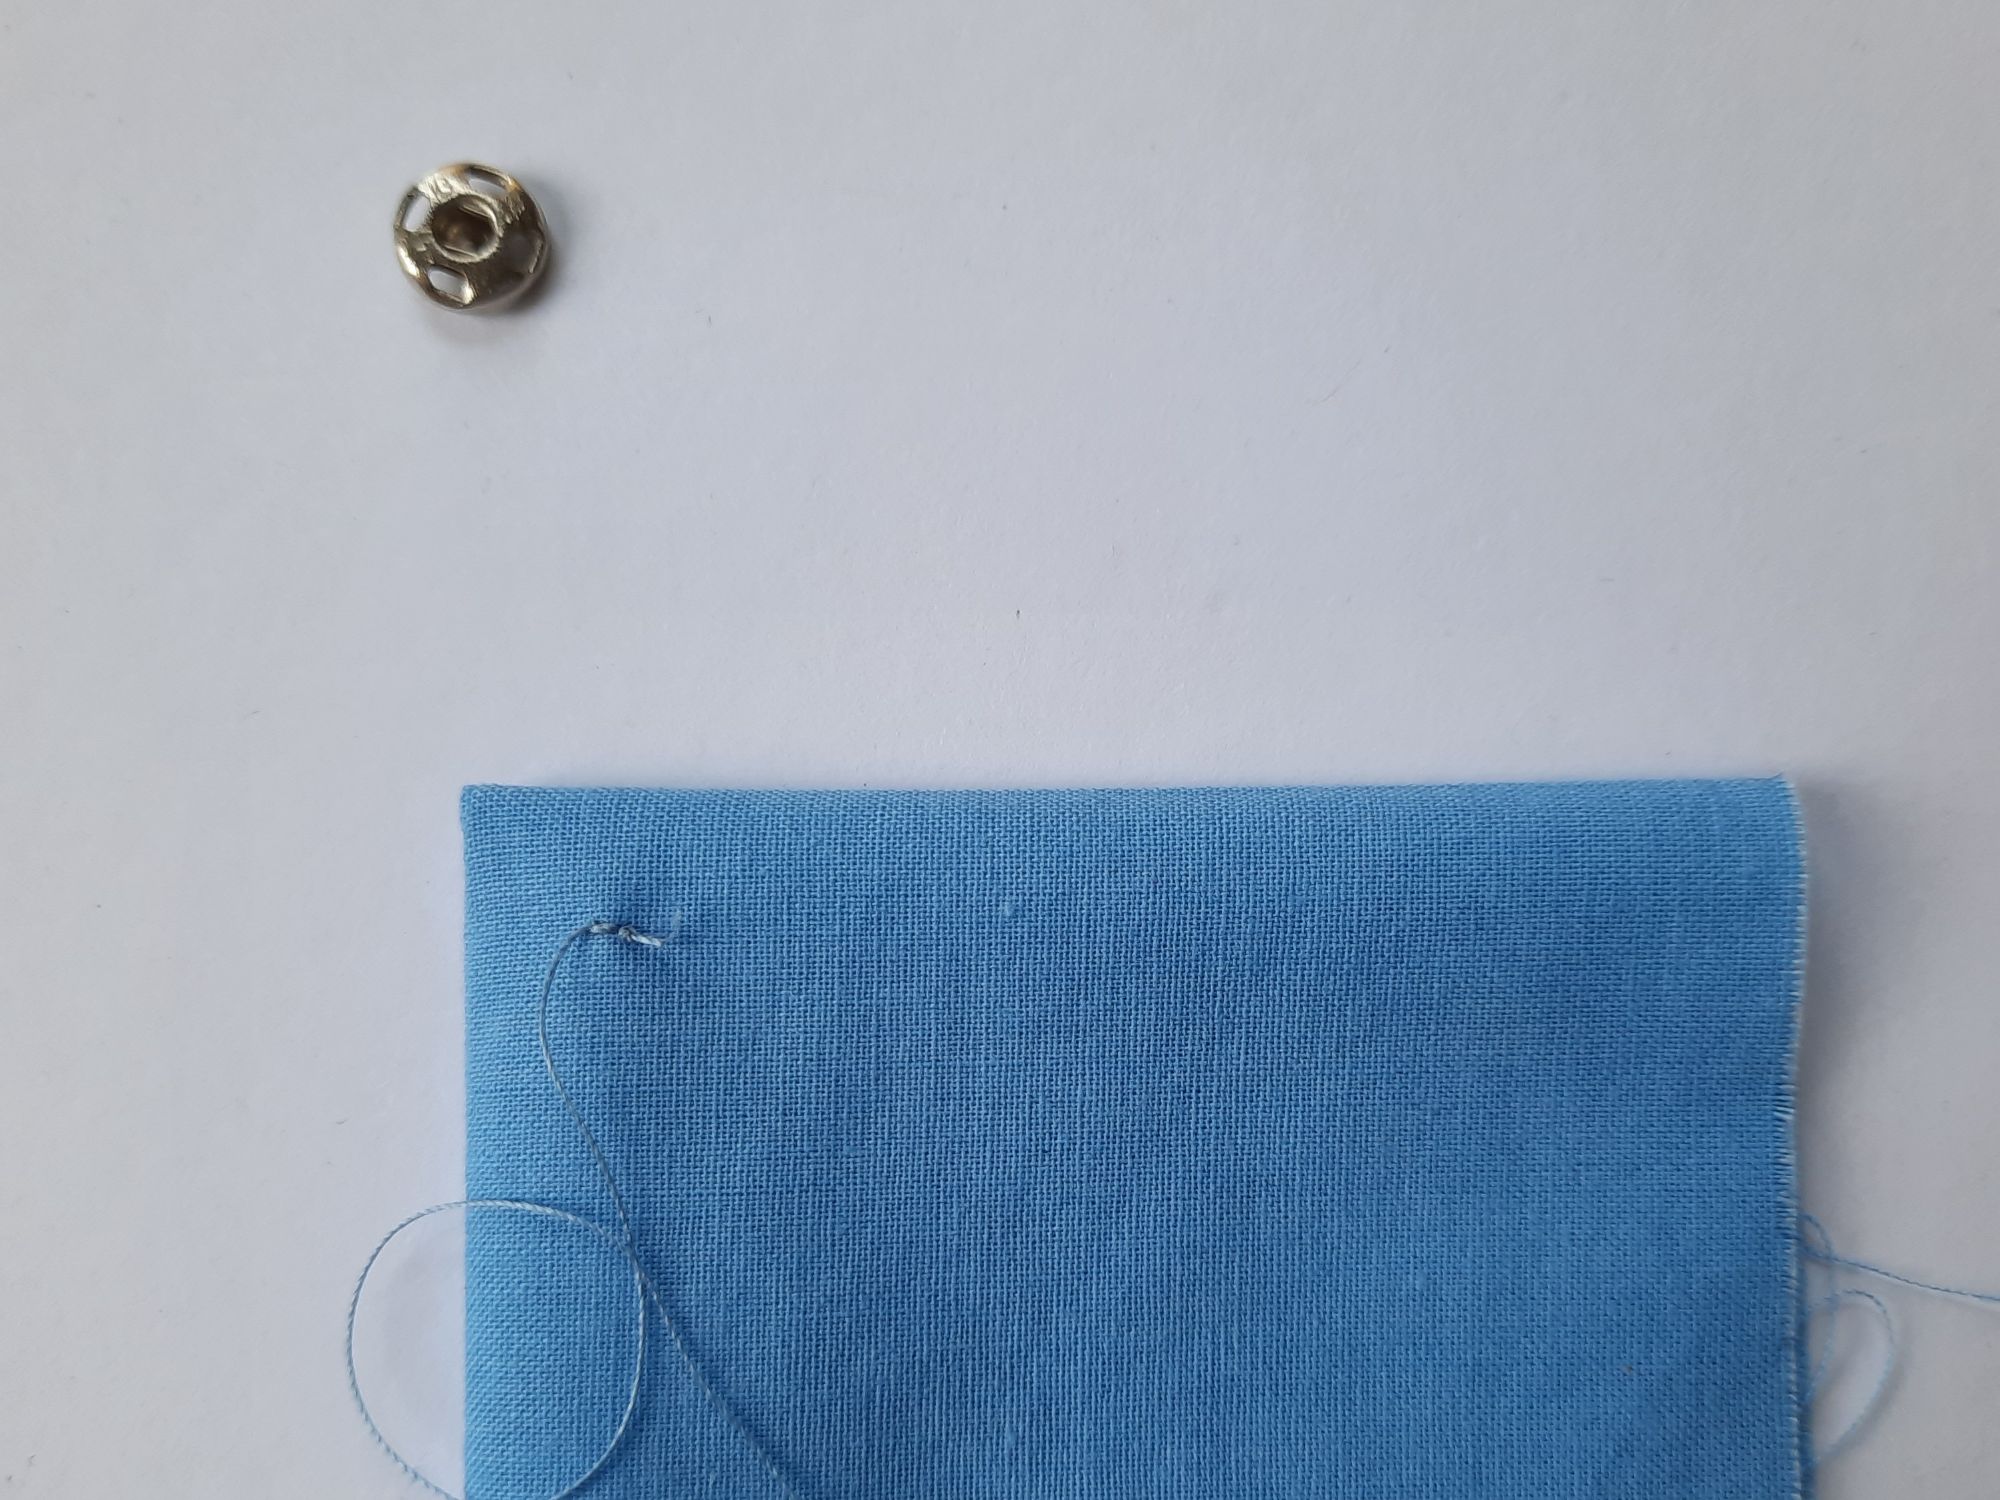
A press stud, also called a press fastener, popper or snap, is a very useful fastening. This post shows you how to attach press studs or to repair your garment by replacing one or both parts of a lost stud. The press stud always has two parts. In the photo below you can see two pairs of metal press studs. On the top row there is a dip in the centre of the metal disc and on the bottom row there is a protruding part in the centre which exactly fits the dip. The press studs below measure half an inch (black) and five-eighths of an inch (silver) and are very sturdy. They would provide a secure fastening for heavy-duty use (for example on outdoor clothing).

The press studs below are made of plastic. The ones on the left would be suitable for a closure on a duvet cover for example; the ones on the right are quite delicate and could be used, say, to secure a tape bra strap holder at the shoulder of a summer dress with a narrow strap.
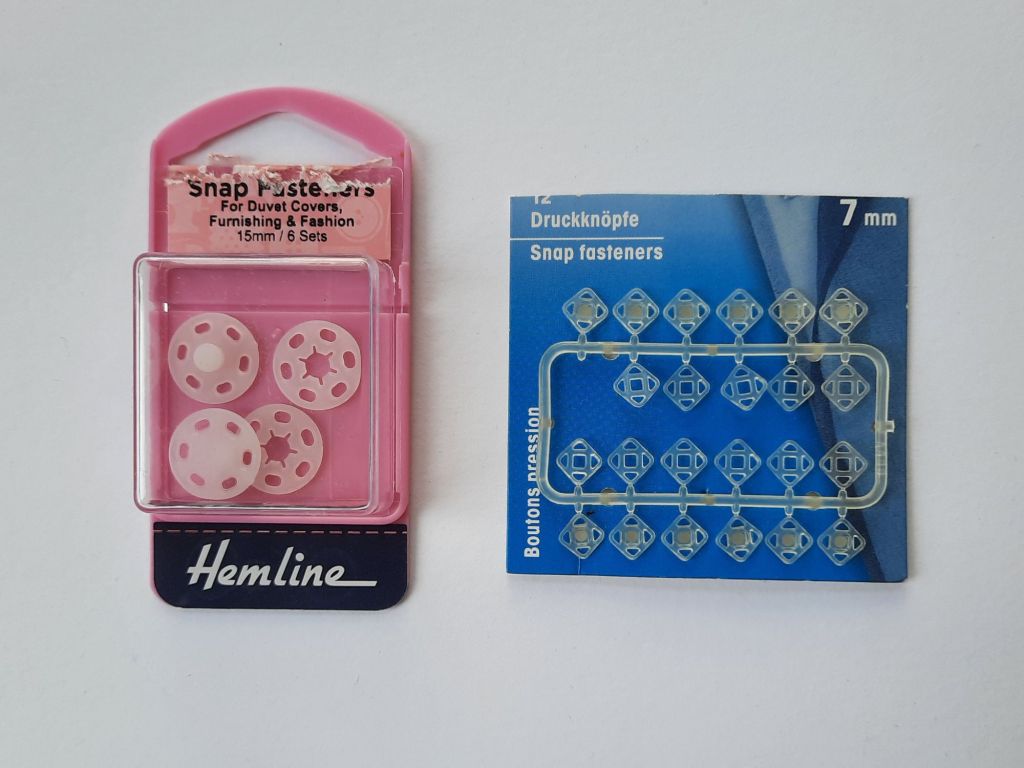
Press studs are sold by size (00 is smaller than 1 and so on) or by measurement (e.g. 8mm seen below).

How to sew on a press stud
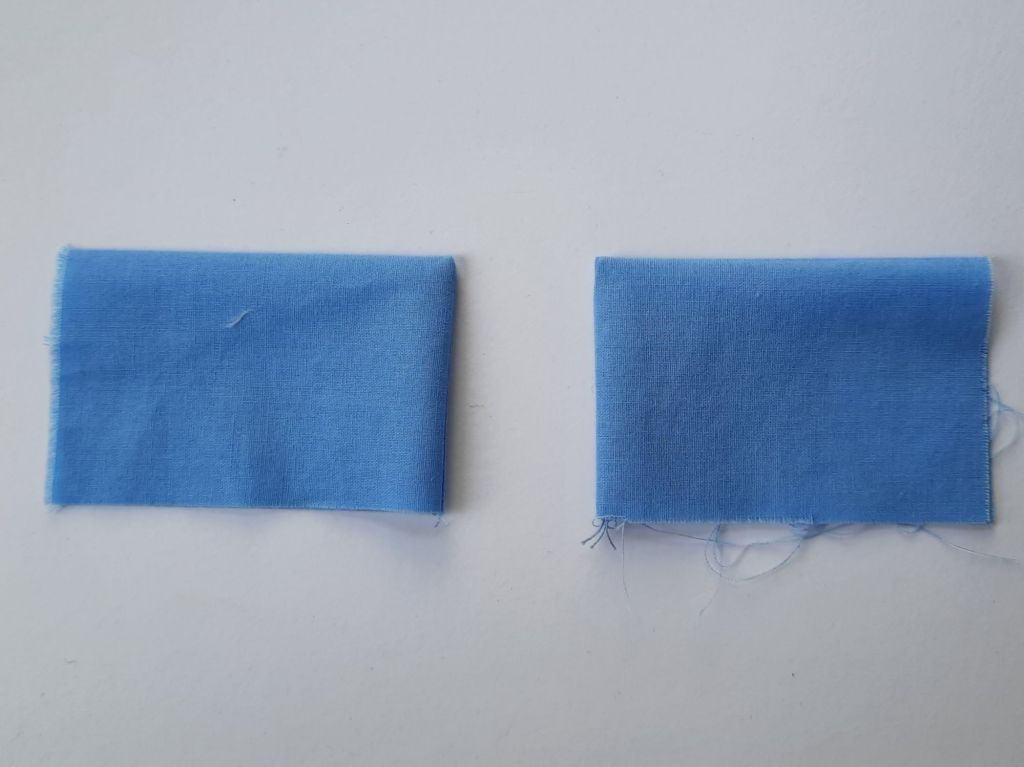
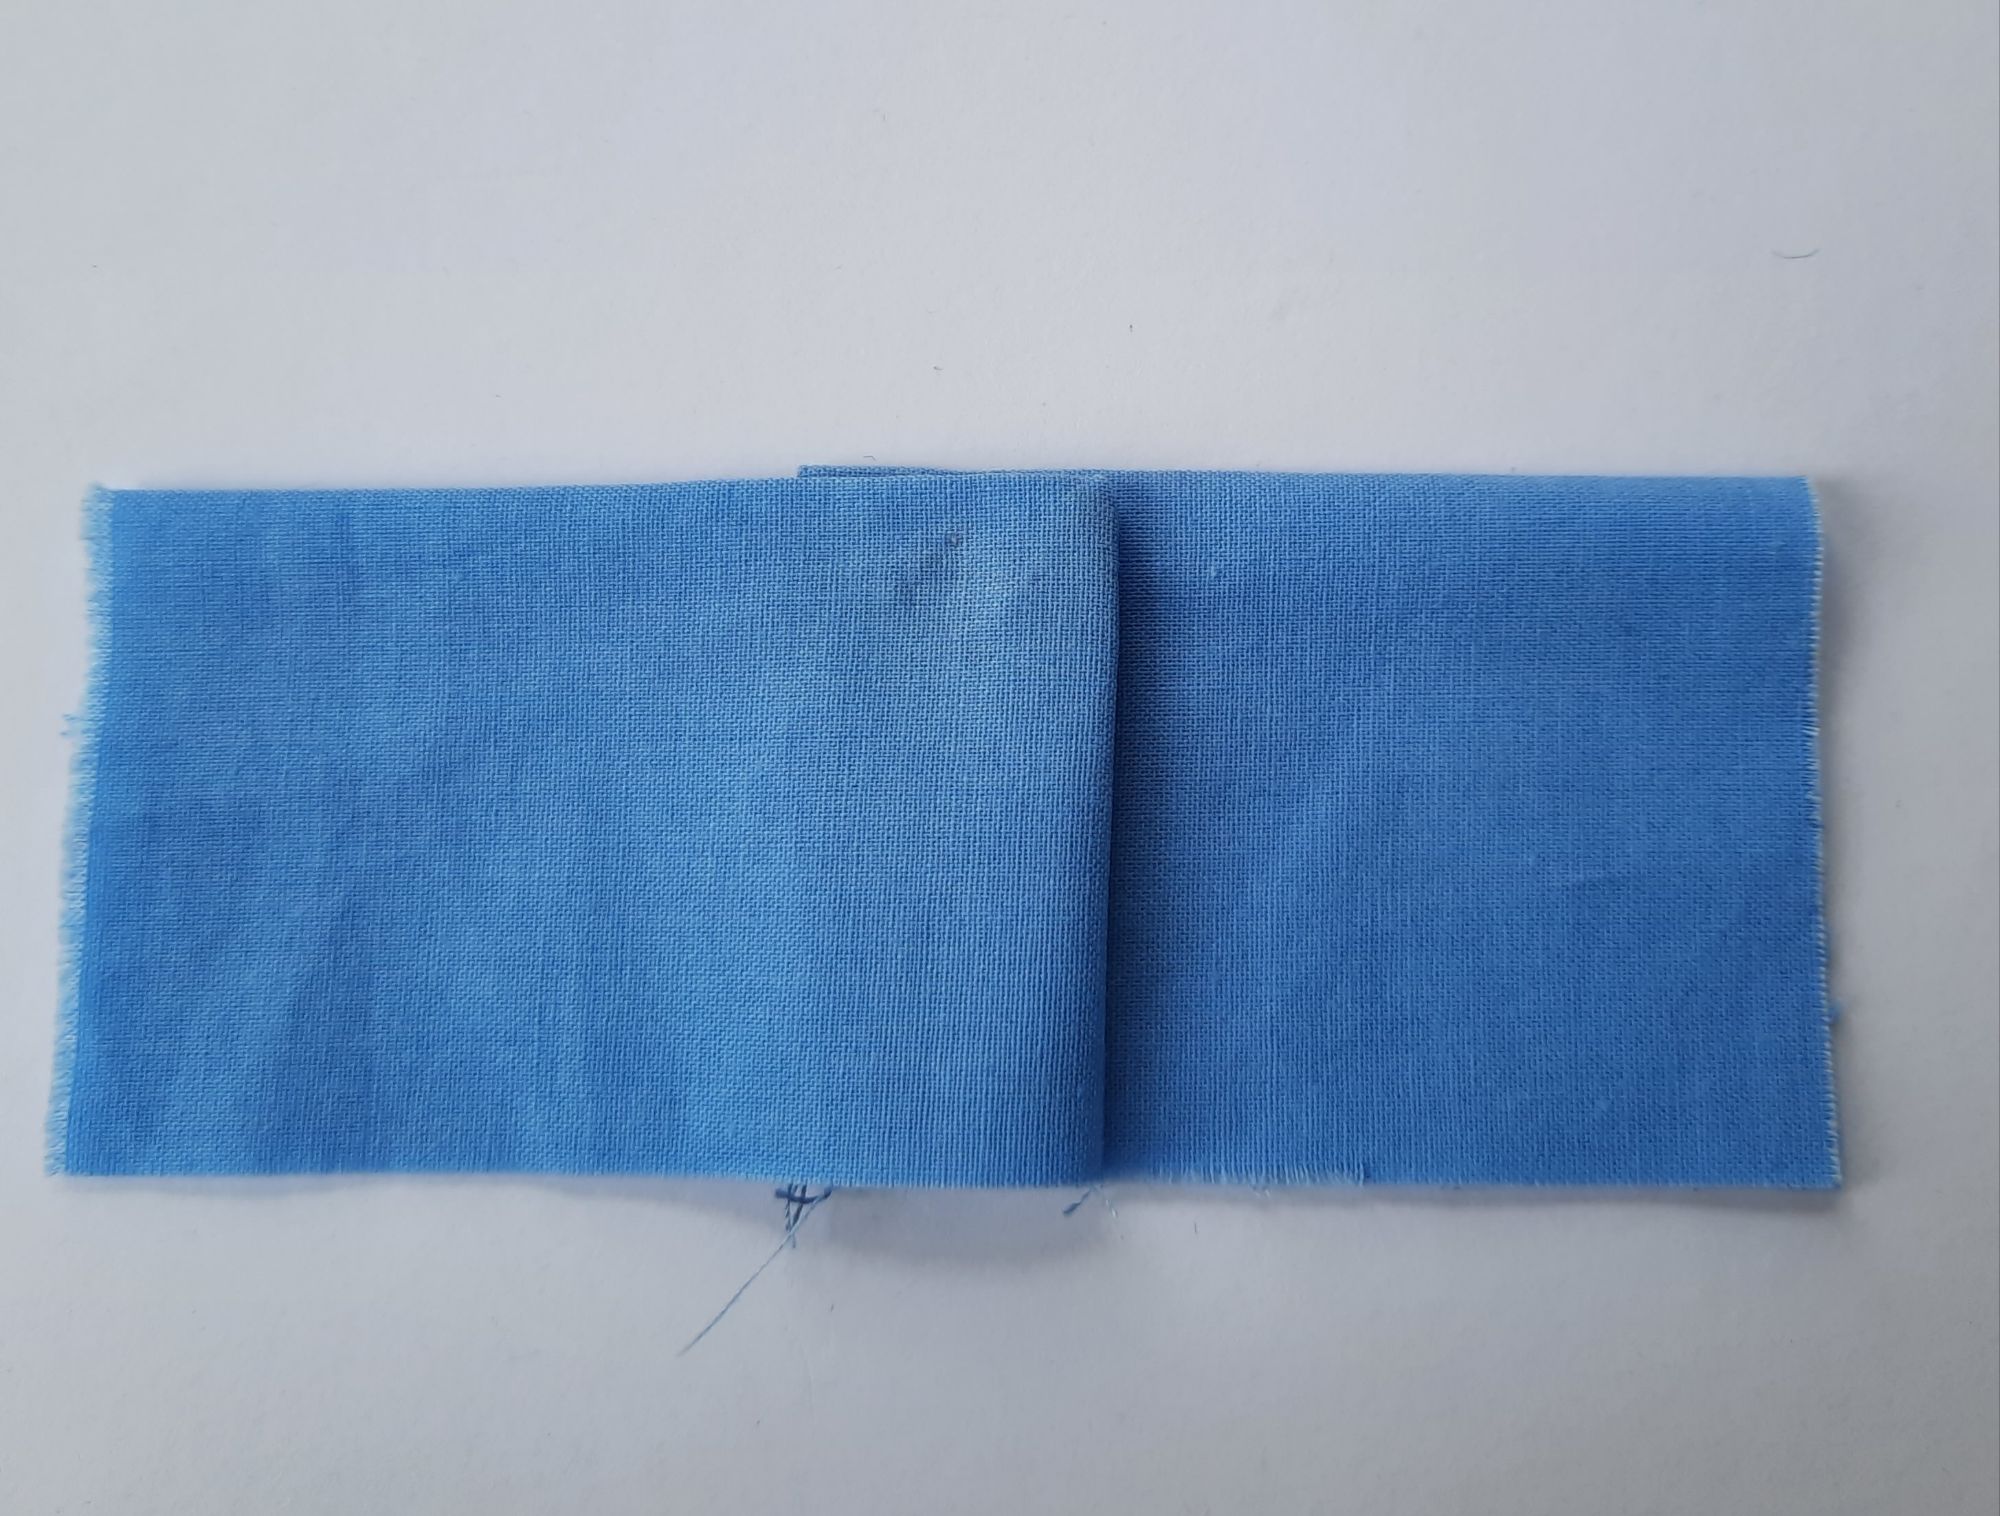
1 You will usually be sewing on a stud to one side of a double layer of cloth (or more than two layers). In the sample below the fabric represents the two ends of a waistband on a skirt, for example.
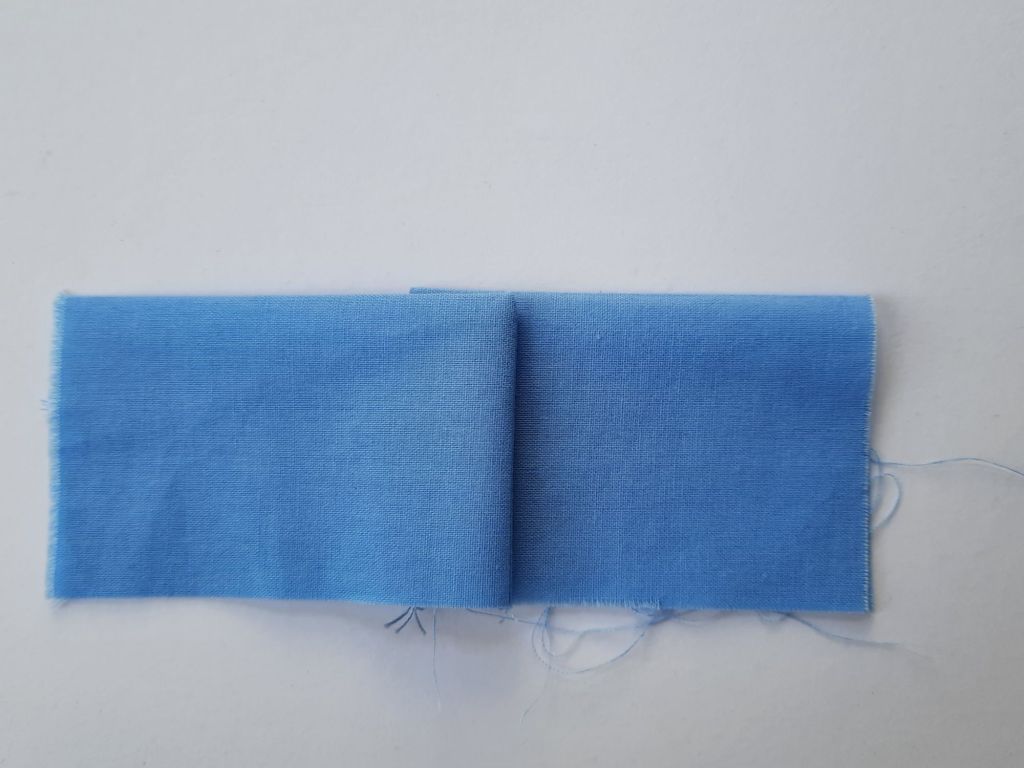
2 The two ends will overlap each other, as shown below.
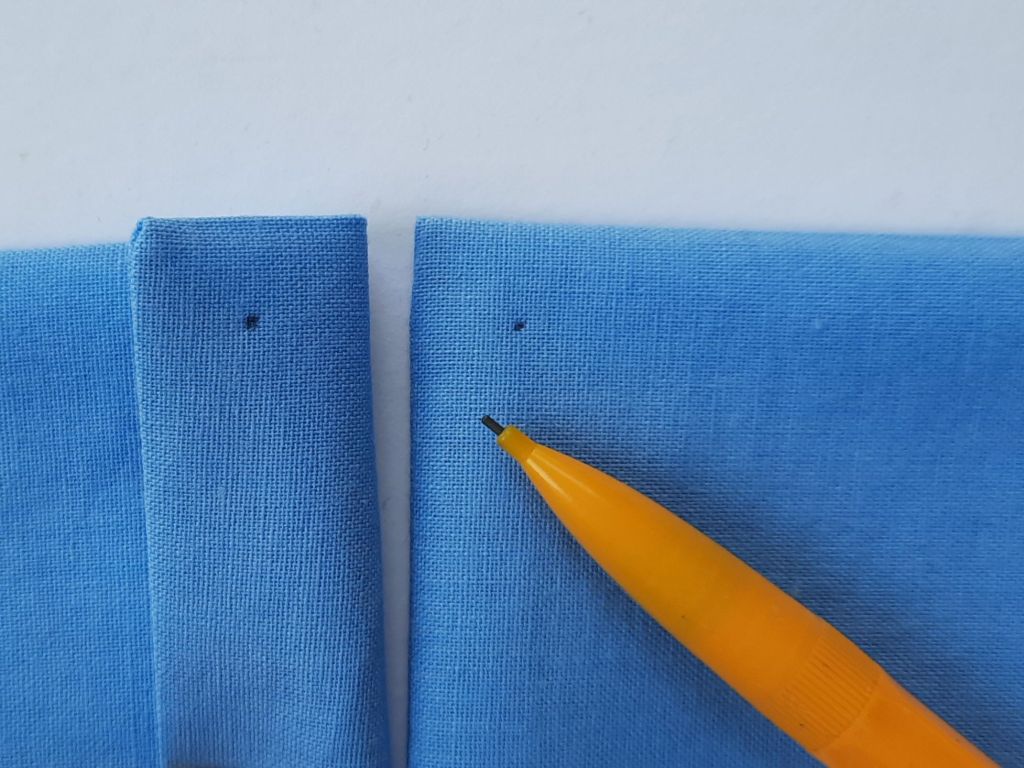
3 The next step is to mark the position of the two parts of the press stud with an erasable fabric marker or a pencil.
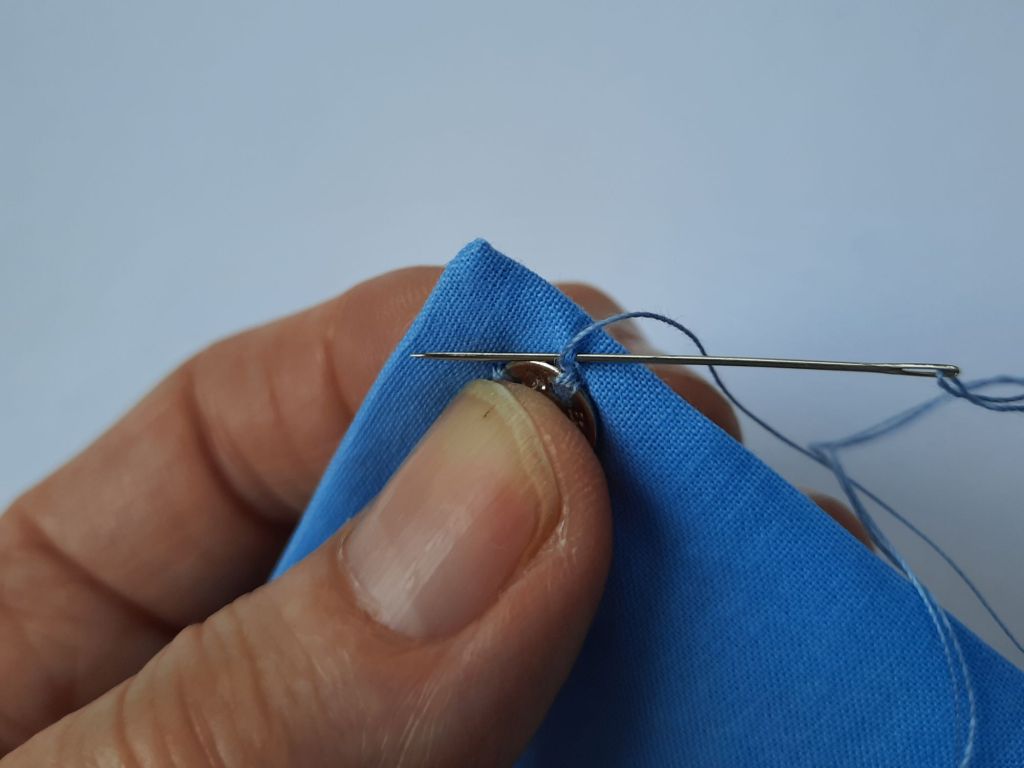
4 The stud part with the dip in the middle will be underneath when the garment is in wear. Knot the end of your thread and take a tiny stitch into just one layer of the fabric – your stitches should not show through on the outside of the fabric beneath.
6 Make four neat stitches, attaching the first hole (in the three o’clock position) to the fabric, as shown. I am stitching as a right-hander and working anti-clockwise. If you are left handed, you might begin with the hole in the nine o’clock position and work clockwise.)
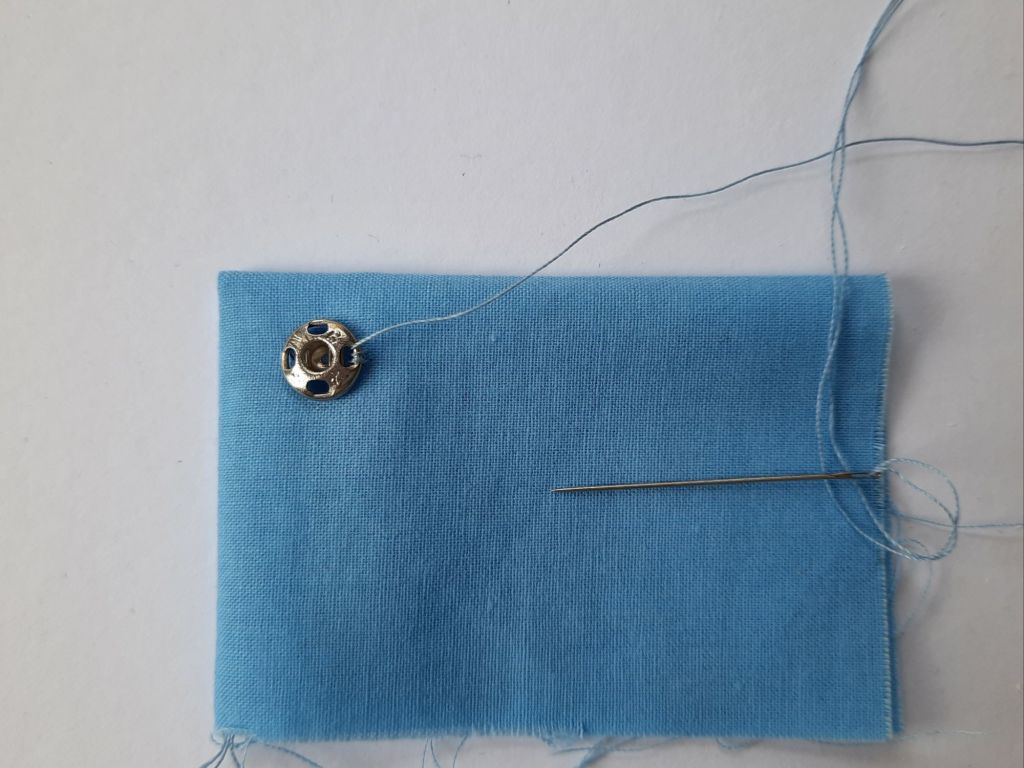
7 Now take the needle – through one layer of fabric only – to the next (12 o’clock) position
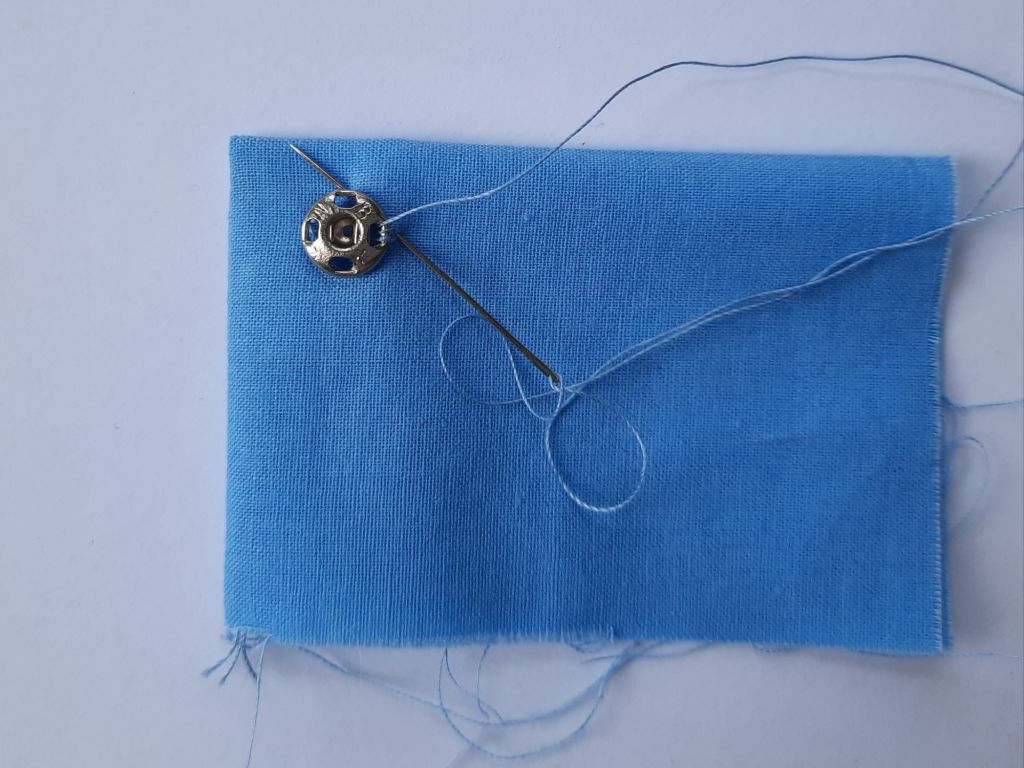
8 Make four stitches at this point, as you did before. Bending the fabric should make it easier to ensure that you only stitch through one layer.
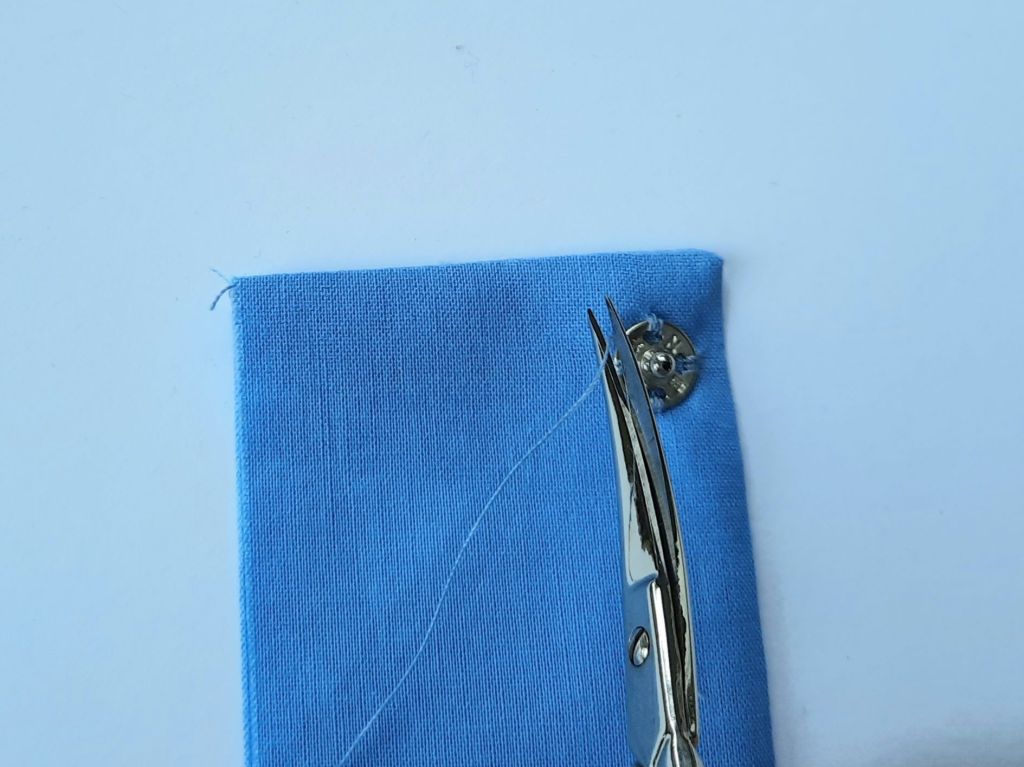
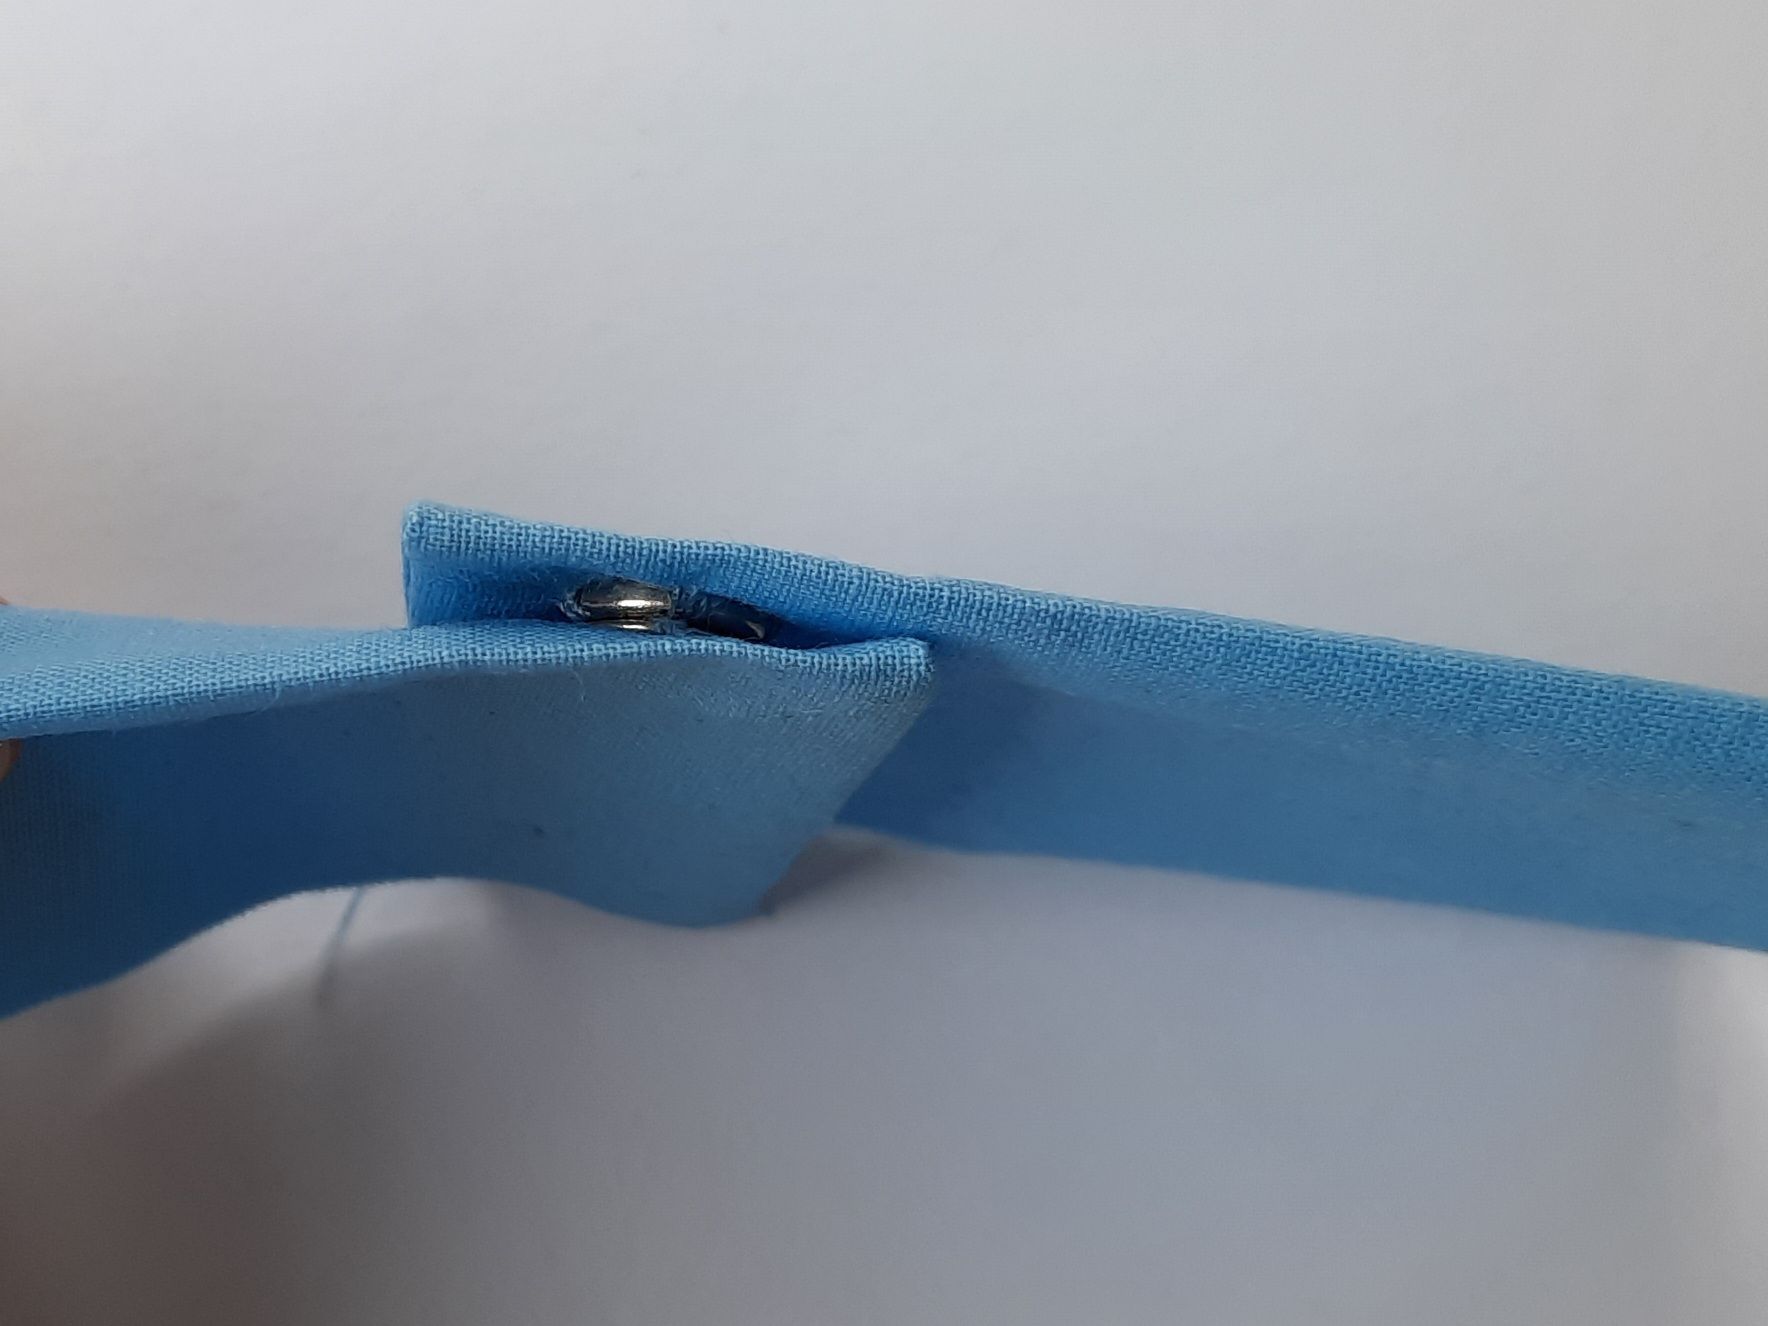
6 Repeat the steps with the remaining two holes in the stud. Finish by making two tiny stitches on the spot as shown.
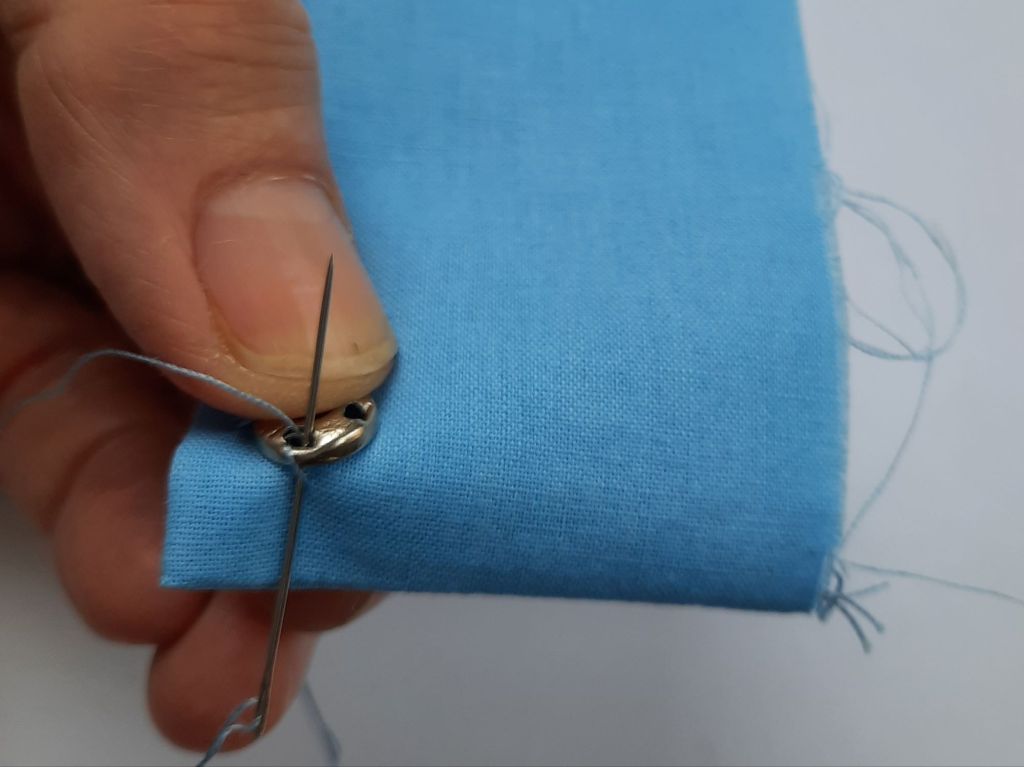
7 Finally, take your thread across, under the stud, before cutting the thread.
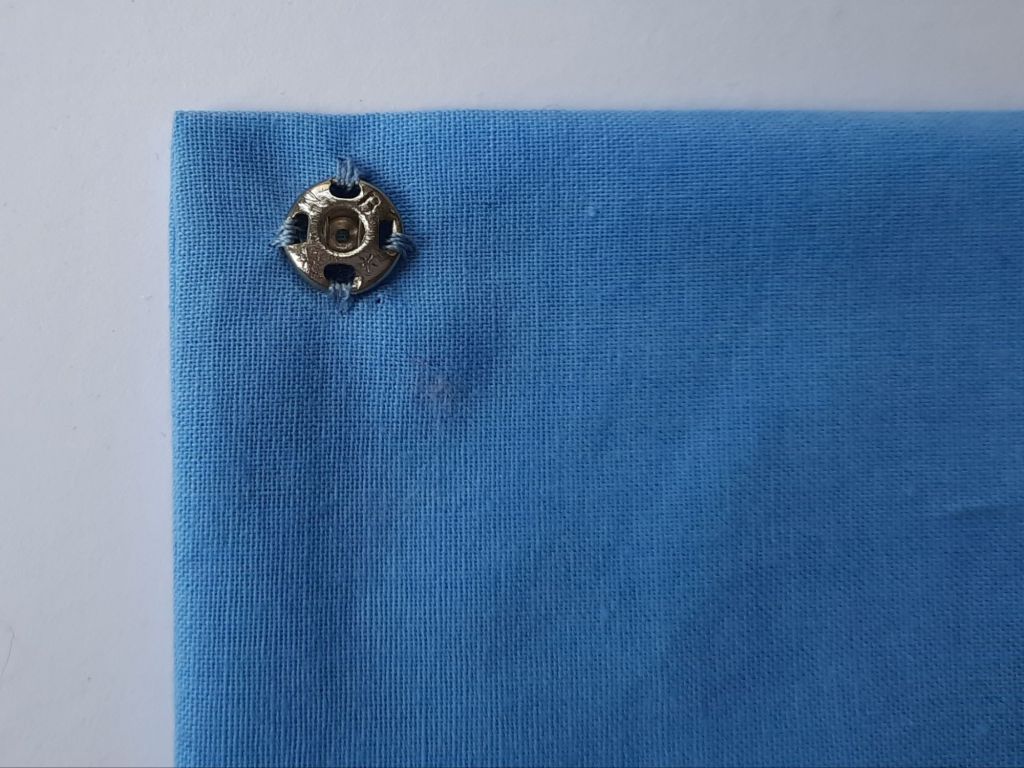
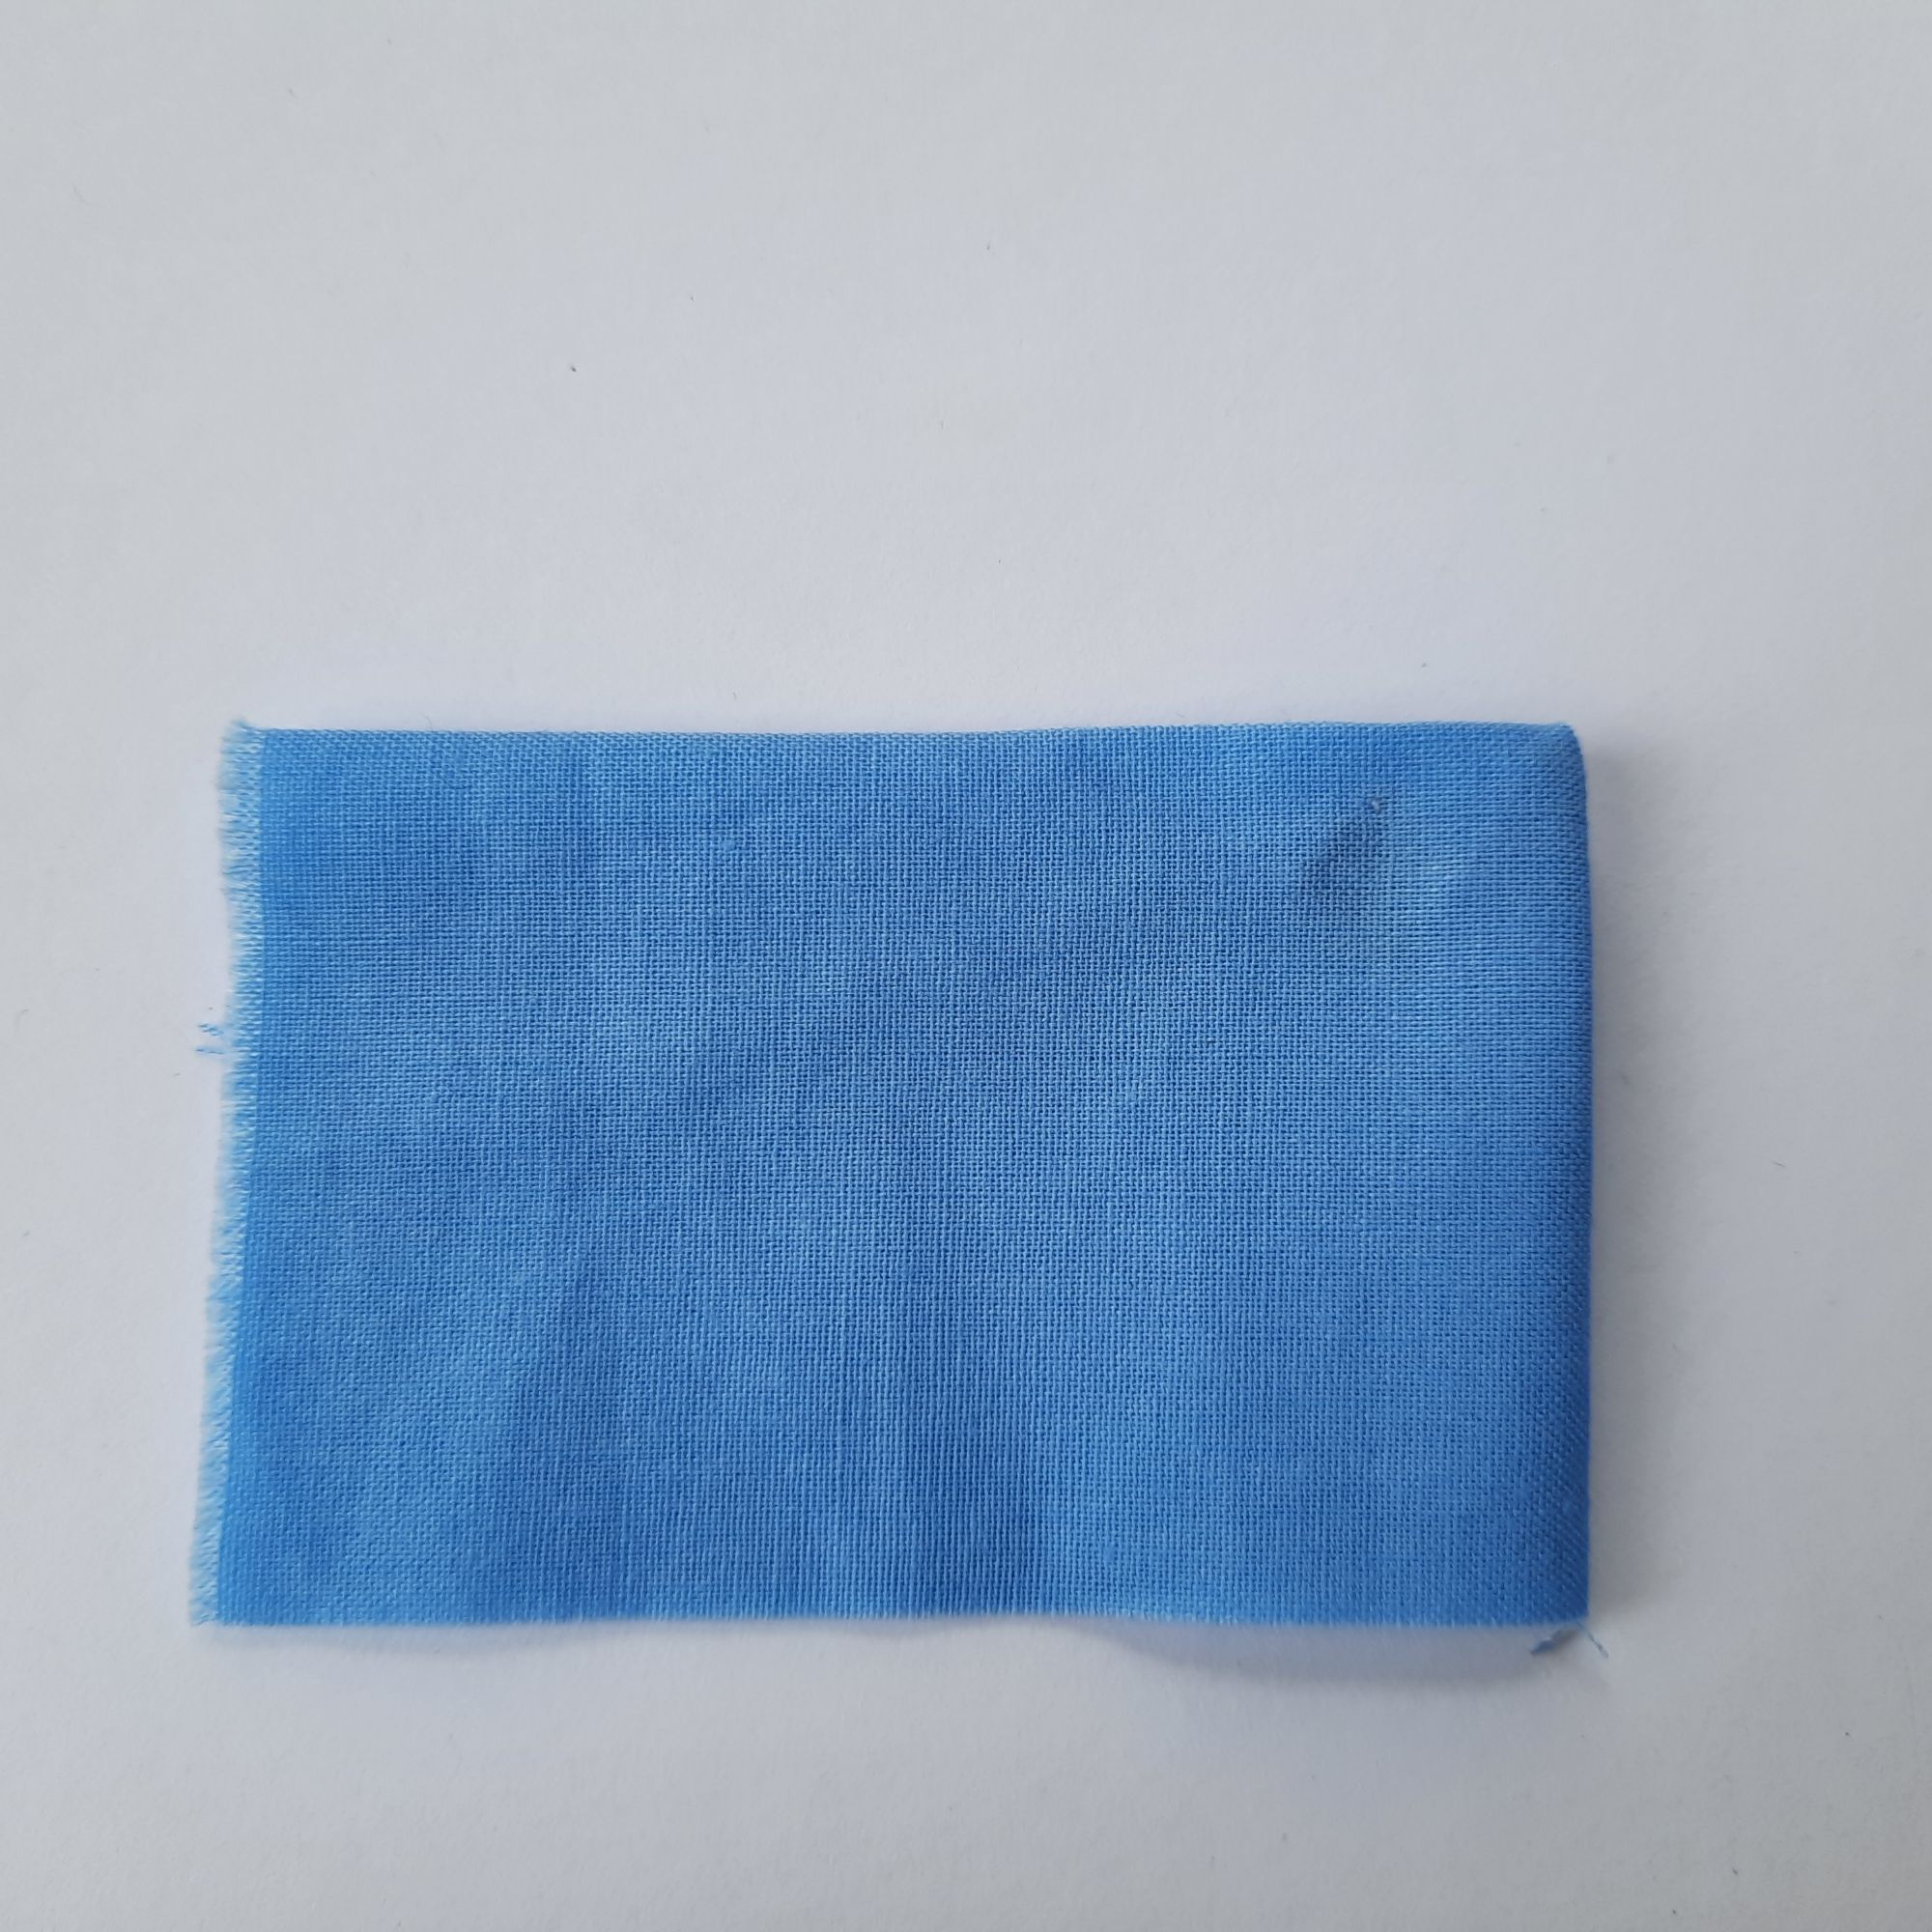
8 The completed half of the press stud:
9 The opposite side of the press stud is attached – in exactly the same ways as shown above – to the underneath of the opposite end of the waistband. On the small samples here, it looks like this (on the left in the photo).
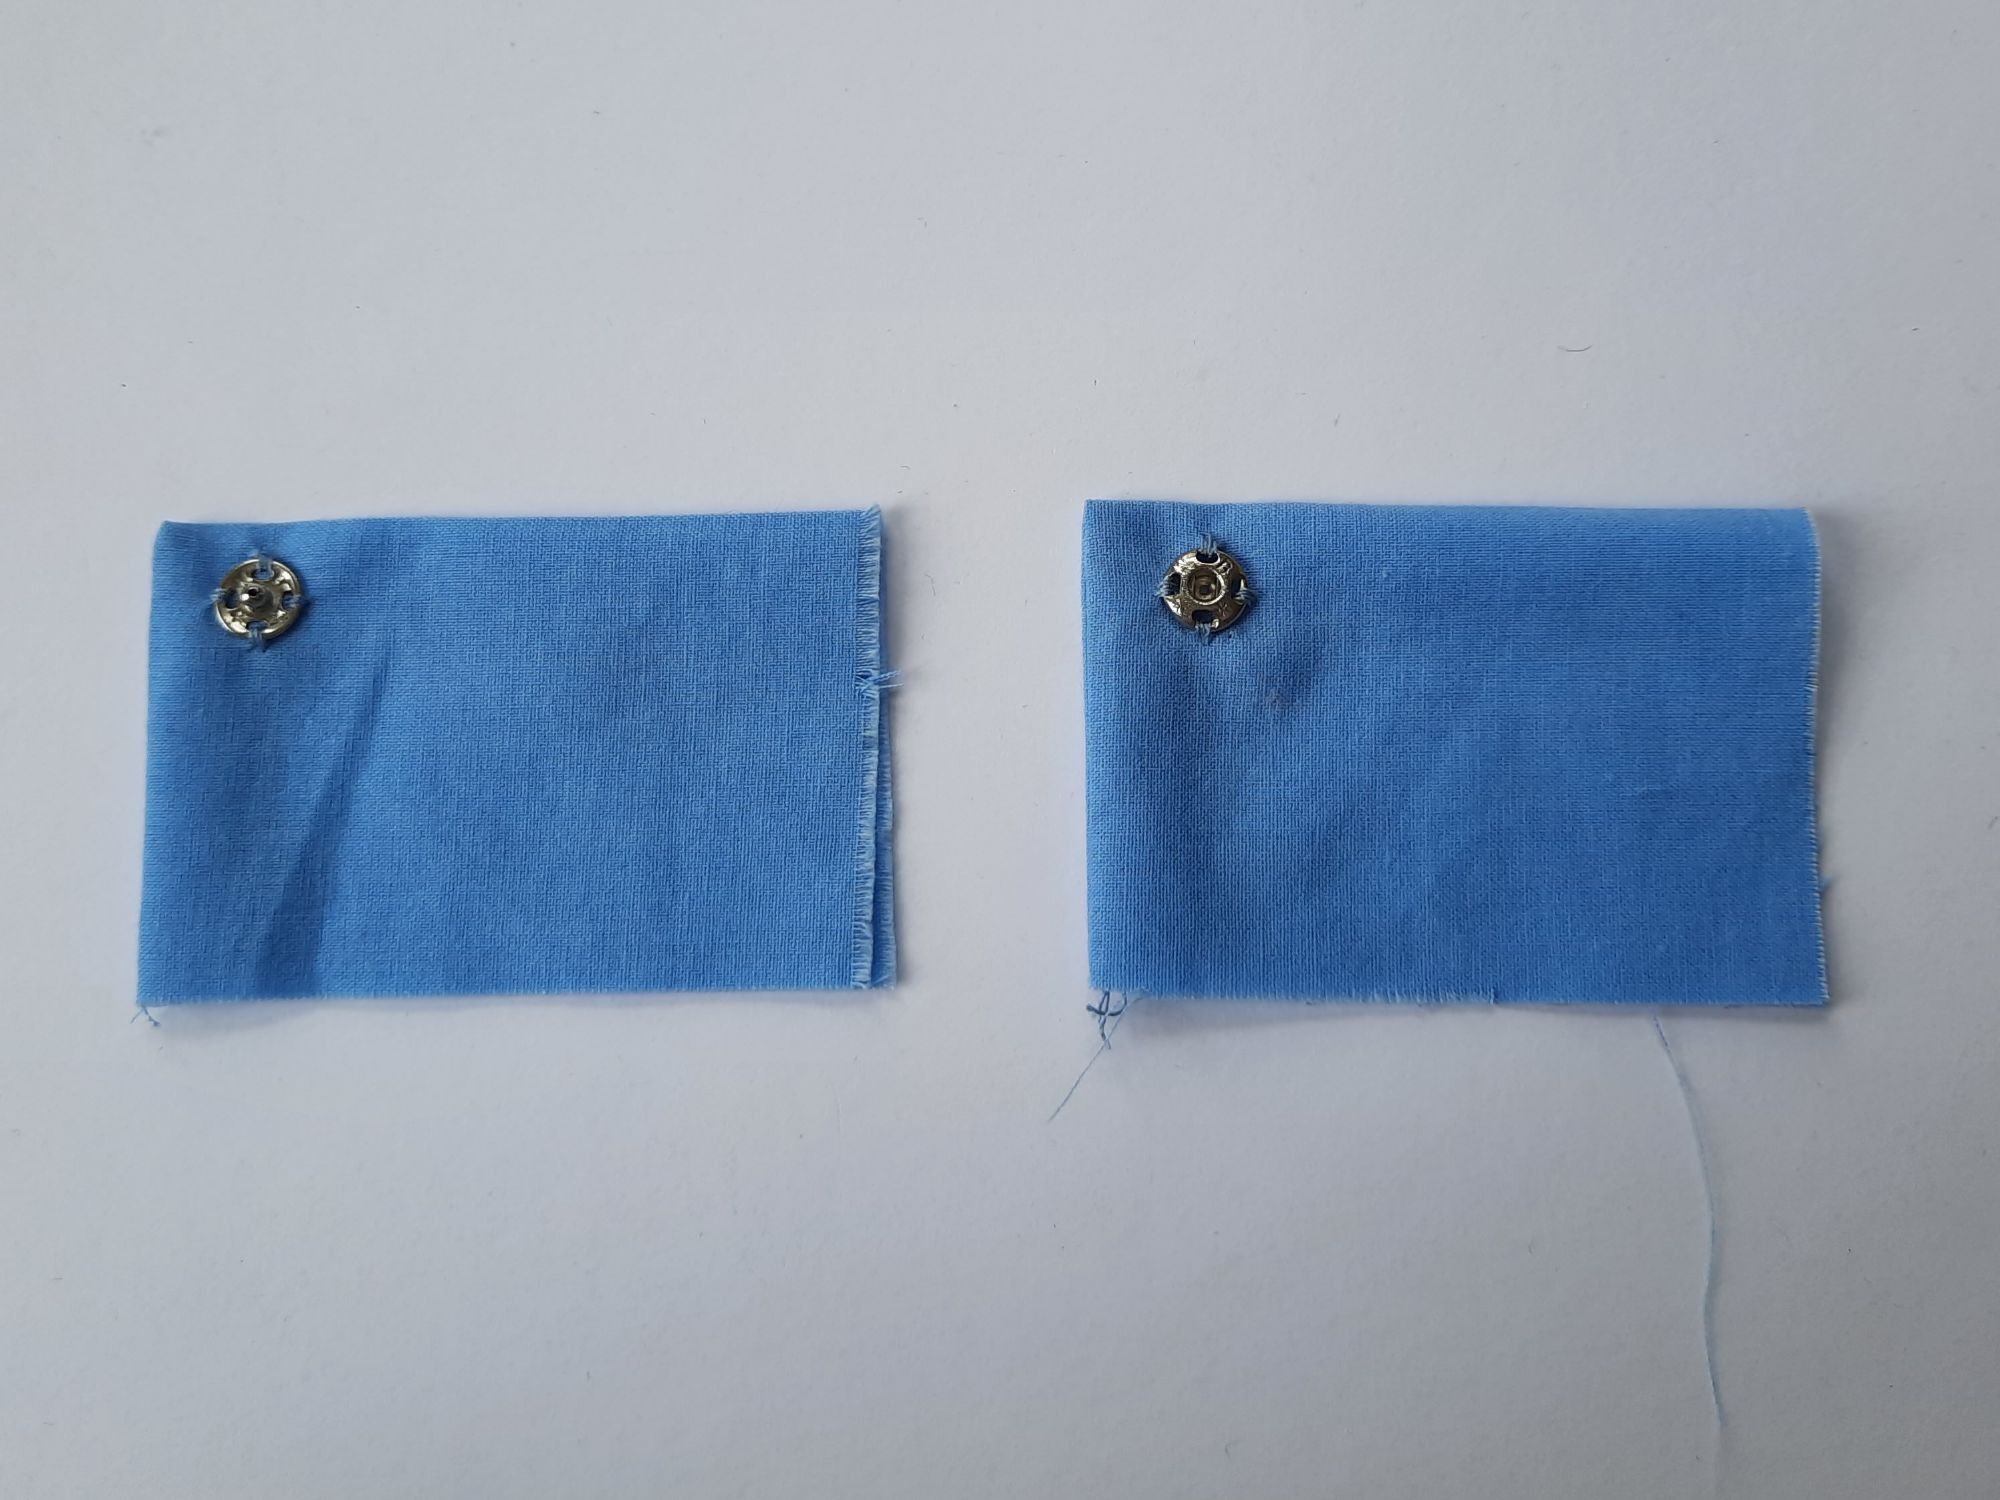
10 The left sample laps over the one on the right:
11 In the photo below you can see the two parts of the press stud at work:
12 There should be no visible stitching on the outer surface of the fabric.
Join me next week for instructions for the next block in the ‘Seaside Album 2024’ quilt!

If you are a beginner with sewing and you want some help with learning to use a sewing machine, check out my one-to-one half-day course on how to use a sewing machine on the Classes page here
This pattern for a ‘Small Buttoned Bag’ uses a button. This makes a nice gift and can be useful for fund-raisers. When you have made the purse once, you can easily adapt the pattern to make other sizes. You could even close the bag with a press-stud instead of a button!
Find the pattern here

Thank you for reading my blog. Quilt Patterns are here, Fabrics are here, Classes are here
Click the ‘Follow’ button to get a blog-post by email each Monday and click here if you would like the monthly newsletter with design and colour inspiration, etc.
