
Last month in this year’s Basic Sewing Skills series, I showed you how to make a machine-stitched hem, for example on a pair of trousers . You can see the post here . This is about stitching a hem by hand – very useful if you haven’t got a sewing-machine available, if you want to shorten a garment and/or if you don’t want hem-stitching to show.
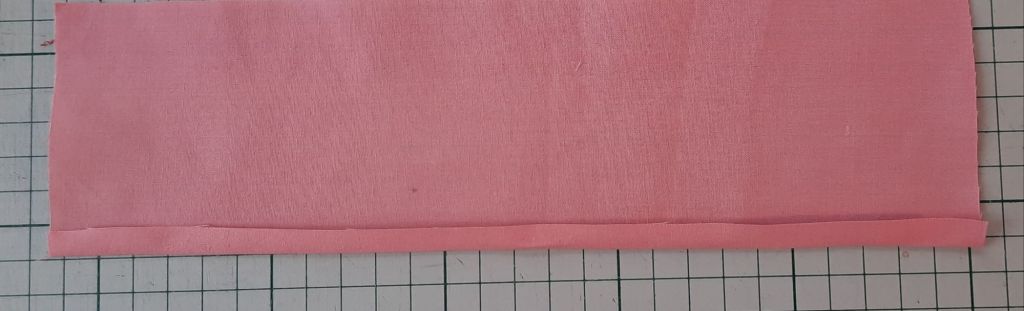
So the piece of fabric below represents the bottom of your dress, shirt, skirt or trousers. You can see that there is a raw edge at the bottom.

1 Fold over a quarter of an inch (6mm) towards the inside of the garment and press it with an iron.
2 Next, turn the bottom edge up again. The size will depend on how deep you want your hem to be. Here, I have made the second fold one inch (25mm) deep.

3 Choose matching thread and cut a piece that is no longer than the distance from your finger-tips to your elbow. Thread your needle and put a knot in the other end of the thread. Insert your needle into the inside of the fold you have created so that the knot is hidden in the fold, as shown.
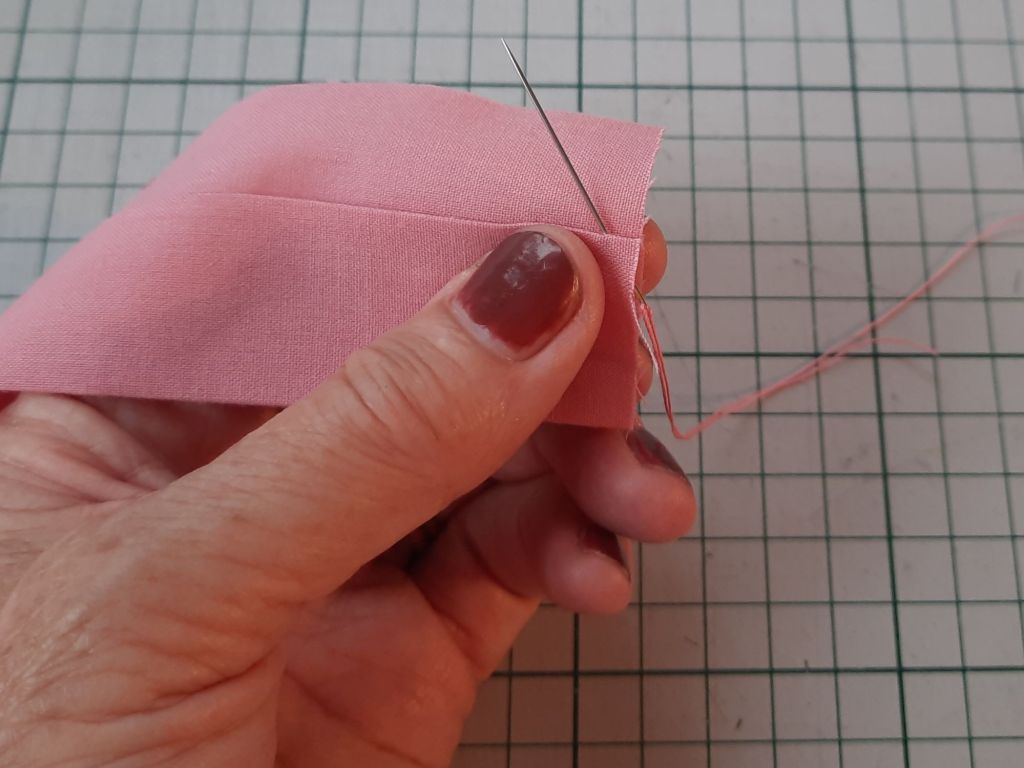
4 Now take a tiny stitch into the fabric above the fold. You should aim to just pick up a couple of threads:

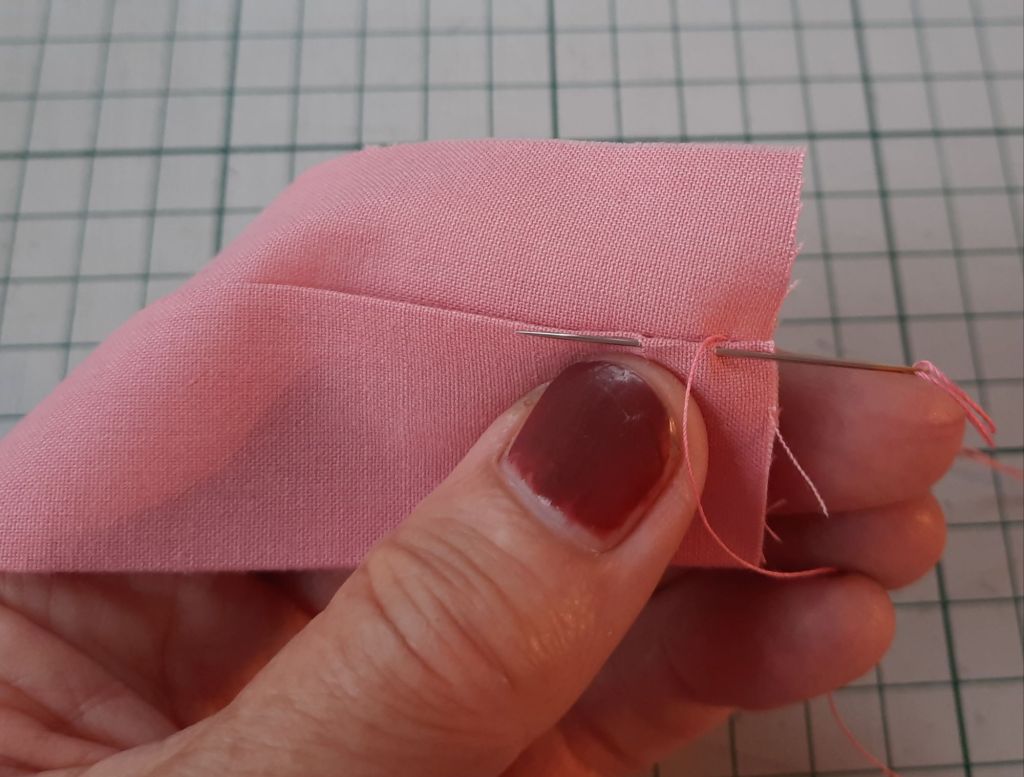
5 Now insert your needle back into the fold, immediately below the small stitch you made in step 4 and run the needle just along the fold:
6 Repeat step 4.

7 Repeat step 5. Continue like this until you you have completed your hem. When you reach the end of your hem, do two small stitches on the spot to secure your thread. If you need to start a new thread on the way round your hem, finish off as shown here and start a new thread with a knot (as in step 1).

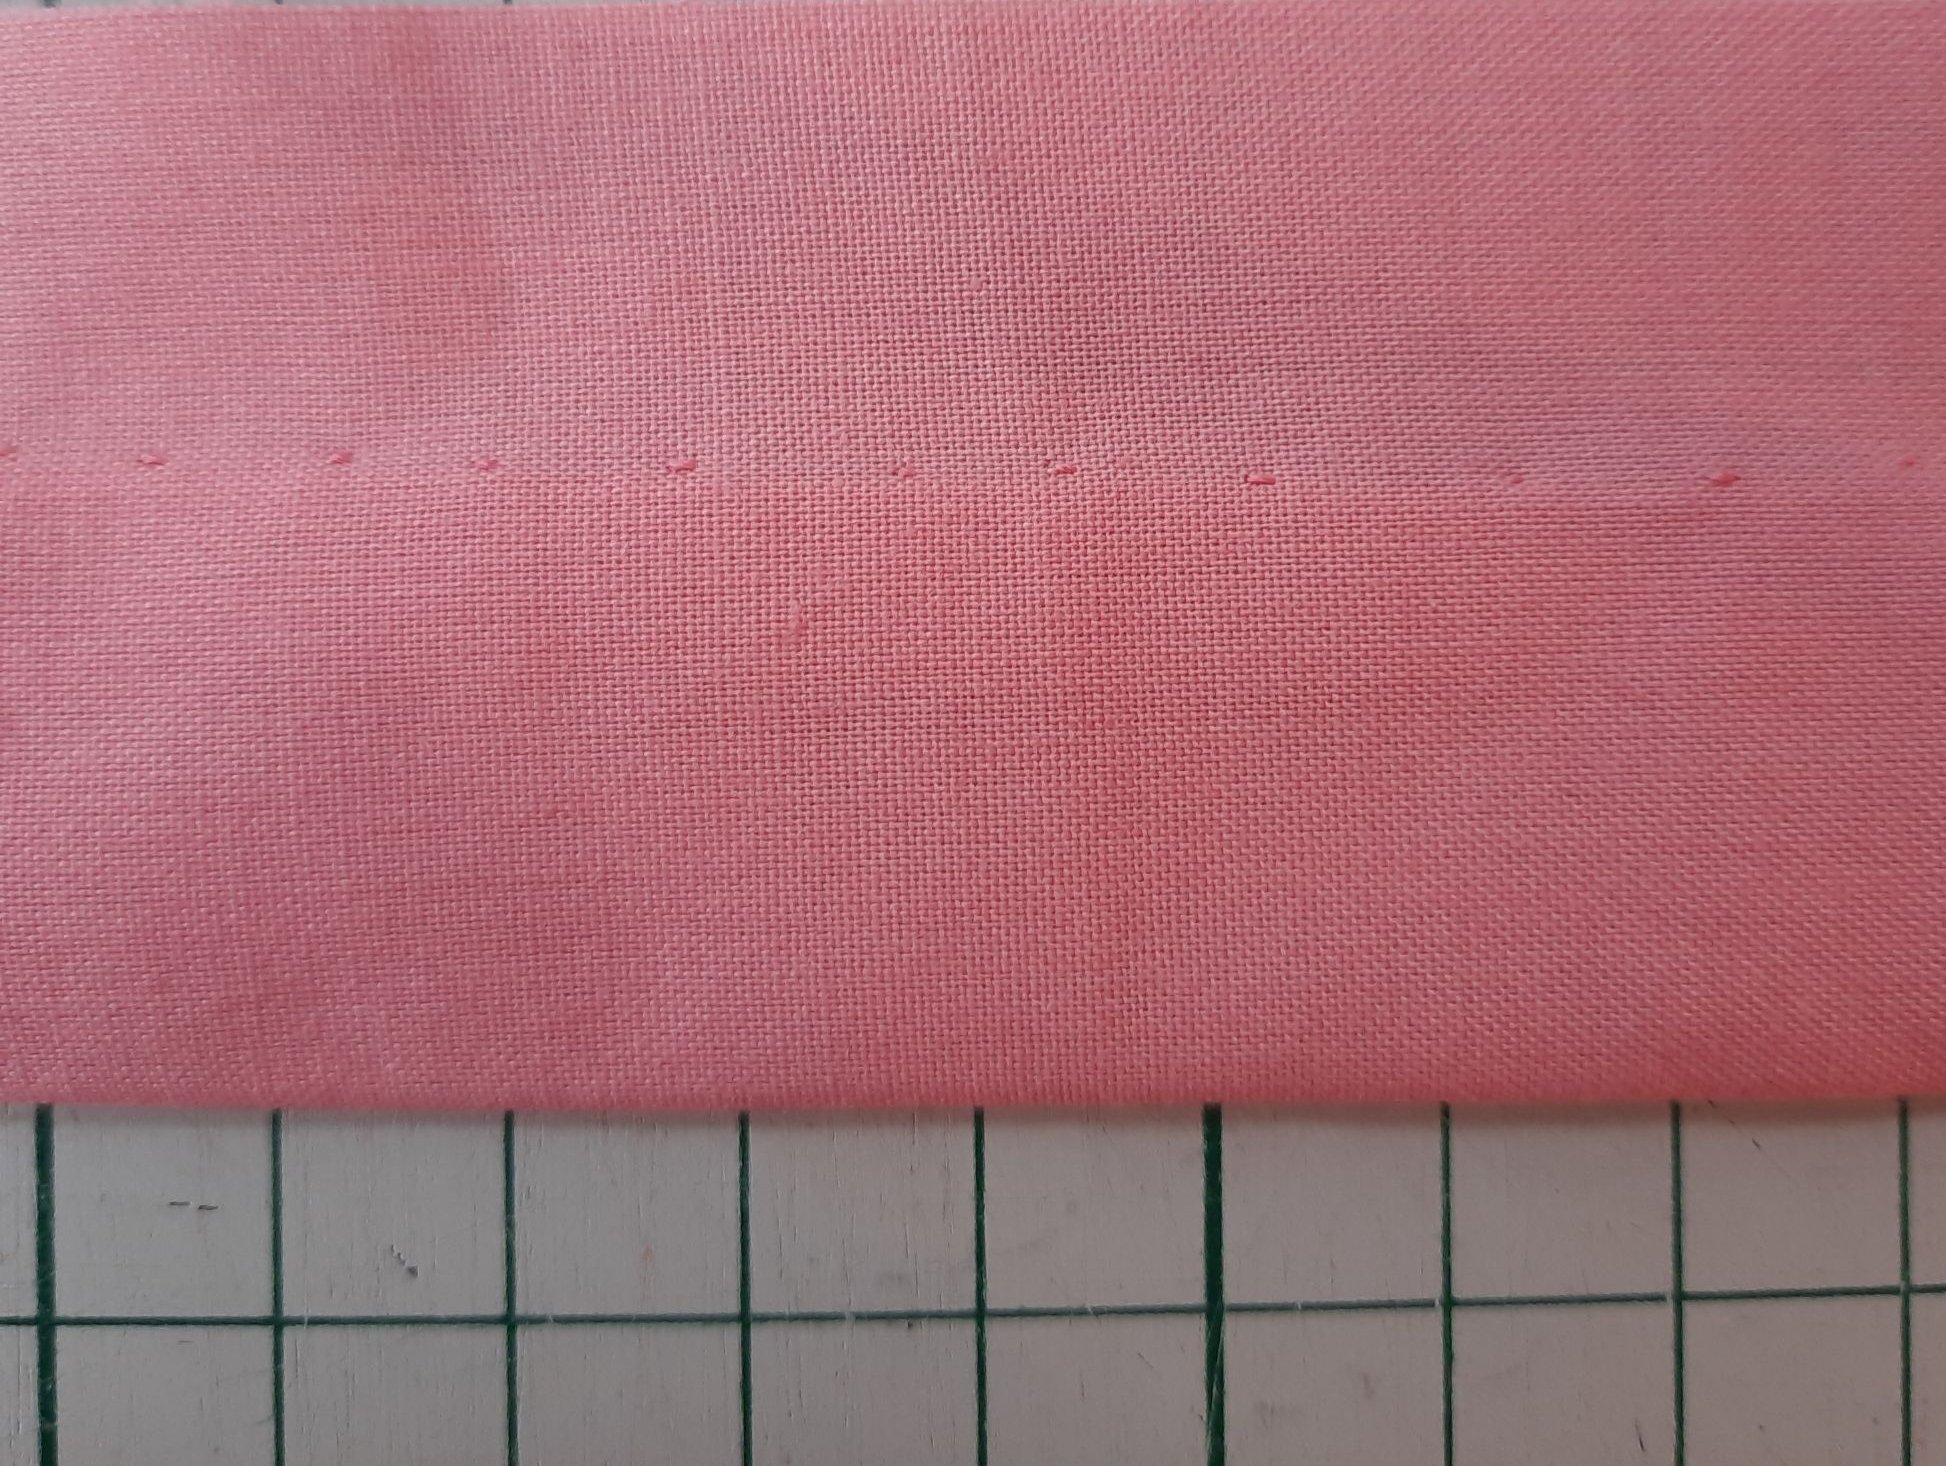
This neat way of making a hem is suitable for a variety of different fabrics. You can see from the photo of the right side of the sample that it is a very unobtrusive way of creating a hem. You can hardly see the stitches on the front of the garment.
I write quilting and sewing patterns which are available in my Etsy shop. You can see all of them listed here on the website – each with a direct link to the pattern on Etsy. Each pattern is instantly downloadable. Here is a recent review from a customer
“This was a beginner project for me and I am really pleased with the results. Really good instructions and very simple to follow. Thank you.”
Customer of ‘amanda Jane textiles’ on etsy
This was the pattern in question (and there are many more!) You can find it here

Thank you for reading my blog. Quilt Patterns are here, Fabrics are here, Classes are here
Click the ‘Follow’ button to get a blog-post by email each Monday and click here if you would like the monthly newsletter with design and colour inspiration, etc.
