
Today’s post is another in this year’s ‘Basic Sewing Skills’ series. This is how to make curtains shorter.
Here is a long curtain (one of a pair) which has been moved to a new house and is too long for its present location.

Many people believe that you should take curtains up at the hem but in fact is often easier to shorten them by cutting them at the top.
This method works on curtains (with or without linings) that have curtain tape at the top which is drawn up to create gathers and into which you put curtain hooks so the curtain can be hung on a rail. (If you have curtains with inset metal rings instead of tape, you’ll have to take them up from the bottom.)
1 Before taking the curtain off its rail, spread the over-long curtain out on the floor and measure from the point it touches the floor (if you want the curtains to be floor length) out to the bottom of the hem as shown in the photo below. The measurement here was 19cm.

2 Now unhook the curtains from the rail and take out all the hooks.
3 Measure the width of the curtains at the top while the tape is still drawn up and make a note of it. This measurement will be very useful later!
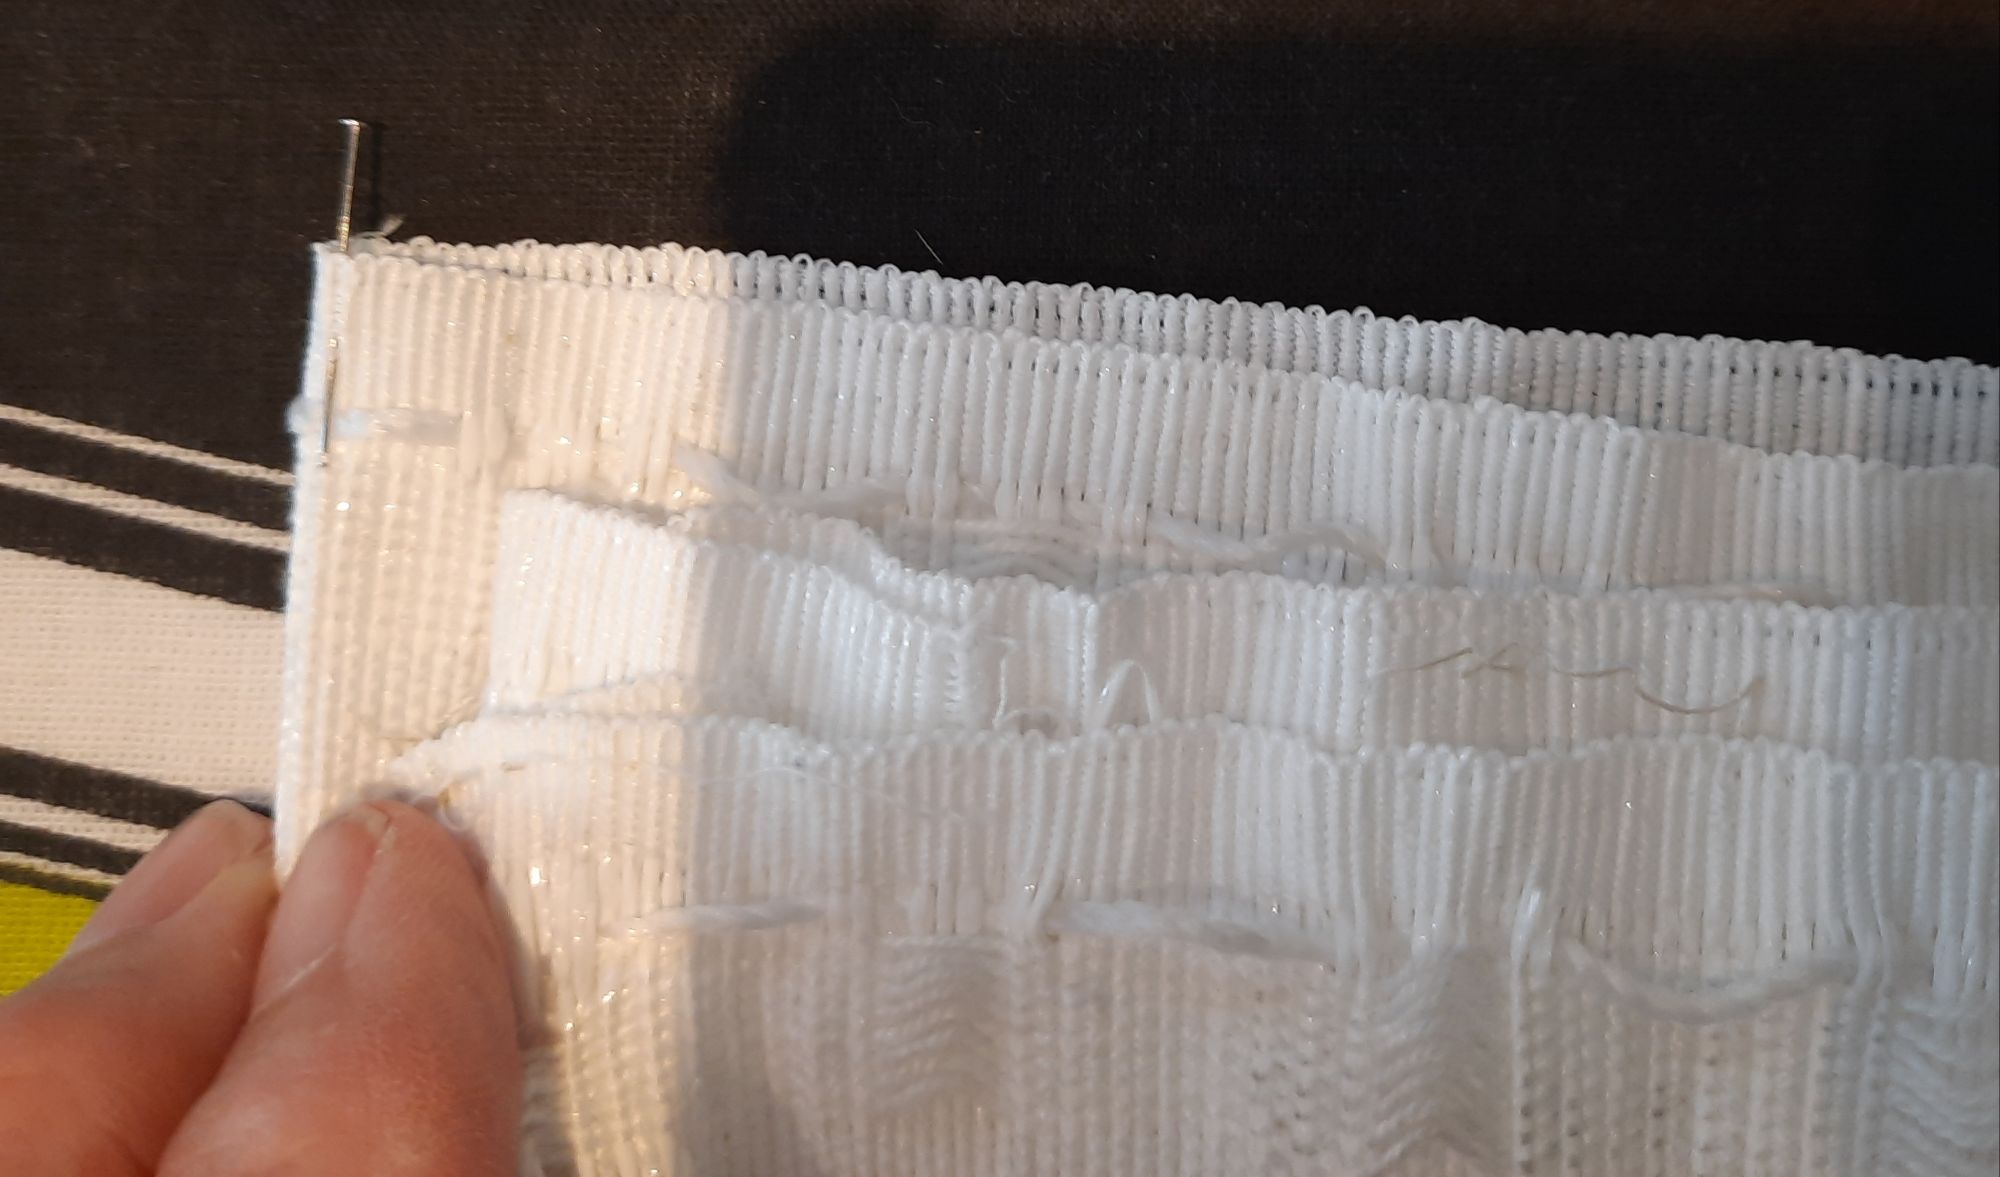
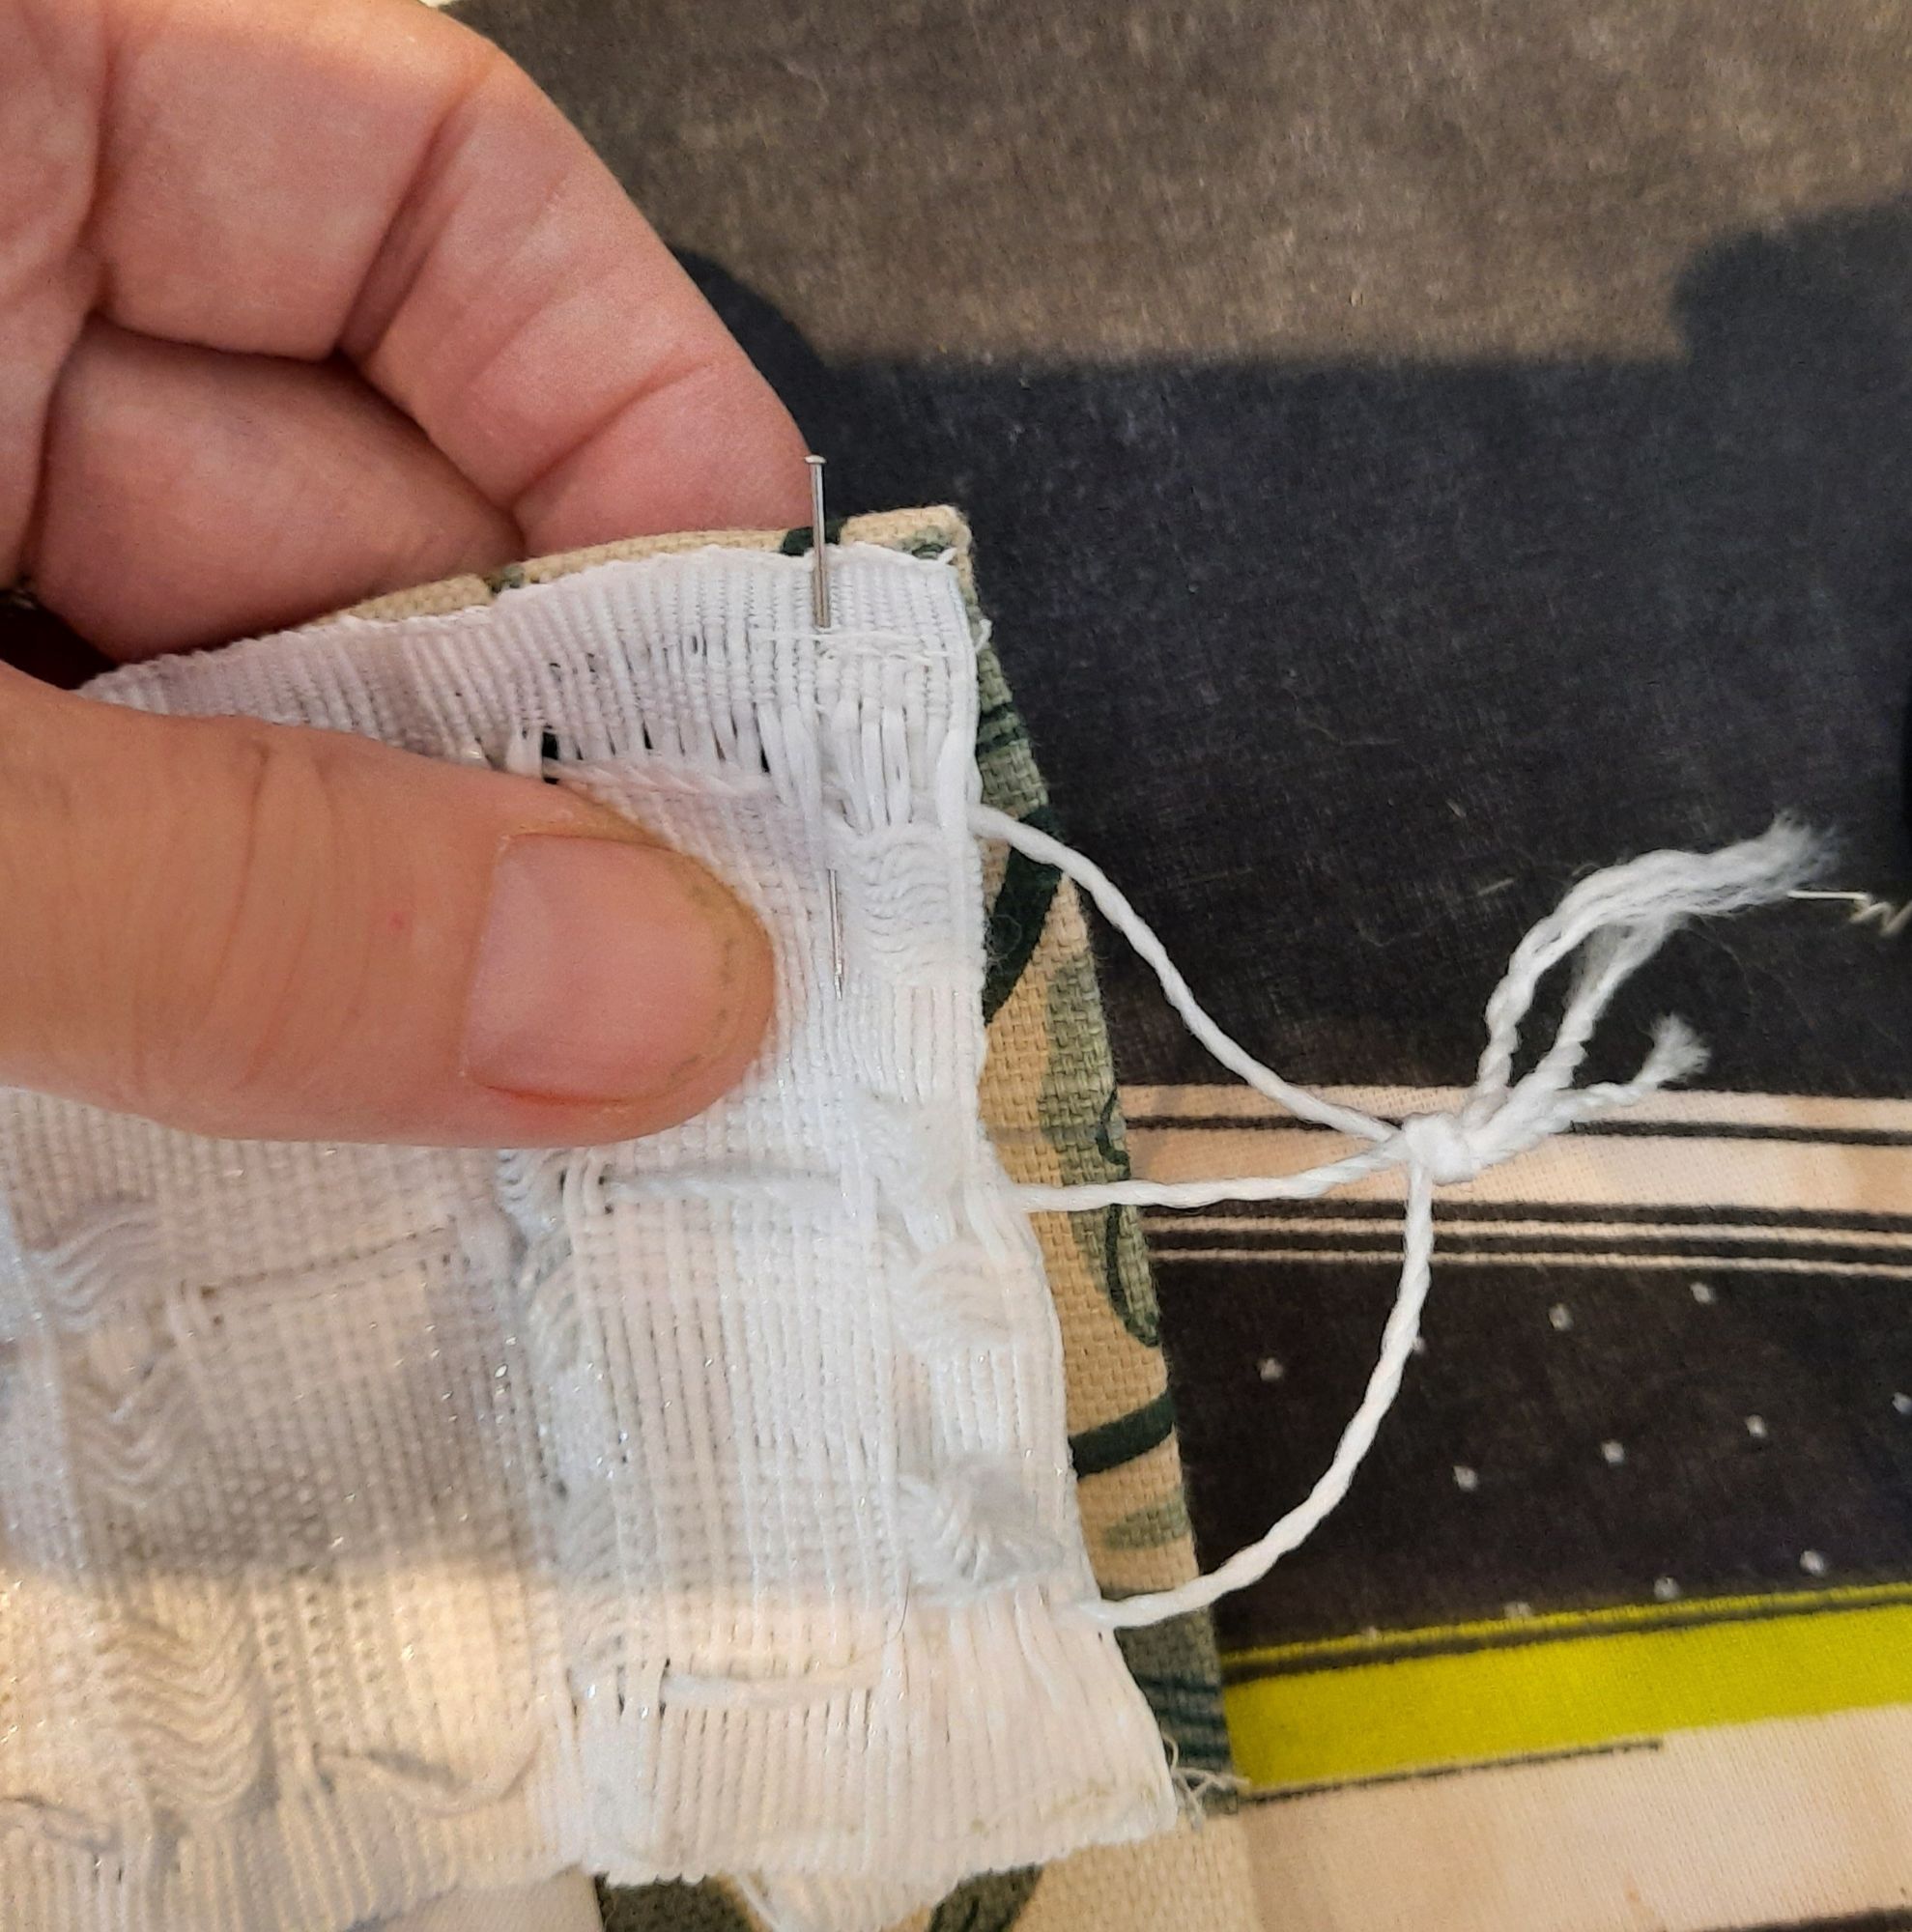
4 Now loosen the cords in the curtain tape to allow the tape to stretch out flat. Make sure that the cords in the tape are securely knotted at each end. You do NOT want them to pull out of the tape!
5 Using an unpicker, unpick the two lines of machine stitching holding the curtain tape to the curtain and carefully remove the tape. If the tape is not damaged, you can re-use it. You will see that the top edge of the curtain has been folded over (along with the lining, if there is one) beneath the curtain tape.
6 Lay the curtain down on a hard surface and use a ruler and a pencil to mark out the line where you will cut the curtain. My measurement in step 1 was 19cm but I wantedto allow 2.5cm to be folded over on the newly shortened curtain, so I measured from the existing top folded edge 16.5cm down (19cm-2.5cm) every 10cm across the width of the curtain. I used the ruler to join the marks, then cut along the line with shears, making sure that the lining and curtain material were lying completely flat. You may like to insert some pins near the cut edges to make sure that the two layers don’t slip apart.
7 Lay the curtain on an ironing board and turn over the curtain and lining 2.5cm. Check the measurement and press with an iron (set to the correct temperature for your fabrics).

8 Find the centre of the curtain and insert a pin.

9 Fold the curtain again to find the mid-point between the centre and each outside edge.

10 Now find the centre of the curtain tape and insert a pin.
11 Find the mid-point between the centre and the outside edges of the tape and insert pins.

12 Start at the centre and align the tape pin with the curtain pin, as shown in the photo. Remove one pin and use the other to hold the tape in position, inserting the pin at right angles to the tape.

13 Repeat with the mid-point marker pins and then align the outside edges and pins. The tape should lie just below the fold at the top of the curtain
14 Stretch and ease out the curtain tape between these set points and insert lots more pins – at least every 5cm along the top. You do not want to create a ‘ripple’ in the tape when you are stitching on the sewing machine. Along the bottom I used pins horizontally, pointing in the correct direction for when the curtain would go under the machine.

15 Make sure that at the end of the curtain, the curtain tape is tucked in underneathe the top fold as shown.

16 Stitch the top row of stitching, back-tacking at the beginning and the end. Then take the machine out of the machine and re-insert it to do the bottom row of stitching, back-tacking as before. Make sure you take out each pin, just before the sewing-machine foot reaches it.

17 Draw up the cords on the curtain tape to the width you recorded in step 3 and re-knot the cords into a loose knot that can be easily pulled out again (never cut them!). This should be at the outside edge of the curtain. At the inside edge , tuck the short edges of the cords into the gap between the curtain and the tape, Re-insert the hooks and re-hang your newly-shortened curtains.

All my sewing and quilt patterns have clear, easy-to-follow instructions with photos, like this tutorial. Here’s a great pattern for sewing a useful super-sized bag. Get the pattern here

The bag can be made up in any robust material, but here it is shown in my own ‘Midnight Ferns’ fabric design, found in my studio on Spoonflower here. The Cypress Cotton Canvas is a really strong fabric option.
Thank you for reading my blog. Quilt Patterns are here, Fabrics are here, Classes are here
Click the ‘Follow’ button to get a blog-post by email each Monday and click here if you would like the monthly newsletter with design and colour inspiration, etc.
