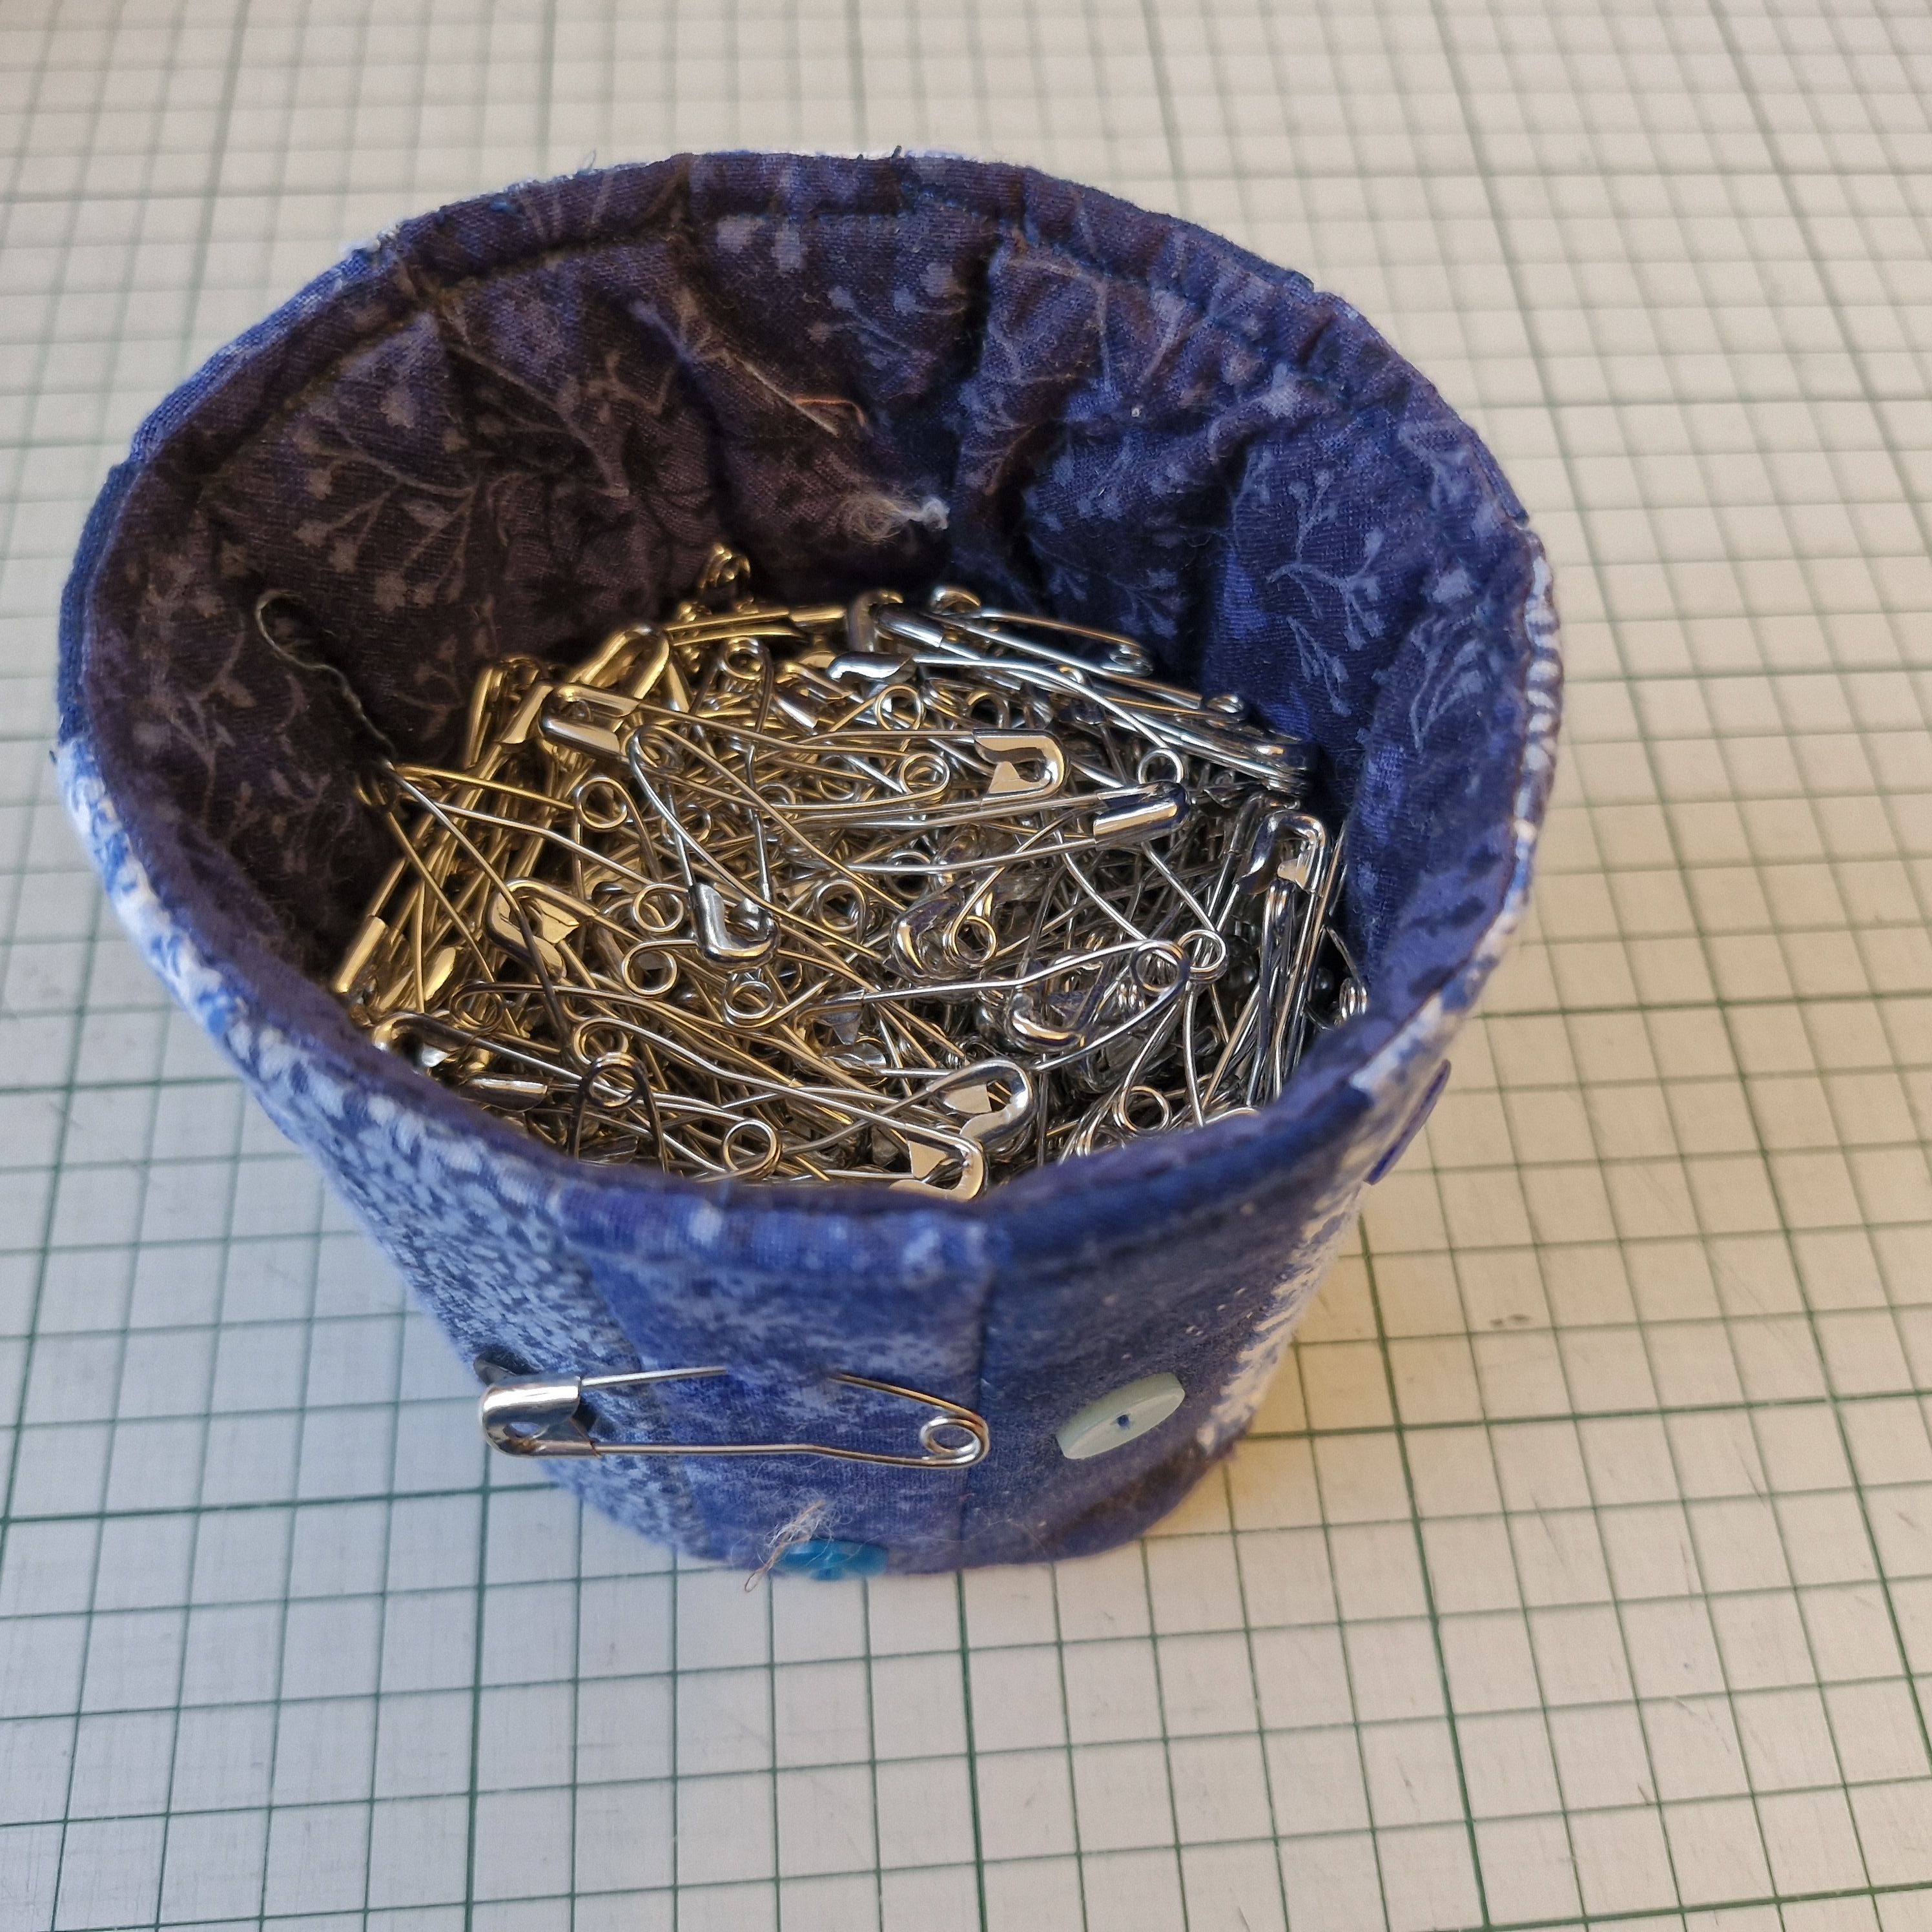
In my studio I have a set of handmade canisters* to store my safety pins. This is how they are organised and how I use my pins.

The left hand pot holds straight-sided safety pins of all sizes and I find I dip into it quite often.
I prefer to keep these straight pins away from the curved ones in the other two pots.

I use a large safety pin to hold a set of small buttons the same size – a convenient way of storing them. I pin together blocks for a row in a quilt I use the smaller pins to attach a description and price-tag to finished quilts that I sell at Craft Fairs and Shows – quick to undo when a customer selects a quilt. For a garment alteration, I would insert a safety pin, rather than a dressmaker’s pin on a waistband, say, to ensure than the person trying on the garment can’t scratch themselves on the pin.

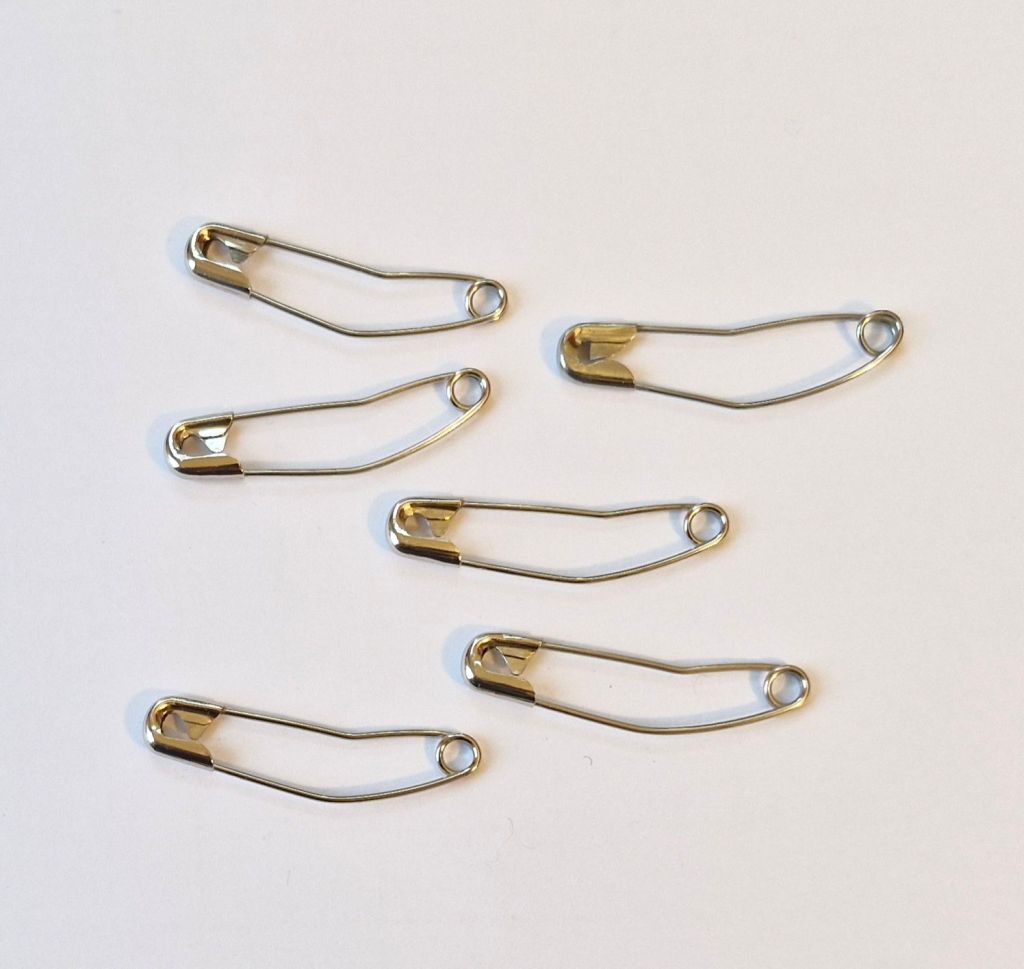
The middle pot contains my larger quilter’s pins which are 1½”(37mm) long.
I use these to layer up my quilts ready for quilting. Their curved design mean that when they are inserted through the three layers of a quilt the catch and the end both sit above the surface of the quilt
In the smallest pot, I have a set of smaller quilter’s pins 1⅛” (23mm) long.
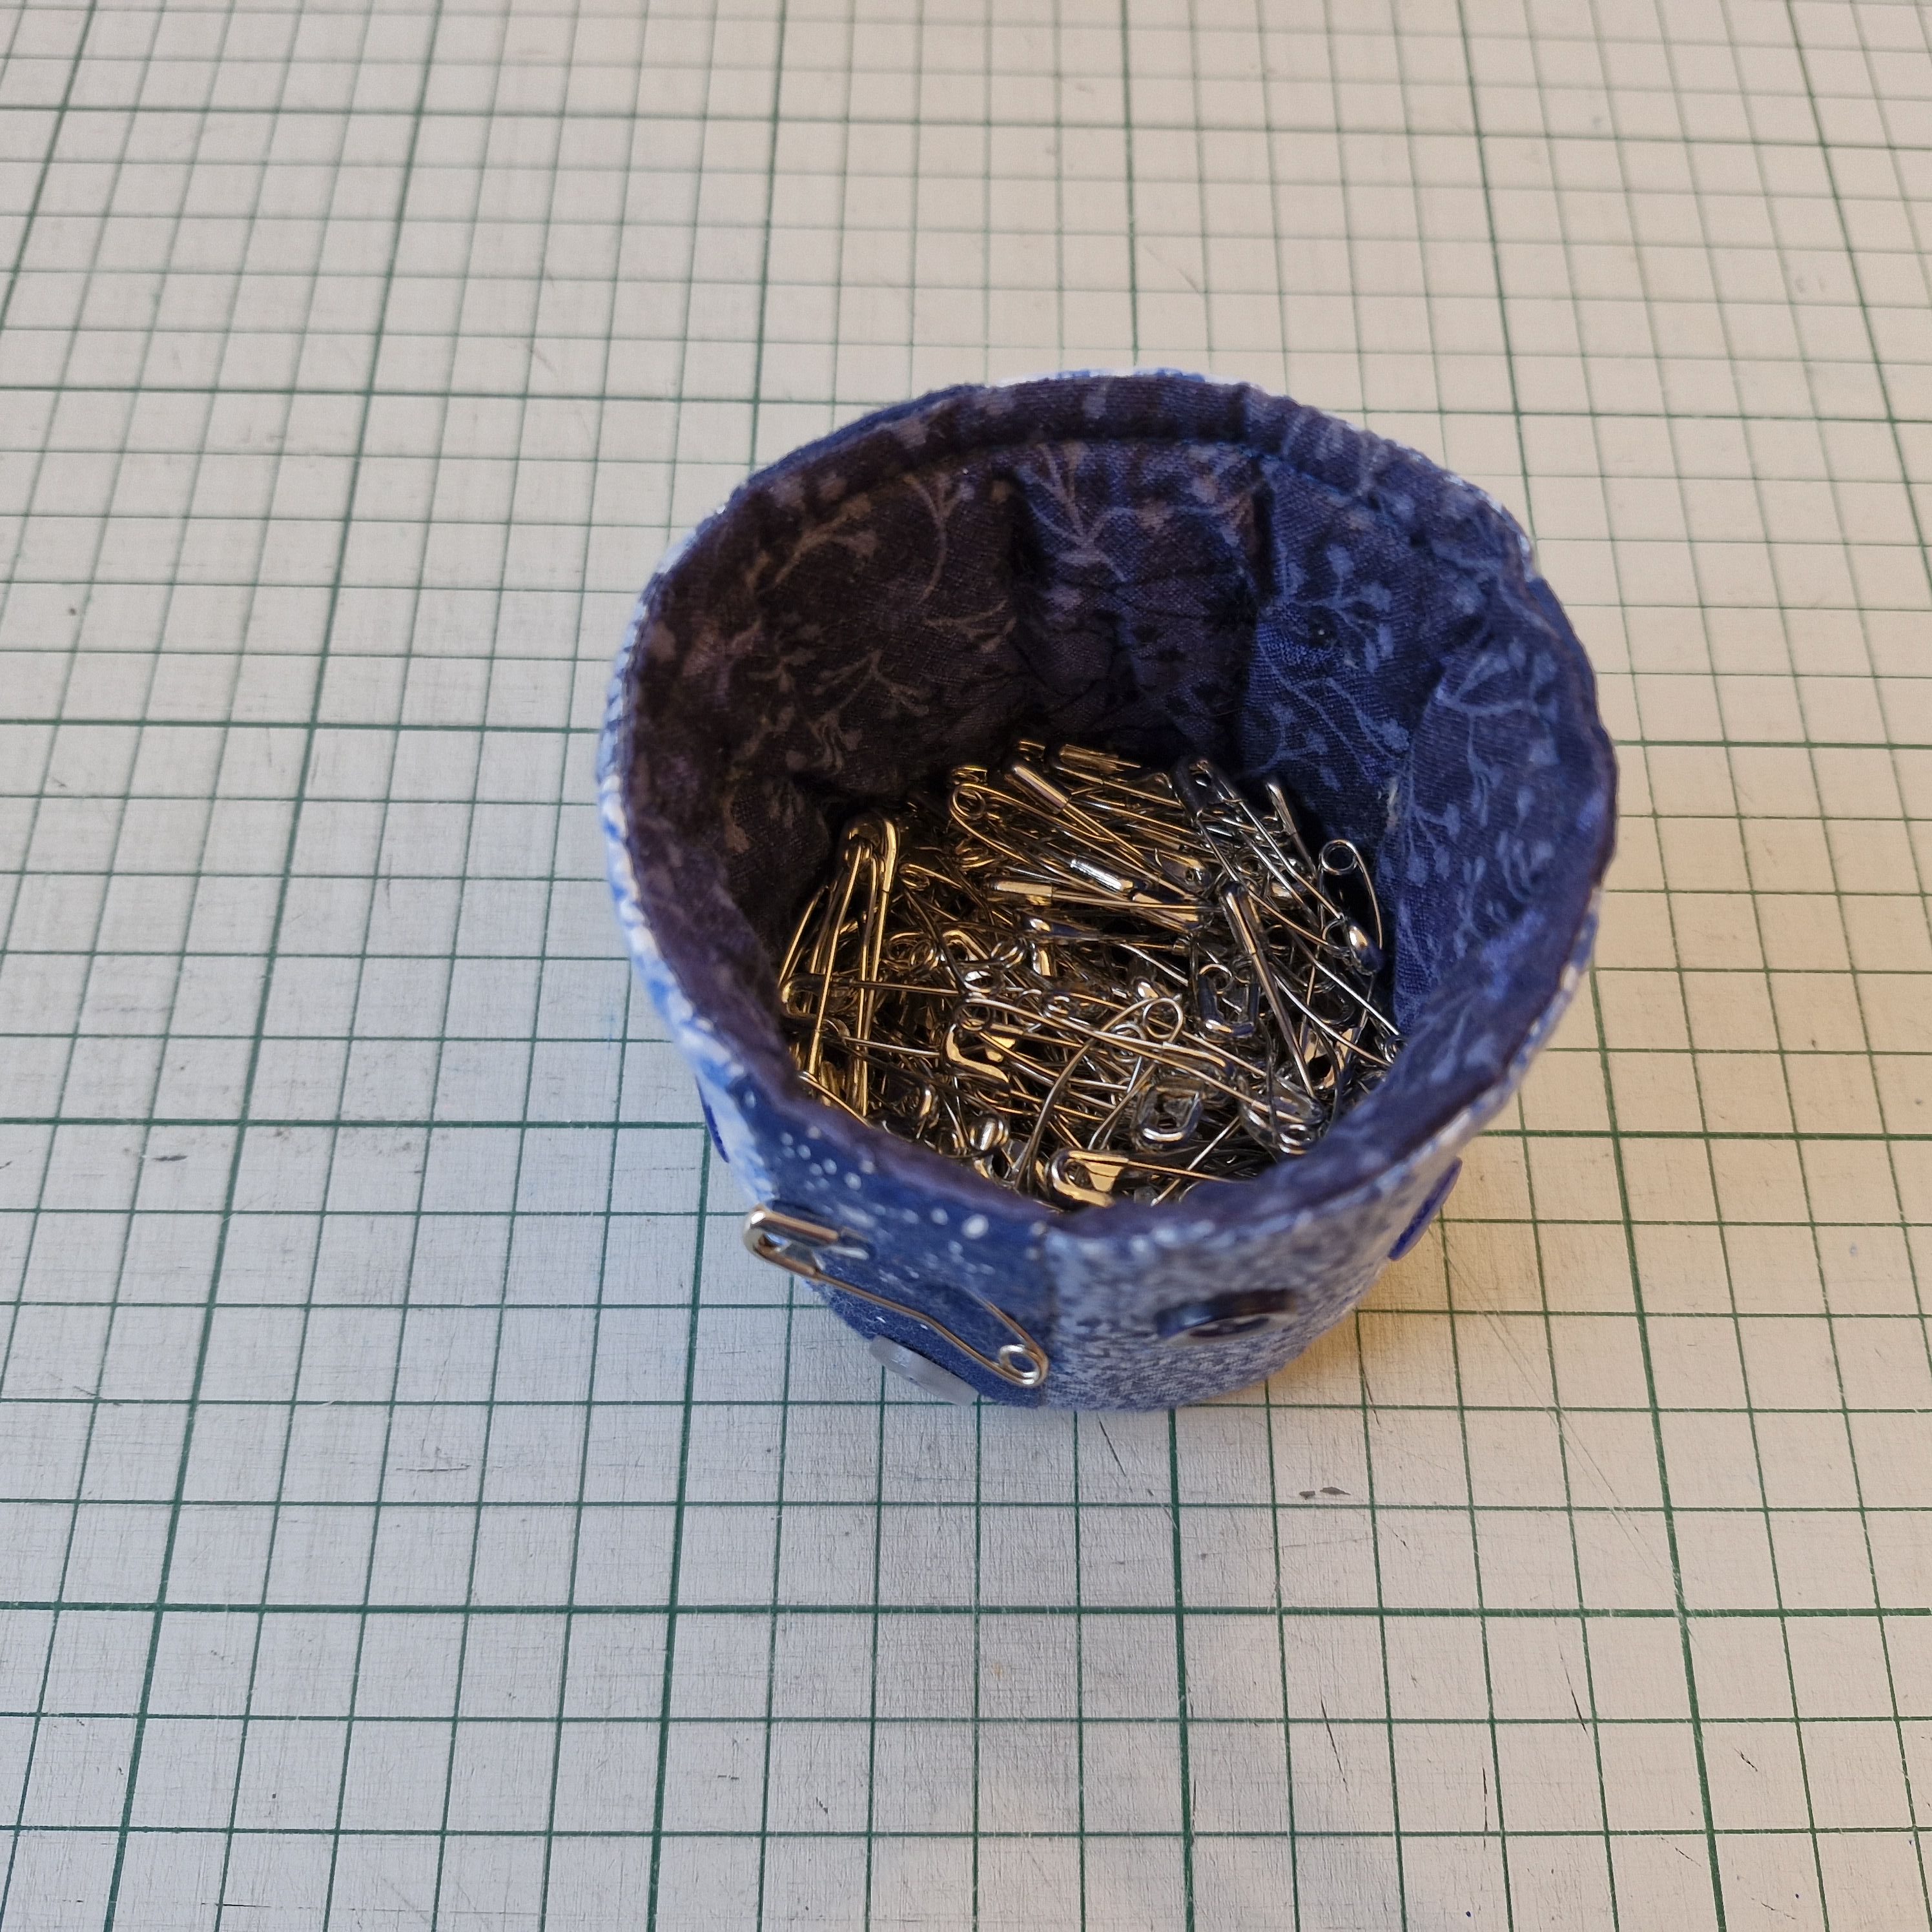
These are smaller and lighter and I find them easier to put in and take out than the larger ones. I am keeping both sets as I often make large quilts (up to Super-king size), so given that you need to anchor the three layers of your quilt with pins a hand’s breadth apart I need a lot! So I am looking to top up my stock of small sharp quilter’s pins in the future!

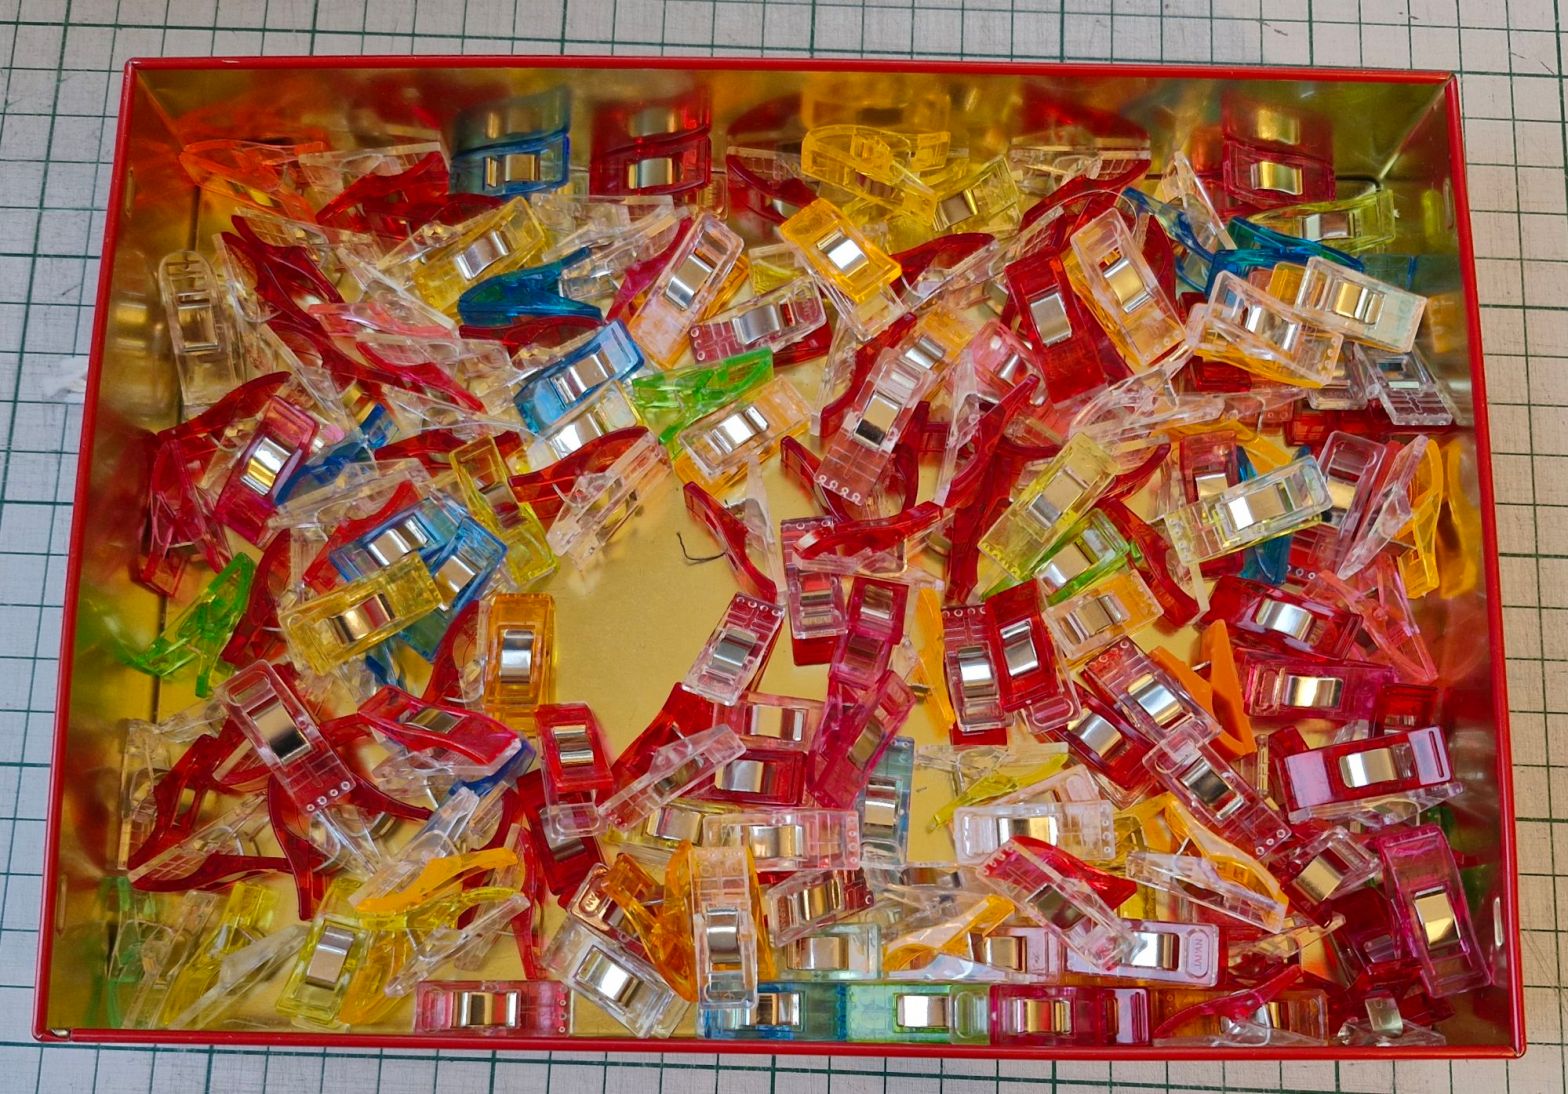
I keep my clips in an pretty tin because it’s a nice way of extending its life once the contents have been eaten.

I have lots of quilt clips because I usually finish my quilts with a binding that is hand-stitched a the back of the quilt and sometimes the quilts are big (see above!).

Once I have machine-stitched my binding to the front of my quilt, I turn the binding to the back and put in clips all the way round all four sides. It makes the hand-finishing quicker and more efficient.

They are also useful for clipping together sets of cut pieces ready to be sewn into blocks.

Finally, I have just a few large clips which are generally used to hold sets of finished blocks together before they are stitched into rows.

* I designed these canisters for ‘Quilt Now’ magazine (see Press page here for details). I can now release this as an Amanda Jane Textiles pattern. Is this something you would be interested in? Let me know… (There’s a comment form below.)
Thank you for reading my blog. Quilt Patterns are here, Fabrics are here, Classes are here
Click the ‘Follow’ button to get a blog-post by email each Monday and click here if you would like the monthly newsletter with design and colour inspiration, etc.
This is a great beginner’s quilt pattern which makes a lap-sized quilt, a square play-mat or an oblong cot quilt. Suggestions are included for machine-quilting the quilt and for adding some special hand-quilting. Get the ‘Clouds and Smoke’ pattern here

