The introduction of the rotary cutter made a huge difference for quilters. Used in combination with a quilter’s ruler (see the post here for more about rulers) made it easy to cut shapes quickly and accurately. A rotary cutter has a circular blade fixed onto a handle. There is a safety catch that allows you to extend and retract the blade. The example below made by Olfa has a 45cm blade.The catch on the handle is pushed down the handle to extend the blade.

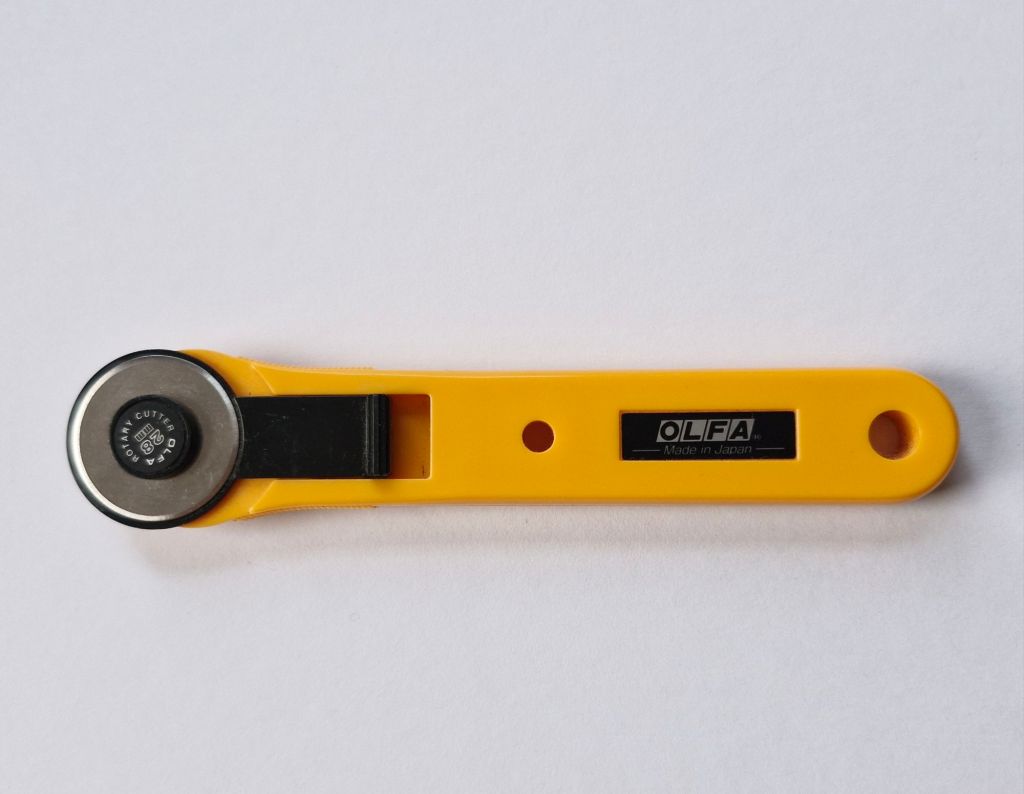
This rotary cutter works in exactly the same way but uses a smaller. 28mm blade and has a narrower handle. A smaller rotary cutter like this can be useful for cutting detailed shapes and very small shapes, for example when making miniature quilts.
The cutter below, again from Olfa. has the same size blade as the first one (45mm) but in this model, the blade is only extended when the trigger on the handle is pressed. This is a significant safety feature. The blade is only open when you are squeezing the handle.
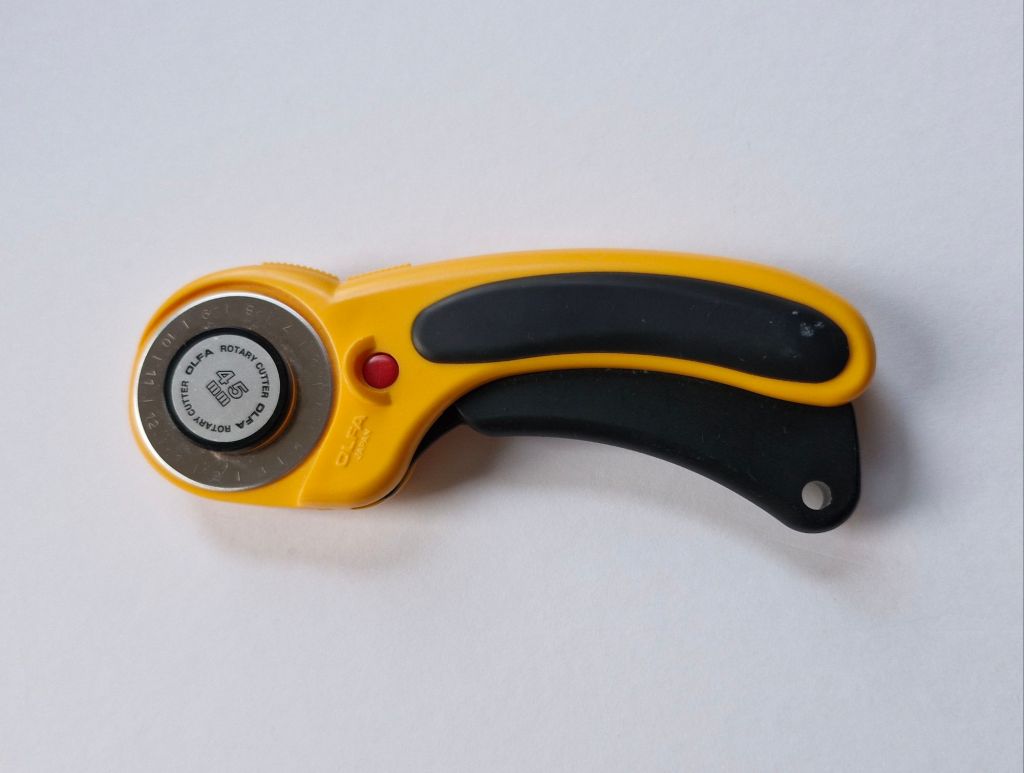
This is the rotary cutter I use with learners. An open blade partly hidden by a pile of off-cuts on your work-table can deliver a nasty cut! The red button on the cutter allows you to over-ride the safety feature and keep the blade extended continually – I tend not to use that.

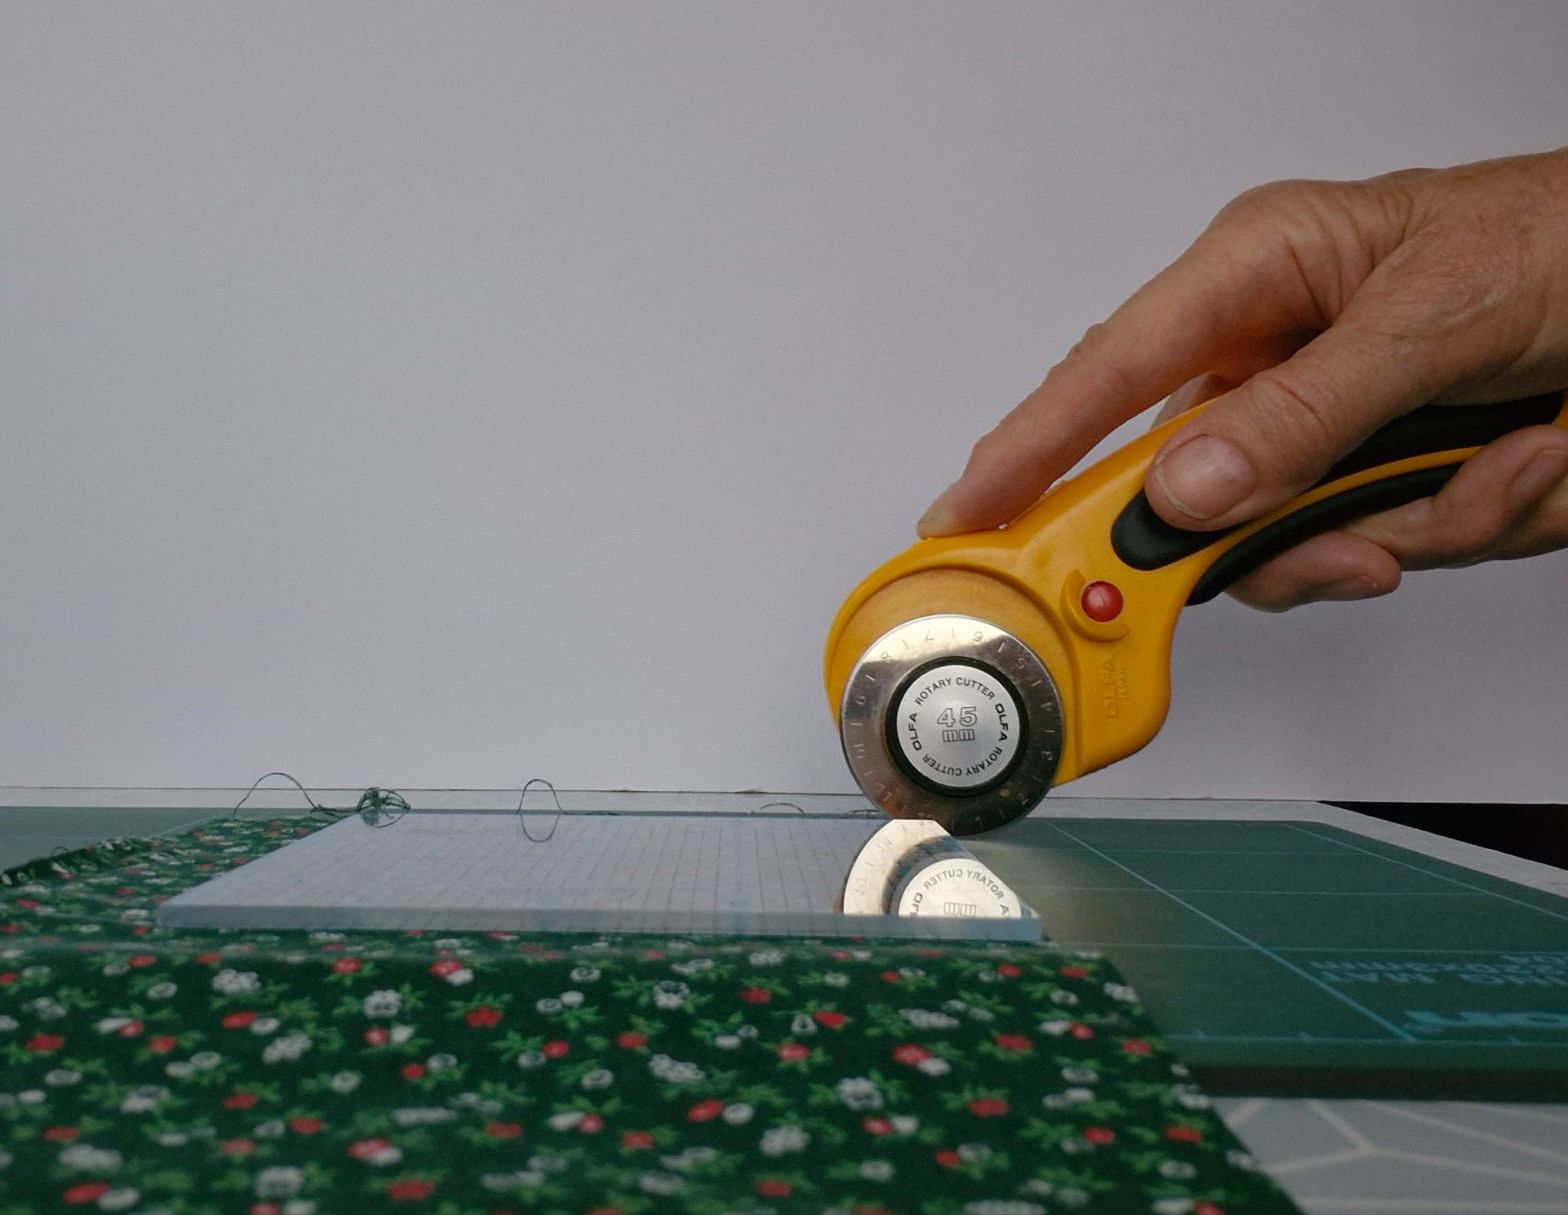
When you are are using this type of cutter, you should have your forefinger on the front of the cutter as shown and your rotary cutter should be butted up against your quilter’s ruler and held at a 45 degree angle to the cutting mat, as shown.

The exception to the 45 degree rule is seen in the rotary cutter below by TrueCut. This cutter cuts at a 90 degree angle from the cutting board.
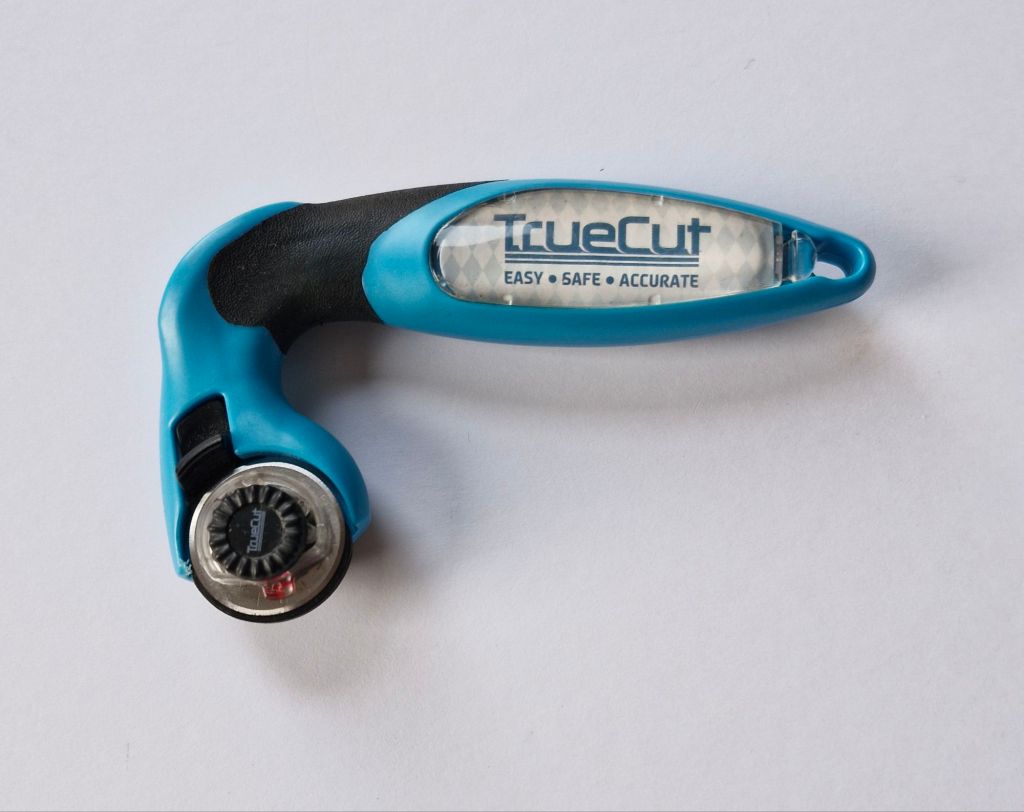
For this cutter your forefinger curls round the top, as shown. The blade release catch is visible just above the blade, Some people find this type of cutter more comfortable to use, especially if they have joint pain in their fingers.

Below are boxed sets of rotary cutter blades in the 45mm and smaller size. These were bought from Barnyarns. The boxes are sturdy and keep the sharp blades safe until you need them. You should change the blades often. A dull blade is ineffective!

Finally, my top tip for disposing of blades is to save a small screw-top pot like the ones for nail varnish remover pads! All my used blades go in there, along with broken needles and then when the box is full it can be disposed of safely.

If you want to learn to make a quilt for the first time, take a look at the QUILT IN A DAY COURSE on the Classes page here Learning how to use a rotary cutter is just part of the creative and instructive day in which you will make your own quilt.
Thank you for reading my blog. Quilt Patterns are here, Fabrics are here, Classes are here
There’s a great monthly newsletter full of design and colour inspiration, plus textile news of all kinds – click here if you would like to get it.
Click the ‘Follow’ button to get a blog-post by email each Monday.
