
Recently, someone who came to the studio to do my QUILT IN A DAY course (see here for more details) asked me the question ‘What equipment do you need for making quilts?’ It’s a good question. Here is my answer.
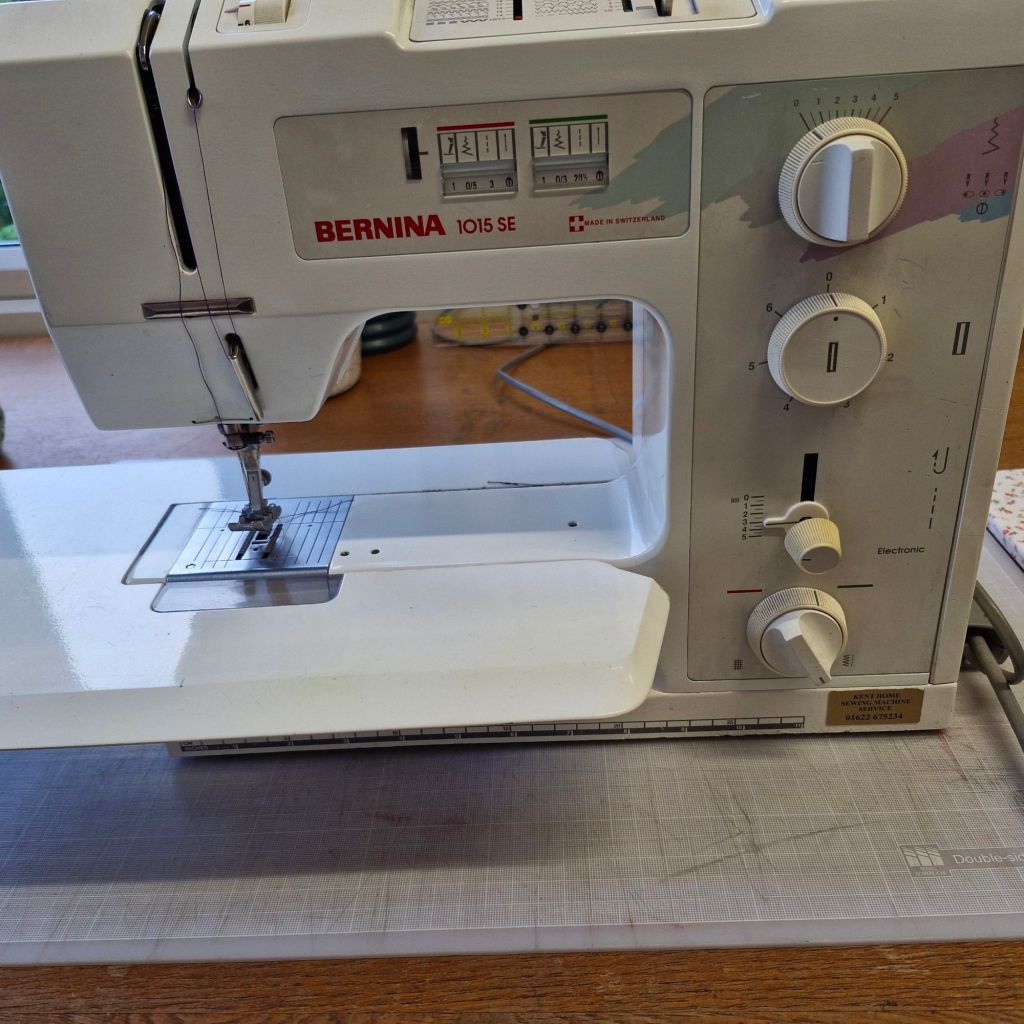
You need a sewing machine. For quilt-making you need to be able to sew a lone of straight stitching and your machine needs to be in good order (getting it regularly serviced is crucial).
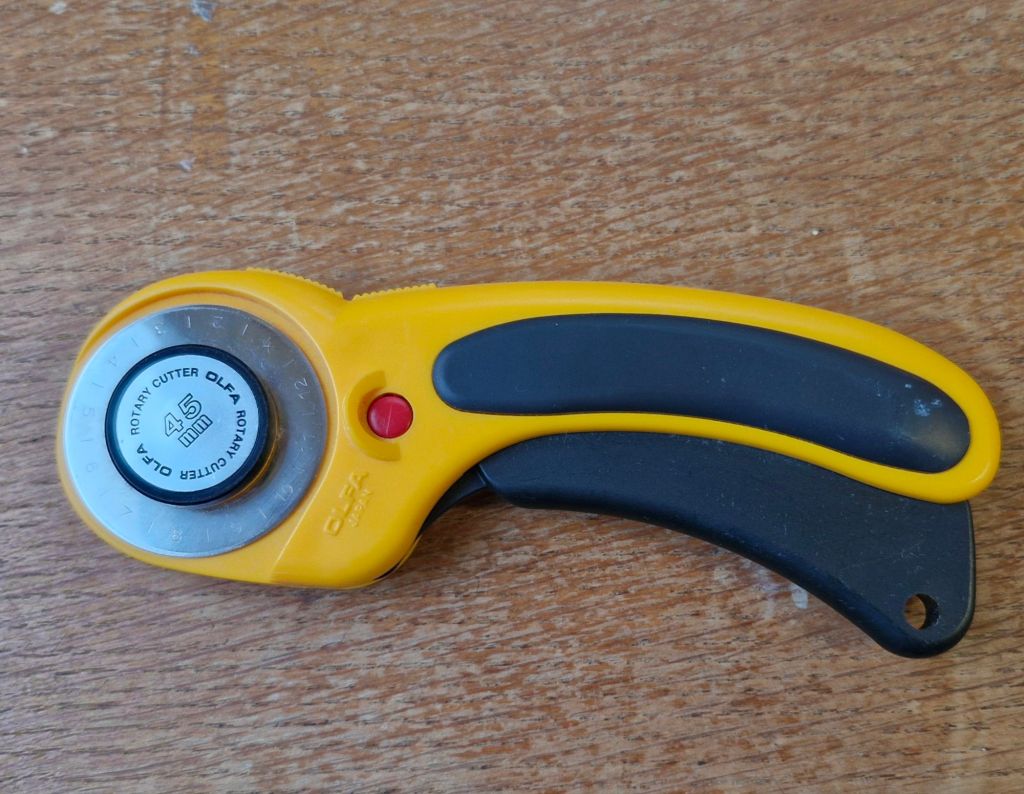
You need a rotary cutter. The model below has a trigger type handle, which retracts the blade as soon as you let go of the handle. This is a useful safety feature for beginners as the blade is very sharp.
You need a self-healing mat to cut on, like the one shown on the left in the photo below. A large one is useful. Also shown in the photo, on the right, are an iron and ironing board which you will need to press your pieces after stitching.

You will need a quilters’ ruler (or two – or more!). Below is a ten and a half inches square ruler which gives you plenty of options for cutting.

You need an unpicker. (There will be mistakes…) The one below has a substantial handle, which makes it easier to hold.

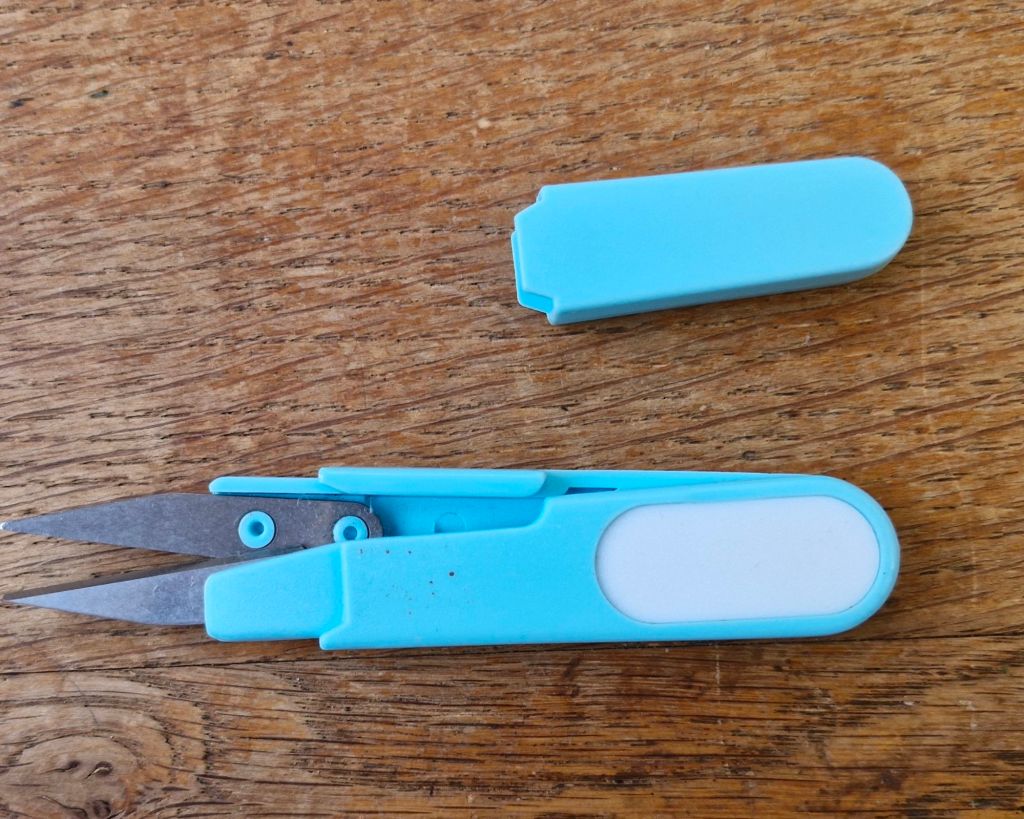
A small, sharp pair of embroidery scissors is useful for cutting threads.

Alternatively, a set of snips, like the ones below, makes it quick and easy to cut off threads after each seam.
To avoid getting snarled-up bits of thread caught up under your current piece of stitching, it is very useful to have a thread-catcher. This could be a small bowl, bin or basket, but I use this pretty fabric one, made for me by a friend.

You will need a method of marking fabric. Shown below are a propelling pencil (which washes out easily) a water-erasable embroidery maker and a roller pen filled with tailors’ chalk. These are all useful.

Two items that aren’t exactly essential initially but will aid you greatly are a single-hole stitch plate and a quarter-inch foot for your sewing machine.
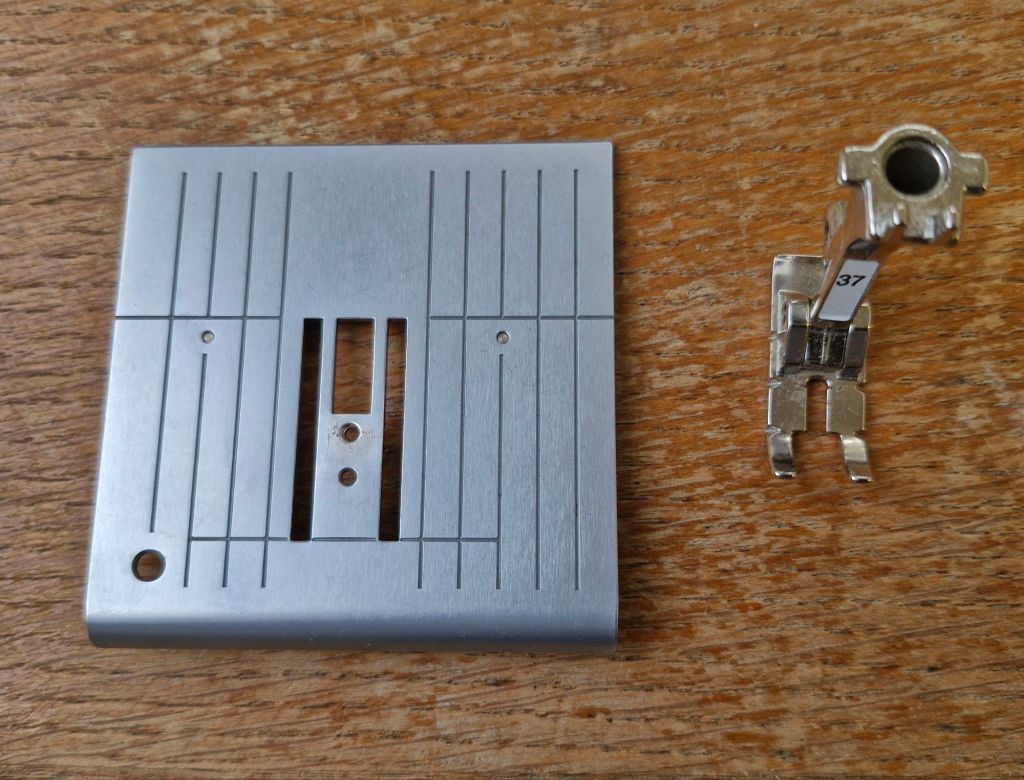
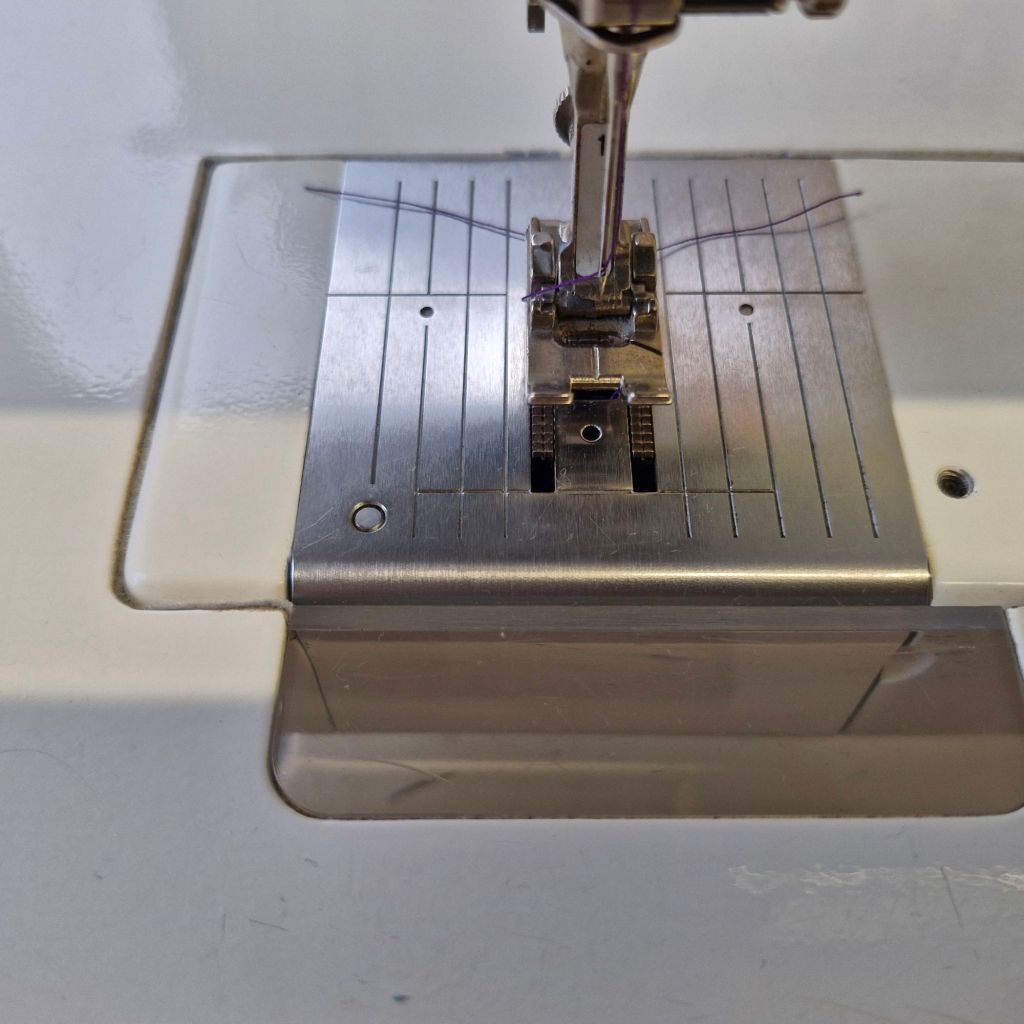
In contrast, you can see from the photo below that the regular foot for my machine is much wider. Beneath the foot is the normal wide slit (which allows zig-zag stitches). For piecing, the quarter-inch foot and single hole stitch plate pictured above will enable you to join small pieces of fabric with an exact quarter-inch seam.
When you first start out with quilt-making, you will probably use your regular presser foot and stitch plate (as shown above) when it comes to actually quilting the three layers of your quilt. However, as time goes on, you will find it helpful to buy a walking foot for your machine (shown below). This helps the three layers of the quilt to pass evenly through your machine.

Quilters’ pins, as seen below, are helpful for holding the three layers of your quilt together so you can quilt it. Once purchased, you can use them over and over again.

Quilters’ clips, seen below, are useful for holding the binding in place when you hand-stitch it in place.

Regular pins are also useful for pinning larger pieces of fabric together before stitching. They need to be kept in a pincushion for safety reasons.

You will need a tape measure. This helps you to square up your quilt when it is finished.

And finally… you need fabric! This is possibly the most enjoyable aspect of quilting. Making your own choice of fabric colours and designs means that your quilts will be unique to you, even if you pick a traditional quilt block or use a published pattern (like one of mine, say!) Here are my fabrics in the studio, the larger pieces arranged by colour in the larger blue baskets and scraps arranged by colour in the smaller baskets.

If you would like some more help with getting started with quilt-making, take a look at the Classes page here – there is an online course and a one-to-one in-person course available!
Thank you for reading my blog. Quilt Patterns are in the Etsy shop here, Fabrics are on the Spoonflower website here, Classes are on this website here
There’s a great monthly newsletter full of design and colour inspiration, plus textile news of all kinds – click here if you would like to get it.
Click the ‘Follow’ button to get a blog-post by email each Monday.
