There’s something of a trend on the internet to share a glimpse into artists’ and designers’ studio space and to explain how everything is organised. I have enjoyed these glimpses, so here is my contribution, featuring the Amanda Jane Textiles studio. You can see a corner of my studio in my video which gives some idea of the steeply slanting roof at each end of the studio. (you can see the video on YouTube – click here to go to the Amanda Jane Textiles channel.)
I work on the mezzanine in our home, which is a converted chapel. You can see quilts hanging off the rail at the front of the mezzanine here. So I look out over the rail onto the space up to the full height of the roof, past the metal roof-struts that are part of the original building. (You will see more of them later.)

My studio is a fine example of a quart in a pint pot: the overall length is 18′ 9″ long, which might sound a lot but some of that is eaves space and it’s only 6′ across at the centre. There’s a fair bit of recycling/re-purposing here, as you will see.
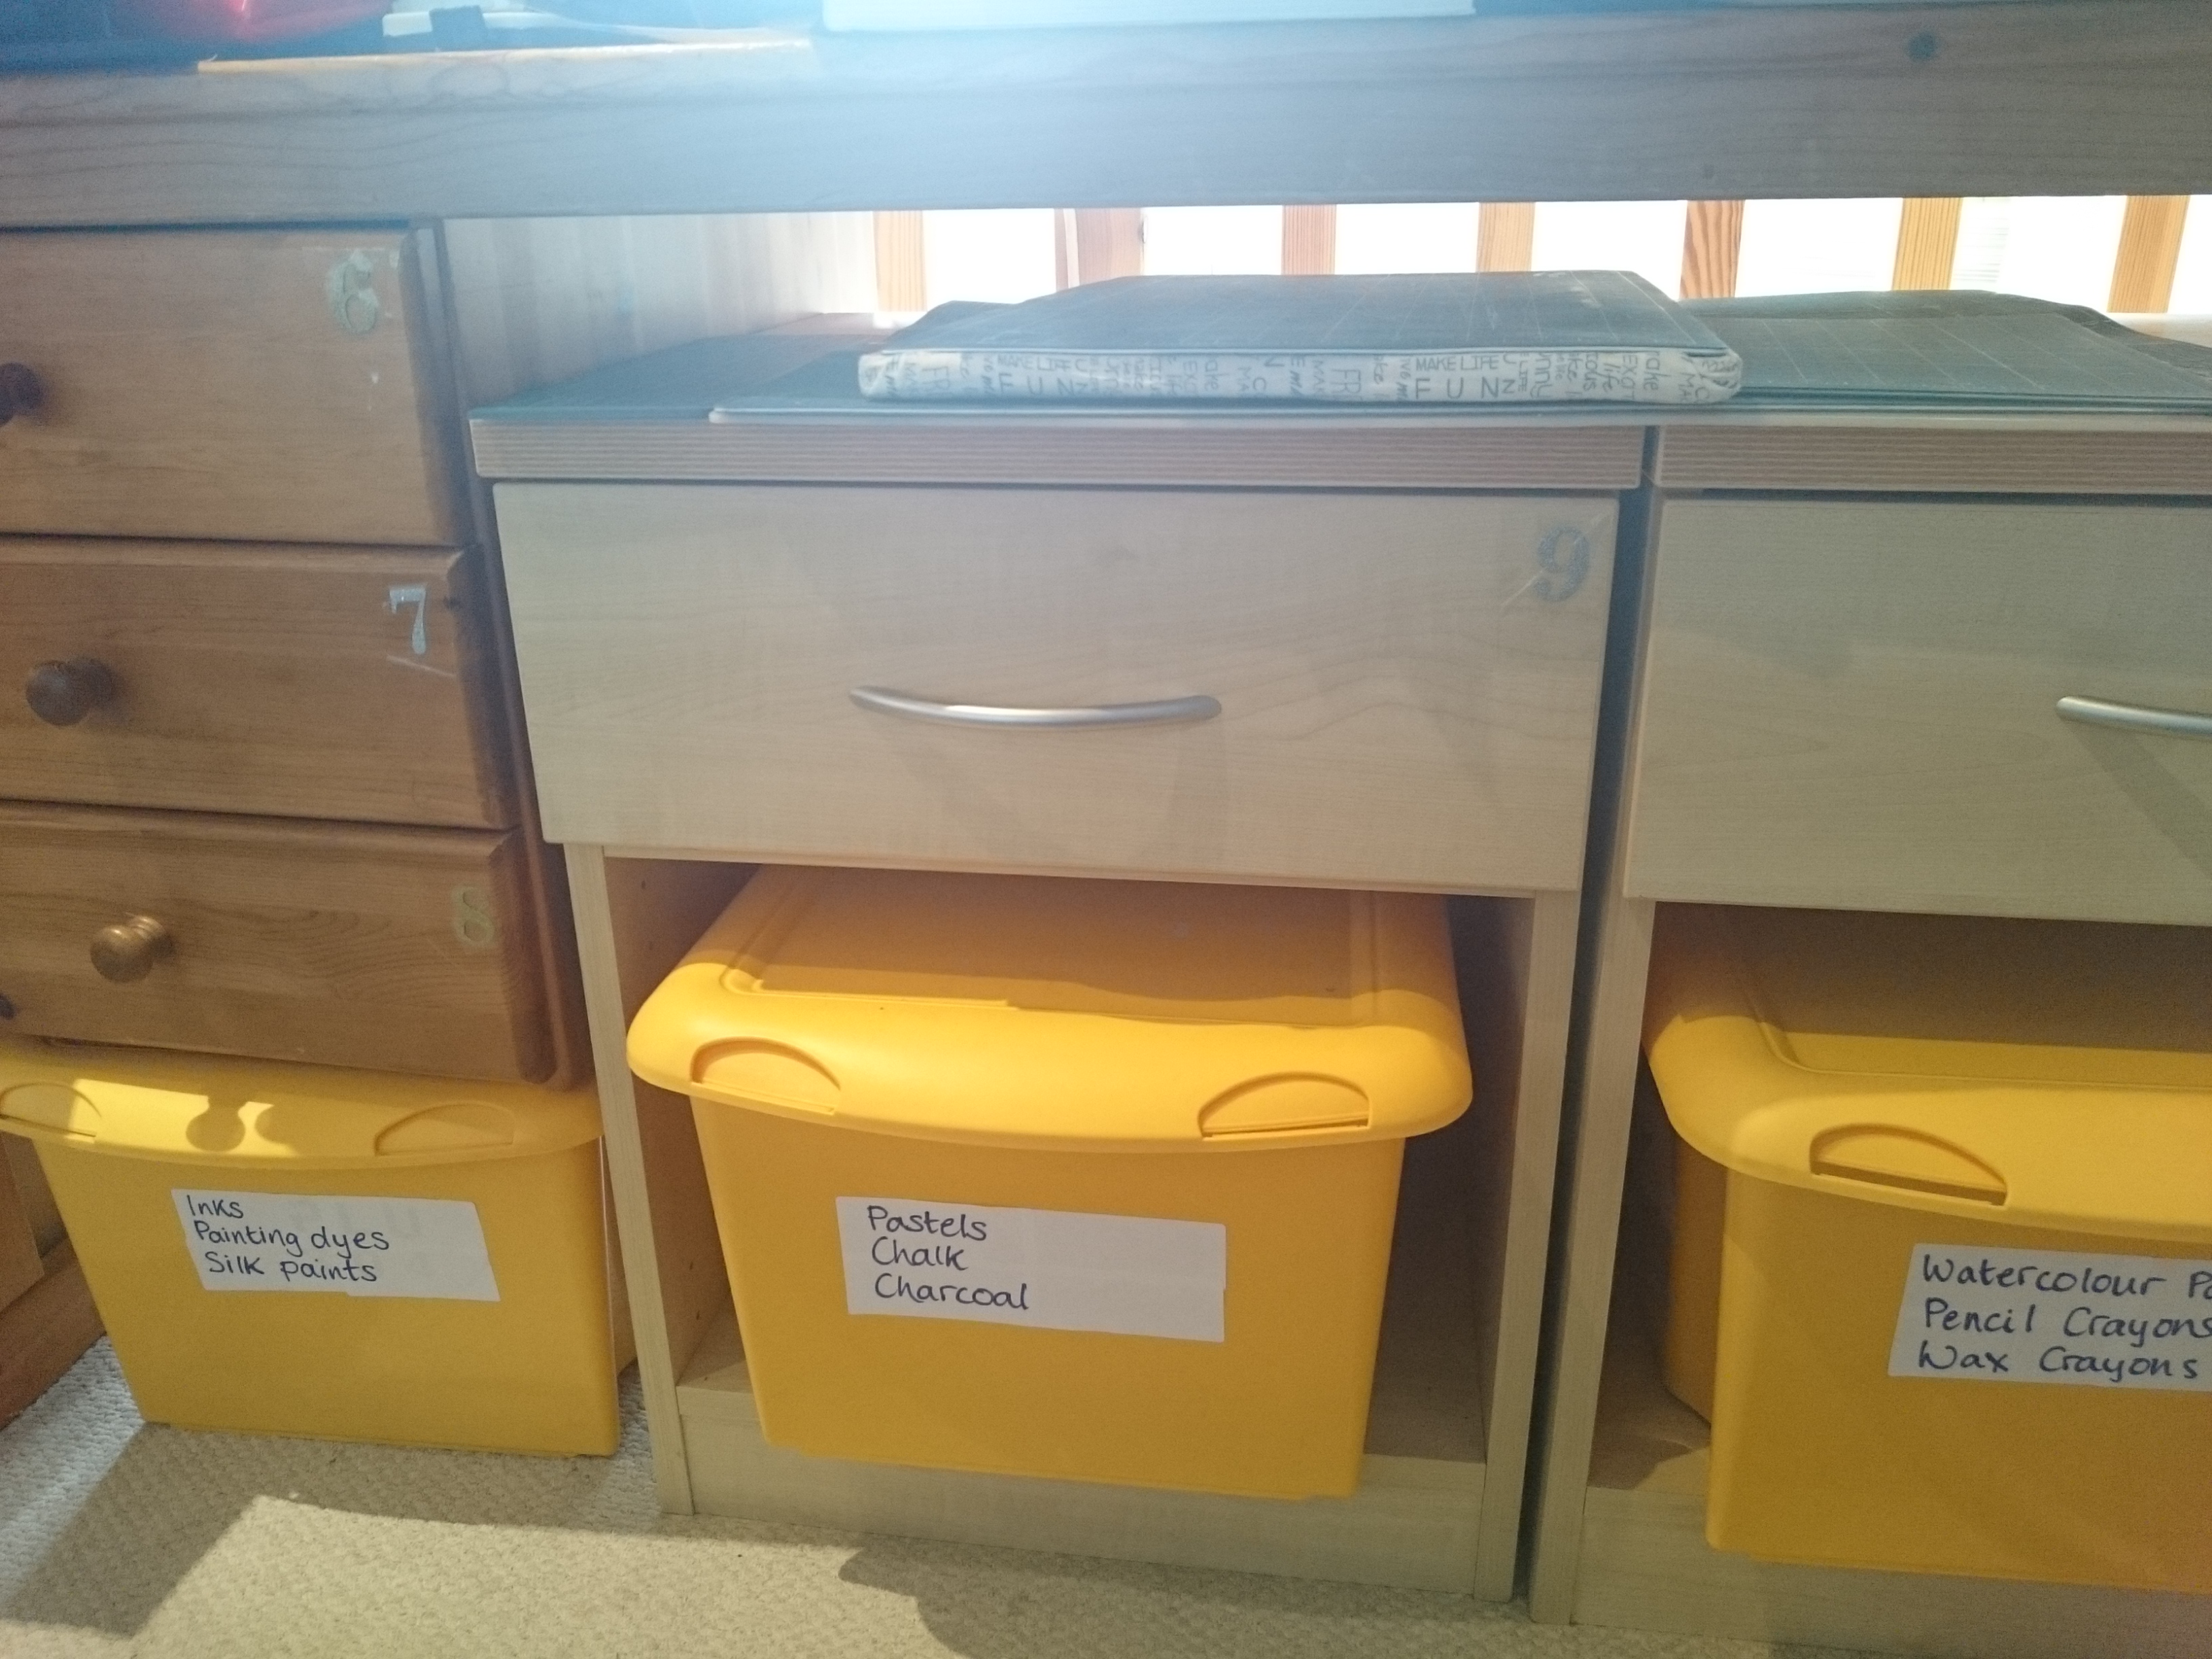
My cutting table is in fact a door (found in a skip), held up at each end by a desk. These two pine desks have travelled with us through several house moves around the country and were once used for children’s homework, back in the day. The right-hand desk has paperwork on it and this is the hardest part of the area to keep tidy! The left-hand desk has space to store my over-locker and has a small ironing board and full-size iron. The cutting table is heavy and sturdy. I keep it covered with a white PVC cloth. I did on one occasion use some paint dyes which left their mark, so I try to cover this up when I am taking step-by-step photos for my patterns! (click here to see the patterns). I sit on a chair that was also a ‘find’ and next to it is a large bin which came with the house. Under the table and the desks are a filing cabinet and four bedside cupboards bought second-hand, which probably came from a hotel. On top of the cabinets are cutting mats on one side and quilters’ rulers on the other. In the gaps in the cabinets and under the desks are a series of plastic boxes, containing art materials: I draw and paint freehand before turning my art-work into fabric designs (click here to see the designs). The boxes are labelled and the drawers numbered to help me keep track of the contents.
There’s a desk extension to the left of this run of desks which holds my workbasket. I find this old-fashioned storage solution excellent. Everything I need is in it, so if I am working elsewhere (e.g. on a quilting retreat or teaching a class) I have what I require. There is also the extension for my sewing-machine (which doubles as a light-box, using the mini light-box pictured) and the holders which keep my scissors: shears, paper scissors, embroidery scissors with curved ends, pinking shears, large rotary cutter, small rotary cutter. Also in this area are my pincushions (if you work above an open-plan space, you need to be very careful not to let things drop off the edge of the table!).

Round to the left again is an area above the stairs where my A3 printer sits. You can see one of the coat hooks above the stairs in the picture – that’s how close the stairs are. Also here, is the A4 printer paper and rough paper, the A3 printer paper and A3 drawing paper. There’s also a space for all my large portfolios of art-work (always a problem storing those.)

Behind the desk where I sit are some long bookshelves built specifically for a house we lived in three moves ago, but which thankfully fit in here. Immediately behind me on the shelves are baskets of fabric. I find this a useful way of storing fabric from fat quarter size downwards. When any one basket is full, I stop buying. (Yes, really!)

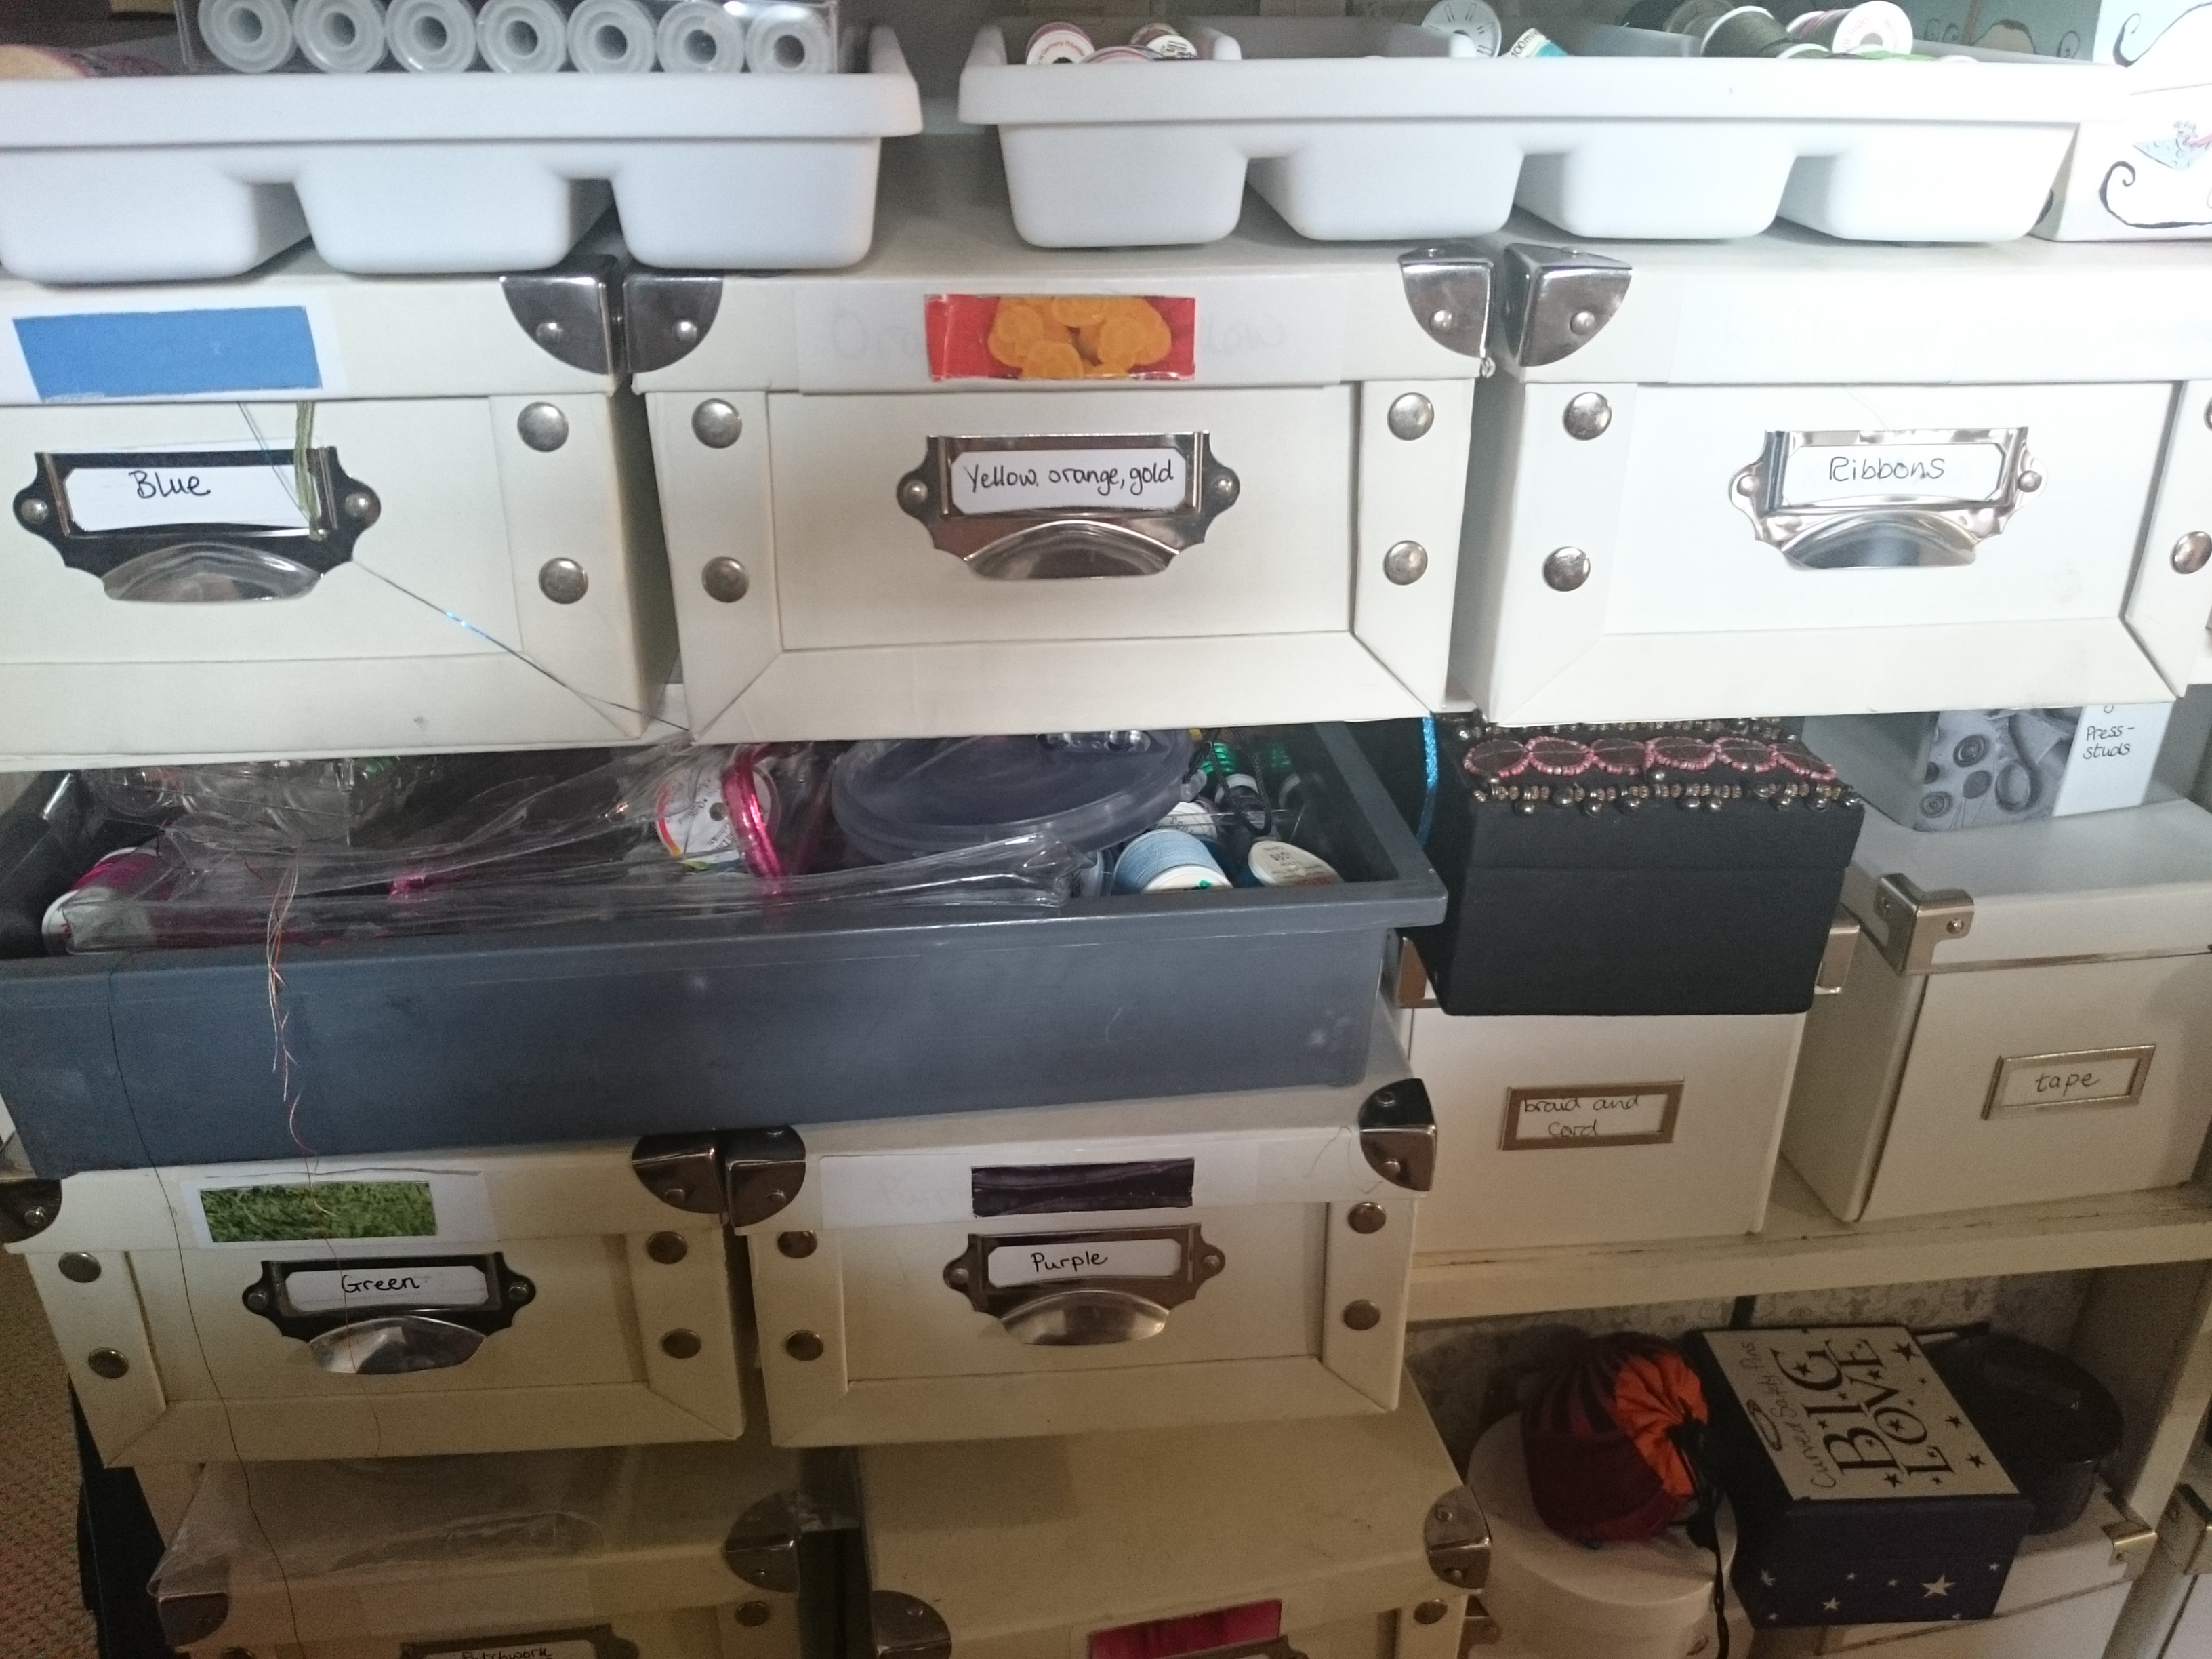
Further down these shelves are boxes of embroidery threads, arranged by colour and I also have boxes for: elastic, ribbons, hooks & eyes plus poppers, bias binding, tape, cord. I love buttons and keep my large collection in a small hamper, each colour in its own bag.
Some sewing threads are stored in a vintage wooden workbox (which can be glimpsed in photo four above) , but my machine threads are kept in these cutlery trays which have useful non-slip linings.

On top of the shelves are, left to right:
- magazine and brochure holders
- a box with all my current sketchbooks/notebooks; I refer to these constantly
- pots for receipts for my two businesses: Amanda Jane Textiles and my AirBnB holiday house
- pots for: drawing pencils, regular pencils, black pens, coloured pens, rubbers and sharpeners, highlighters
Behind these, out of sight, on a narrow ledge, are: a stapler, four-hole punch, laminator, small guillotine.

At the far end is a cupboard which was rescued from the roadside (I did ask permission, it was being thrown out). It may look a little rough, but it has a very nice shape and a pretty handle. This is a perfect size for containing pieces of fabric larger than a fat quarter (for a definition of a fat quarter see here). Above the cupboard and the shelves are trays with projects in them. Just now, there are more ideas than there is time to do them, hence a lot of trays!

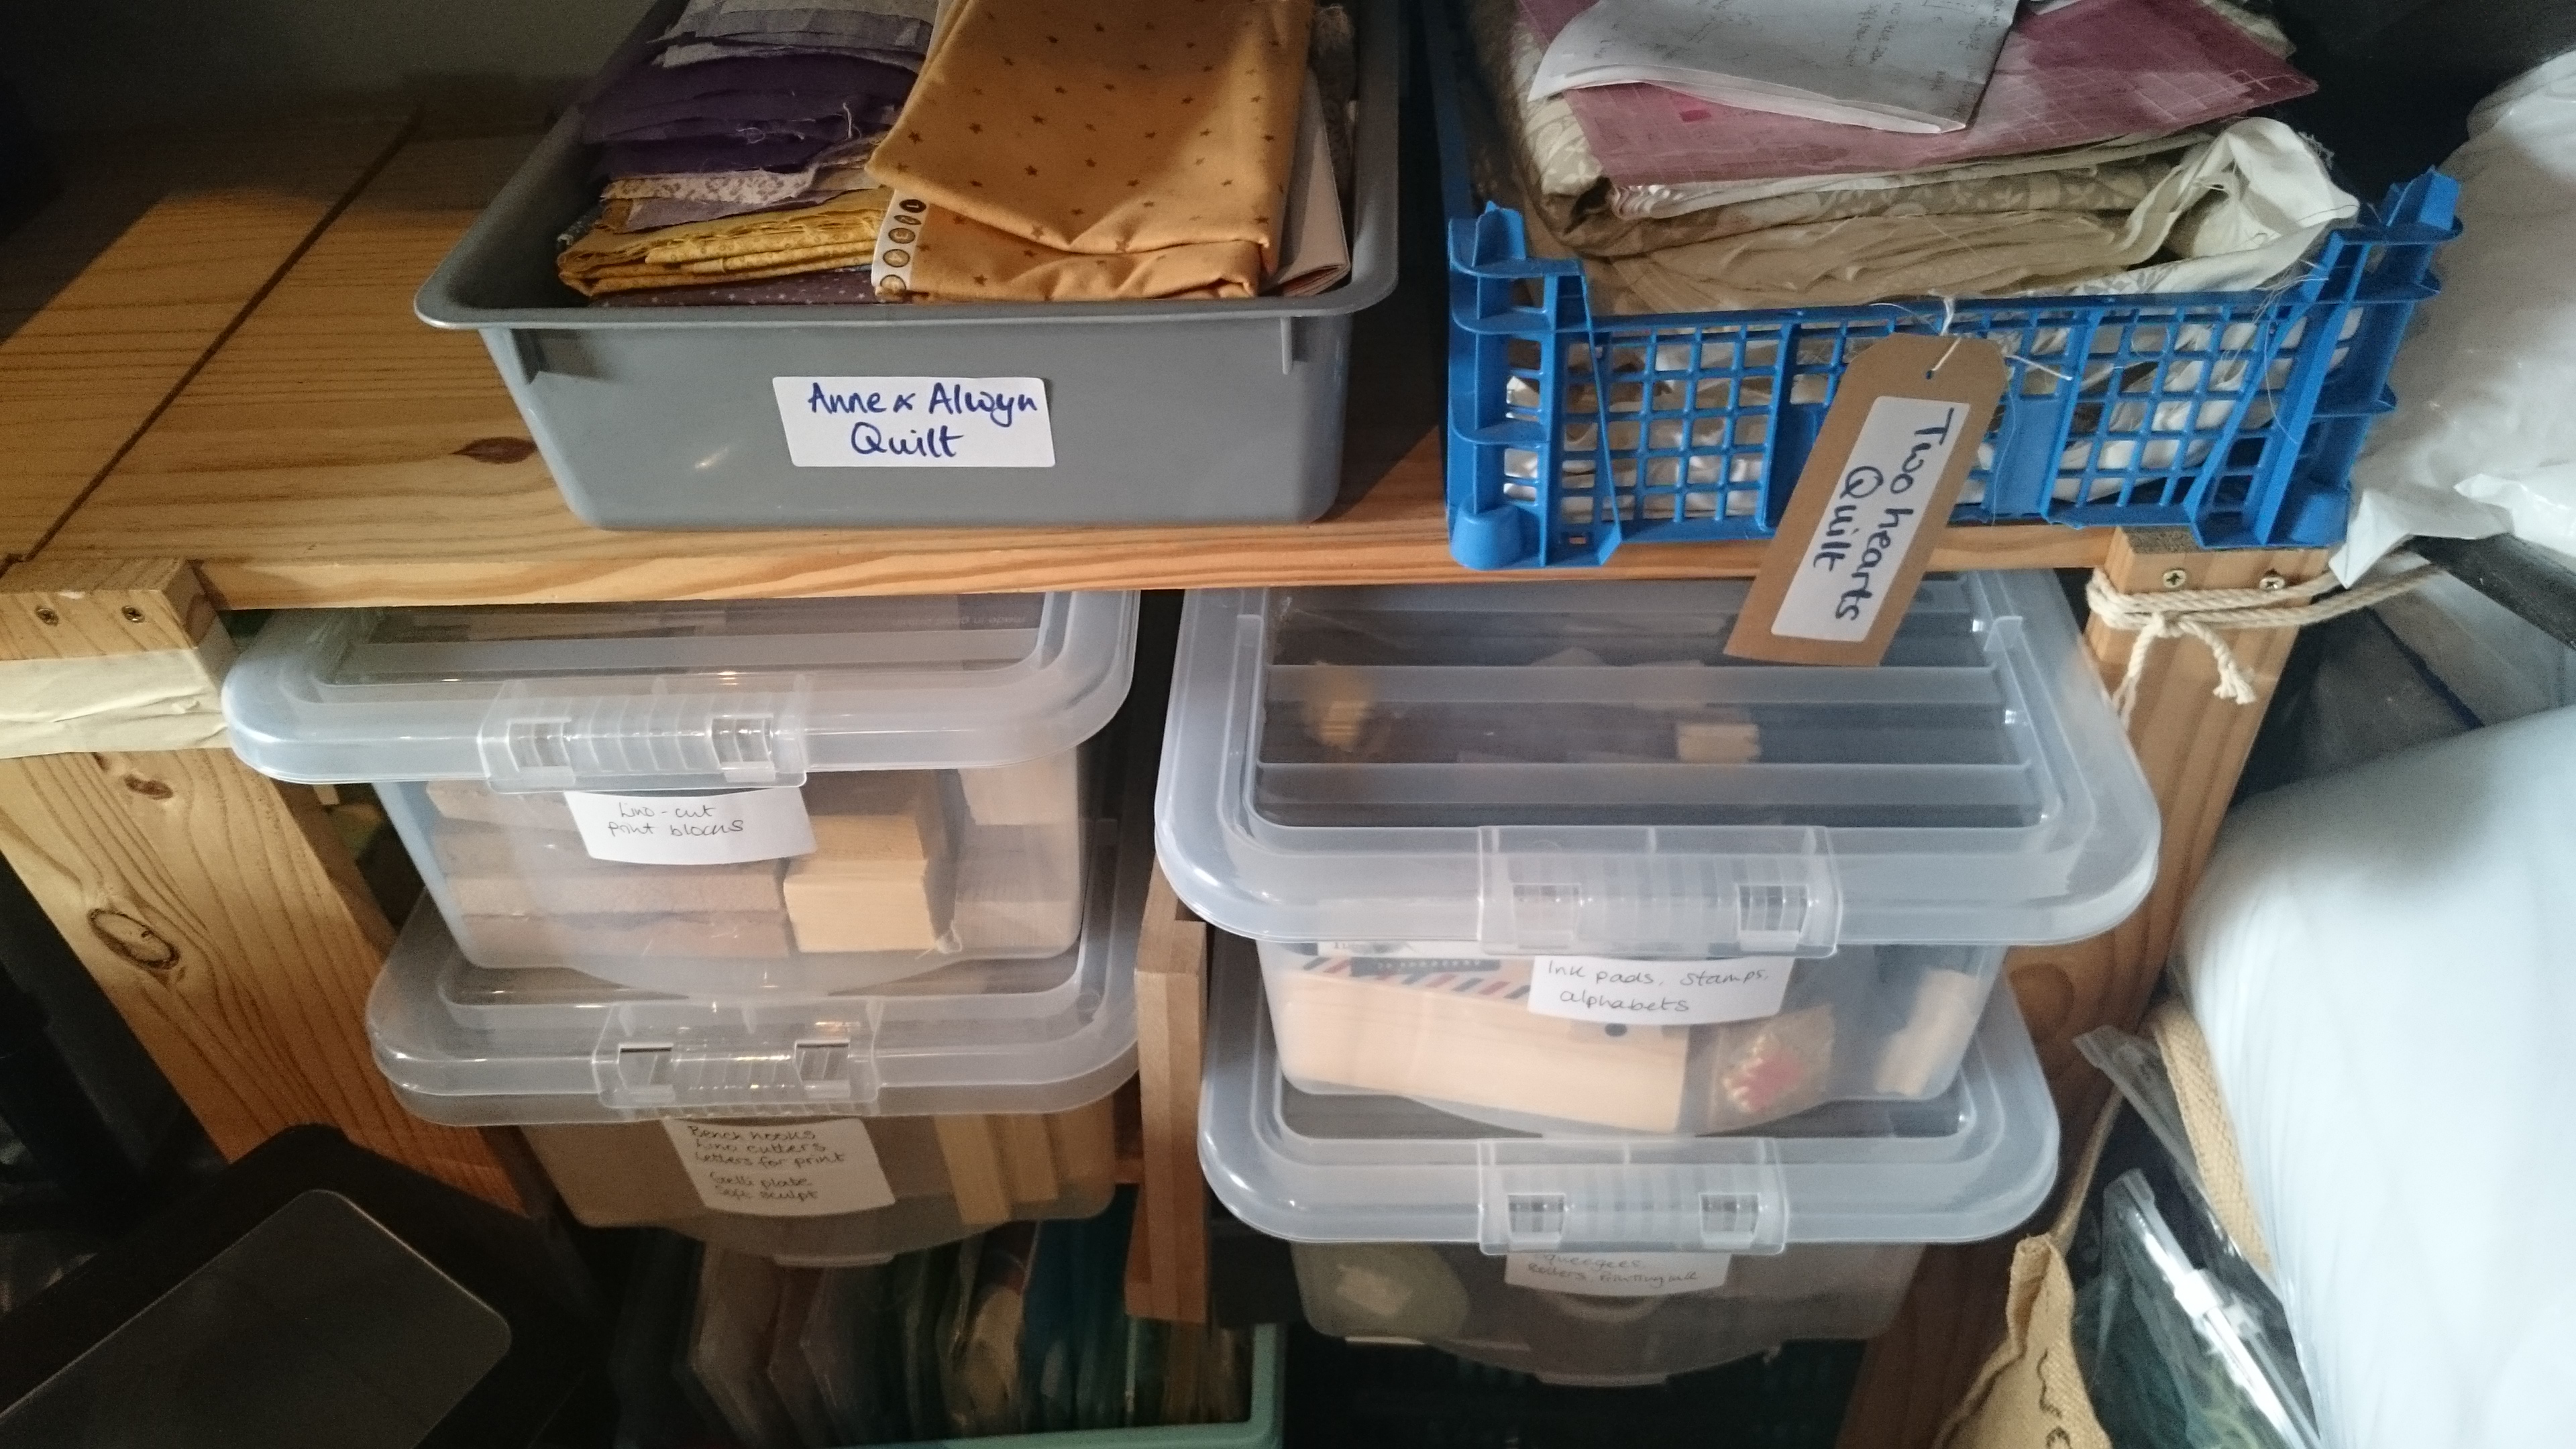
Next comes a very wobbly set of two pine shelves that are tied to the roof supports, which seems to secure them sufficiently! On them are stored boxes of Textiles and Art and resources for teaching, a box of canvases, boxes of printing materials and a crate in which I keep paper of every hue.
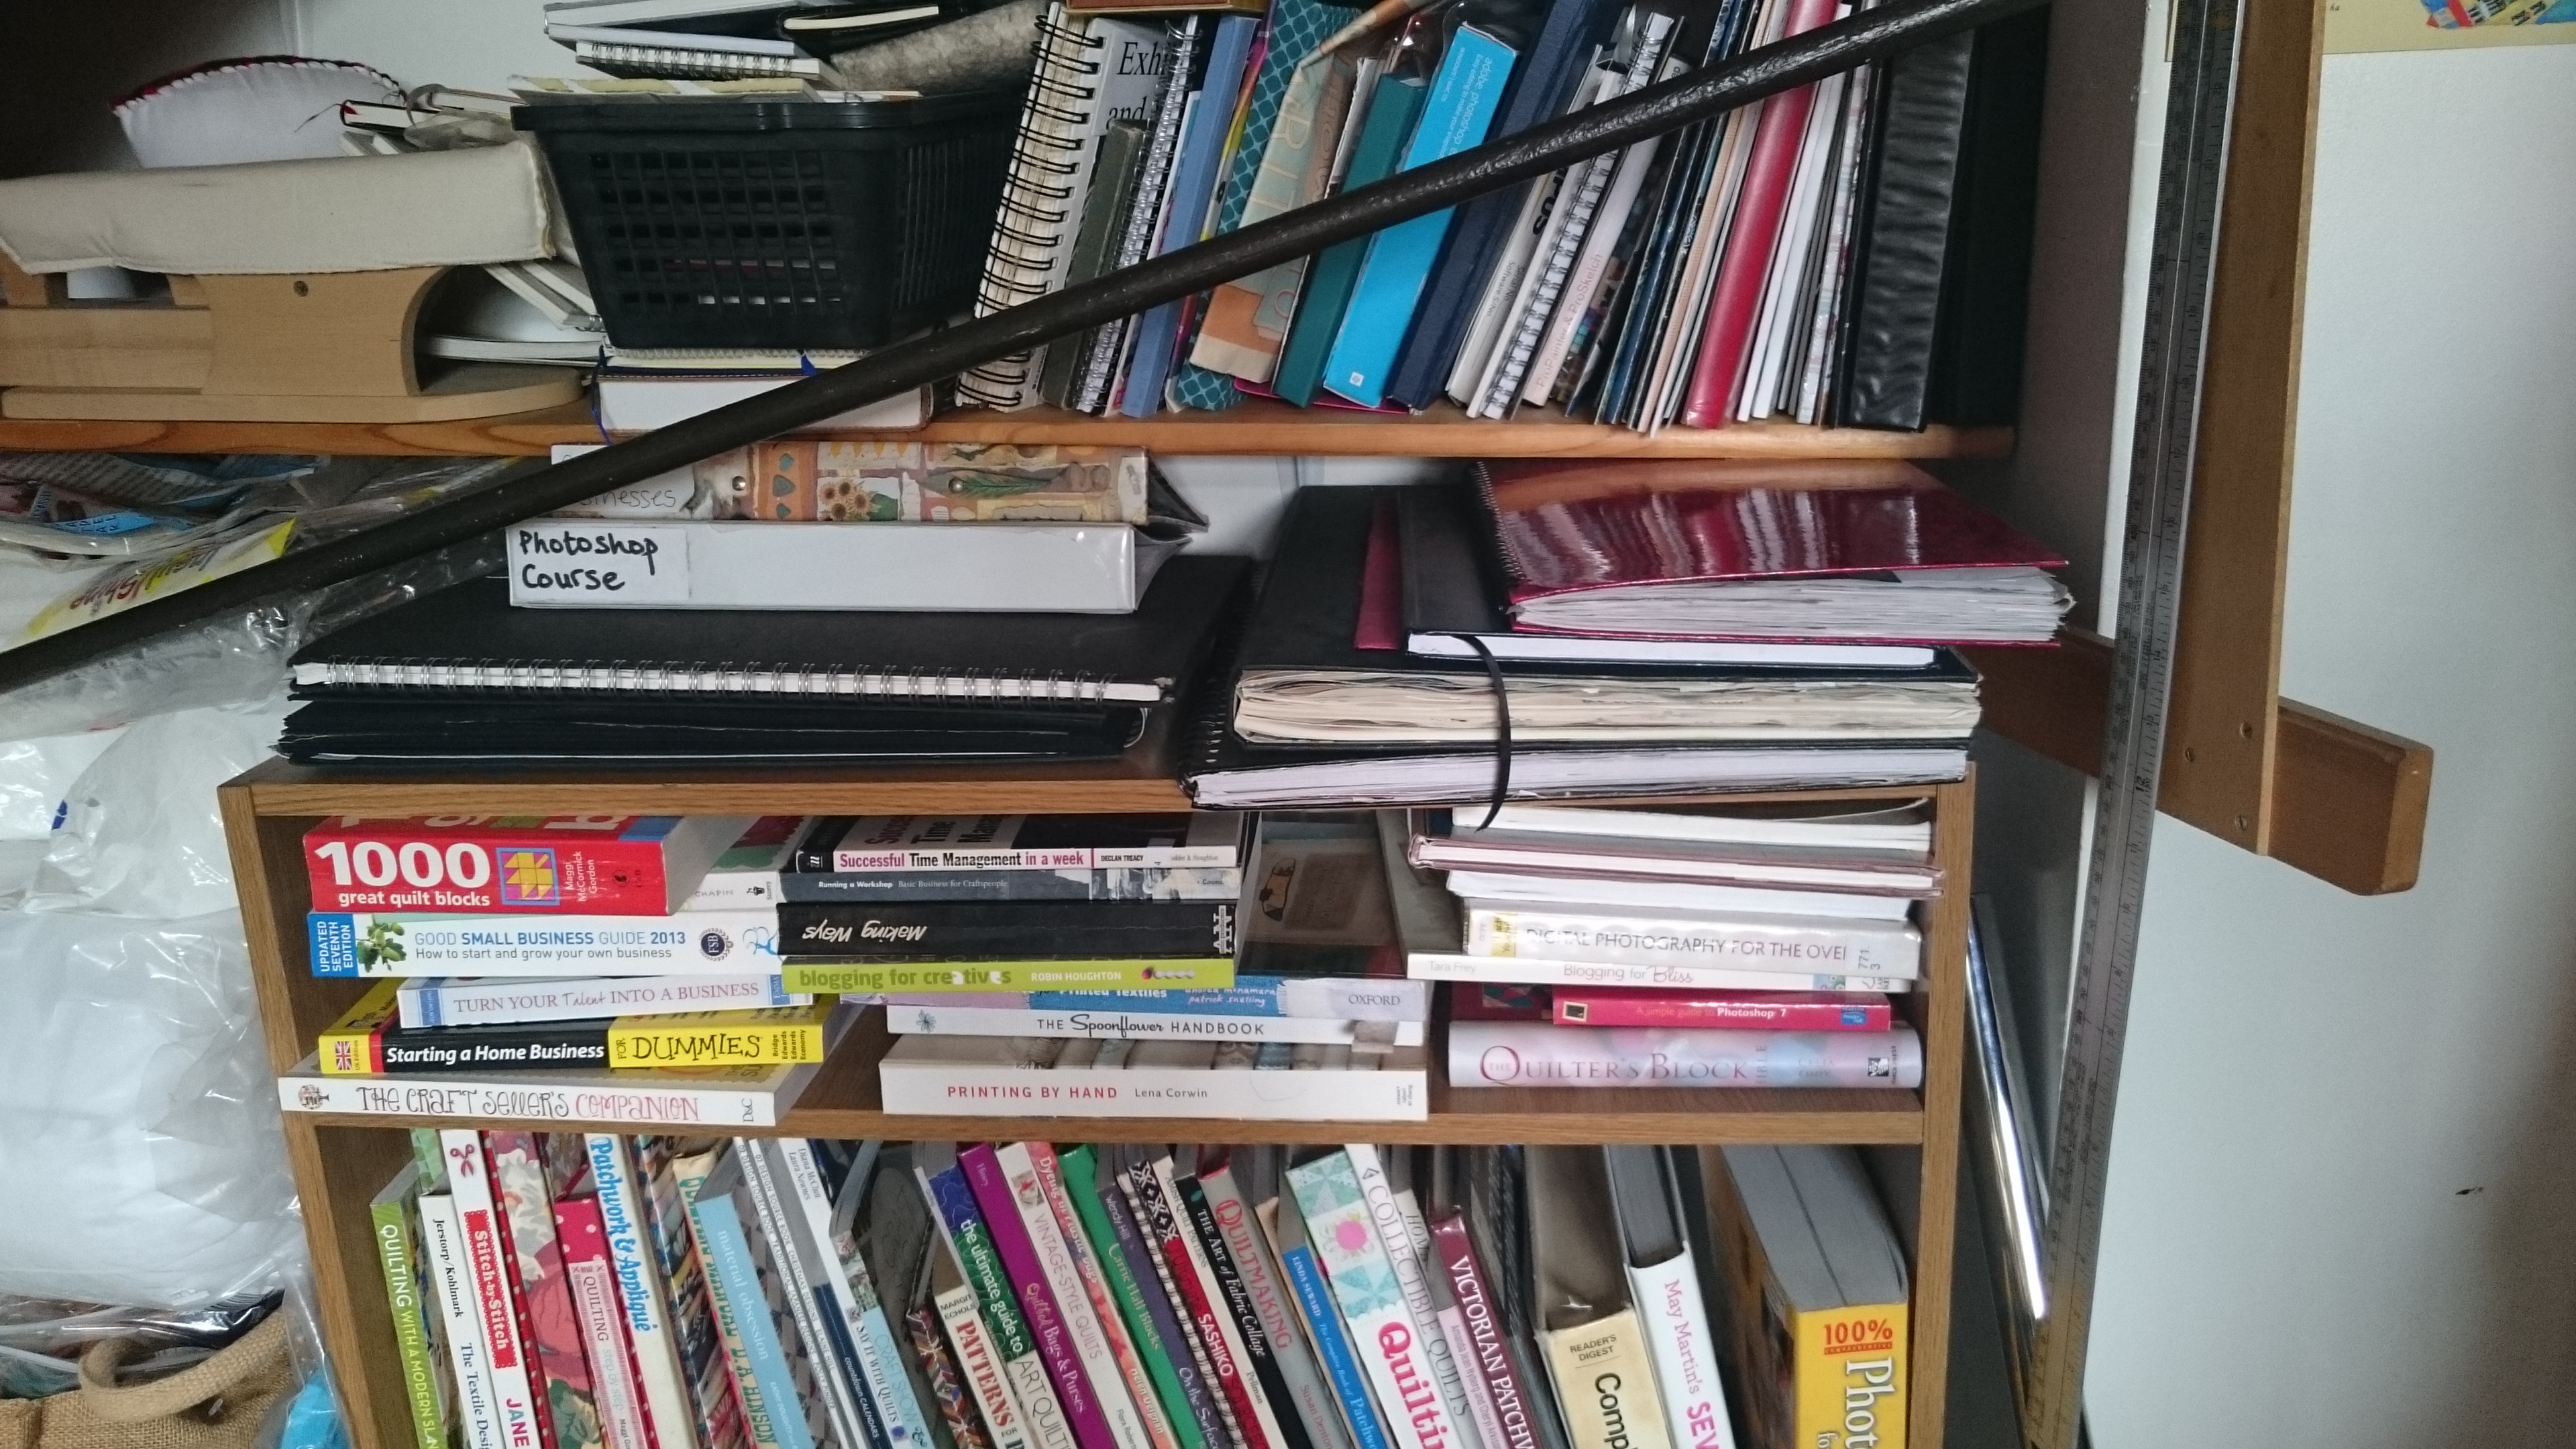
Then over to the right is a bookshelf with my quilting books on (and a few business ones). Above the bookshelf are some narrow shelves which contain items like pressing equipment, booklets and paintbrushes (on the small shelf above the one in the photo). Wadding (again a problem to store) is kept in two large cardboard boxes and the wrapped rolls are kept in a small space beyond the pine shelves, which they share with my easels and my embroidery frame.
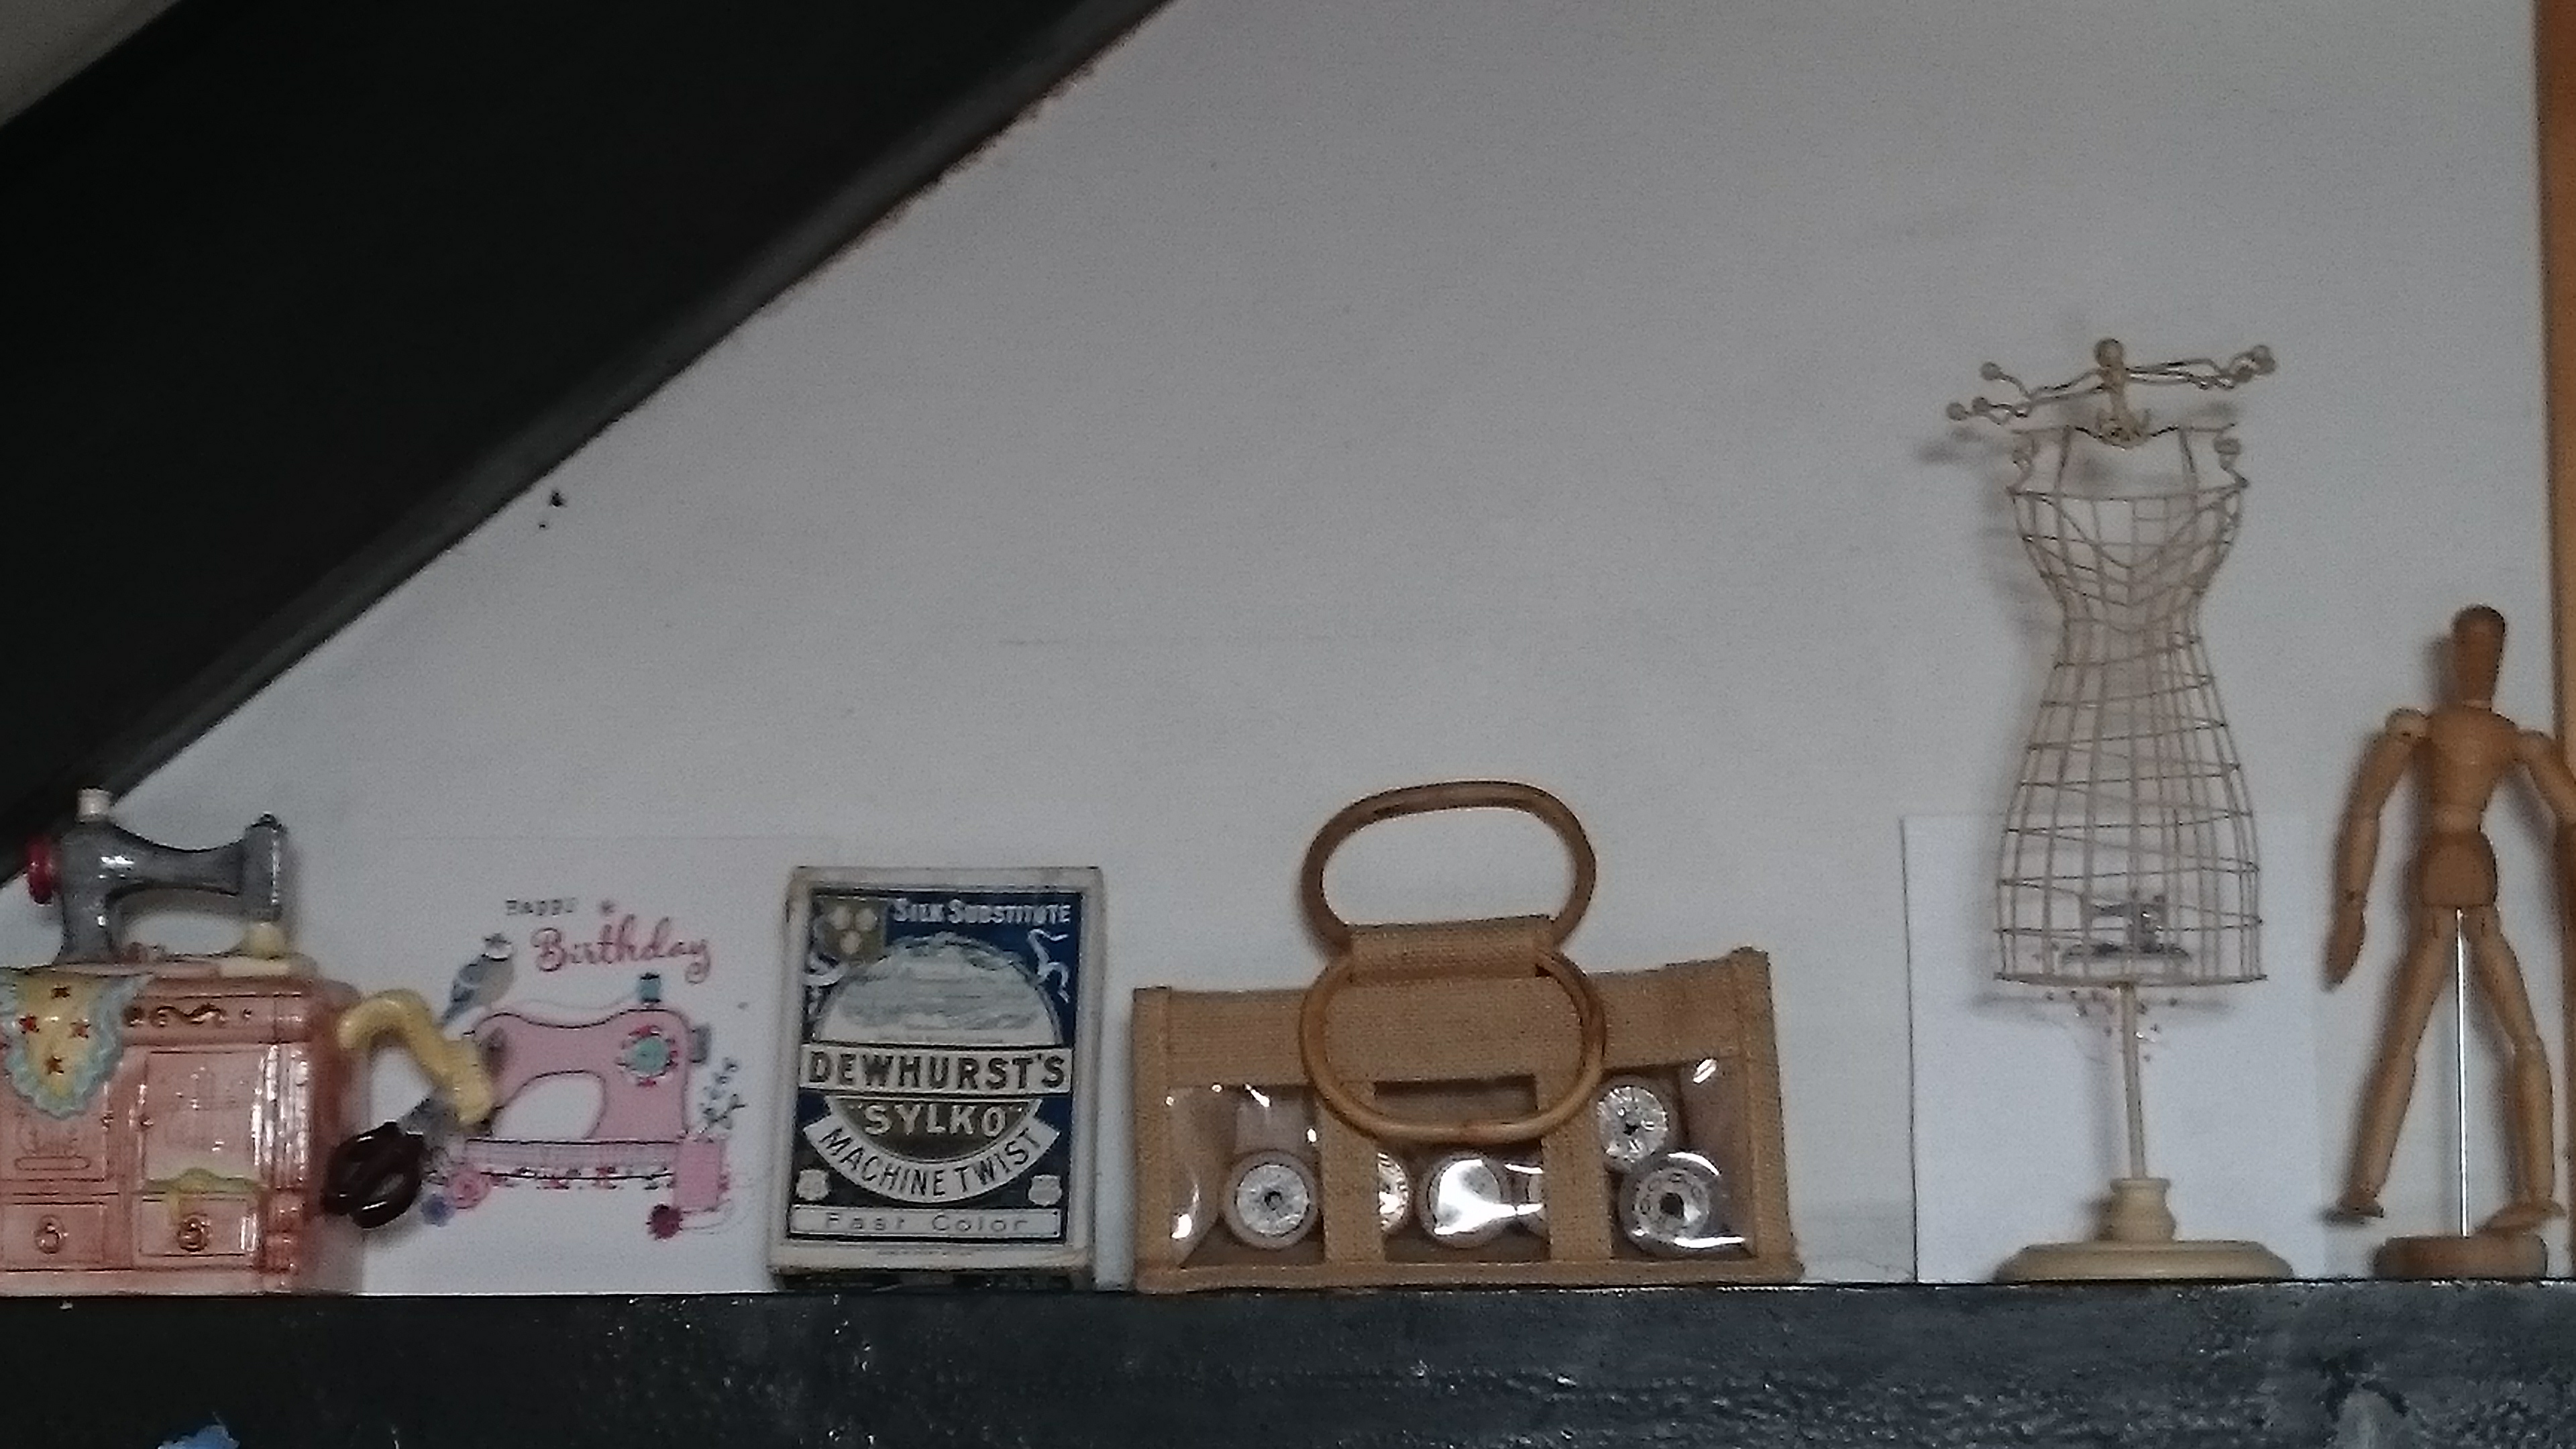
There’s a display area above the stairs which offers space to some sewing-related items.
That’s it! I get a lot done in a very small space. Thank you for visiting.
(Since this post was written, I moved into a new studio – you can read about it here!)
Please do get in touch, I’d love to hear from you – there’s a contact form. If you have a friend who would enjoy this blog, please would you forward it to them? If you would like to read this blog every week, look for the words ‘Follow this blog by email’ and enter your email address. The blog posts will arrive each Monday in your in-box. If you would like to receive my special monthly newsletter, complete with colour inspiration etc, click here I will never share your email with anyone.
This is my ‘Swans’ fabric design. You can find it here.

Thank you for reading my blog. Quilt patterns are here, Fabrics are here, Classes are here

Nice job! Well done, both for turning an awkward area into a functional workspace and also in documenting it so well. =) I *so* understand the too many ideas, too little time problem!
I did a workspace tour too. It’s here: http://sew-in-love.blogspot.com/2016/07/where-bloggers-create-party-2016-welcome.html if you’re interested (although I would quite understand if you weren’t!!!) BW.
LikeLike
I did! I went to the studio in both your houses. Thank you for the tours. I see you like miniatures. I have not one but two dolls houses. I wrote a post about finding doll house furniture in a charity shop and showed the miniature patchwork quilts I once made – not sure if I could do it now! Amanda
LikeLiked by 1 person
Thank you! Yes, I saw your charity shop (aka “boutique”!!!) find post. Maybe you might do a dolls house post dome time?? 🙂
LikeLike