This post is the last one in a series about making a quilt that began in January 2019 with the first block in the ‘Make a Quilt in 2019’ series.
Hopefully, by now your quilt is fully quilted, all the ends have been stitched in and you are ready to finish it off.
You need to check that the quilt is even. Measure the width at the top, centre and bottom. Mark any discrepancies with a pin. Check the length at the left. the right and the centre.
Now place a long quilters’ ruler down one long edge and with a sharp rotary cutter, boldly cut through the wadding and backing along the edge of the quilt top (making any slight adjustments marked by the pins – but take the pins out of the way before you cut!). Moving the long ruler around the quilt, trim all round the quilt until you have an even sized rectangle.

There are several different ways of adding a binding, but I am suggesting the following:
Cut fabric for the binding. For the ‘Make a quilt in 2019’ quilt, you will need half a yard of fabric 42″ wide. Remove the selvedge edges and cutting across the width of the fabric, cut eight strips each two and a half inches wide.
Join the strips end to end with a quarter inch seam.
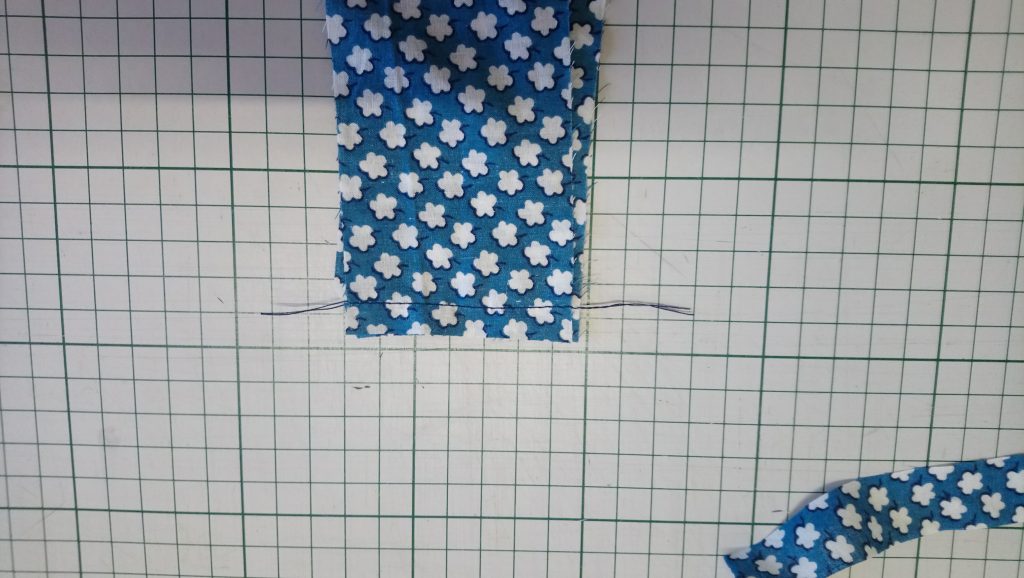
Fold the long strip down the centre and press.

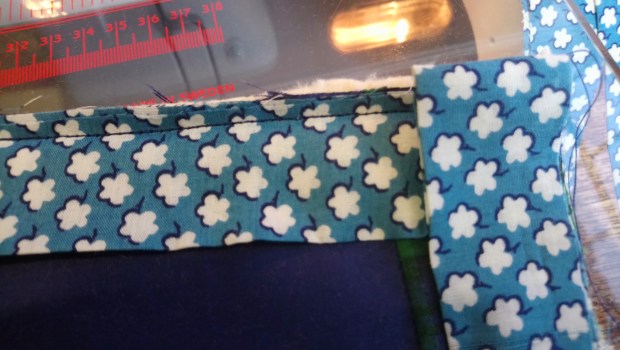
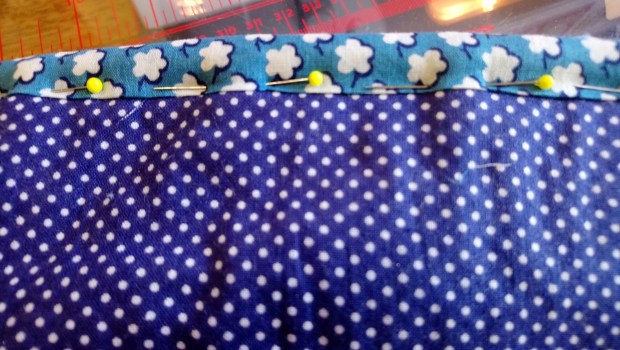
Leaving a 4” tail, start near the bottom of one side, working from the back of the quilt: pin then stitch the folded binding into place, working on the wrong side, with the right sides together, lining up the raw edges of the binding with the raw edges of the quilt.

Insert a pin in the first corner ¼” from the next edge. Stop at this pin.

Remove the pin and stitch out to the corner at an angle of 45 degrees. Take the quilt out of the machine.

Fold the long end of the binding upwards so that the fold makes a 45 degree angle fold going into the corner.

Next fold the long end back down again on top of the first fold, so it is ready to stitch for the second side.
Stitch the next side. Continue round each of the sides in the same way. When you are about 8” from the beginning, stop stitching and take the quilt out of the machine.

Fold the two tails back on themselves so the folds butt against each other exactly. Finger-press the two folds well. Then carefully cut the excess end of each tail, leaving about 1” beyond the fold.
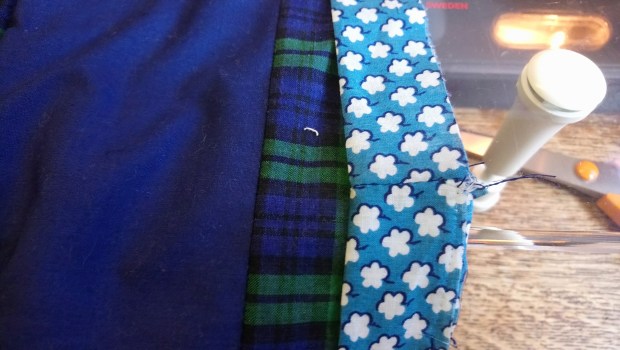
Pin the free ends of the binding right sides together, using your finger-pressed creases as your guide. Stitch on the sewing machine.

Check that the binding fits the gap. Then trim the seam allowance to ¼” before stitching the last bit of binding in place.
Turn the binding to the right side of the quilt. Beginning at the top of one side, pull the folded edge of the binding in towards the centre of the quilt so the folded edge lies one eighth of an inch beyond your first line of stitching (the one that attached the binding and pin it in place). Now stitch a line of stitching one eighth of an inch in from the folded edge, taking out the pins as you go. The idea is to try to stitch right on top of that original line of stitching – you will get a neat stitched binding on the front.
On the back this line of stitching should lie right next to the binding.

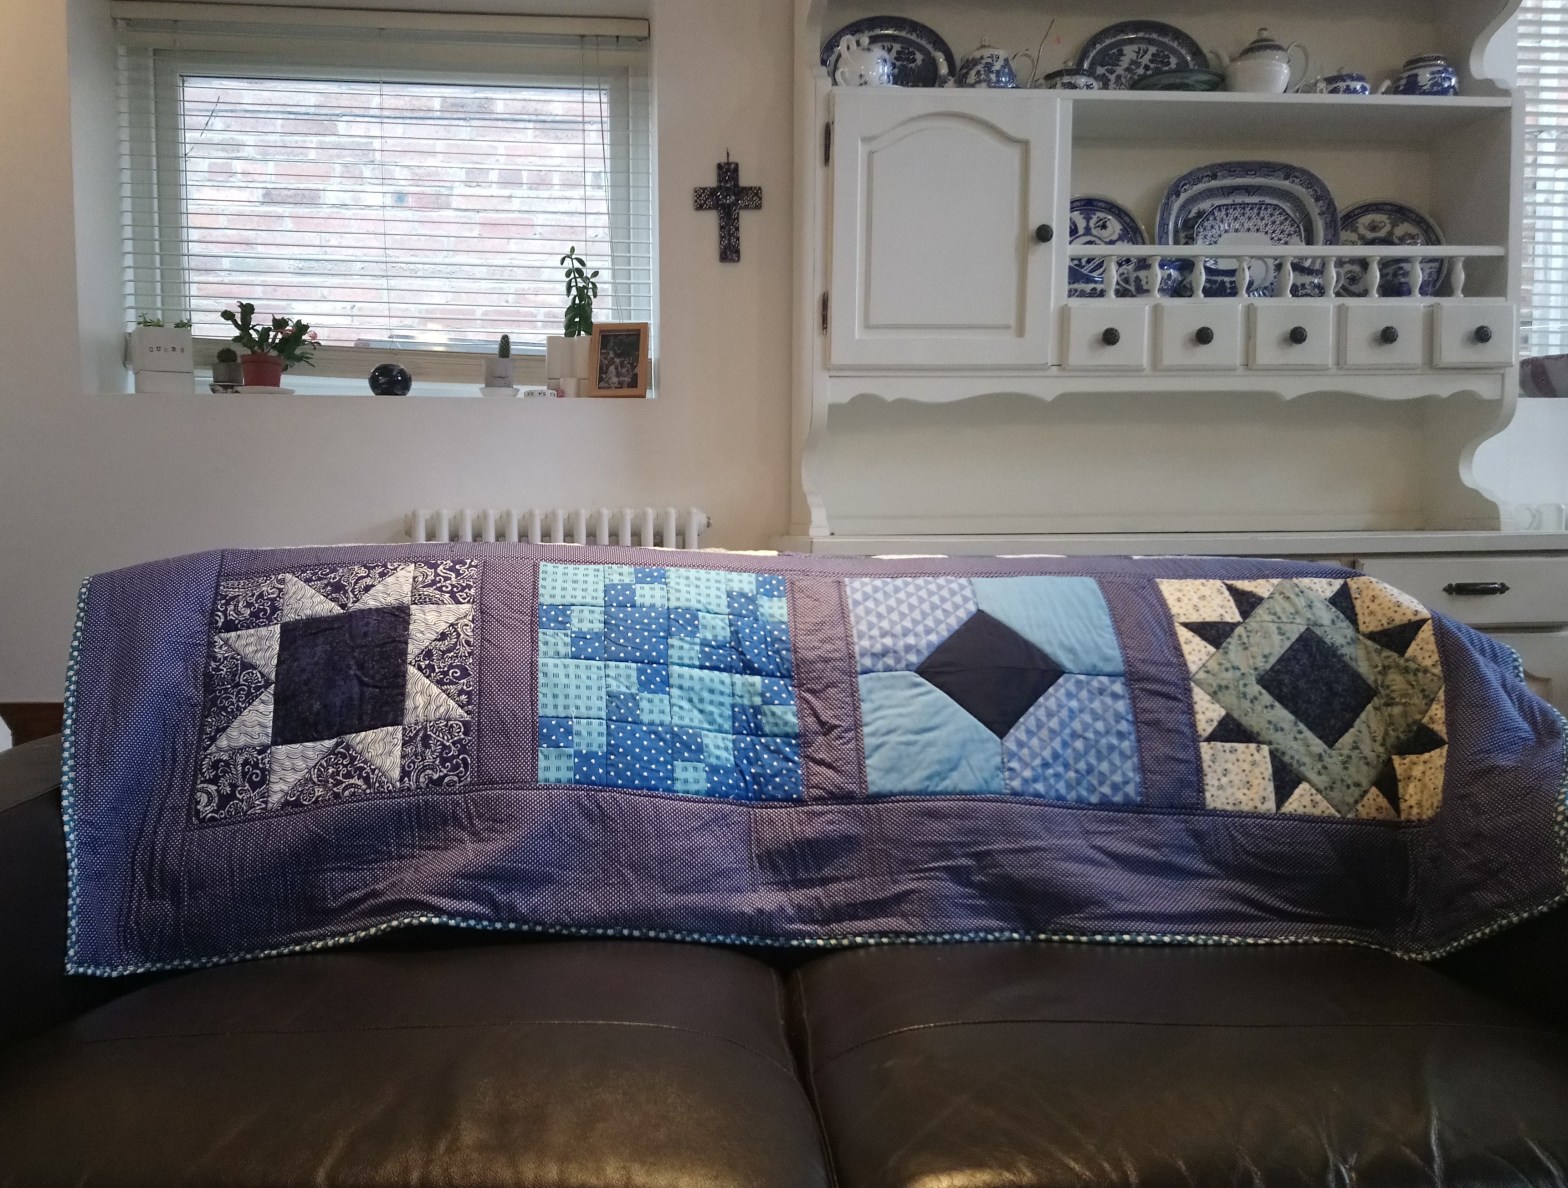
The quilt is now finished – and needs a better name than just ‘Make a Quilt in 2019’. The original idea was to call it ‘Singing the Blues’ so I will go with that!

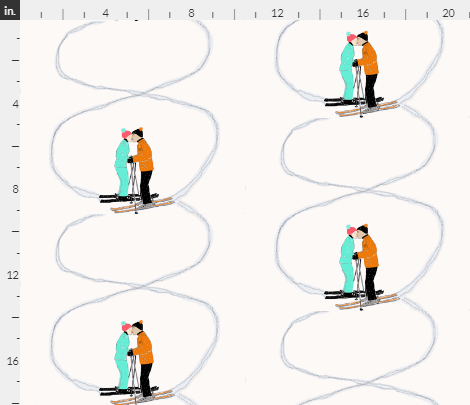
We are into February now (just) but it’s still chilly, so I’m including a snowy fabric, especially as Valentine’s Day is coming soon. You can find the fabric here.
Thank you for reading my blog. Quilt patterns are here, Fabrics are here, Classes are here.
Click the ‘Follow’ button to get a blog-post by email each Monday and click here if you would like the monthly newsletter with design and colour inspiration, etc.

One thought on “How to finish and bind a quilt”