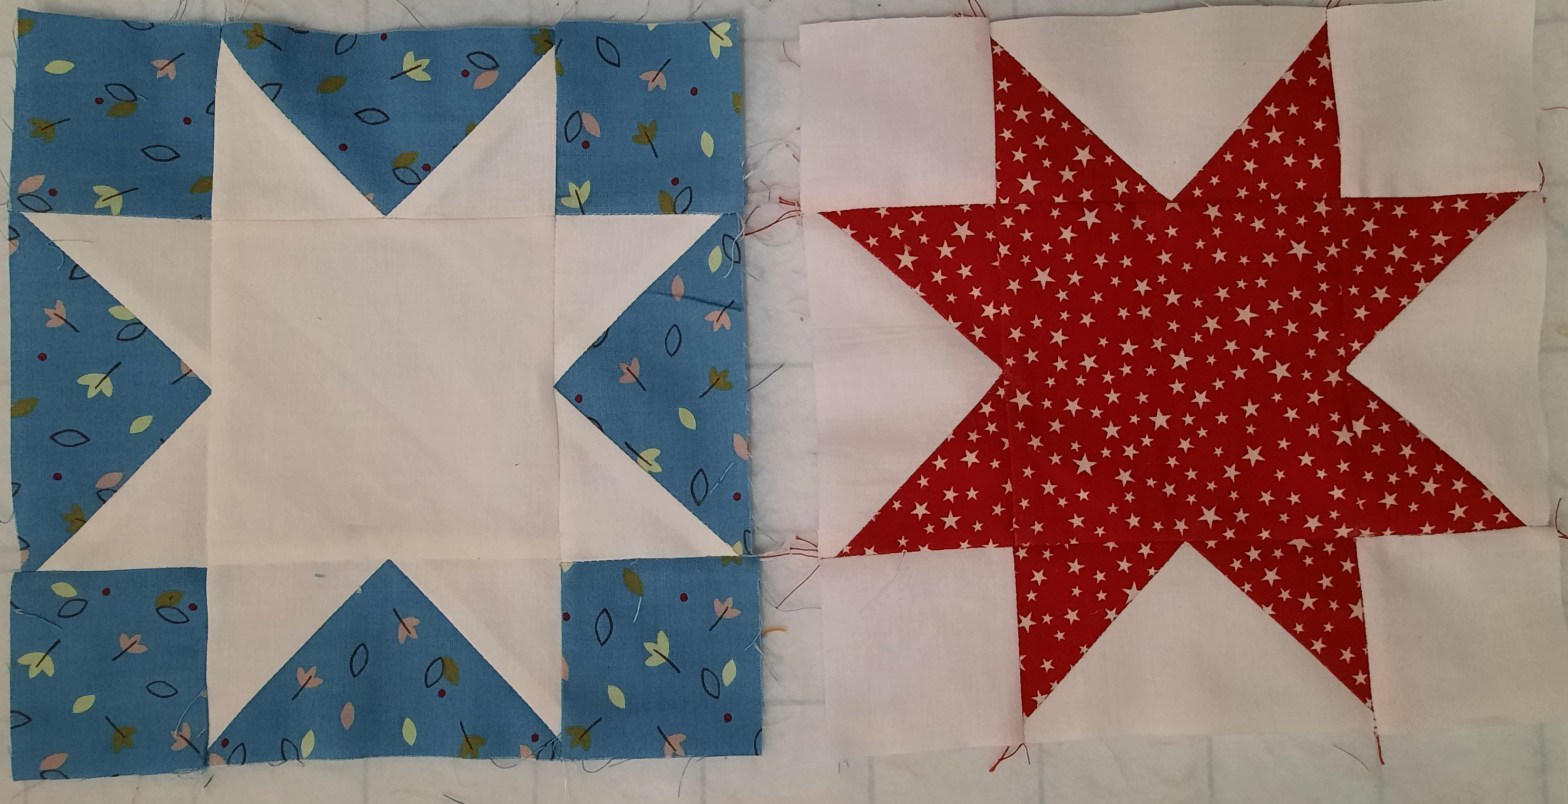
This month, I made two eight-point stars to send in the post to this month’s Queen Bee of our ‘do.good Stitches’ Refuge Circle. Together we make quilts which will be given to charity. (For more about this, see the post here). Jules Miller, who is on Instagram as @jmiller4711 asked us to make two blocks which will measure eight and a half inches square when completed (eight inches when stitched into the quilt).
We were asked to make two star blocks: one block featuring a white star with a coloured surround and a secon block with a coloured star at the centre and a white surround. This way of making the star blocks uses a ‘flying geese’ block on each of the sides. Here is the method for the first block.
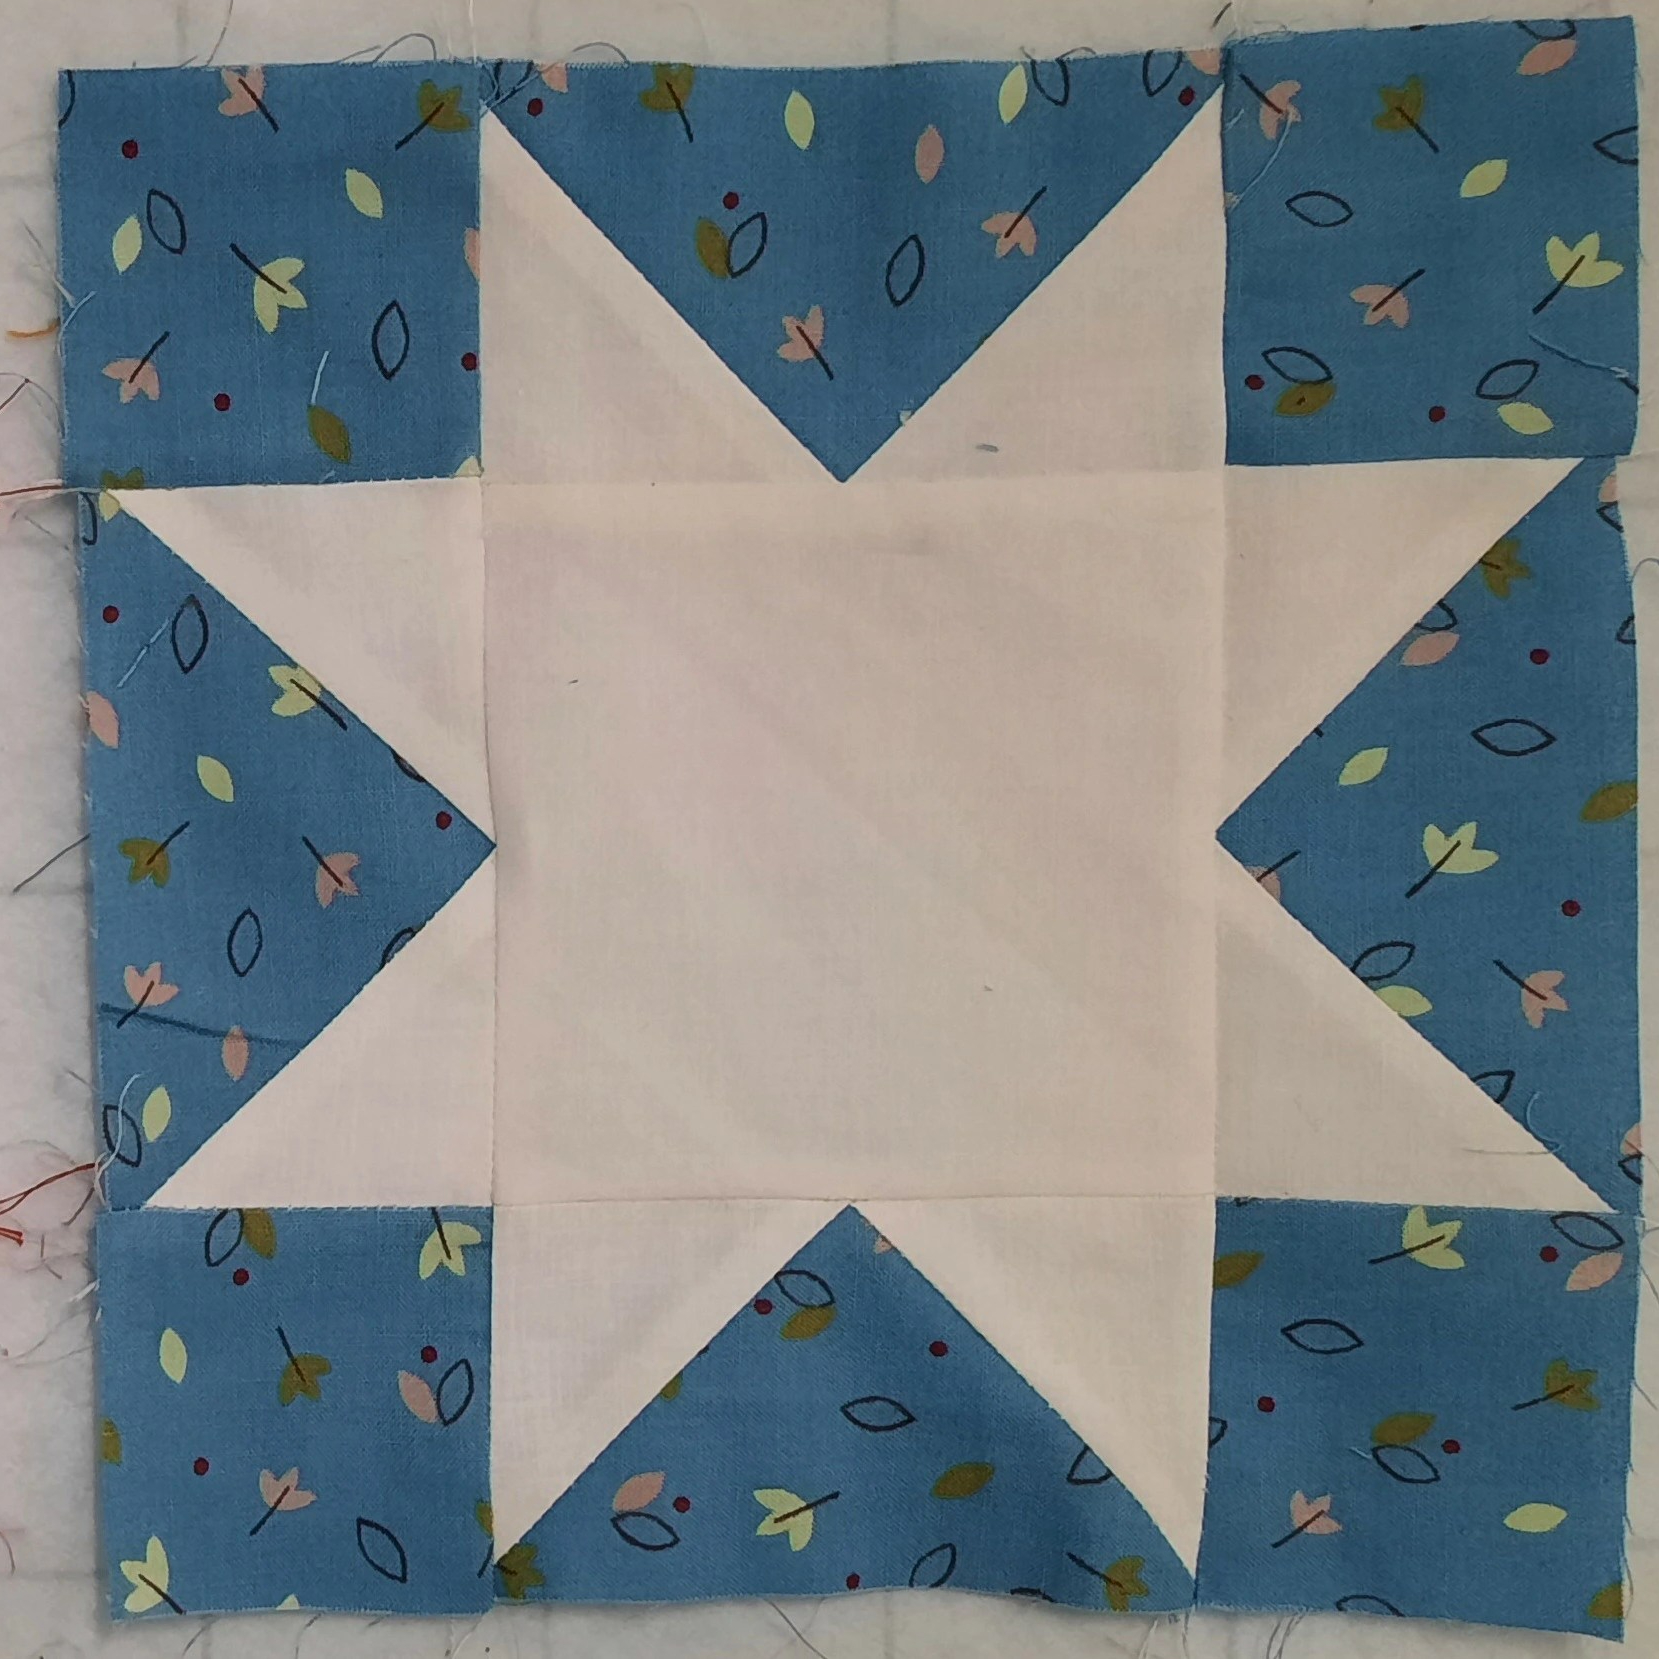
Cutting for the white star block
From Fabric A (white solid), cut one square 4½ x 4½” and eight squares 2½ x 2½”
From Fabric B (blue print), cut four oblongs 4½ x 2½” and four squares 2½ x 2½”
Making the block
1 Mark a diagonal line from corner to corner across the back of a fabric A 2½ x 2½” square.
2 Pin the square, right sides together, to the right of a fabric B 4½ x 2½” oblong and stitch on the marked line.
3 Fold up the right side of the fabric A piece to the corner and press.
4 Lift up the top fabric A layer and trim the remaining two layers of fabric to a ¼” seam allowance. Replace the top fabric A layer.
5 Mark, pin and stitch a second fabric A 2½ x 2½” square right sides together to the left of the fabric B oblong.
6 Fold up, press and trim seams as before.
7 Repeat steps 1-6 three more times.
8 Make Row 1. Stitch a fabric B 2½ x 2½” square to the left of the unit completed in steps 1-6 and another fabric B 2½ x 2½” square to the right of it. Press the seam allowances out towards the fabric B squares.
9 Make Row 2. Stitch one of the three units completed in step 7 to the left of the 4½ x 4½” fabric A square and another step 7 unit to the right of the square. Press the seam allowances inwards towards the central square. Make sure that the seam goes exactly through the point at the top of the fabric B triangle.
10 Make row 3. Repeat step 8 with another of the step 7 pieces. Turn through 180 degrees. Press the seam allowances out towards the fabric B squares.
11 Join the three rows. Press the seam allowances in towards the central square.
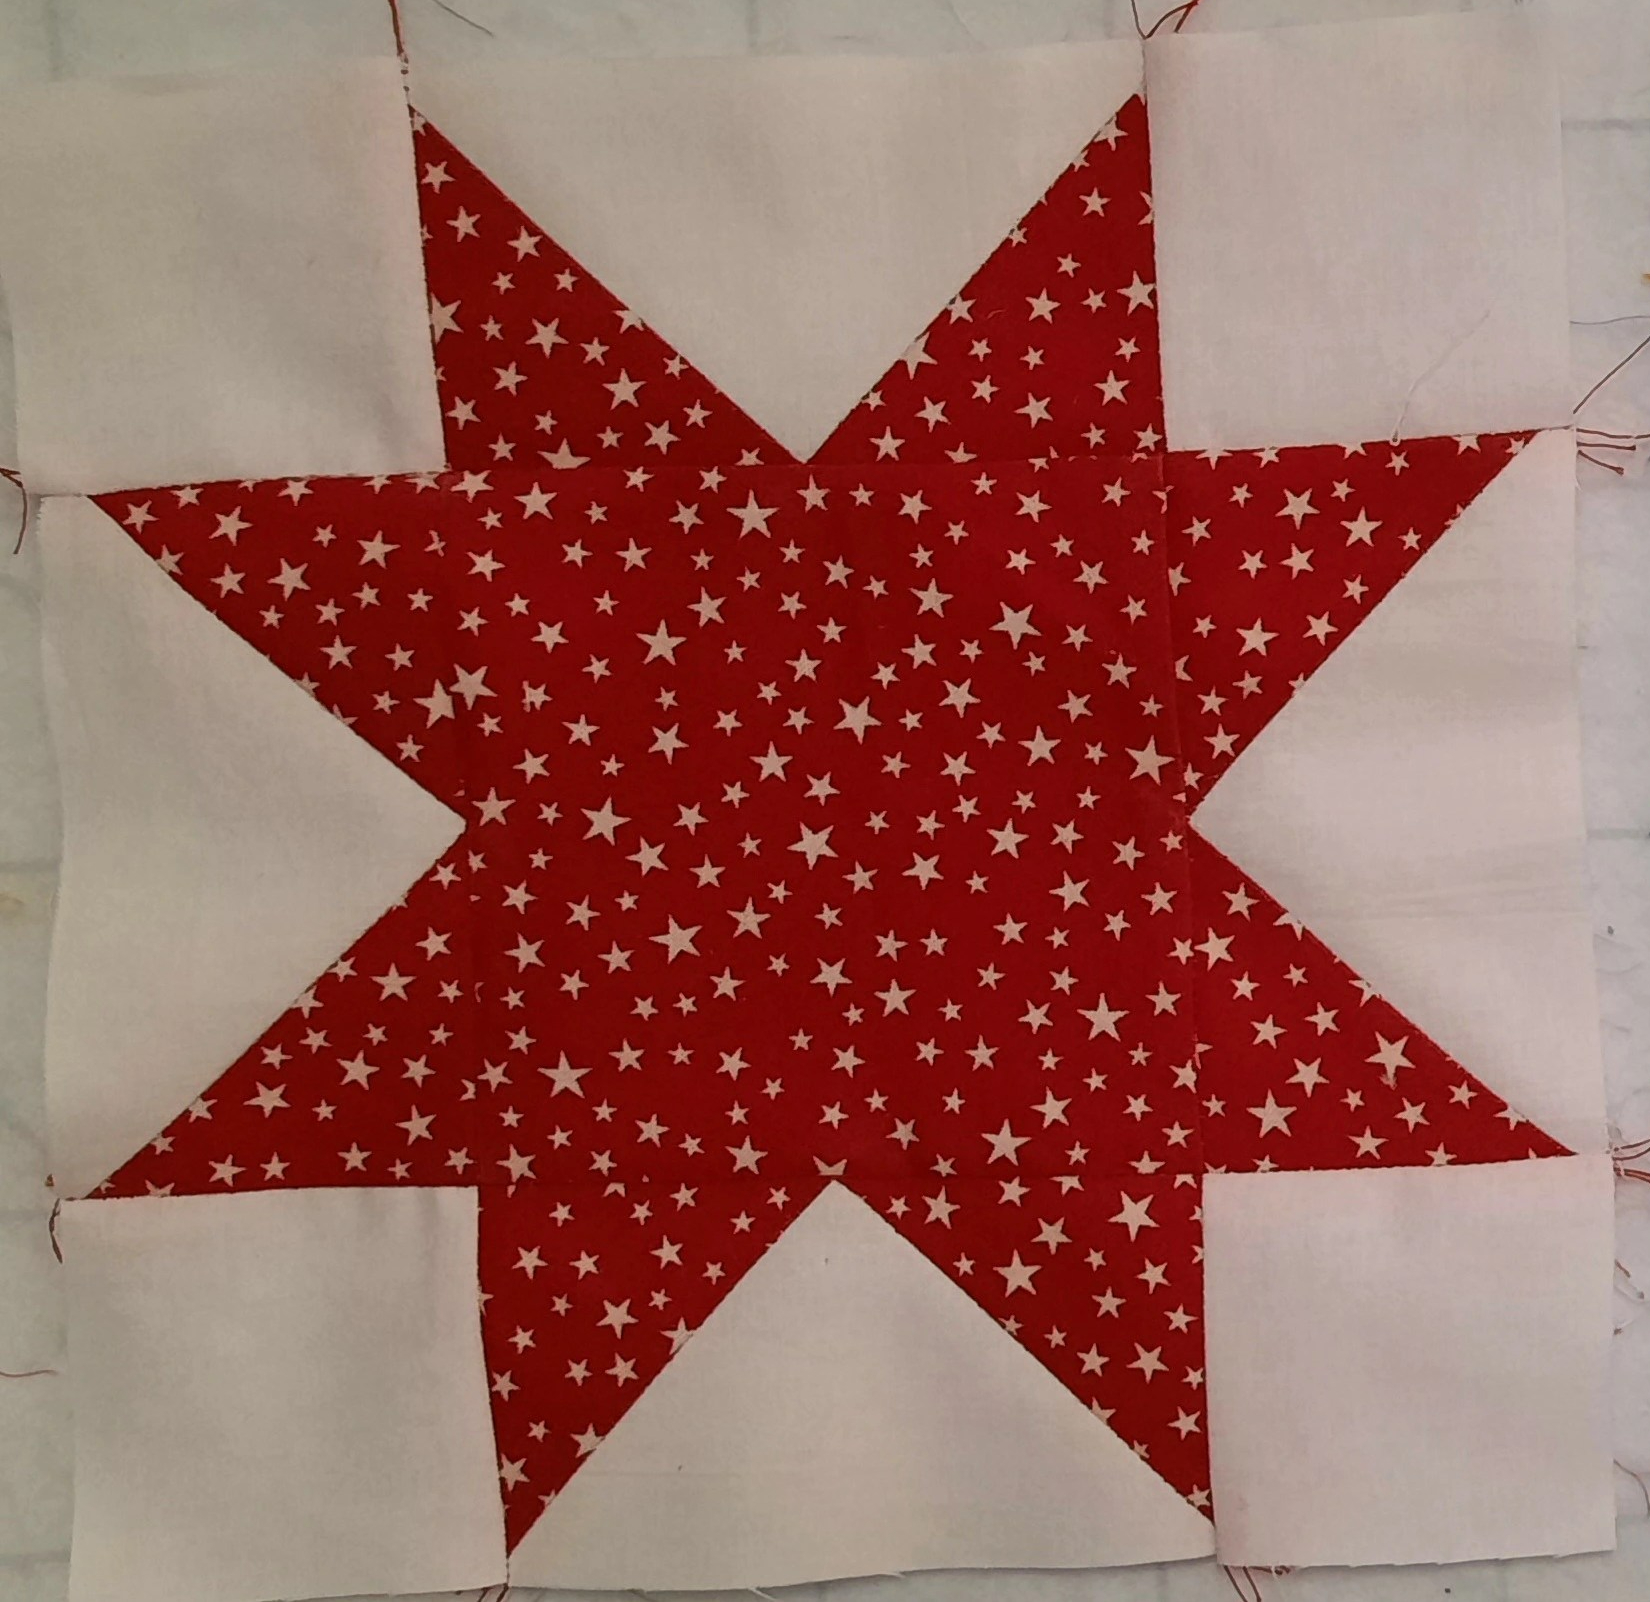
To make the second star block, follow the cutting and making instructions above, but this time make Fabric A the red print fabric and and fabric B is the white solid. Your finished block will look like this:
Thank you for reading my blog. Quilt Patterns are here, Fabrics are here, Classes are here
Click the ‘Follow’ button to get a blog-post by email each Monday and click here if you would like the monthly newsletter with design and colour inspiration, etc.
