
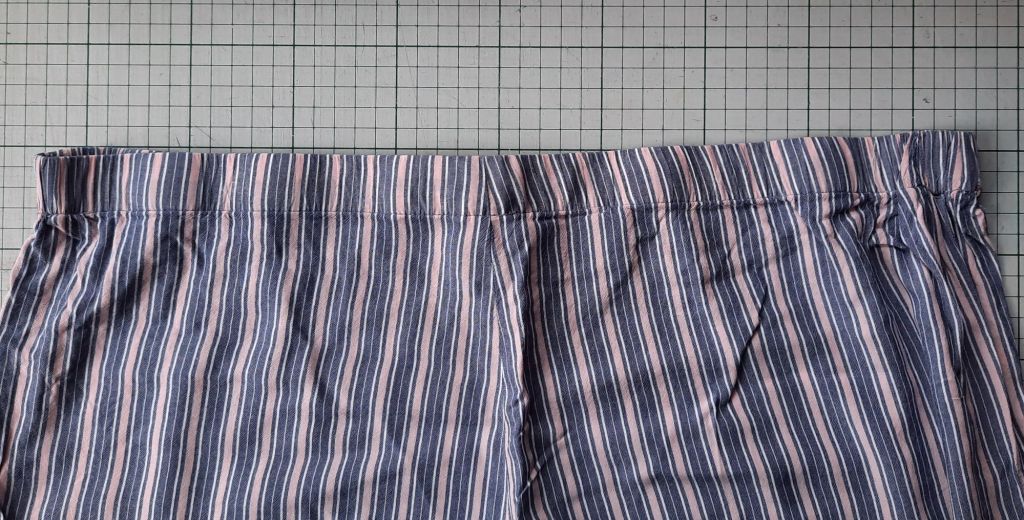
This is another ‘Basic Sewing Skills’ post designed to help you mend rather than throw away garments. The elastic in these pyjama trousers had lost some of its elasticity and needed to be renewed. Other reasons for changing the elastic include needing to make the trousers tighter or looser. This post shows you how to do this mending task, so you don’t need to throw away your favourite pyjamas/trousers/skirt. This method works if the elastic in your garment is wrapped in a fold in the cloth called a casing and runs freely through the casing. You will need a new piece of elastic the same width as the old one and some sewing thread in your machine to match the fabric. You can sometimes renew the elastic without re-sewing the casing, but in general, I think this method is easier – you can see exactly what you are dealing with!
1 The first step is to unpick the machine stitching around the bottom of the casing. Begin by cutting into a stitch from the right side of the garment.
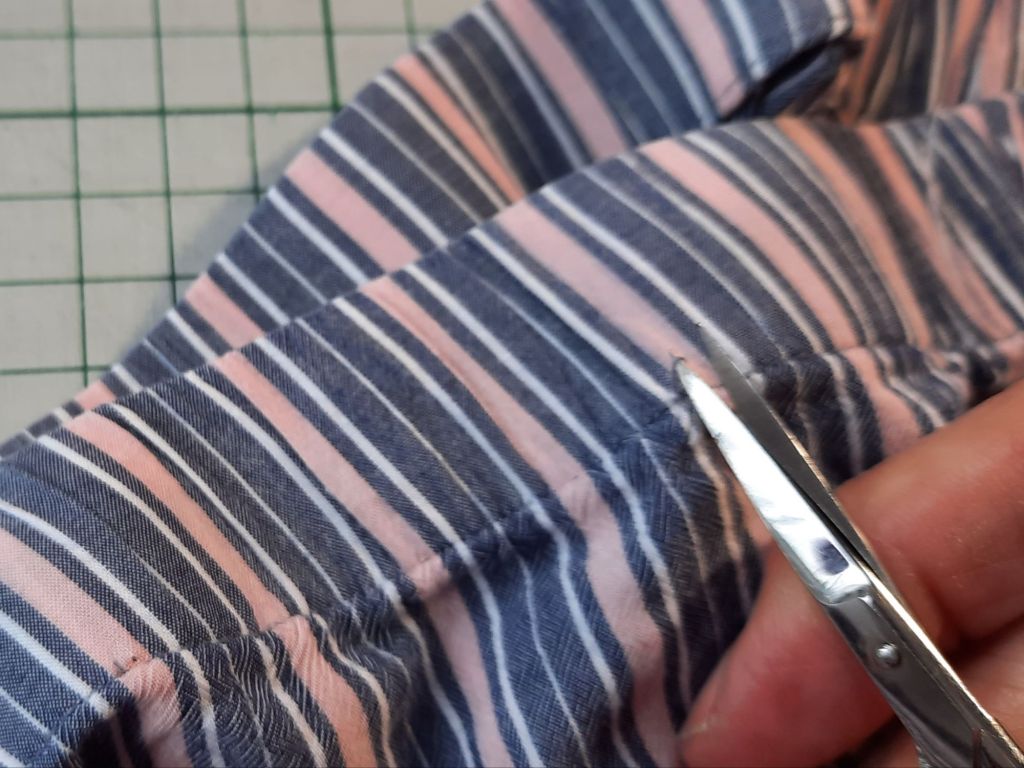
2 Go to the wrong side of the garment and begin to pull the seam apart, cutting the stitches as you go.
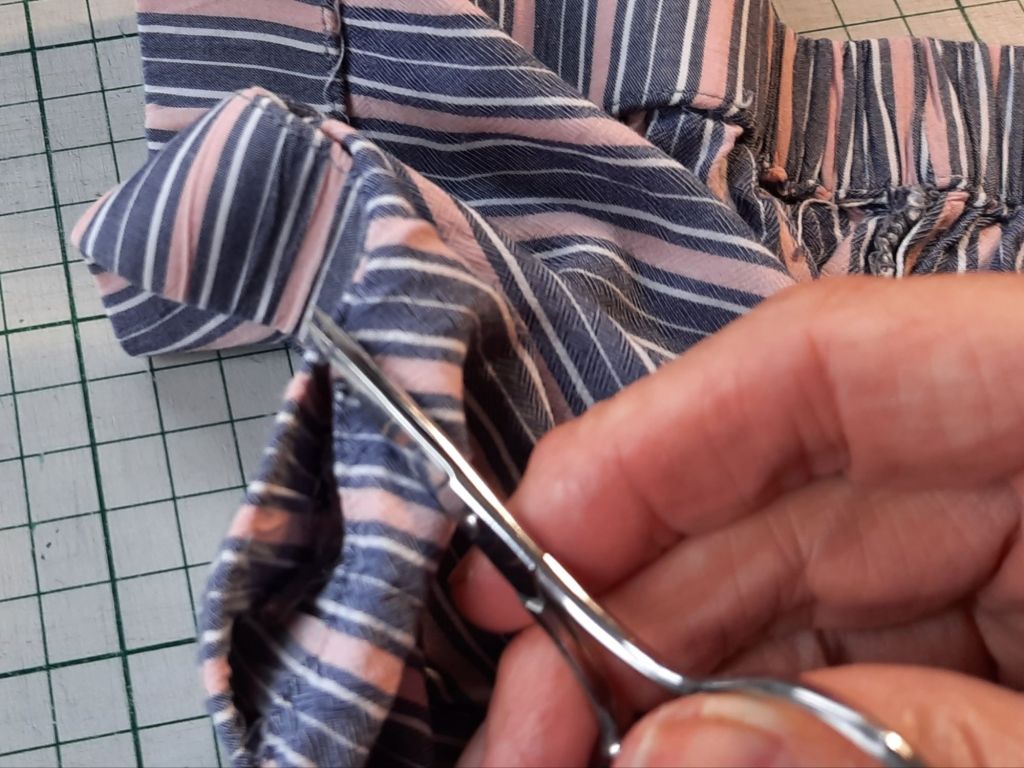
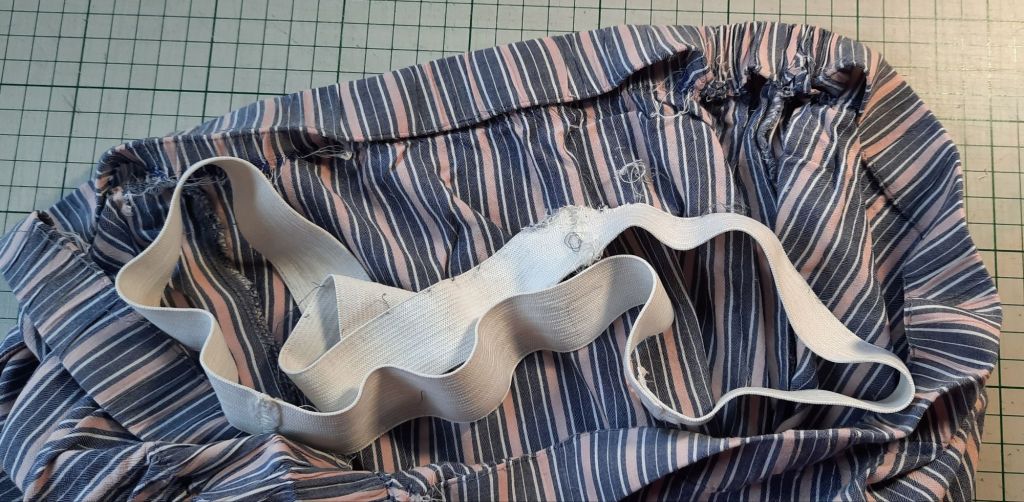
3 Continue until the whole casing has been unpicked and the circle of elastic has been released. If you need to change the size of the waistband, use the old elastic to measure the waistband size you need on the new piece of elastic.
4 Re-fold the casing and insert pins at right angles all the way round the waist (blue-headed pins). Insert two marker pins at either side of the centre back seam (orange-headed pins).
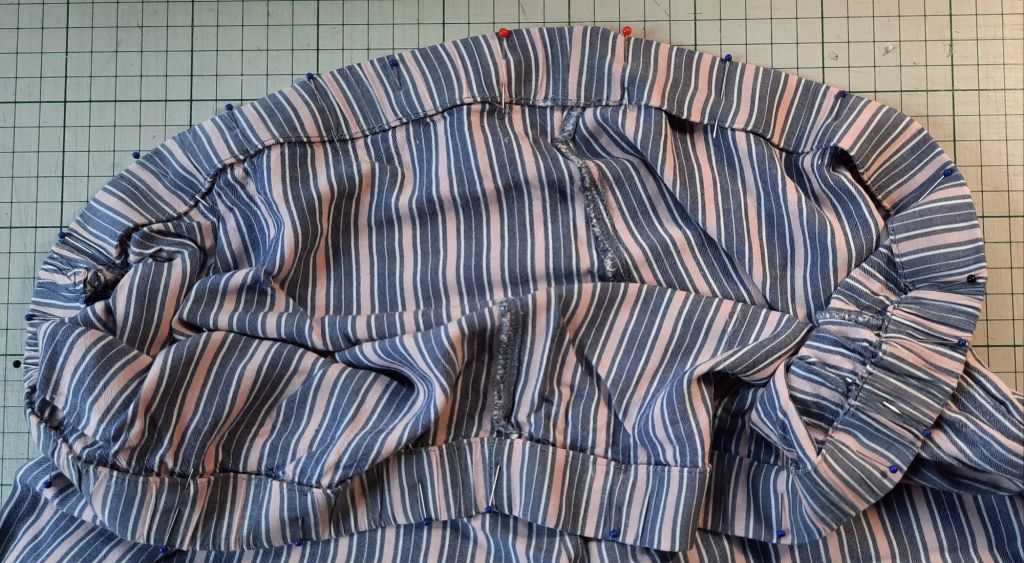
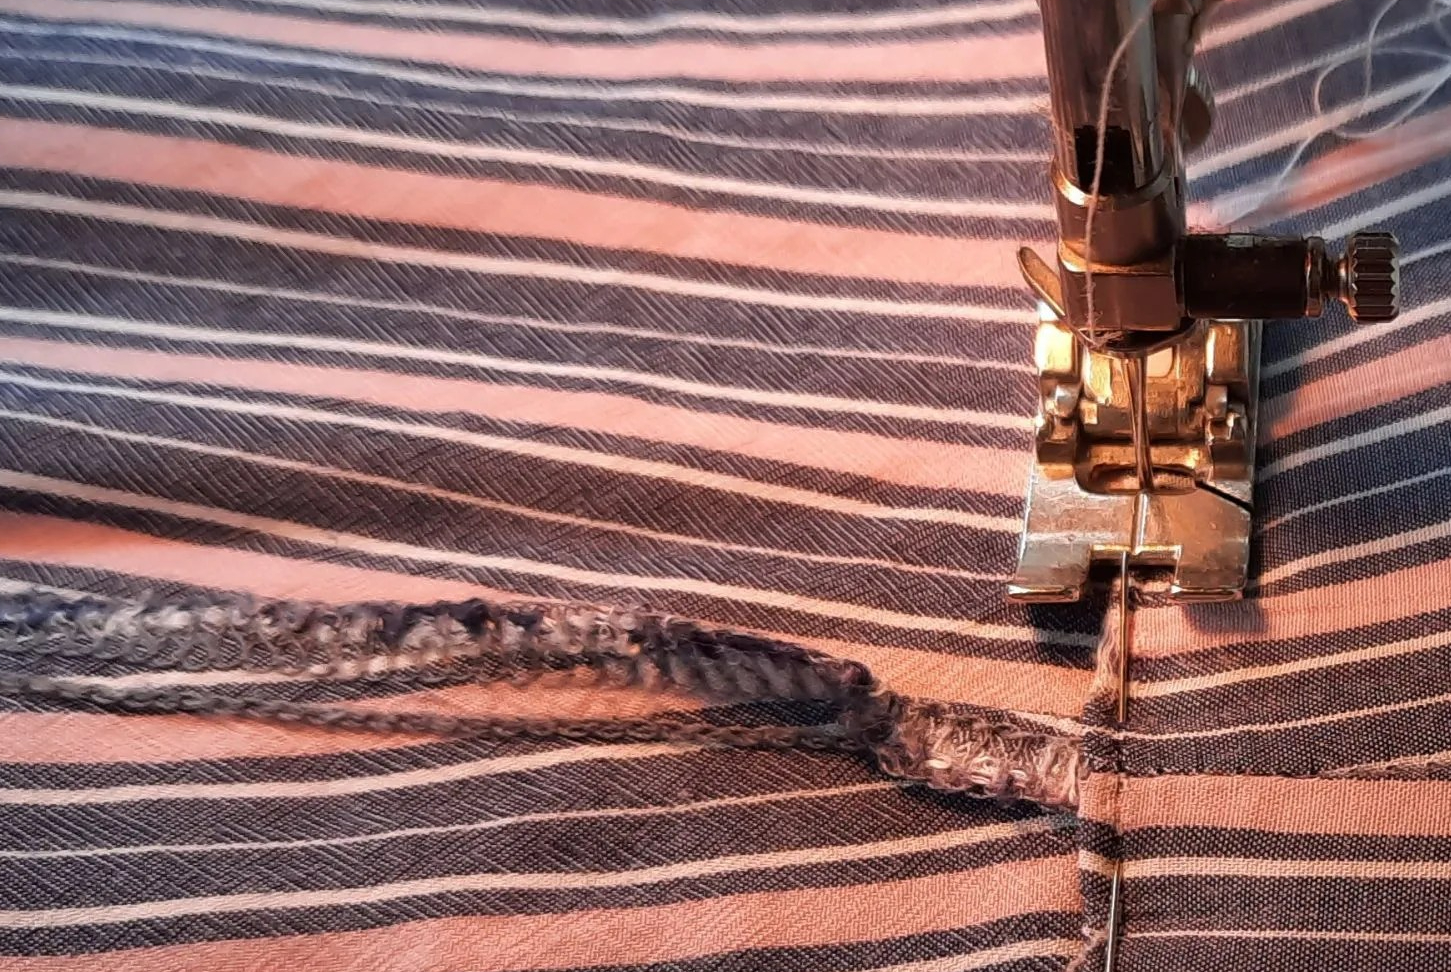
5 Set the stitch length on your machine to about 2.5. Sew with the inside of the garment turned outwards. Start at the second marker pin, sew and then backtack at few stitches, then stitch all round the bottom of the casing in the same position as the original stitching that you unpicked, taking the pins out as the presser foot reaches them.
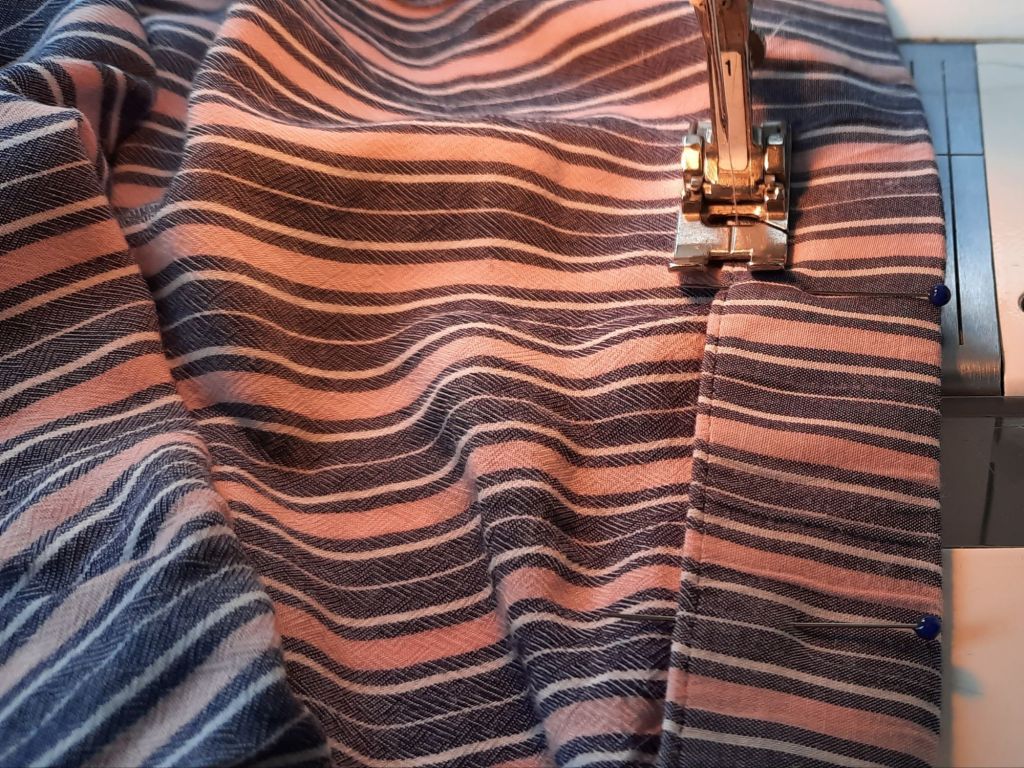
6 When you arrive back at the first marker pin, backtack a few stitches. Take the fabric out of the machine and trim the threads.
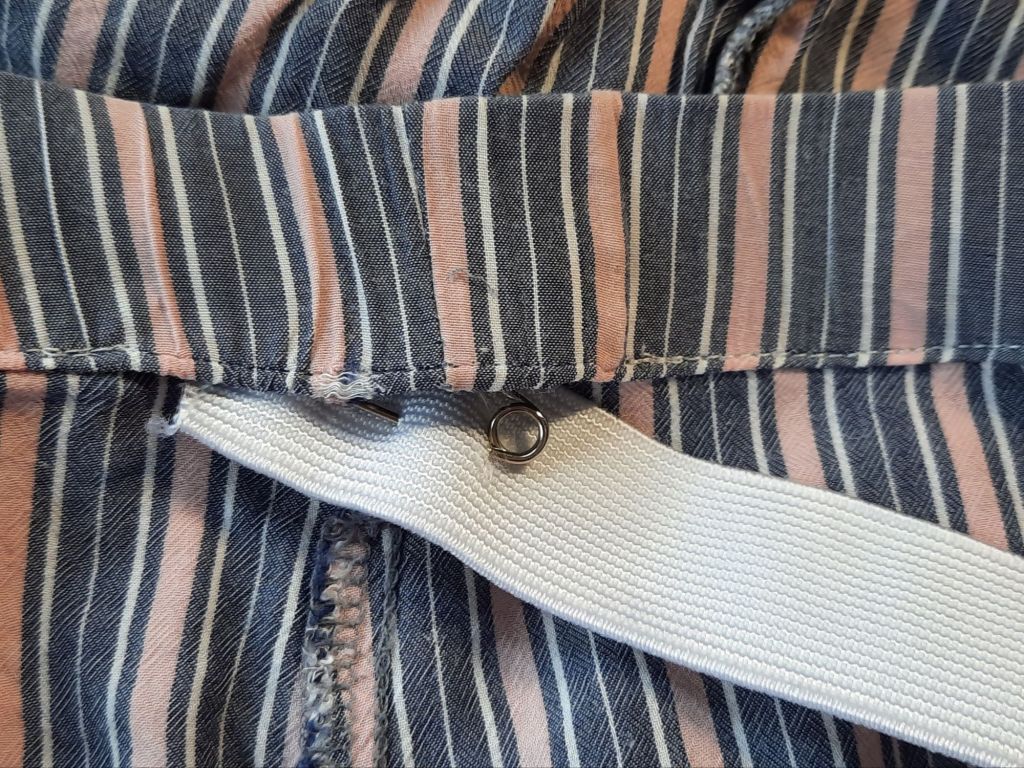
7 Double-check the size of the new elastic by putting round your waist. Then insert a sturdy safety pin into one end.
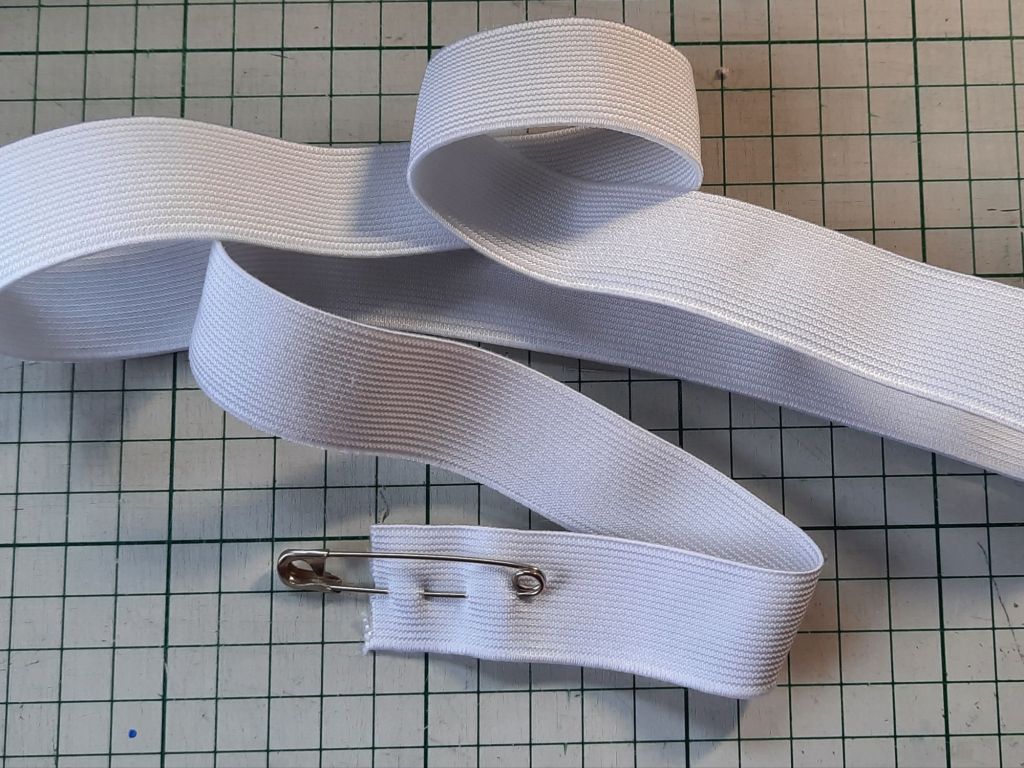
8 Still with the garment inside out, insert the safety pin into the casing as shown.
9 Continue to push and pull the safety pin through the garment, easing the casing over the elastic as you go.
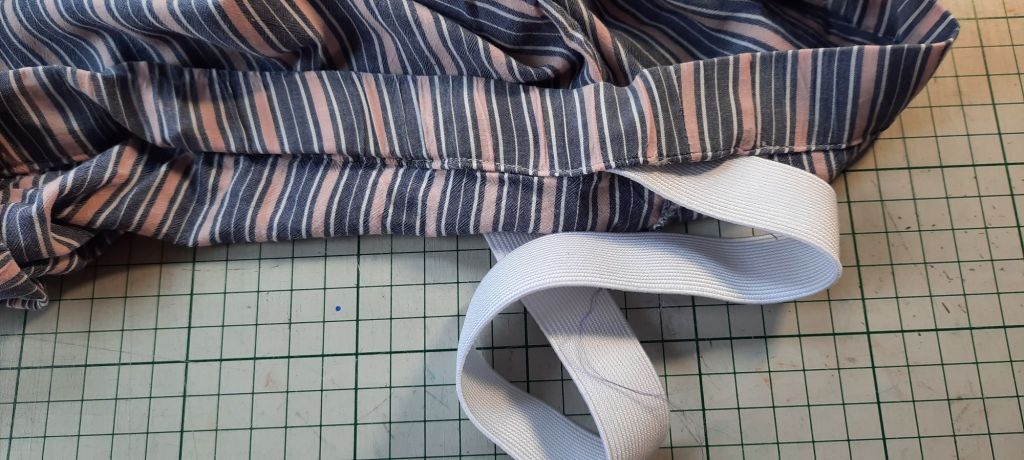
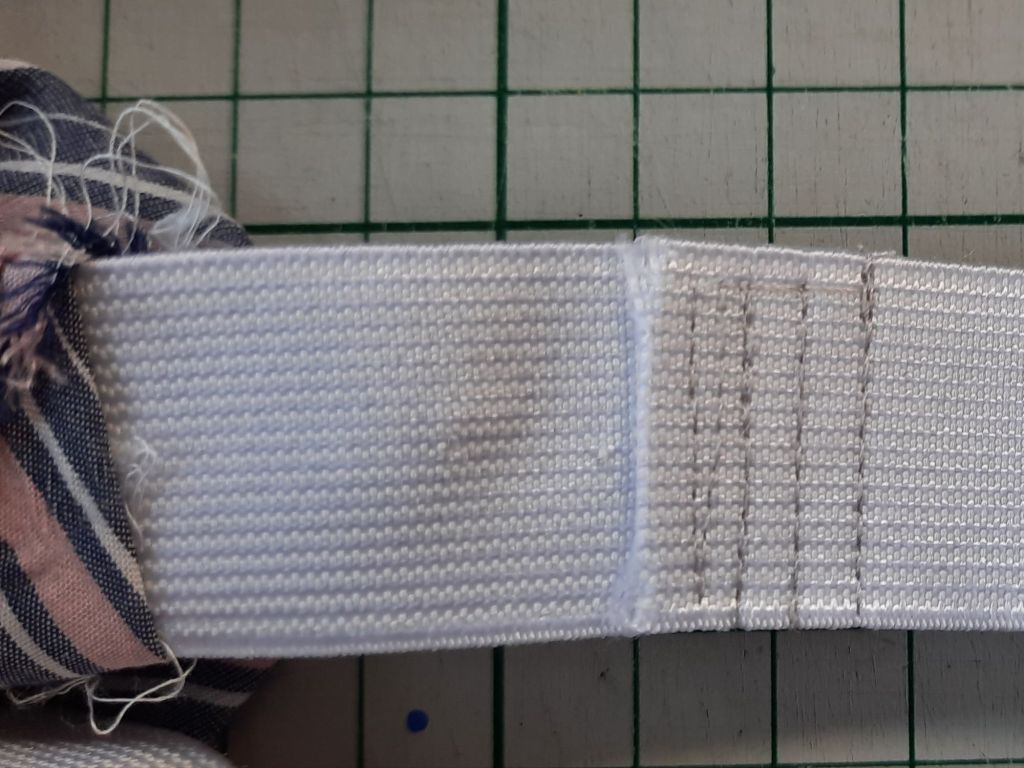
10 Once you are back at the beginning and can see both ends of the elastic, check that the elastic is flat all the way round (it’s very easy to introduce a twist in the elastic if you aren’t careful). Lay one end of the elastic on top of the other and stitch to and fro on the machine, backtacking at the beginning and the end.
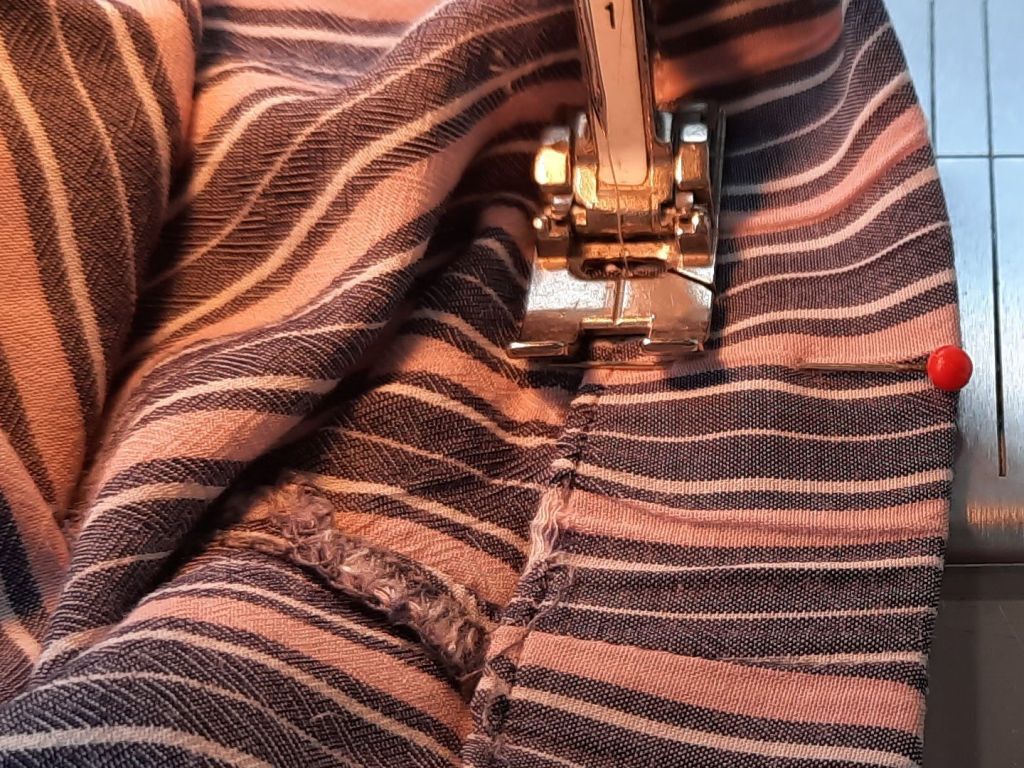
11 Ease the casing over the circle of elastic, then insert a pin in the centre of the gap in the casing.
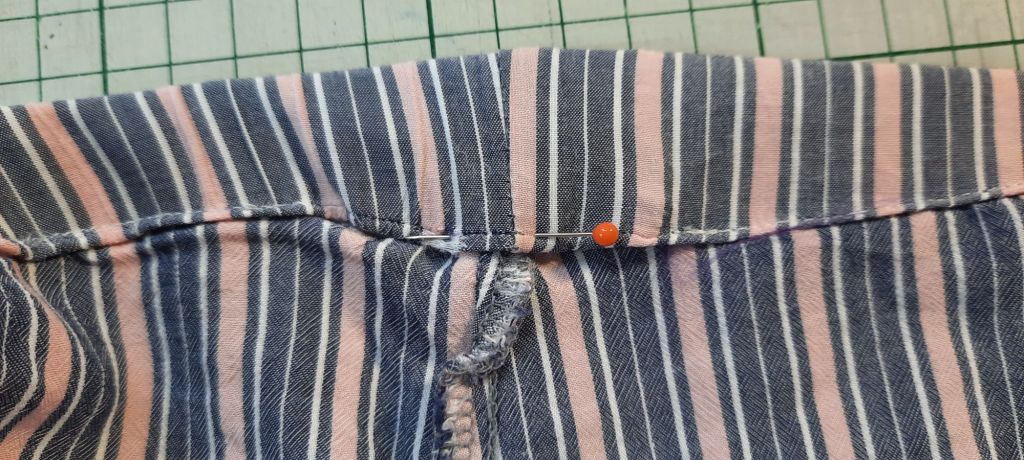
12 Close the gap with machine stitching, backtacking at the beginning and the end, removing the pin as the presser foot comes close.
Another garment saved to live another day – and one less item to go in landfill!
This medium-sized pieced and machine quilted bag is useful for lingerie or handkerchiefs but once you have made the bag once, you could scale it up to make an attractive pyjama case (talking of pyjamas!). You can find the pattern here

Thank you for reading my blog. Quilt Patterns are here, Fabrics are here, Classes are here
Click the ‘Follow’ button to get a blog-post by email each Monday and click here if you would like the monthly newsletter with design and colour inspiration, etc.
