
This month’s ‘basic sewing skills’ post is about putting up a hem on a pair of trousers, using the sewing machine. This is useful because you might need to, say, shorten a pair of trousers – or the previous hem might have just worn out, which is what has happened here.
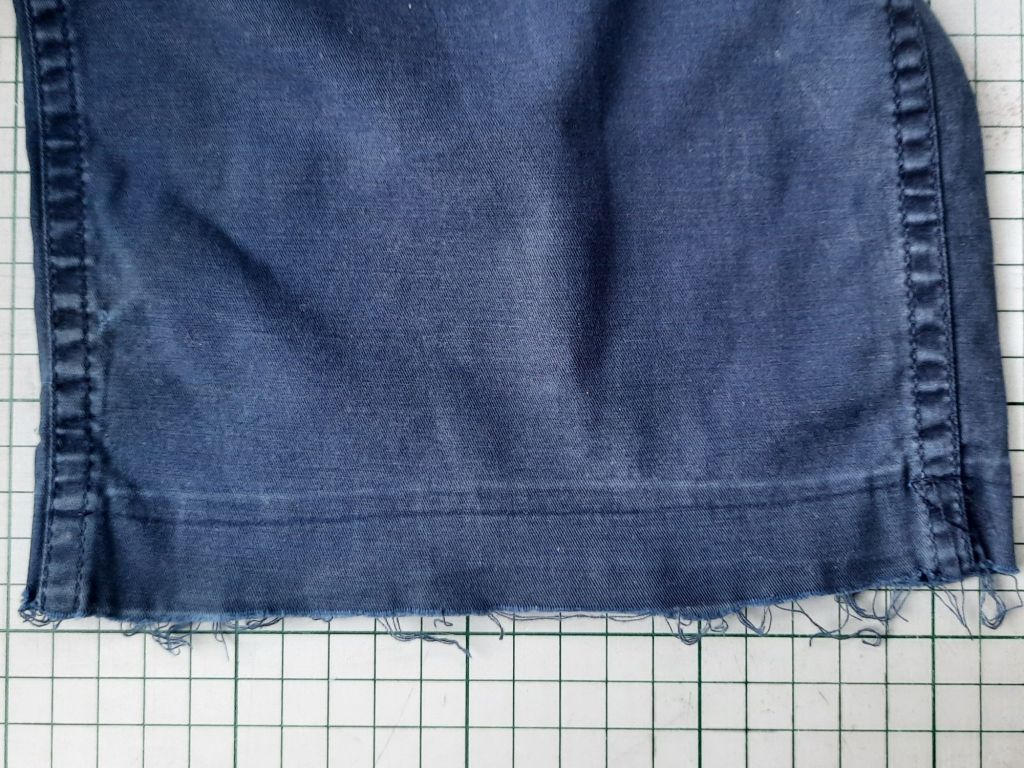
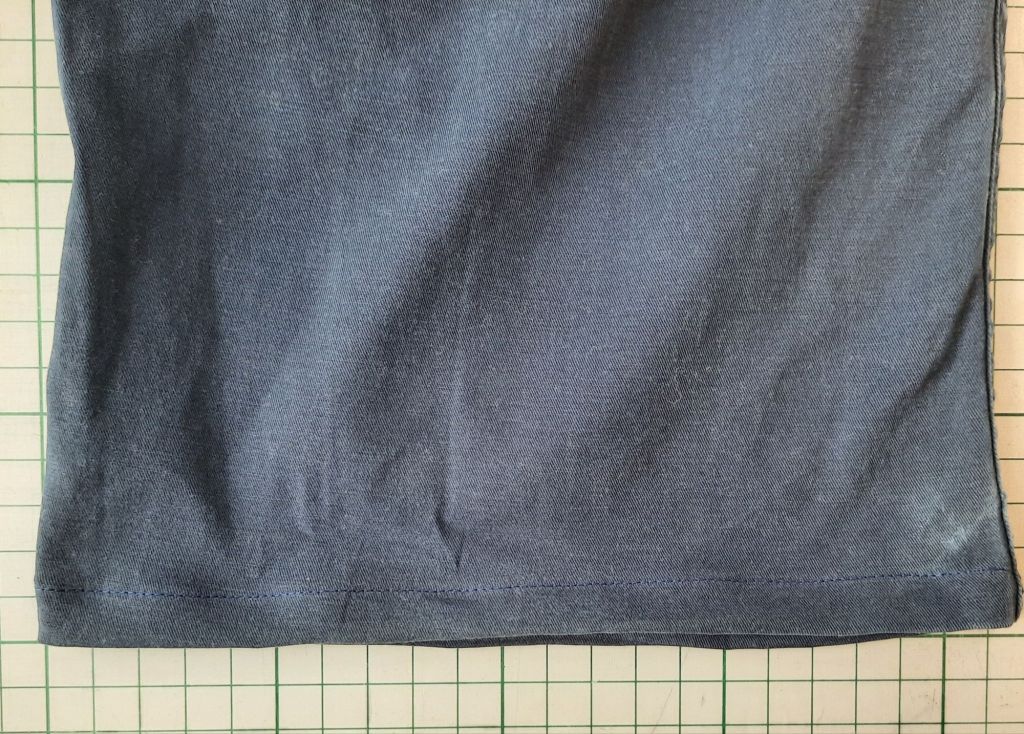
This pair of cotton trousers used to have turn-ups and after many years of wear, they simply wore out on the bottom fold, so I trimmed off the turn-ups leaving a raw edge as shown below.
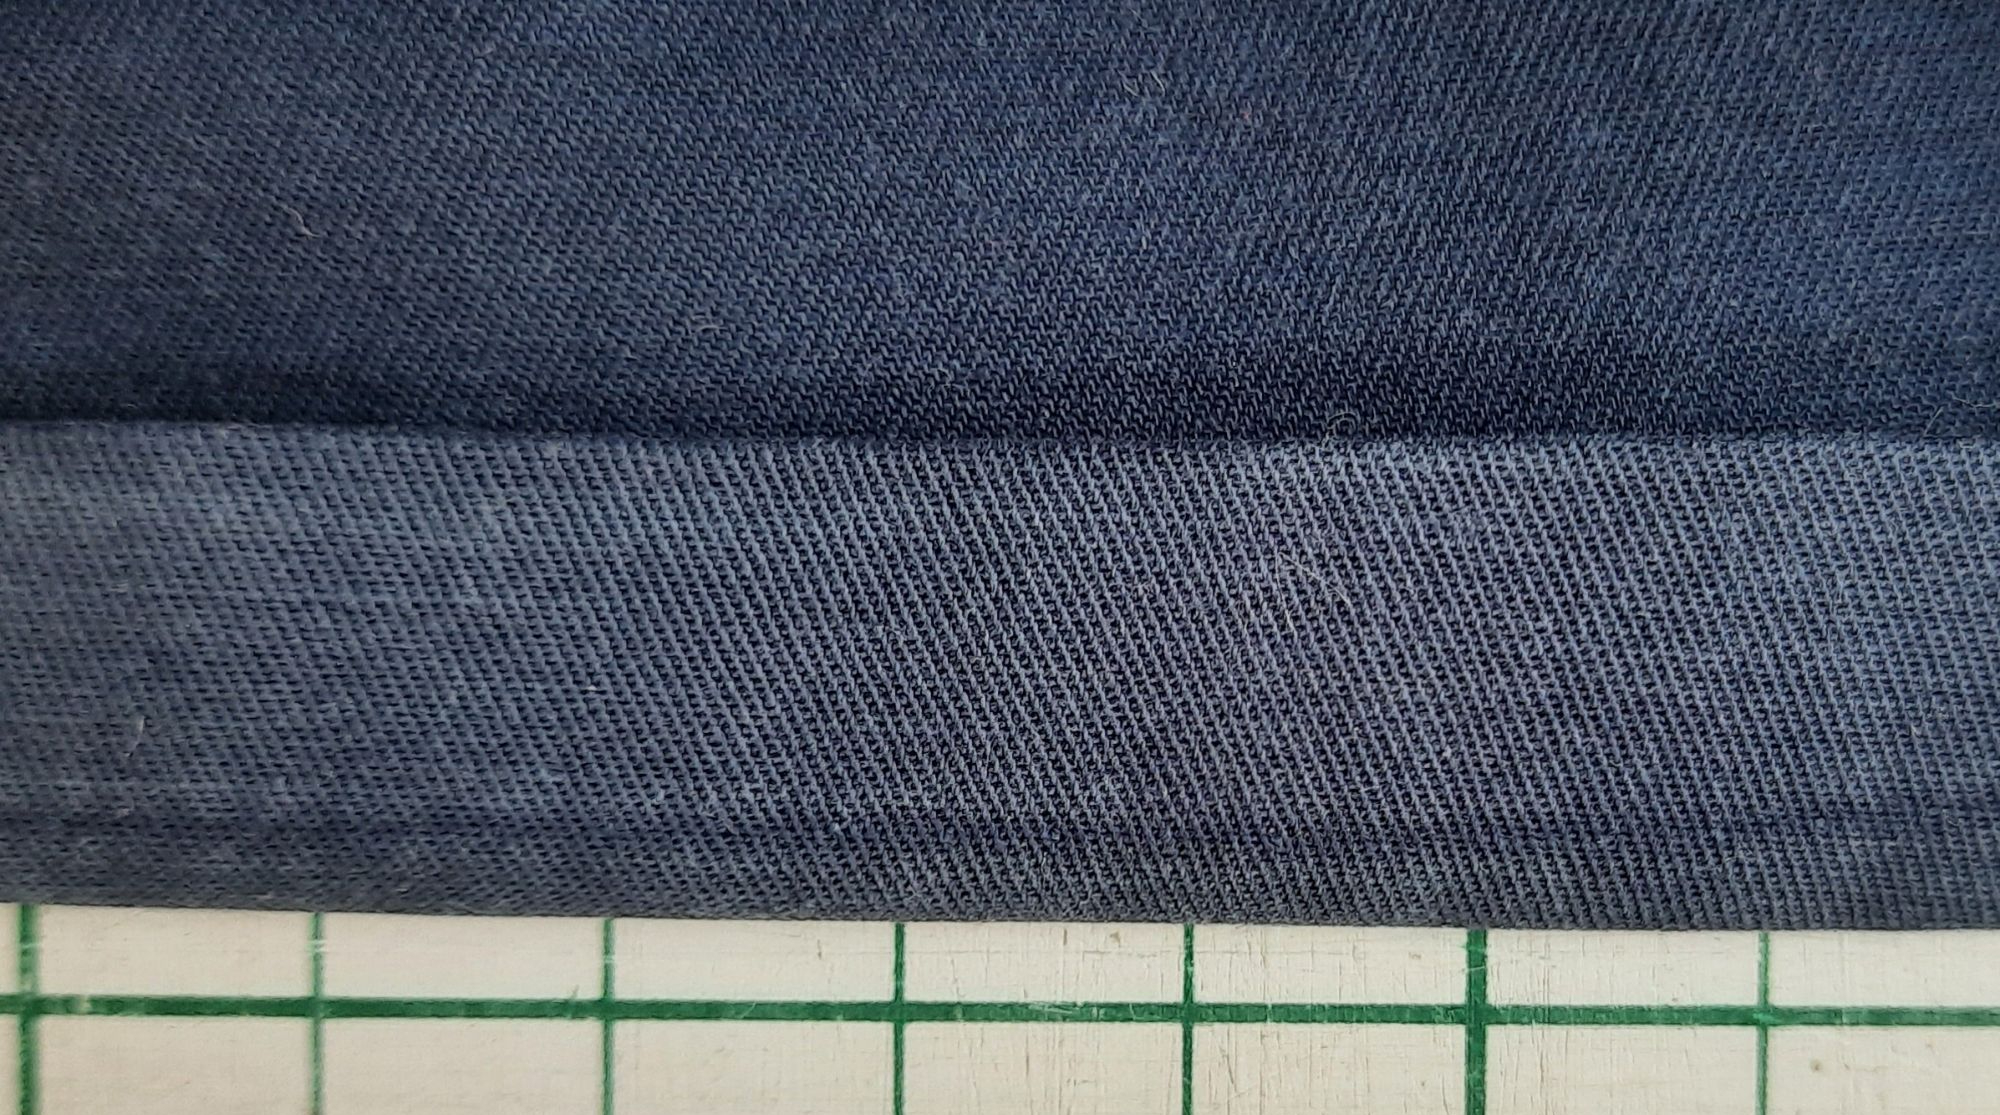
1 The first step is to turn a quarter inch (6mm) in towards the inside of the trouser leg and press it with an iron, as seen below.

2 Next, turn in a second fold towards the inside of the trouser leg and press again with the iron. If you are unsure about the finished length, you could try the trousers on now, to check the length now, before doing any stitching.
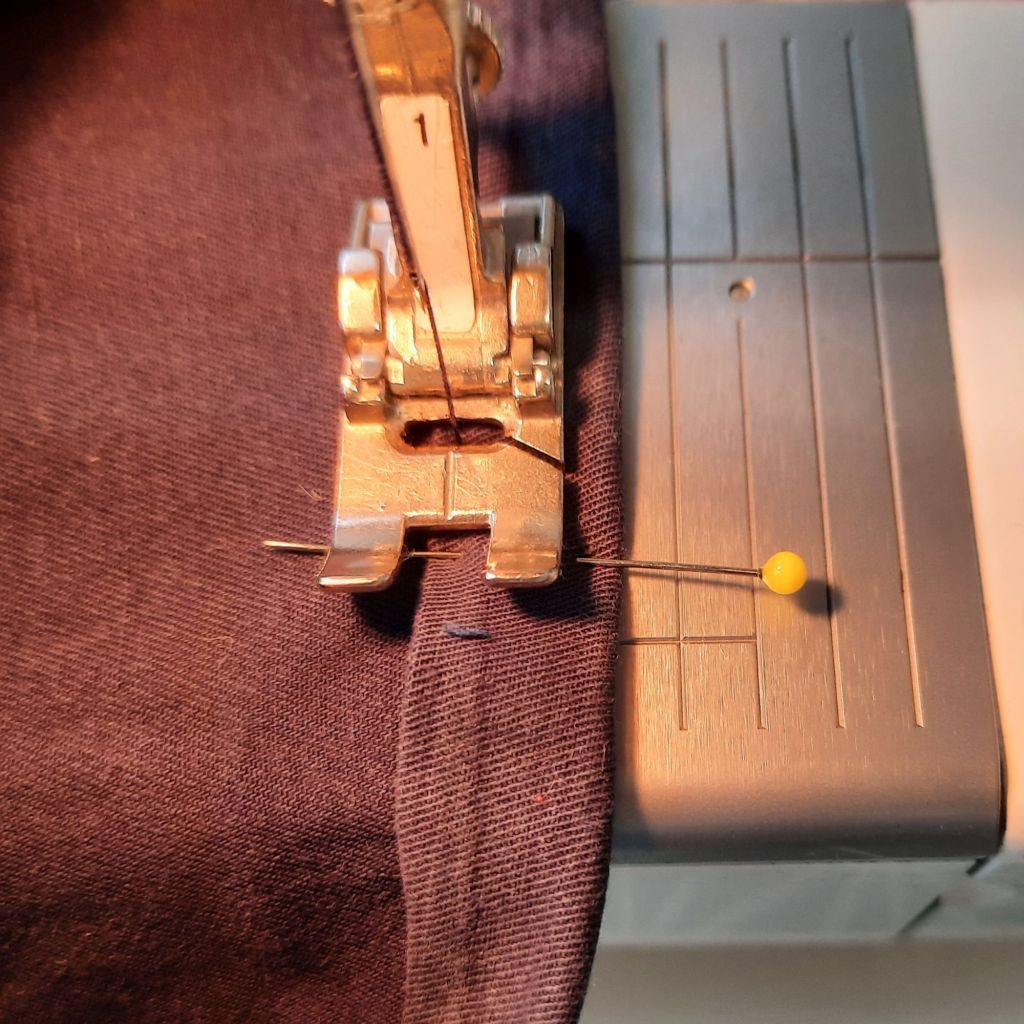
3 Working from the inside of the trouser leg, pin the double-fold you made in steps 1 and 2 in place with pins. Insert the pins at right angles to the bottom of the trouser leg, as shown.

4 Working from the inside of the trouser leg stitch an eighth of an inch (3mm) away from the top of the fold, all round the trouser leg.

5 Ensure that you remove each pin just before the presser foot reaches it, as shown here.
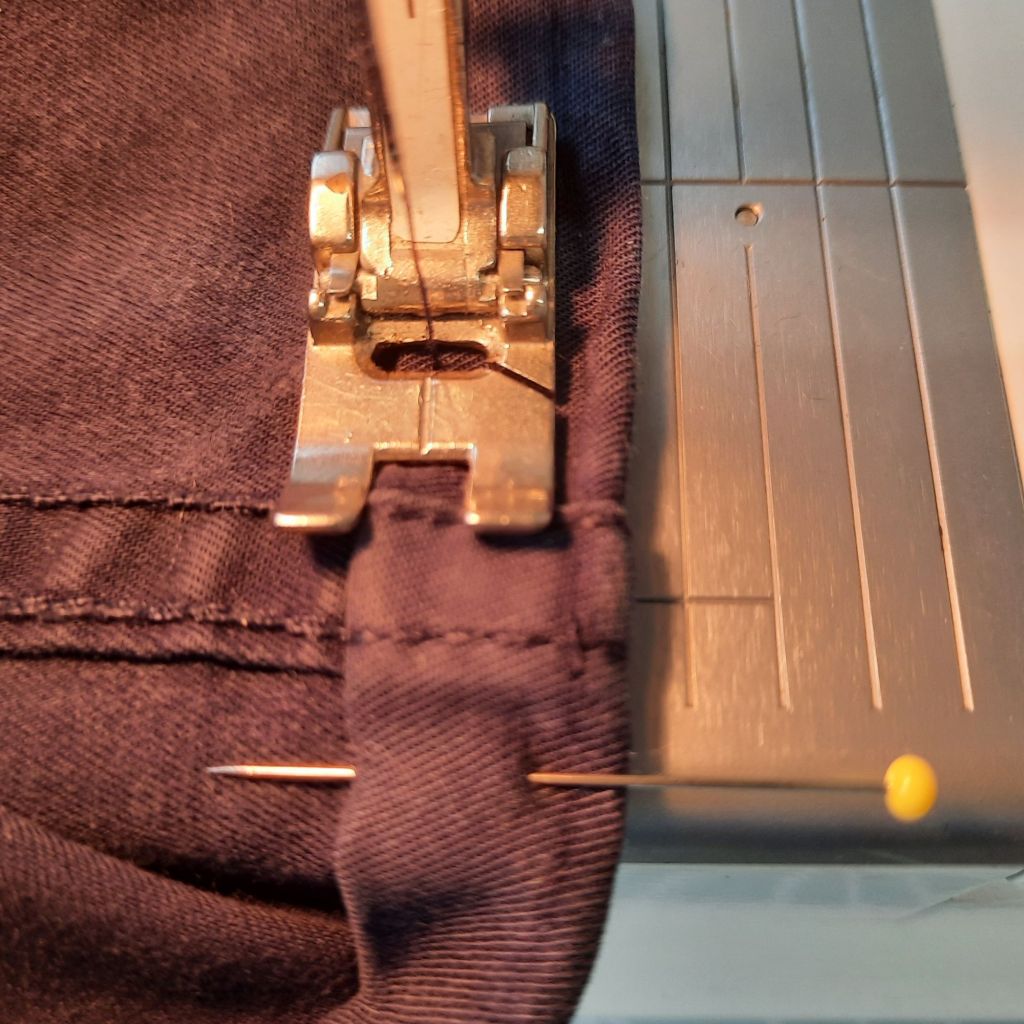
6 Take great care when stitching over the side seams – at this point the machine is stitching through many layers of fabric – so slow right down and consider using the hand-wheel to insert the stitches, to avoid any broken machine needles.
7 Once you got back to the beginning again, continue over your first few stitches and then back-tack to secure your threads before trimming them.
8 Repeat the process on the other trouser leg. Your new hem will give the garment a whole new lease of life. This method will also work for shorts and for some skirts, such as a denim or heavy cotton skirt.
Other blog posts in this series have included: how to thread a needle and make a knot here; how to sew on a button here; how to replace a broken zip on a backpack here, how to sew on a press-stud here; how to mend a gap in a seam here. Let’s mend more and throw away less…
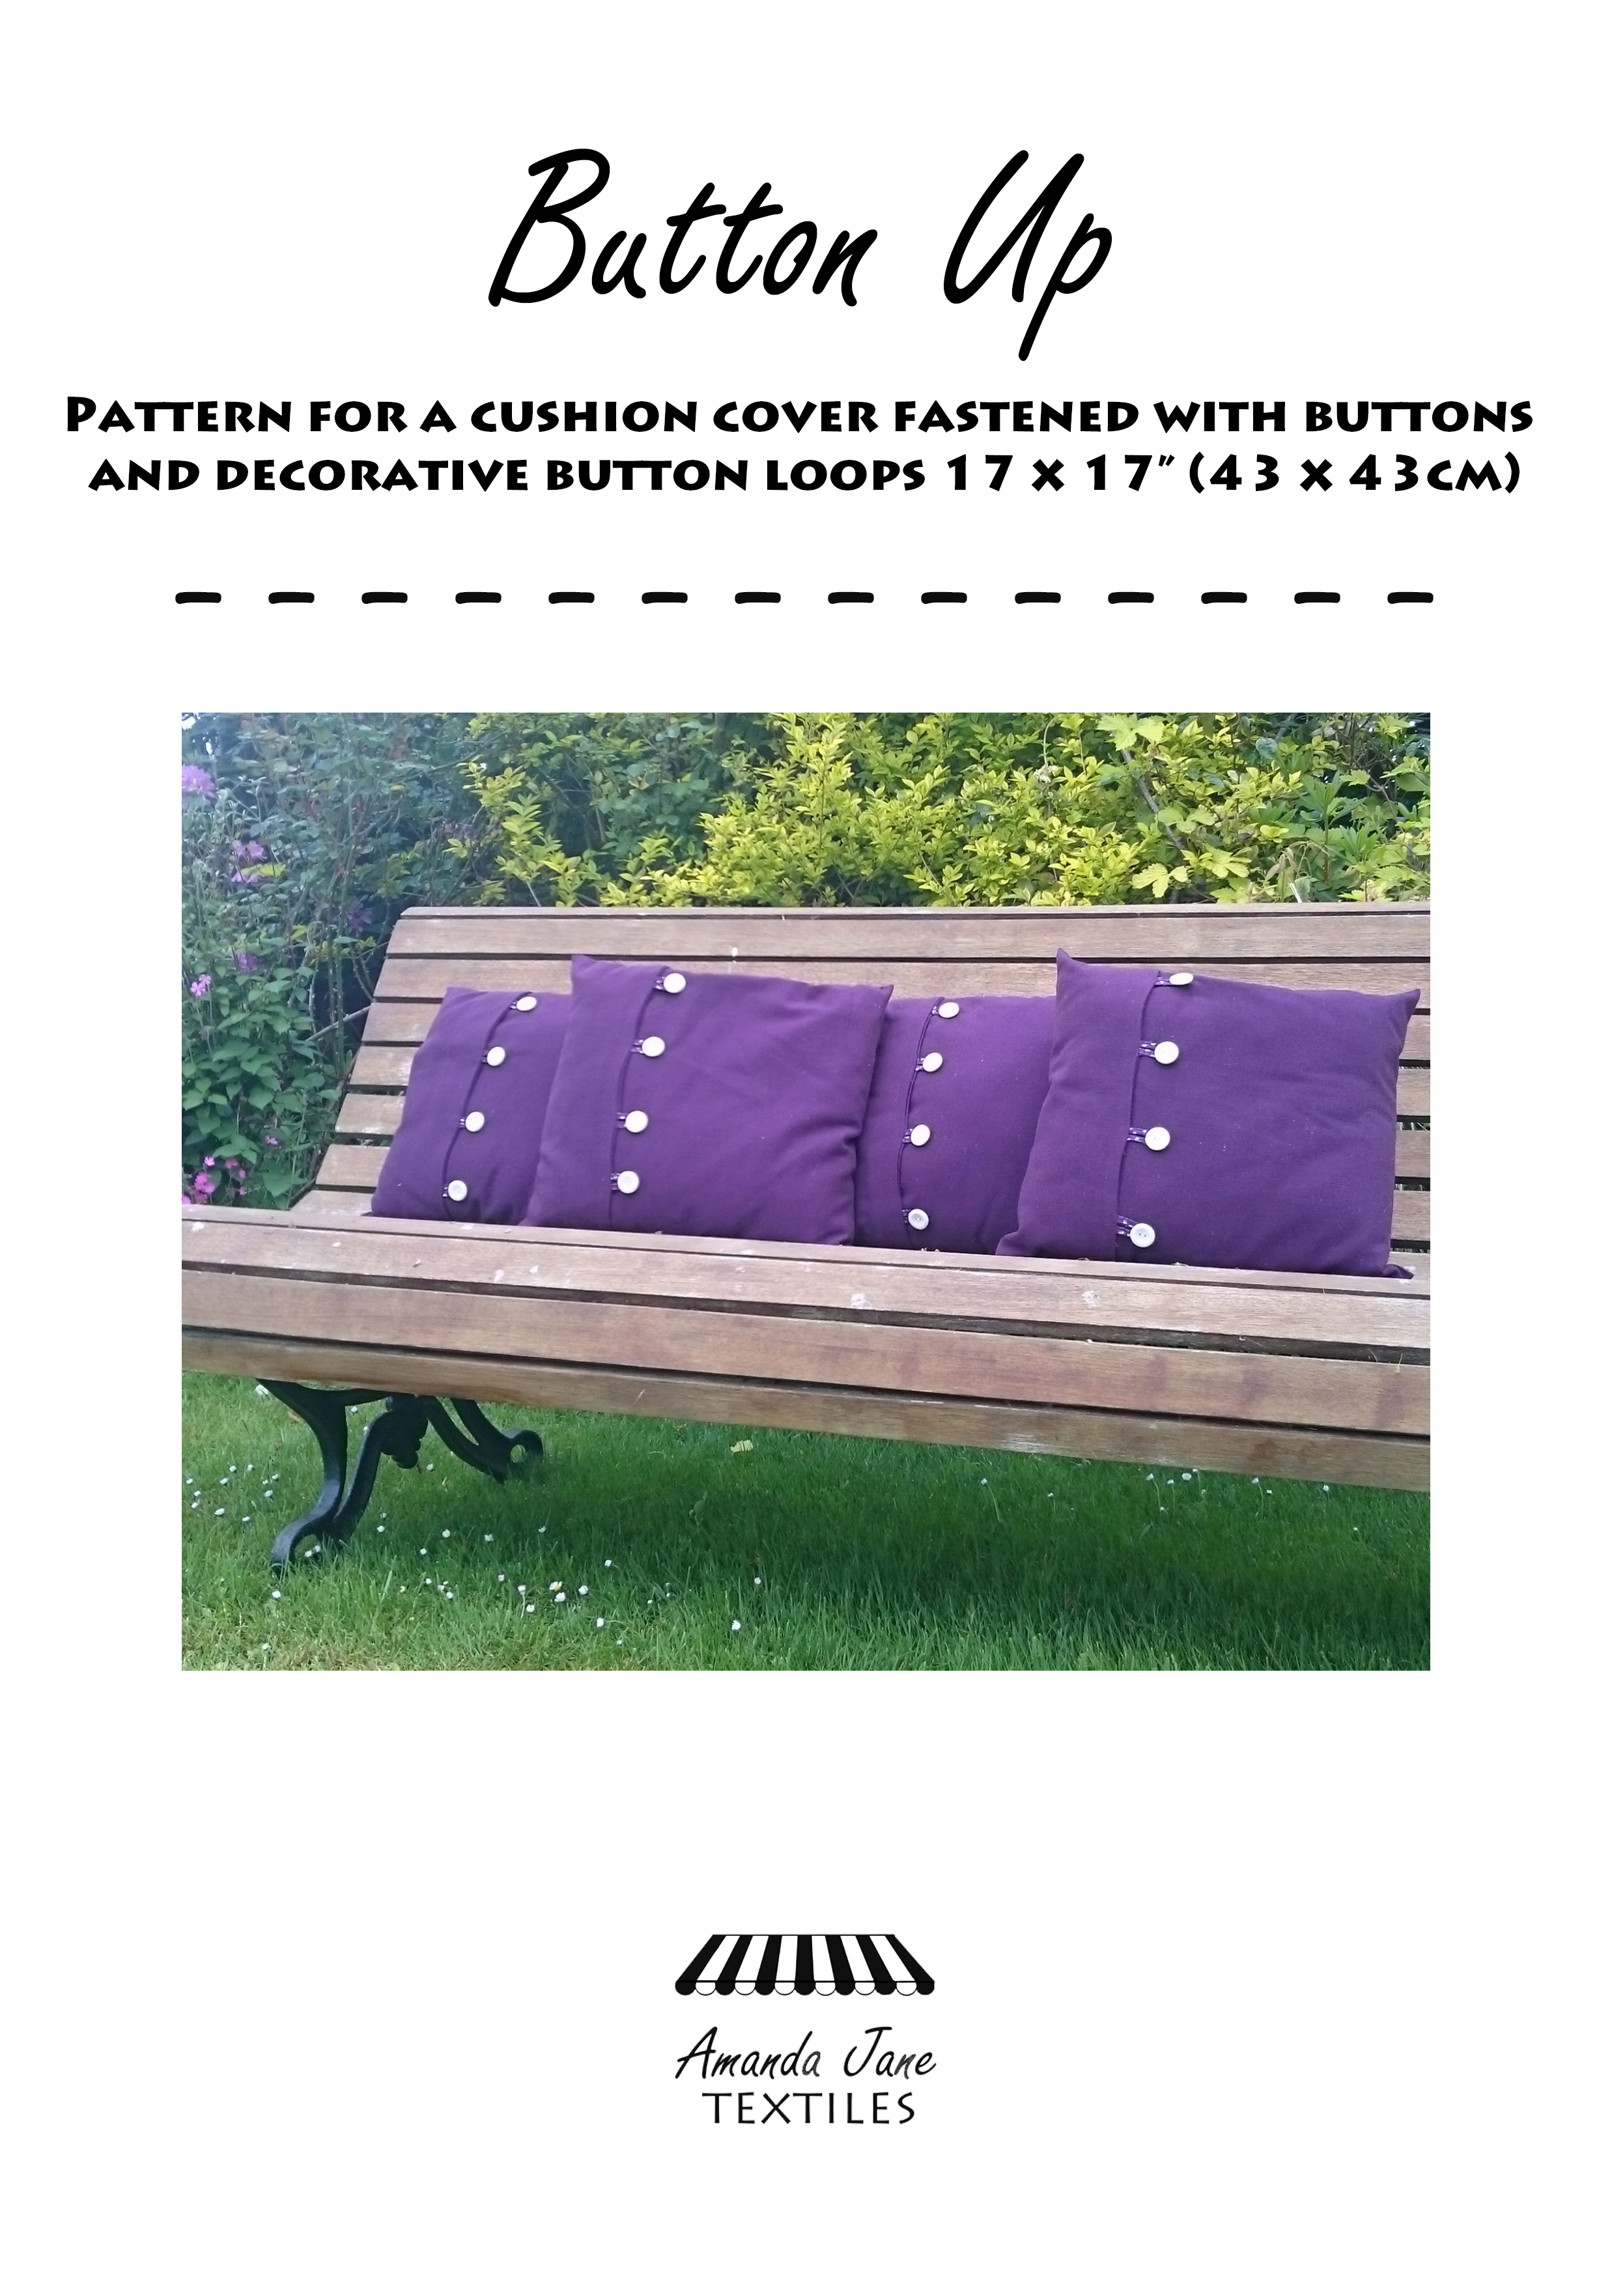
If you are new to this blog, you may not know that I write sewing and quilt patterns. Here are a couple of patterns which are ideal for beginners who want to make items for the home. The first is ‘Button Up’ which is available here
The second is a pattern to make cushion covers with a zip, called ‘Abstract Watercolour’. Find the pattern here

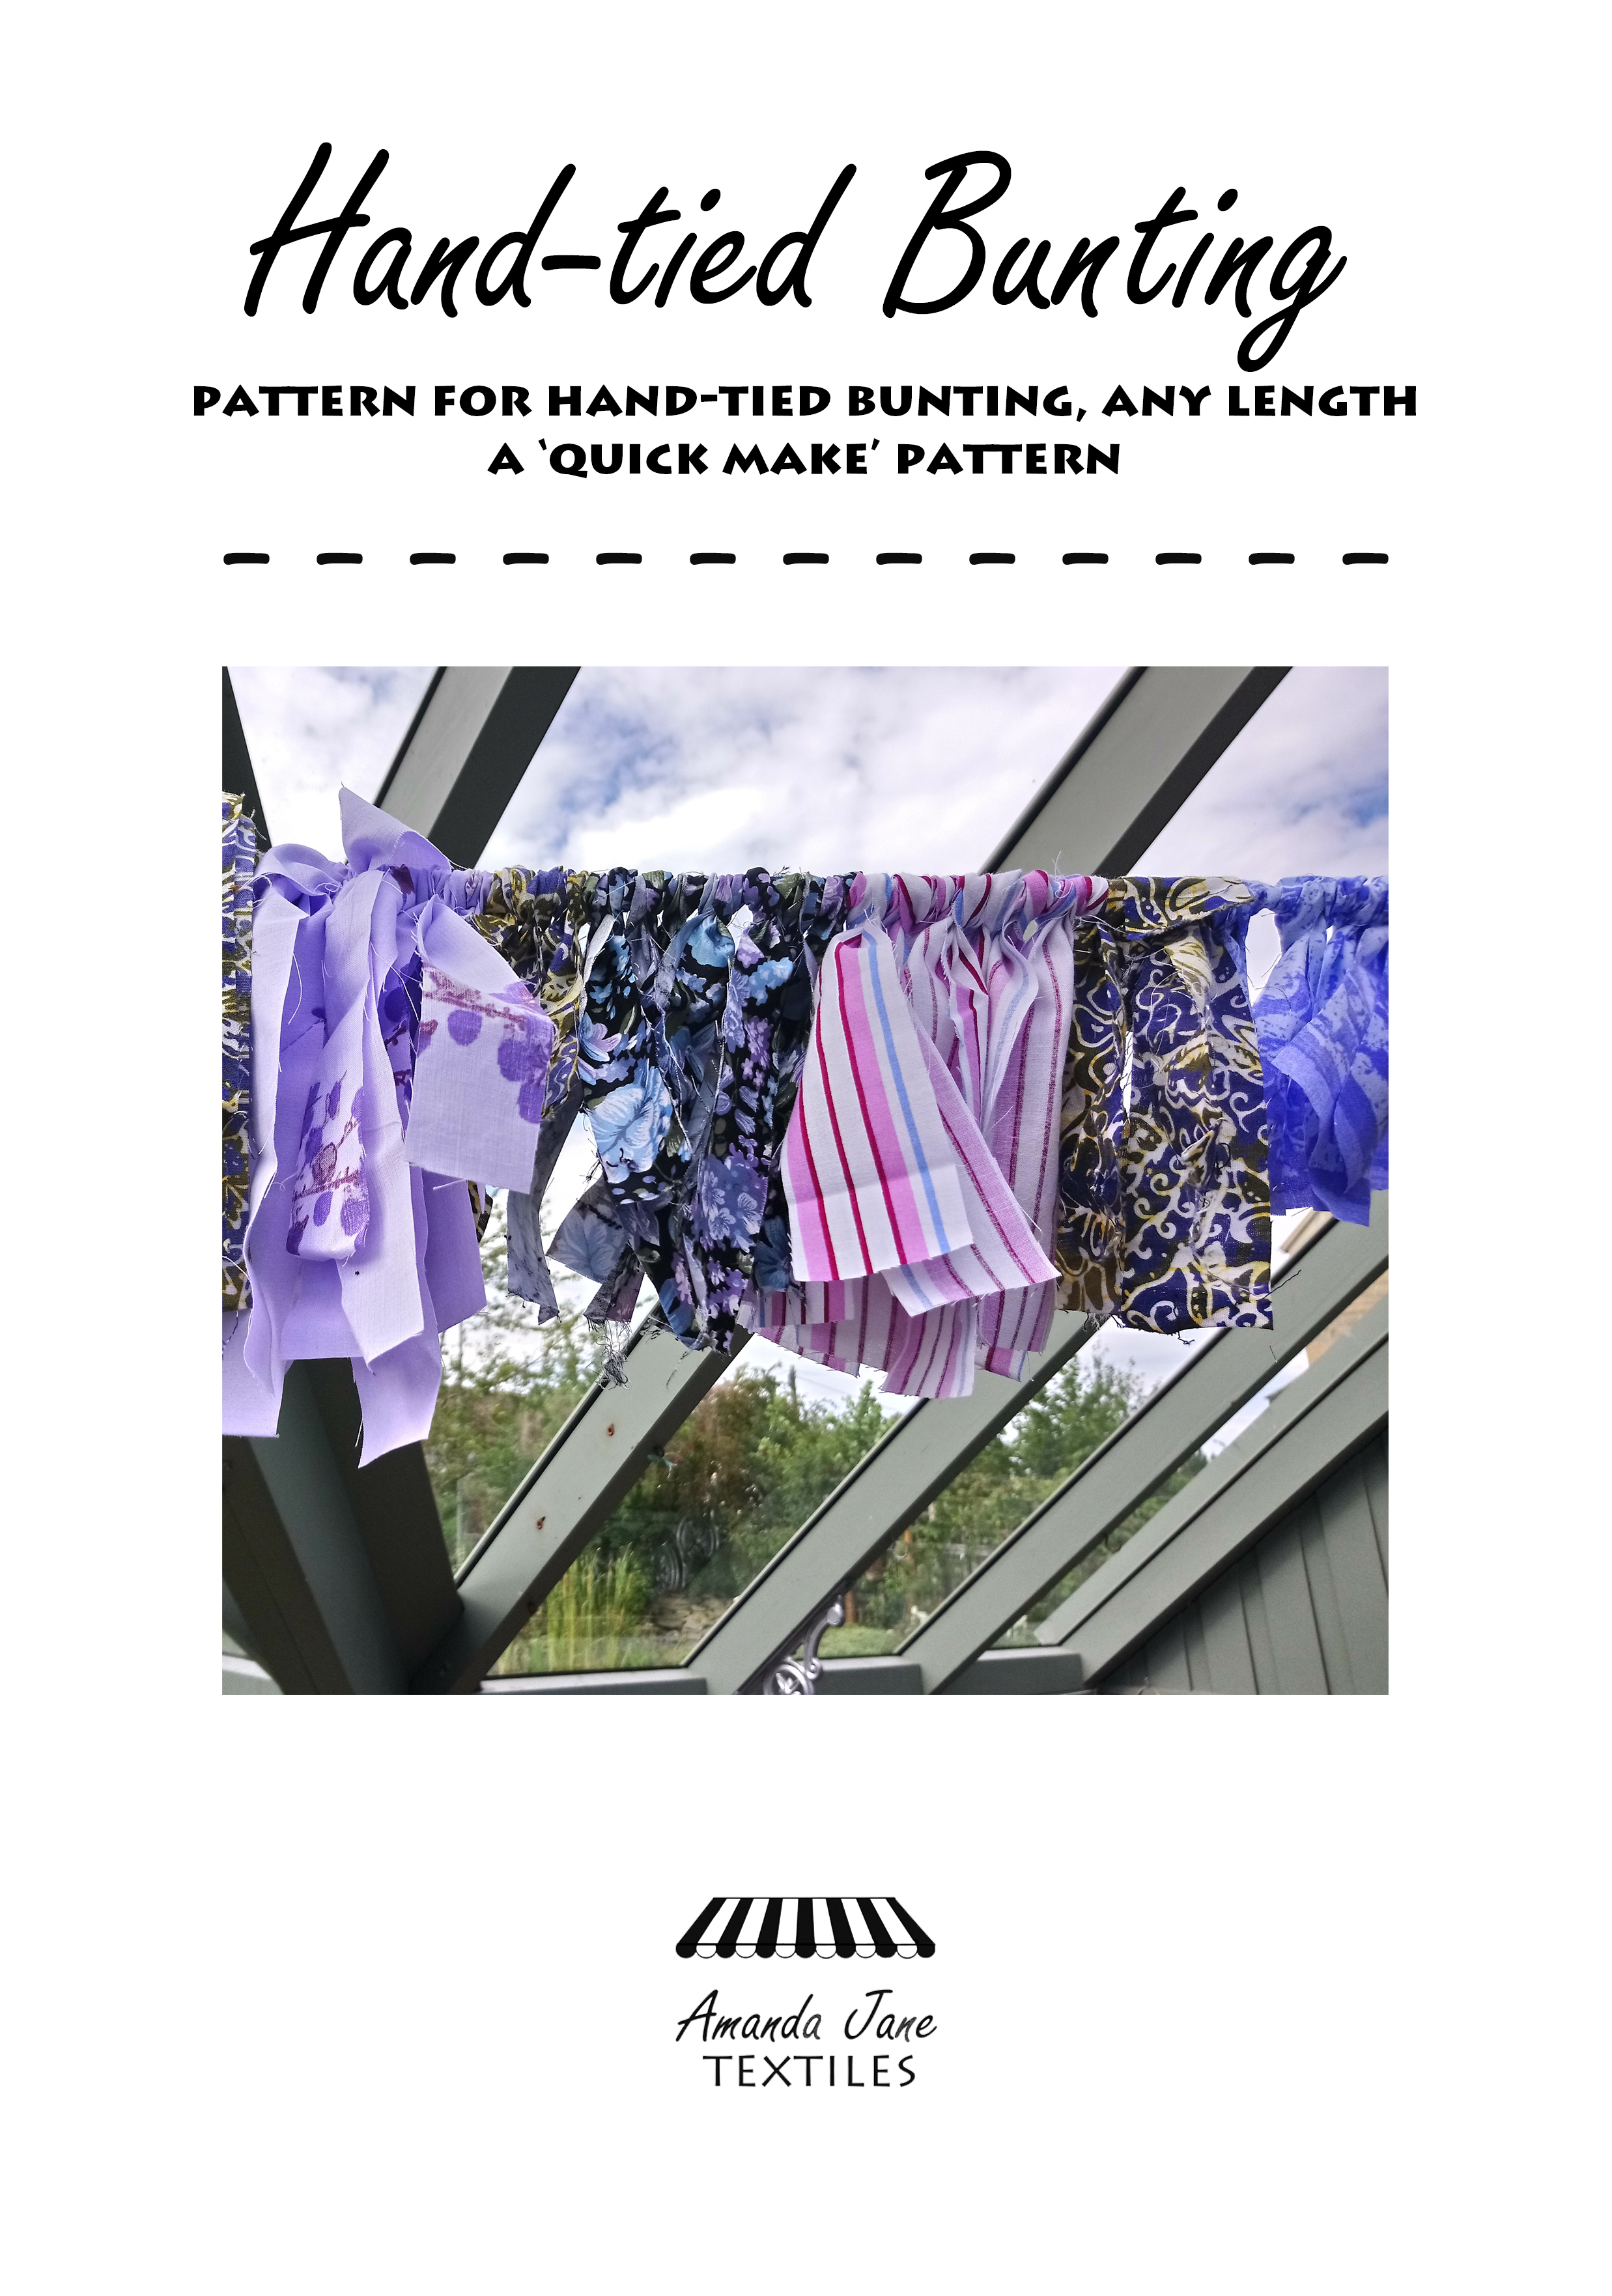
There is even a pattern to make a summery garland for a wedding, a party or a fête, ‘Hand-tied bunting’, you can get it here.
Thank you for reading my blog. Quilt Patterns are here, Fabrics are here, Classes are here
Click the ‘Follow’ button to get a blog-post by email each Monday and click here if you would like the monthly newsletter with design and colour inspiration, etc.

This is very useful thank you!
Alice Jennings Mobile 07866 474208 <07866+474208> Website http://www.alicejennings.co.uk https://alicejennings.co.uk/ https://www.instagram.com/alice_r_jennings/ http://facebook.com/alicejennings.co.uk https://uk.linkedin.com/in/alicejenningsuk http://twitter.com/sortedsystems [image: App Legacy Webinar Button Image] https://www.facebook.com/groups/sortedsystems/ Join my Facebook Group SORTED https://www.facebook.com/groups/sortedsystems/
LikeLike
Thanks for your kind comment.
Amanda
LikeLike