Welcome to the twelfth and final step in the 2024 quilt project. (You can find the first one here, the second one here, the third one here, the fourth one here, the fifth one here, the sixth one here, the seventh here, the eighth here , the ninth here the tenth here and the eleventh here.) As I explained in the New Year’s post here, I have been making a quilt this year and inviting you to join with me, here on the blog.
Please note: All the instructions are free and available for your personal use. They cannot be used for commercial purposes or for teaching. I do run a small business, so if you enjoy making the quilt please consider also purchasing one of my patterns from the Etsy shop (link below) and/or tell your quilting friends about Amanda Jane Textiles. Thank you!
For the last year, this is what has appeared:
a new appliqué block each month
a new embroidery stitch each month
cheerful bright colours (but of course you can choose your own colour palette!)
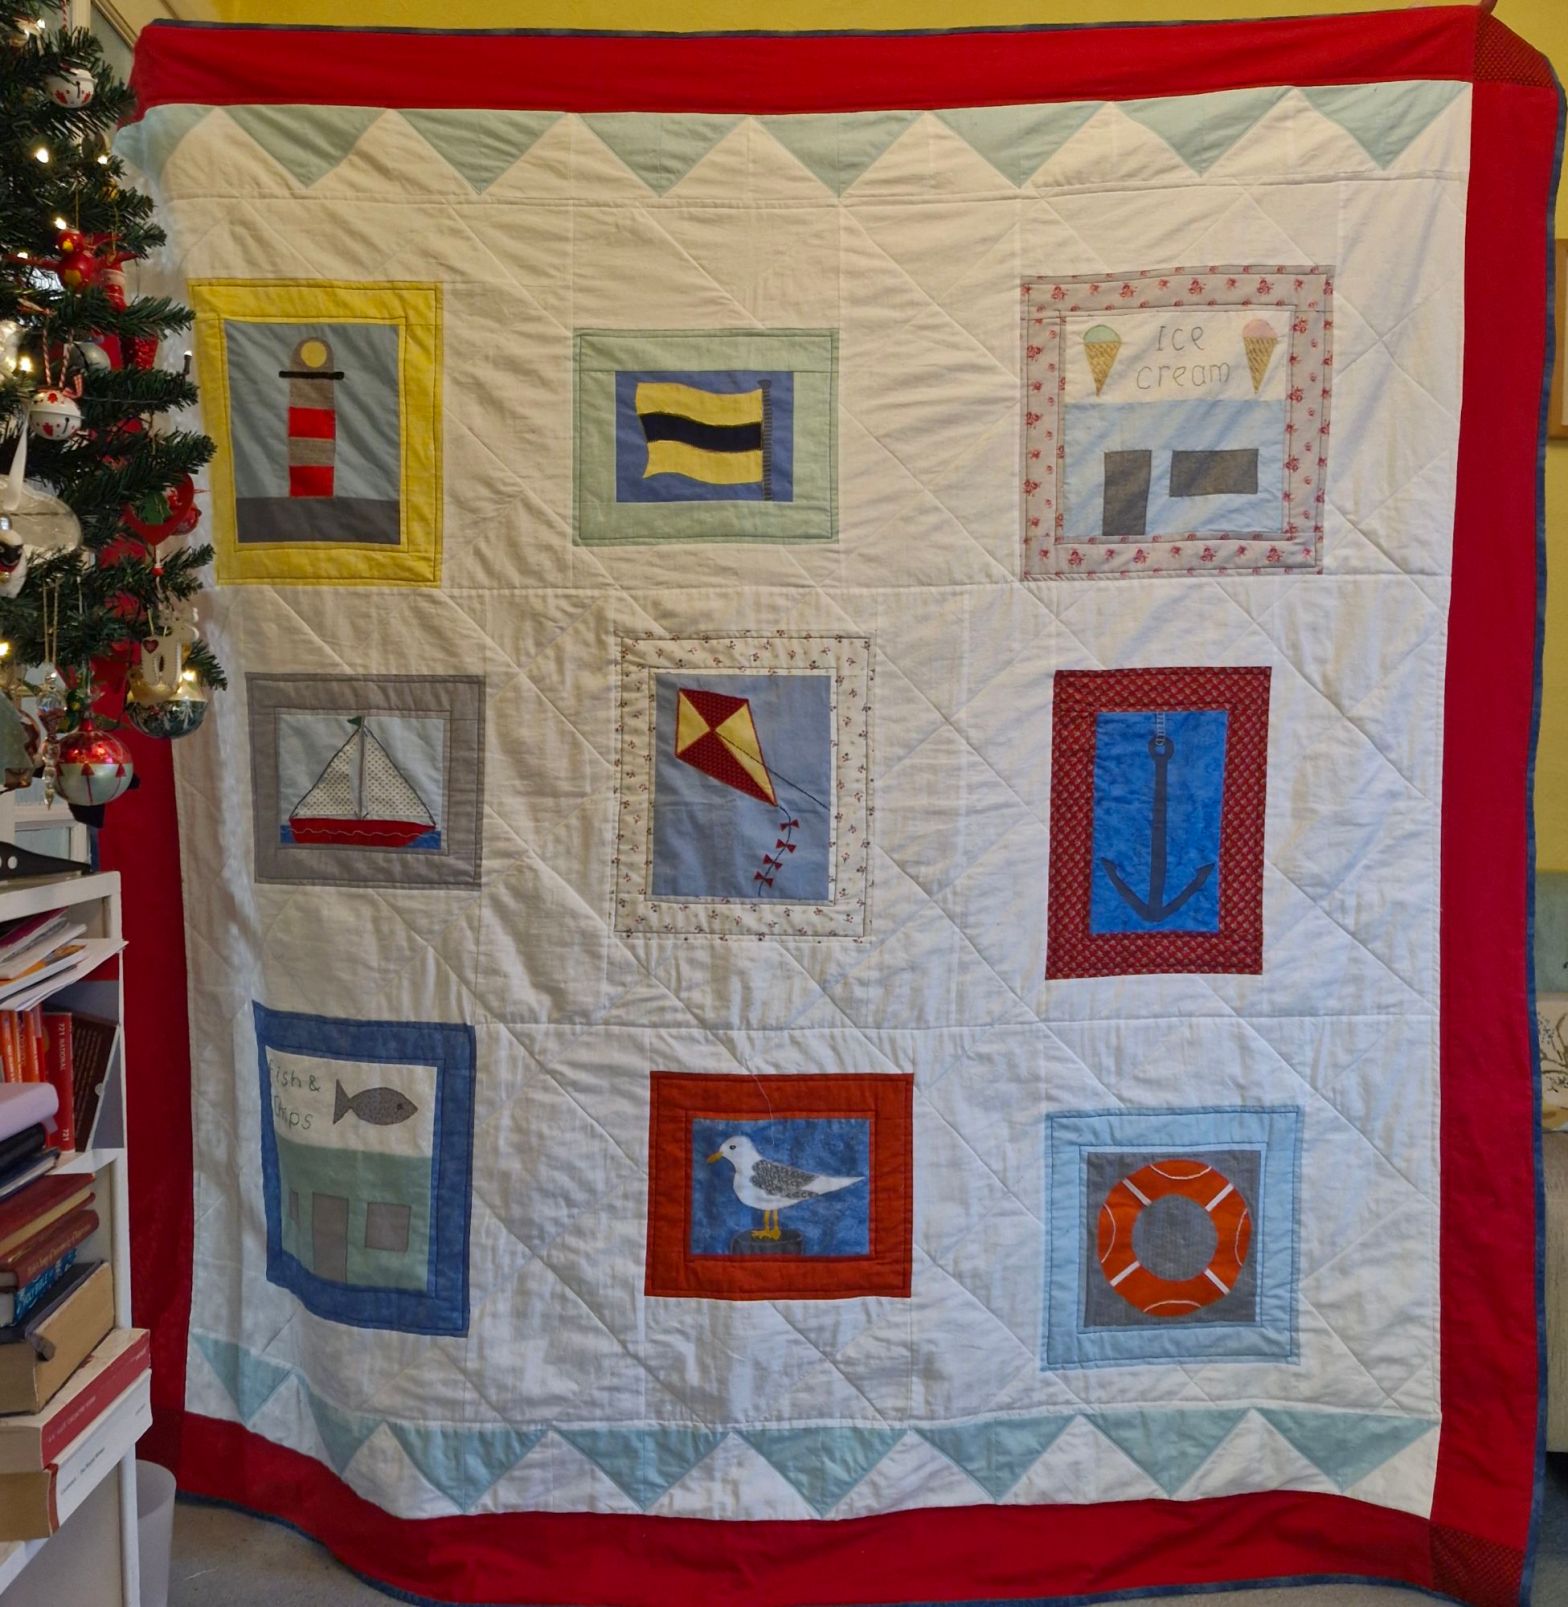
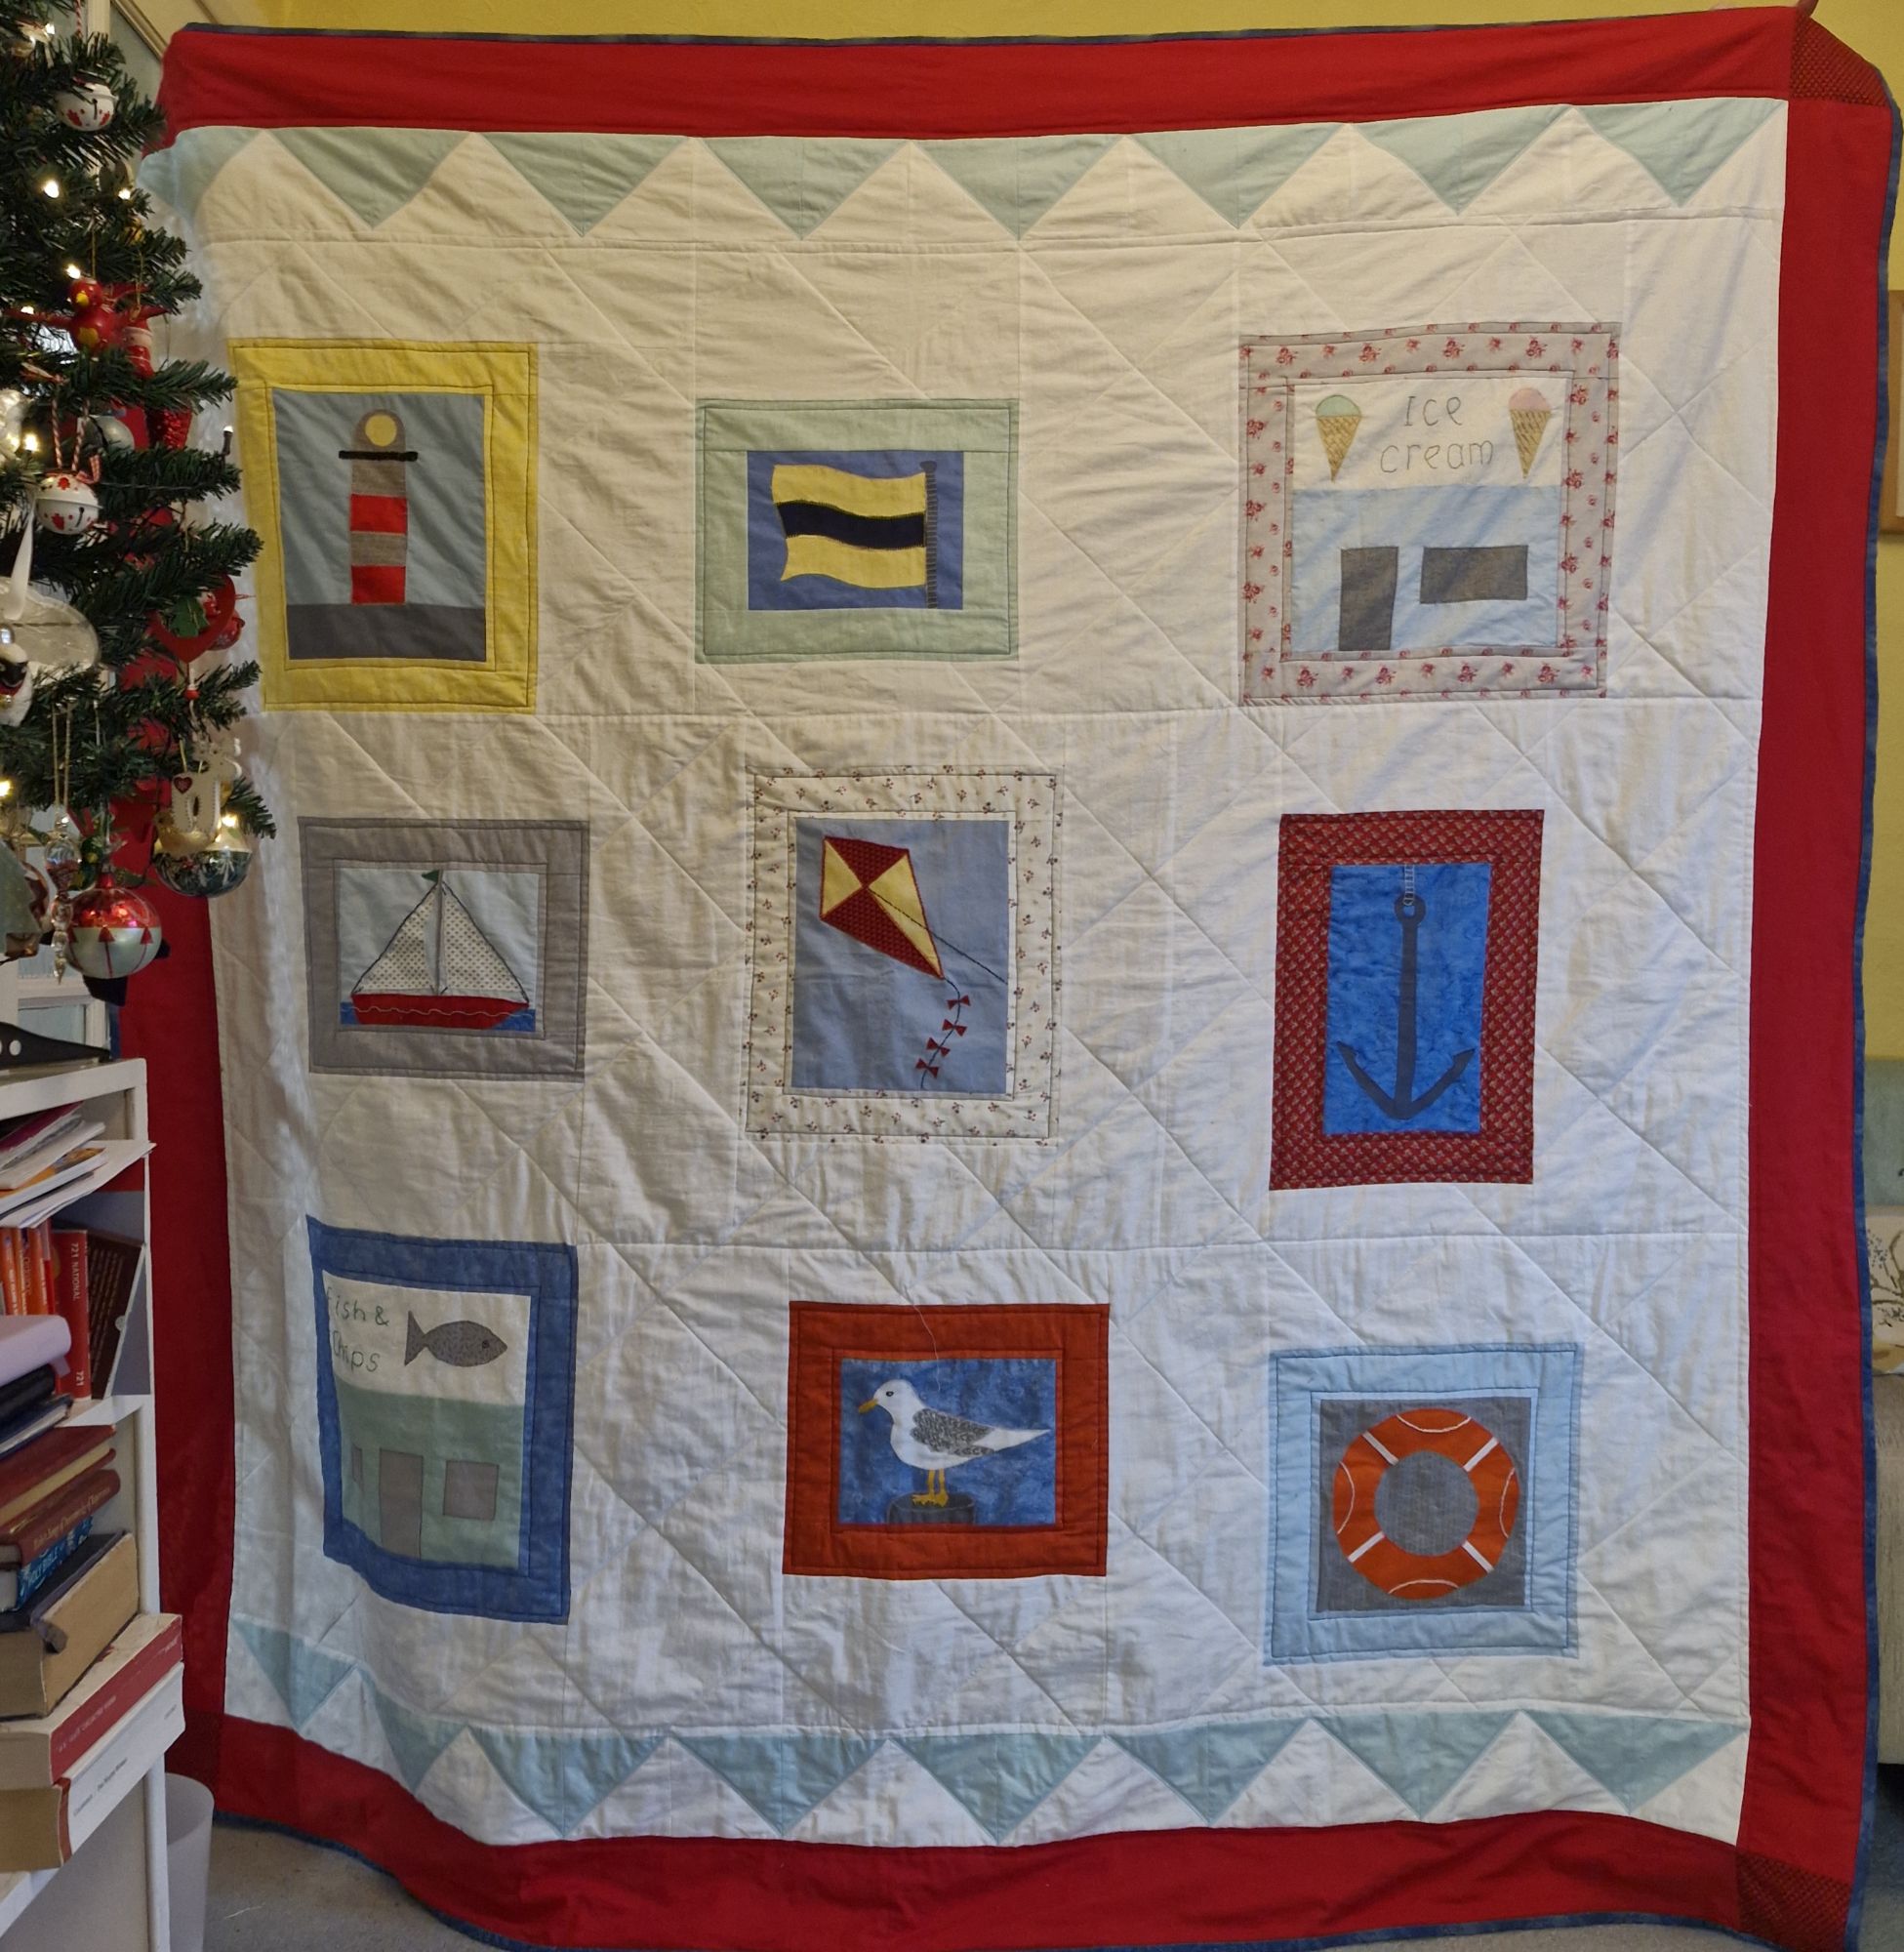
a quilt celebrating the seaside
Of course, you are welcome to just make the individual blocks each month and use them in a different way. If you want to make them into a quilt, you need the October post (listed above) and this month’s post about adding the borders. In December, there will be final instructions for layering up the quilt which will measure 72 x 72″ when it is finished.
Please note: All the instructions are free and available for your personal use. They cannot be used for commercial purposes or for teaching. I do run a small business, so if you enjoy making the quilt please consider also purchasing one of my patterns from the Etsy shop (link below) and/or tell your quilting friends about Amanda Jane Textiles. Thank you!
Layering up the quilt
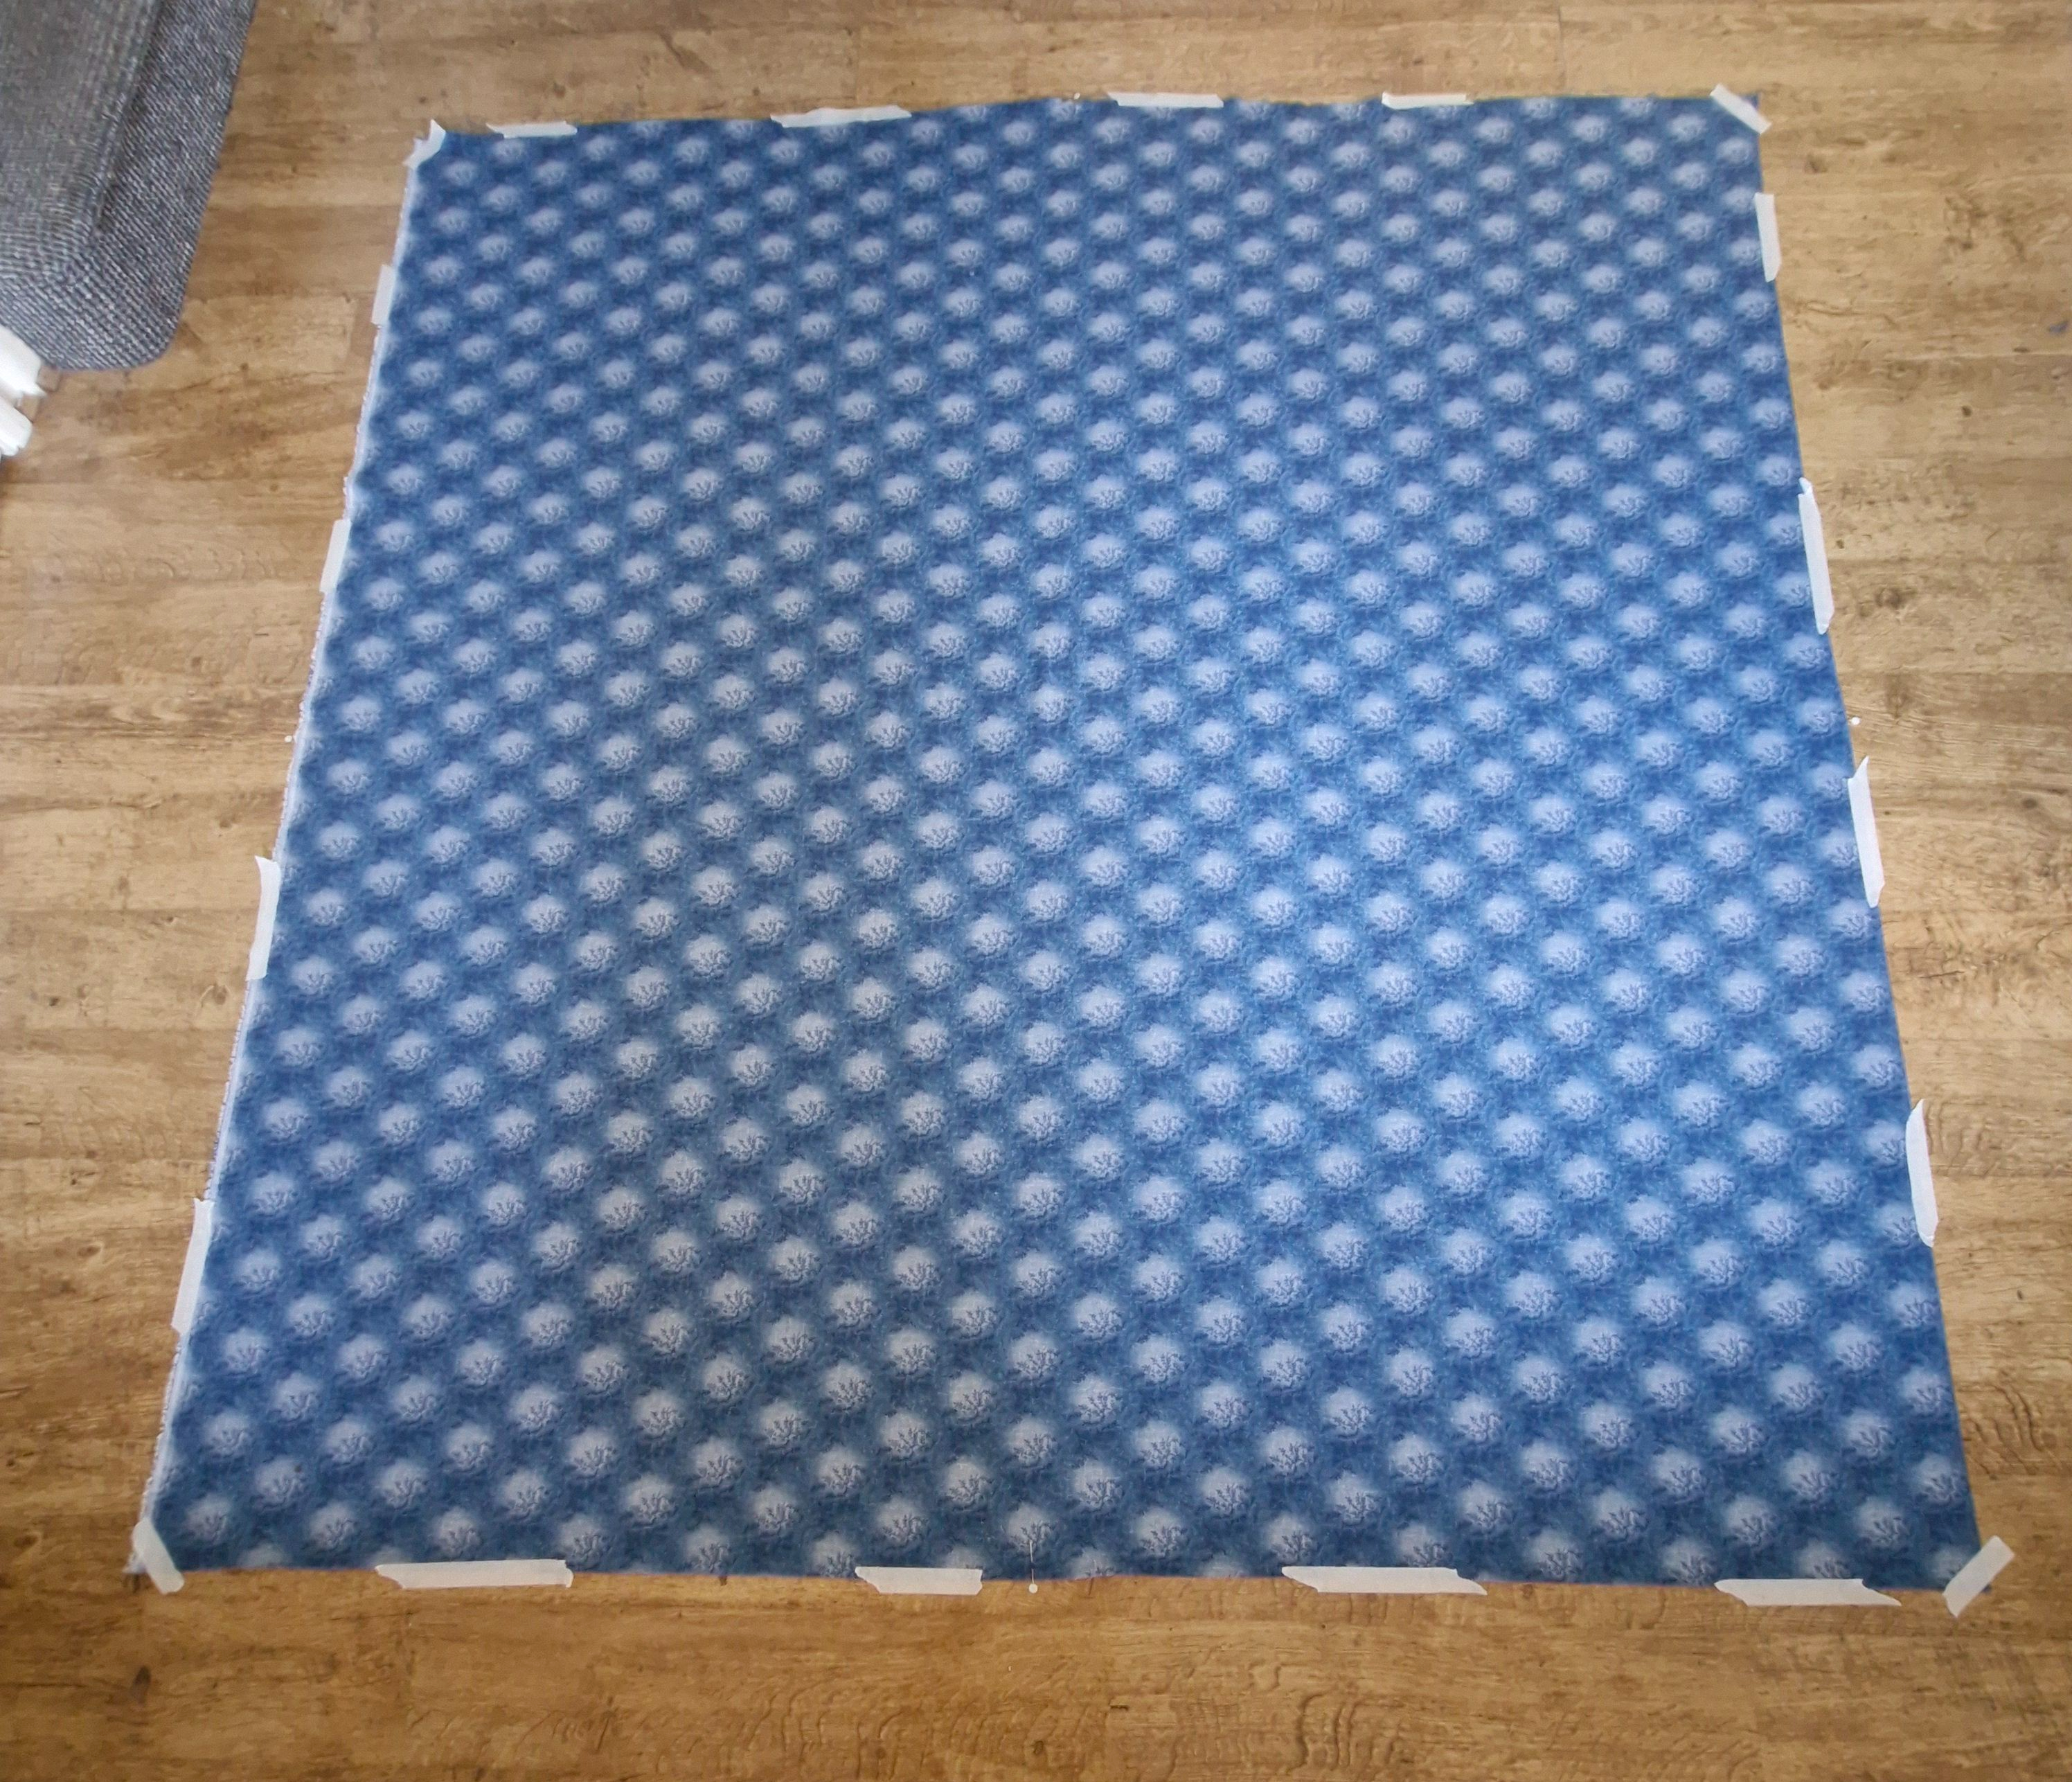
Materials required: I used 2m of extra-wide backing fabric. If you are joining narrower fabric, you need to join fabric to make a rectangle at least 78 x 78″ square and you will need a piece of wadding the same size.
1 Iron the backing fabric. Find the centre of each side of the backing fabric and insert a marker pin. Tape the fabric, right side down to a clean floor using masking tape as shown.
2 Insert a marker pin in the centre of each side of the wadding and lay the wadding on top of the backing fabric, aligning the pins.
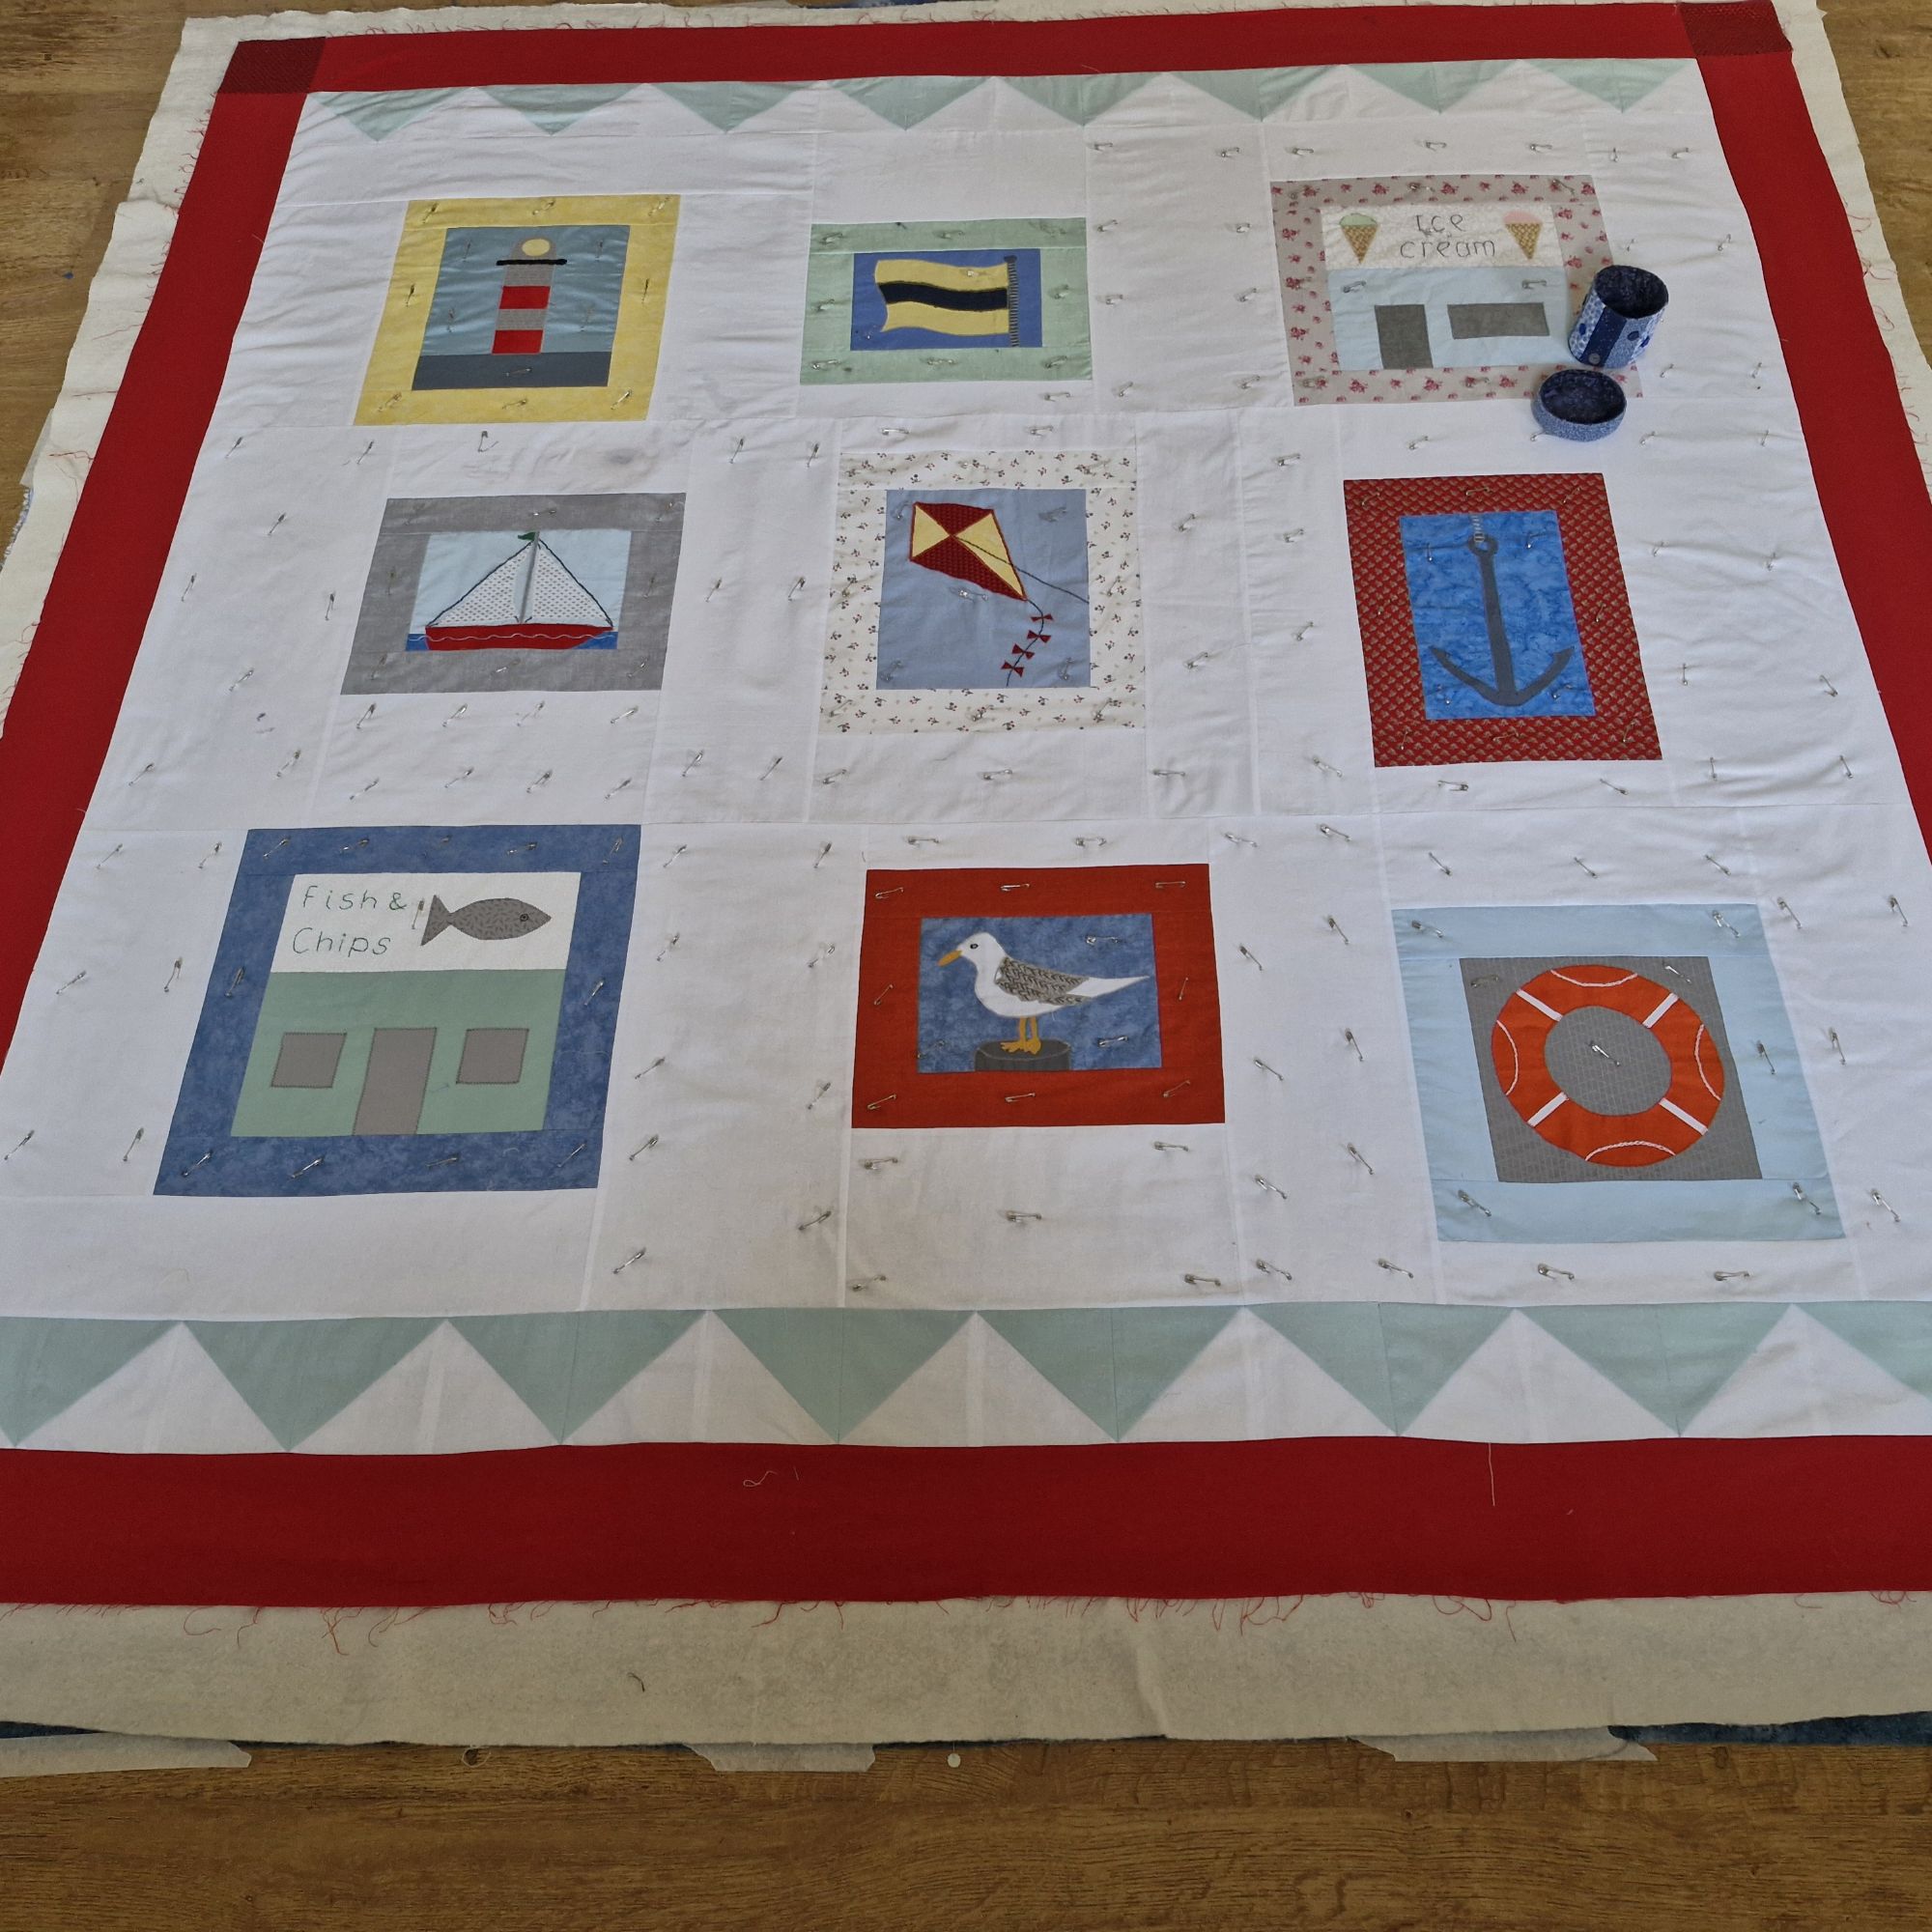
3 Iron the quilt top. Mark the centre of each side of the quilt top with a marker pin. Lay the quilt top on top of the wadding, aligning the pins as before.
4 Pin the three layers together using quilters’ pins, starting at the centre and moving outwards in each direction.
5 When the pinning is complete, remove the tape.
Suggestions for quilting
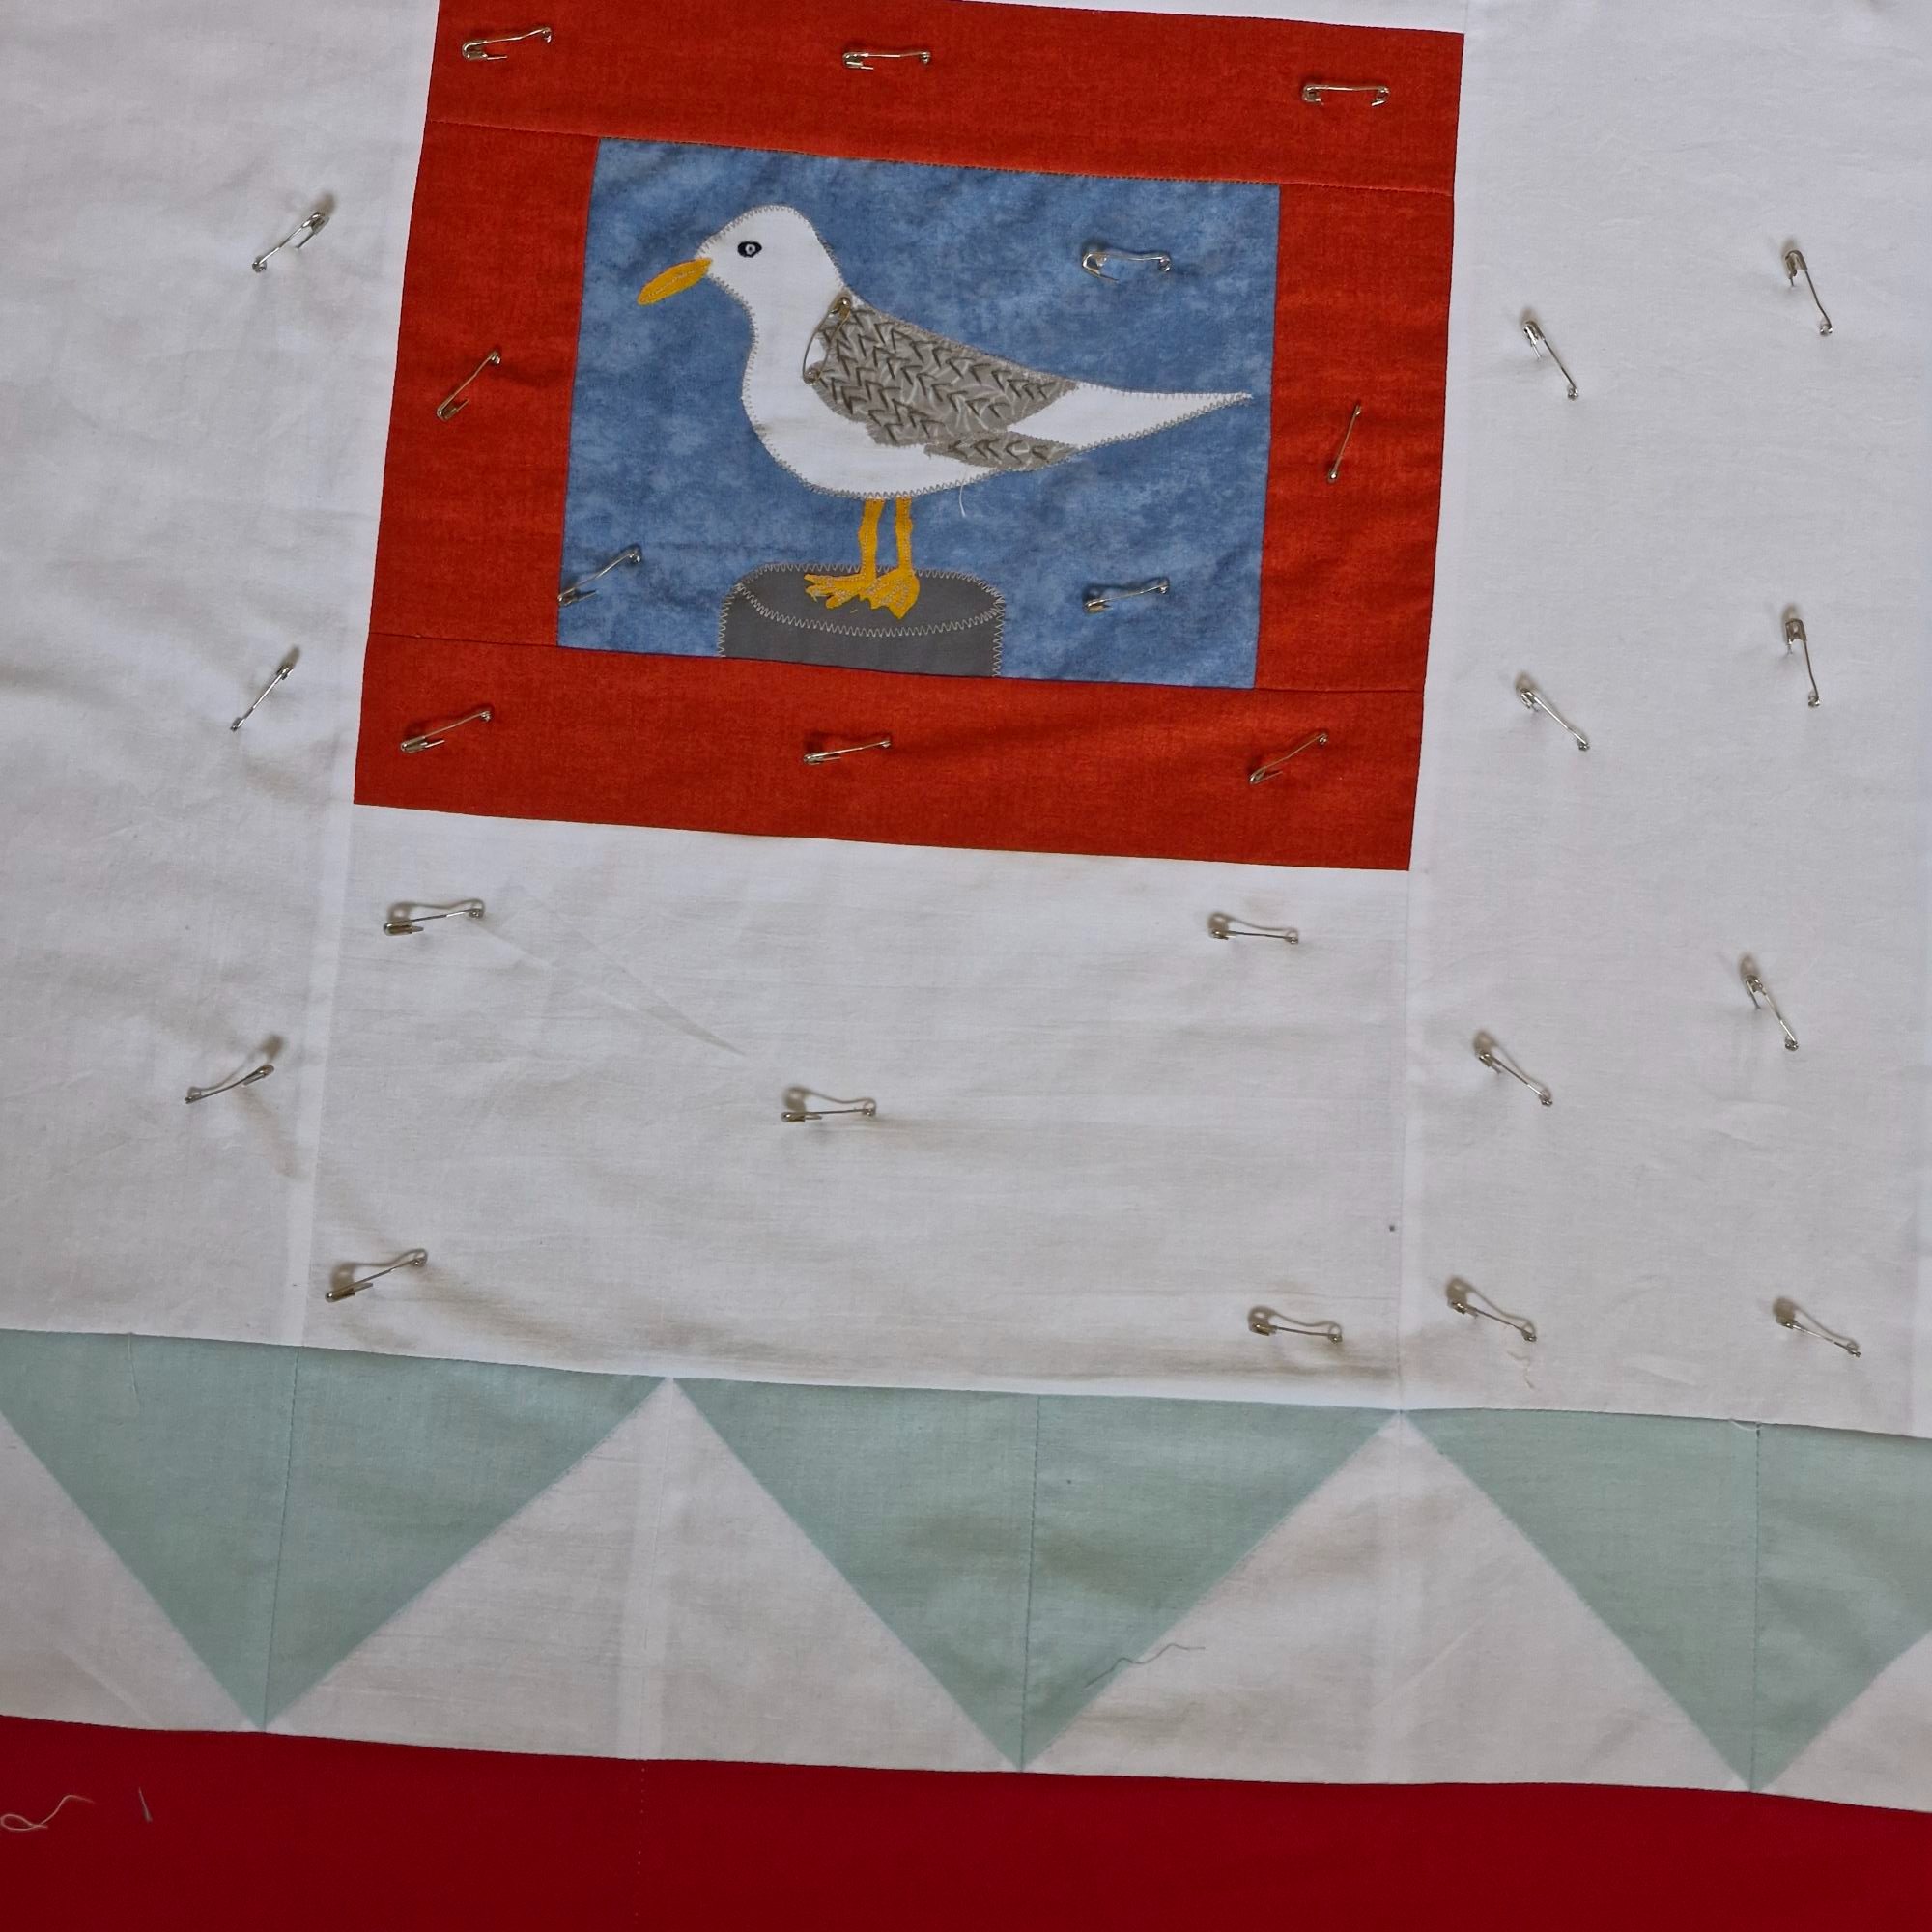
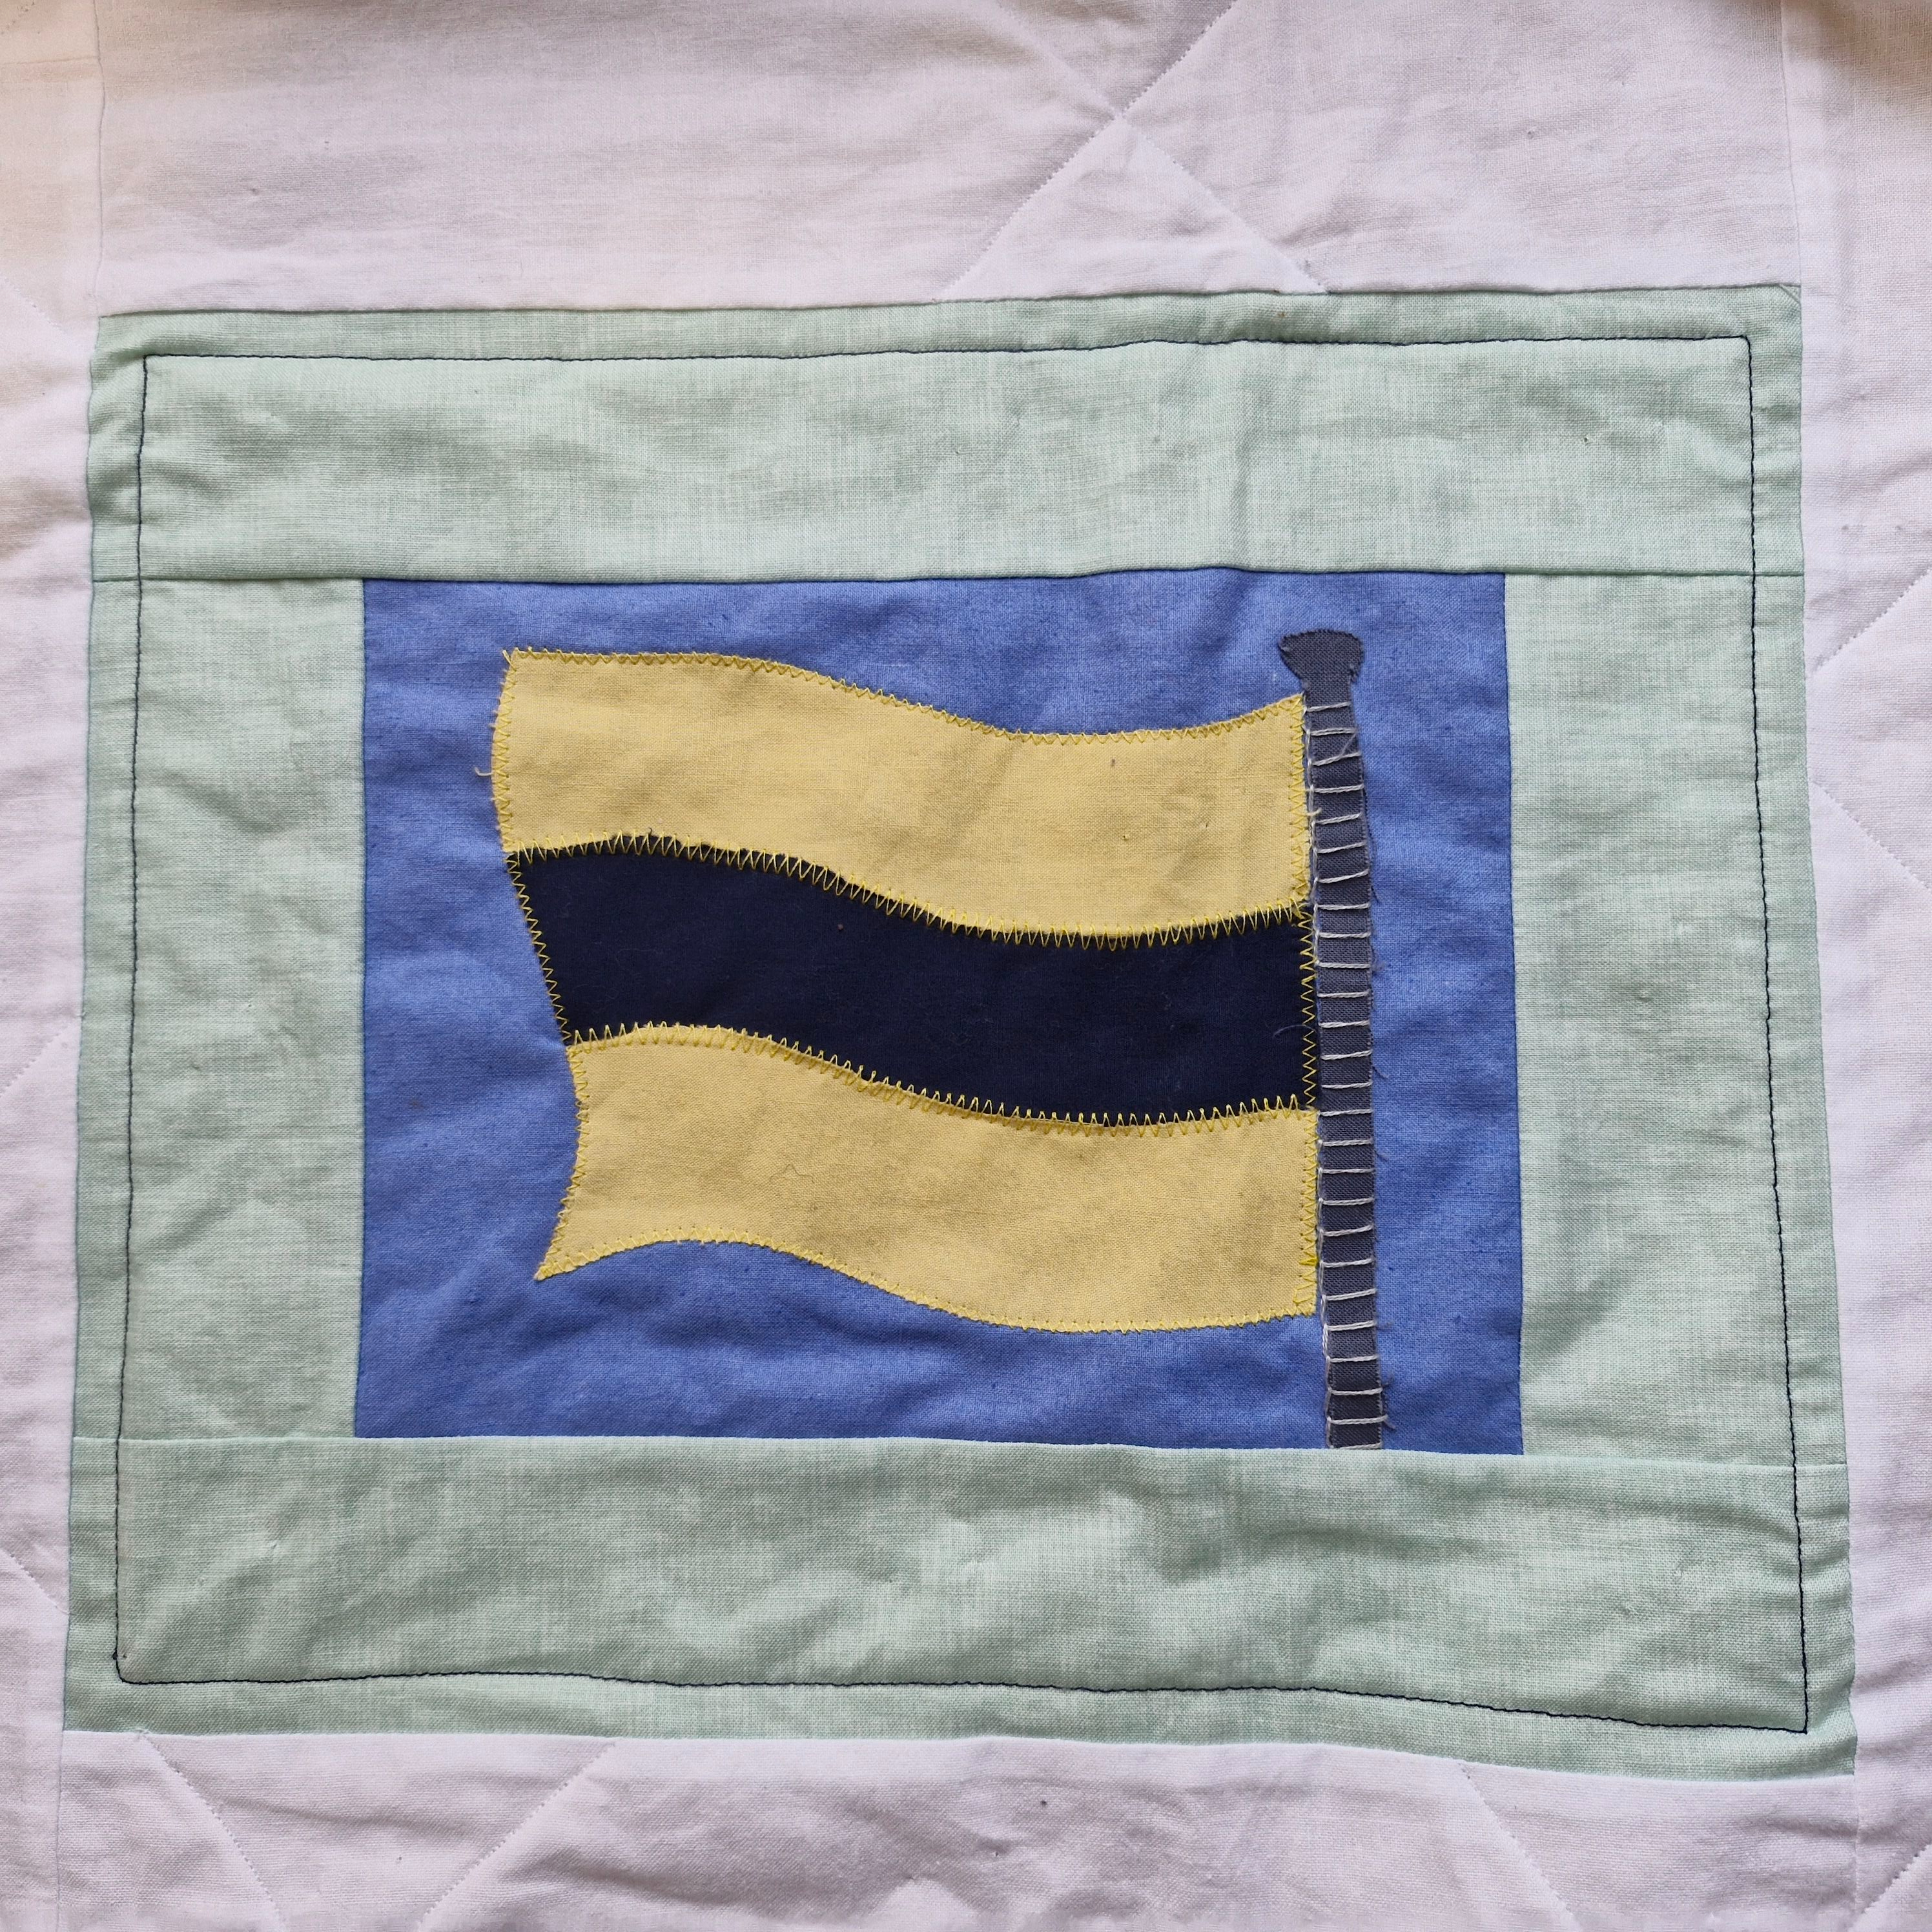
For each of the pictorial blocks, I quilted two lines around each ‘frame’, as shown below, to add to the idea of an album of pictures in a frame.
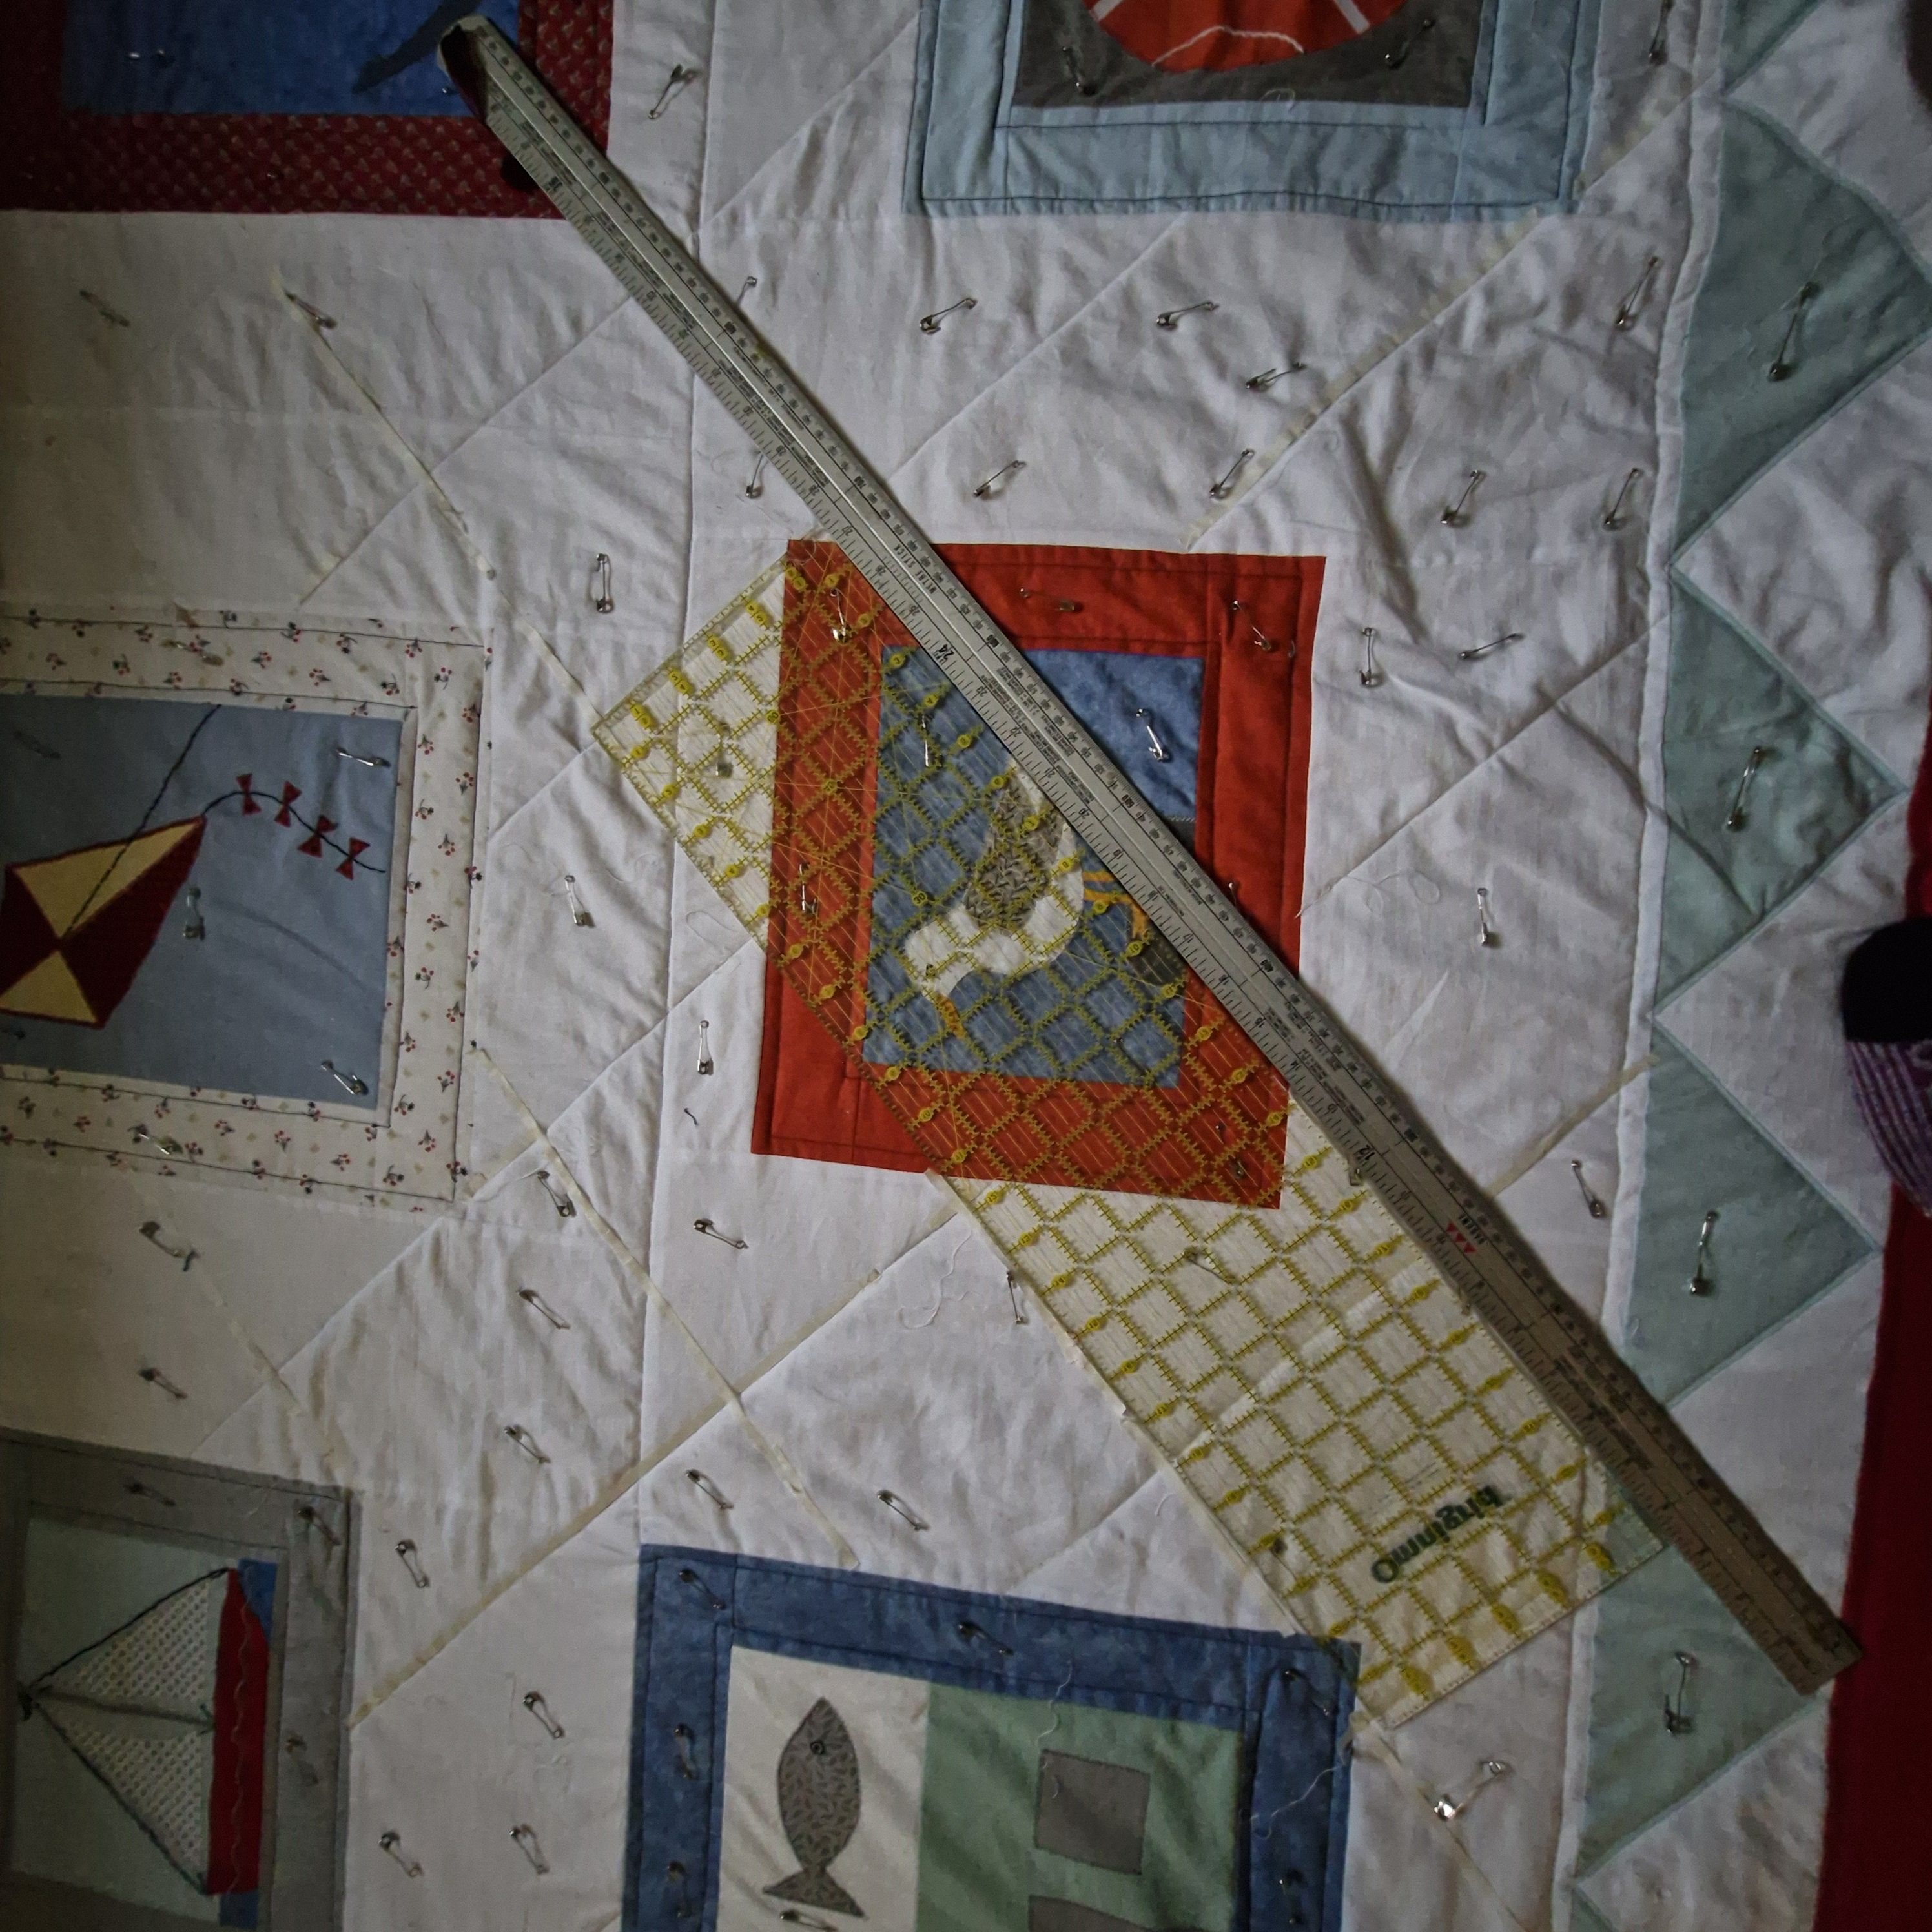
I decided on a criss-cross trellis of lines between the pictorial blocks, which I marked out using a metre ruler, a quilters’ ruler and 2″ wide quilters’ tape.
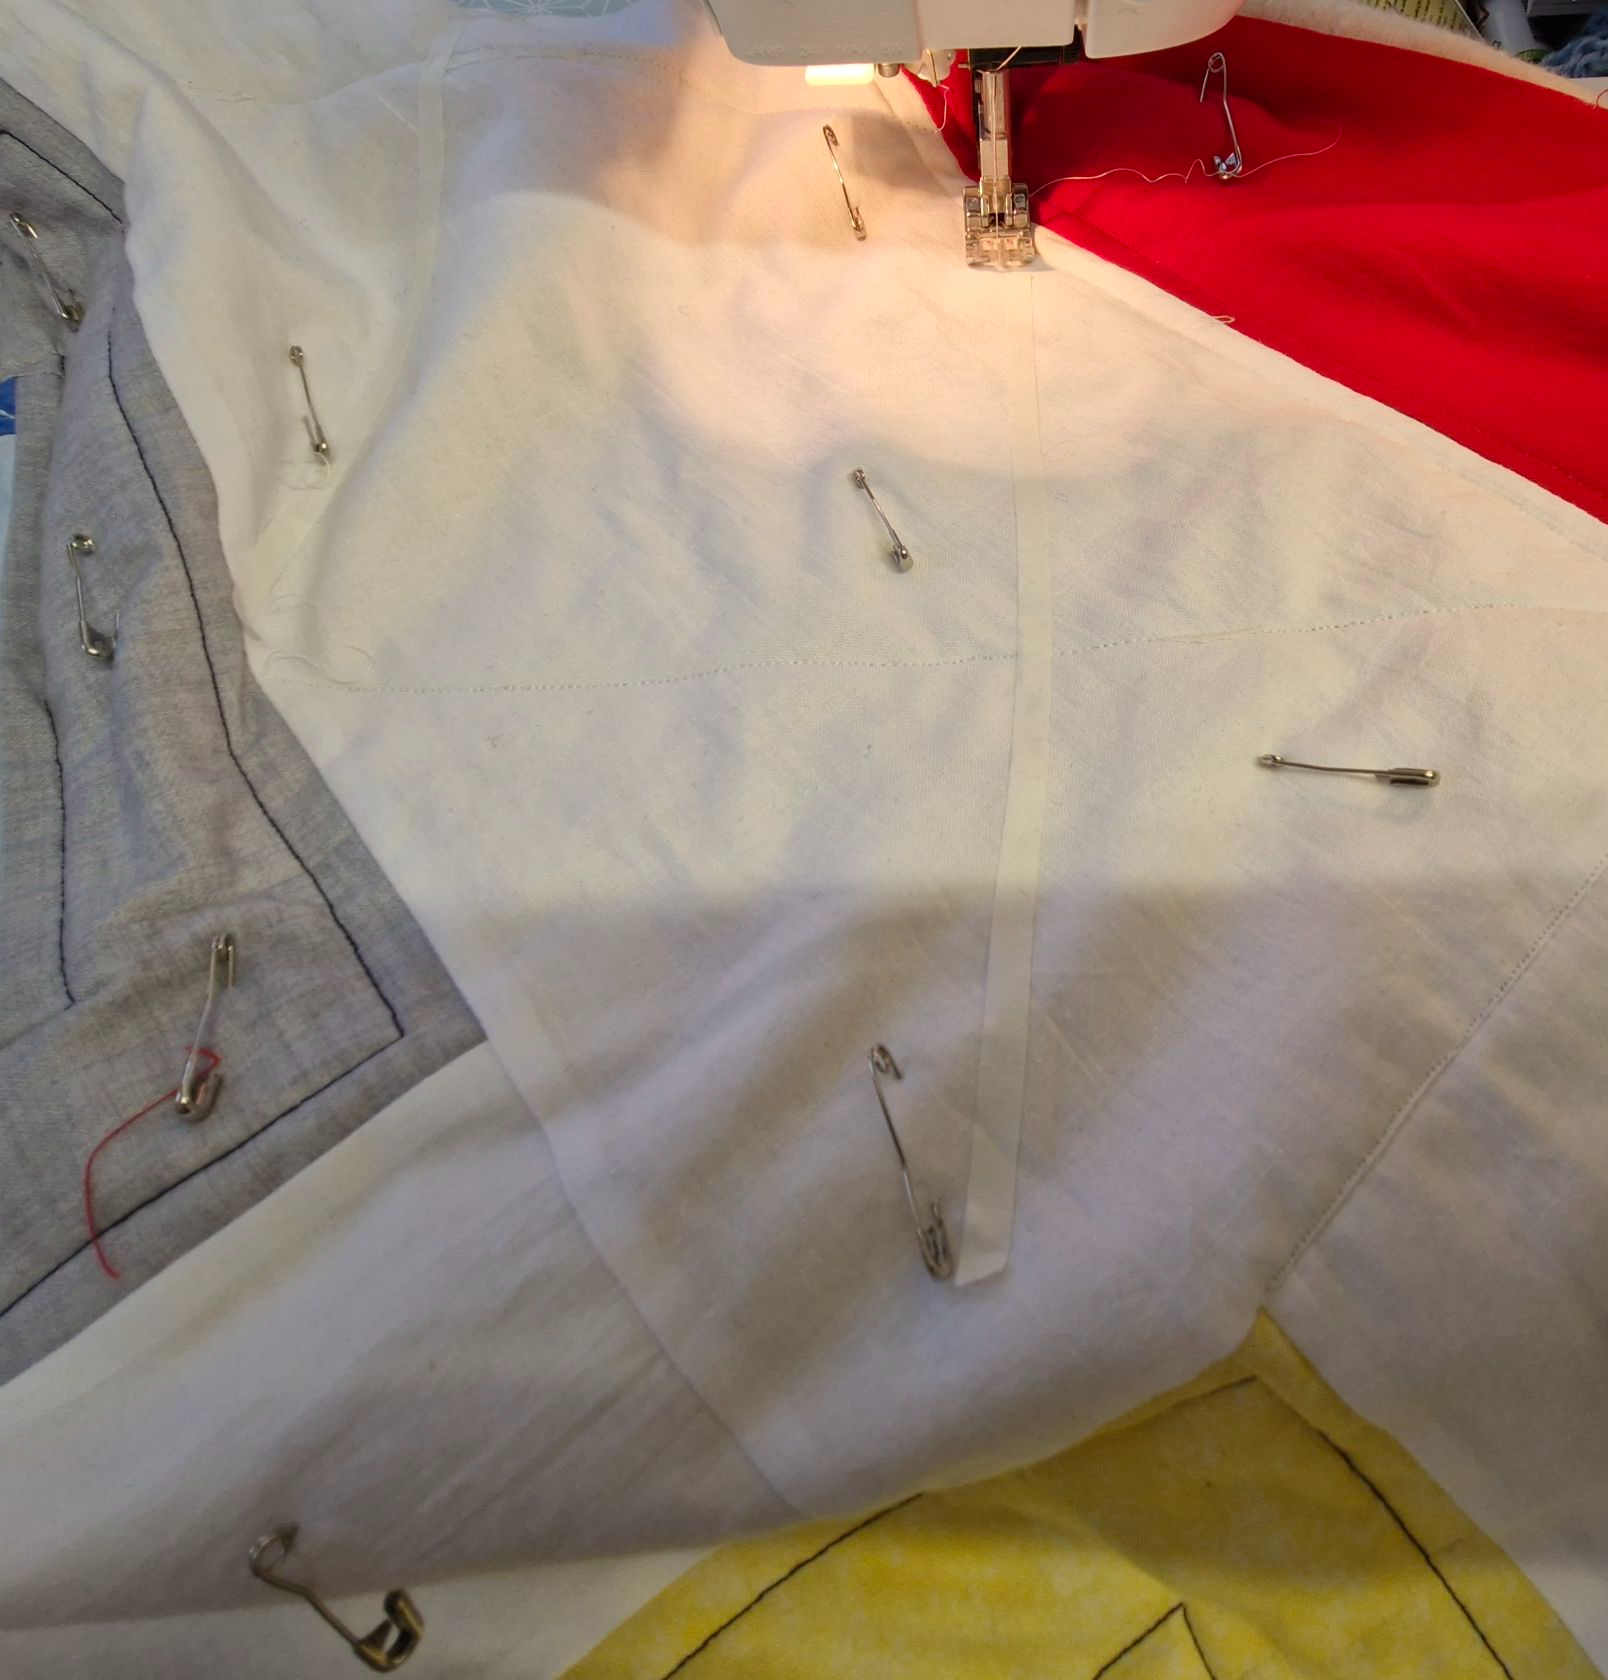
Here is the quilting in progress:
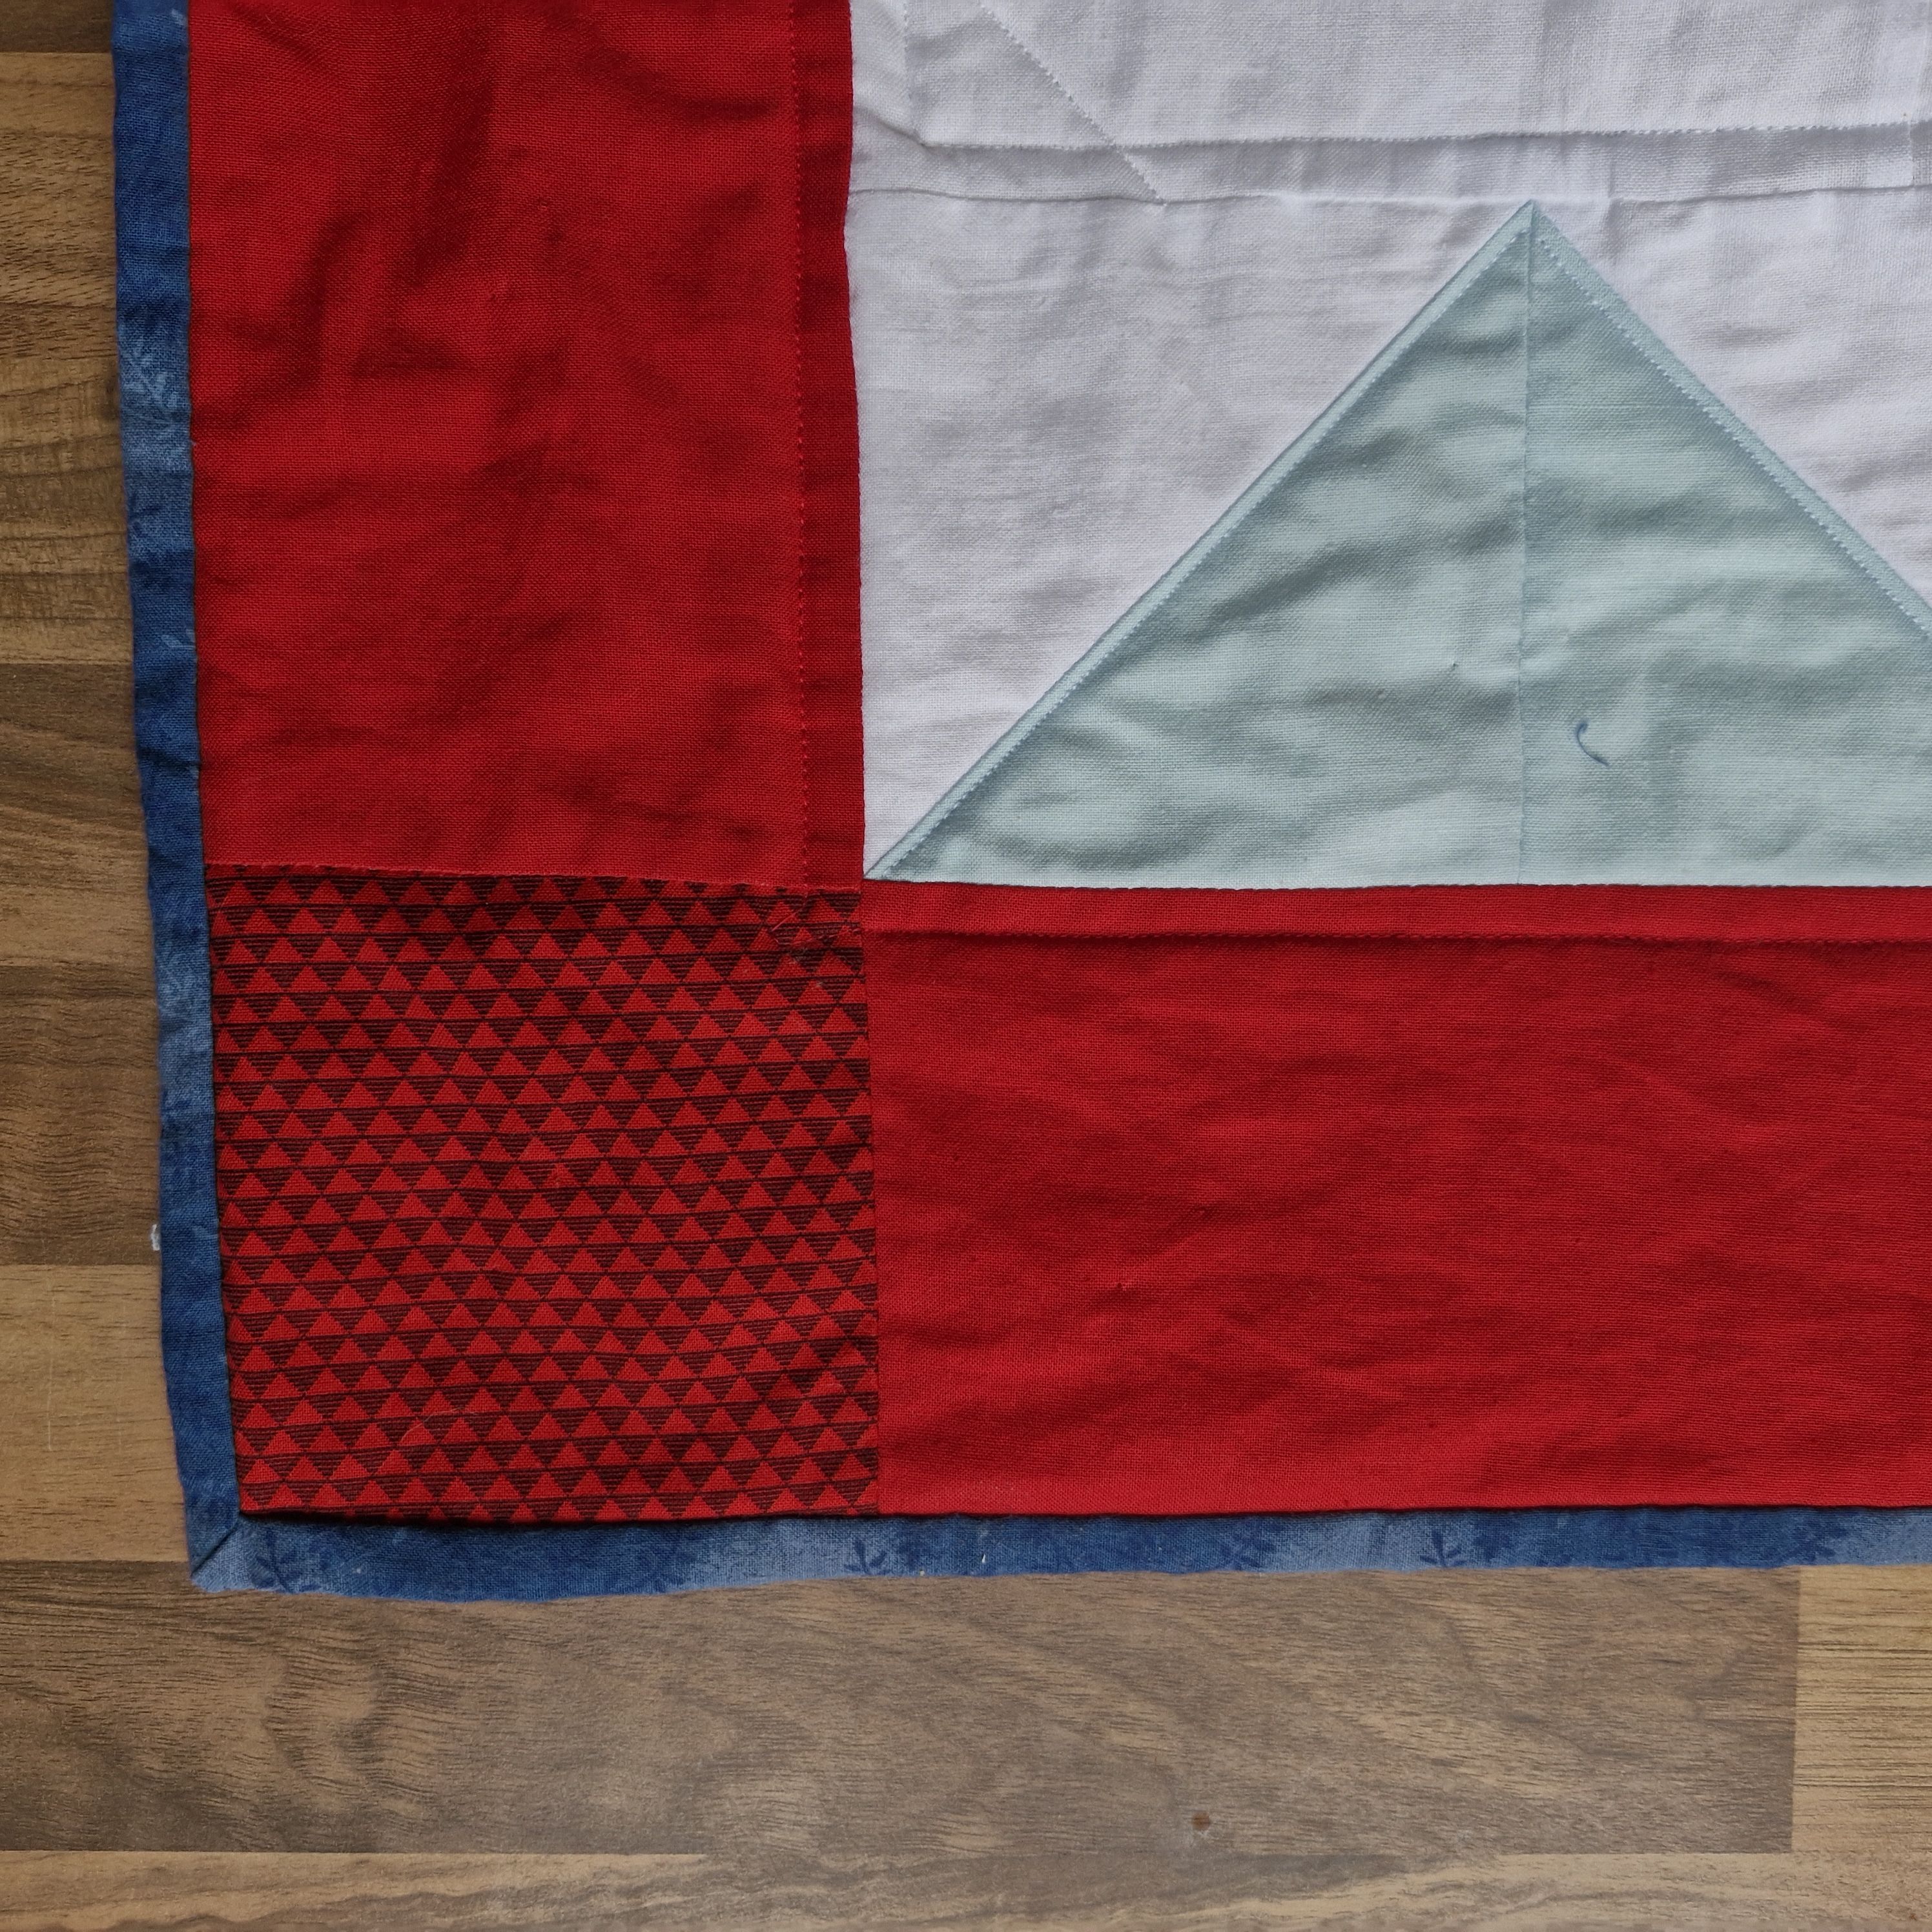
On the two rows of ‘pennants’ at the top and the bottom, I quilted a line echoing the edge of each pennant.
I also quilted a horizontal line, in the ditch, across the joining seams between the three sections and a line in red thread all round the border a quarter inch in from the inside edge of the border.
Adding the binding
I used the same fabric for the binding as for the backing, cutting a strip two and a quarter inches wide and 300″ long. You can find instructions for putting on a binding here.
And here it is!
Thank you for reading my blog. Quilt Patterns are here, Fabrics are here, Classes are here
Click the ‘Follow’ button to get a blog-post by email each Monday and click here if you would like the monthly newsletter with design and colour inspiration, etc.