today’s post is about key tools for any kind of textiles craft: pins and pincushions. I’m sharing my collection with you today and you will discover that I have a particular fondness for pincushions.
Let’s start with this charming pincushion, made for me by my quilting friend Gillian:

This is a large, stable pincushion that has seen plenty of use. I love the added door, windows and wheels, plus the buttons, that give the pincushion its vintage caravan appearance. The kind of pin stored here can be seen at the bottom of the photo. It’s a glass headed pin about one and a half inches long (37mm). The bulk of the pincushion makes it really safe – no danger of the pins going through to the other side.
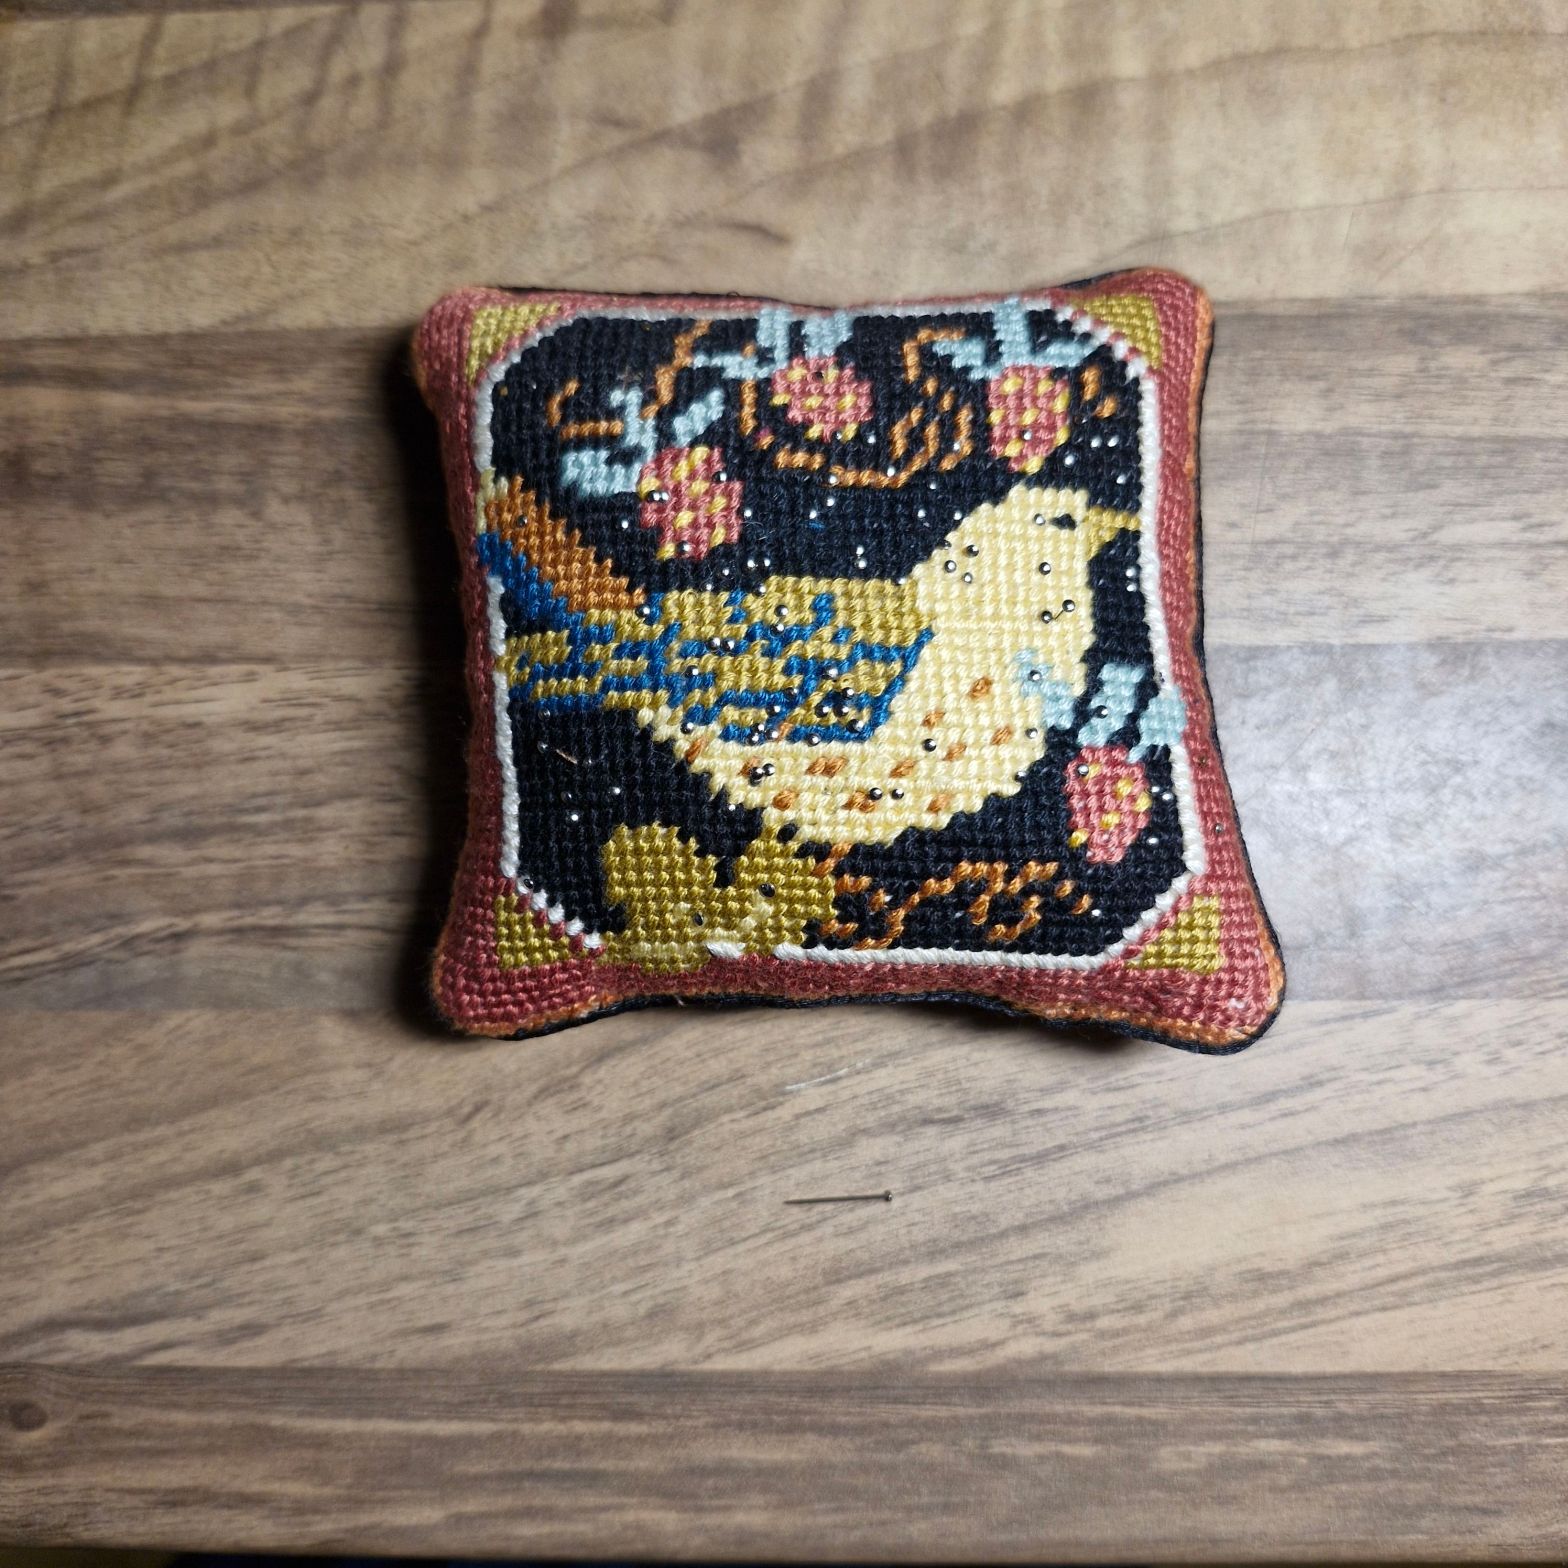
This pincushion also holds pins of the same size but the pincushion is quite shallow. I keep this one just in front of the sewing machine, so I put pins into it quickly as I am piecing blocks. There is a cutting board under the pincushion, so there will be no damage to the surface beneath. I never stitch over pins (a broken, flying pin could injure you or your machine, so it’s not worth the risk). The top of the piece is needlepoint which makes for a robust surface. I did the needlepoint years ago from a kit bought in a museum shop. The pins are the same type as the blue ones shown above.
Next is pincushion full of glass-headed pins that are similar to the ones above but finer. They can be useful for finer fabrics or more fiddly blocks.

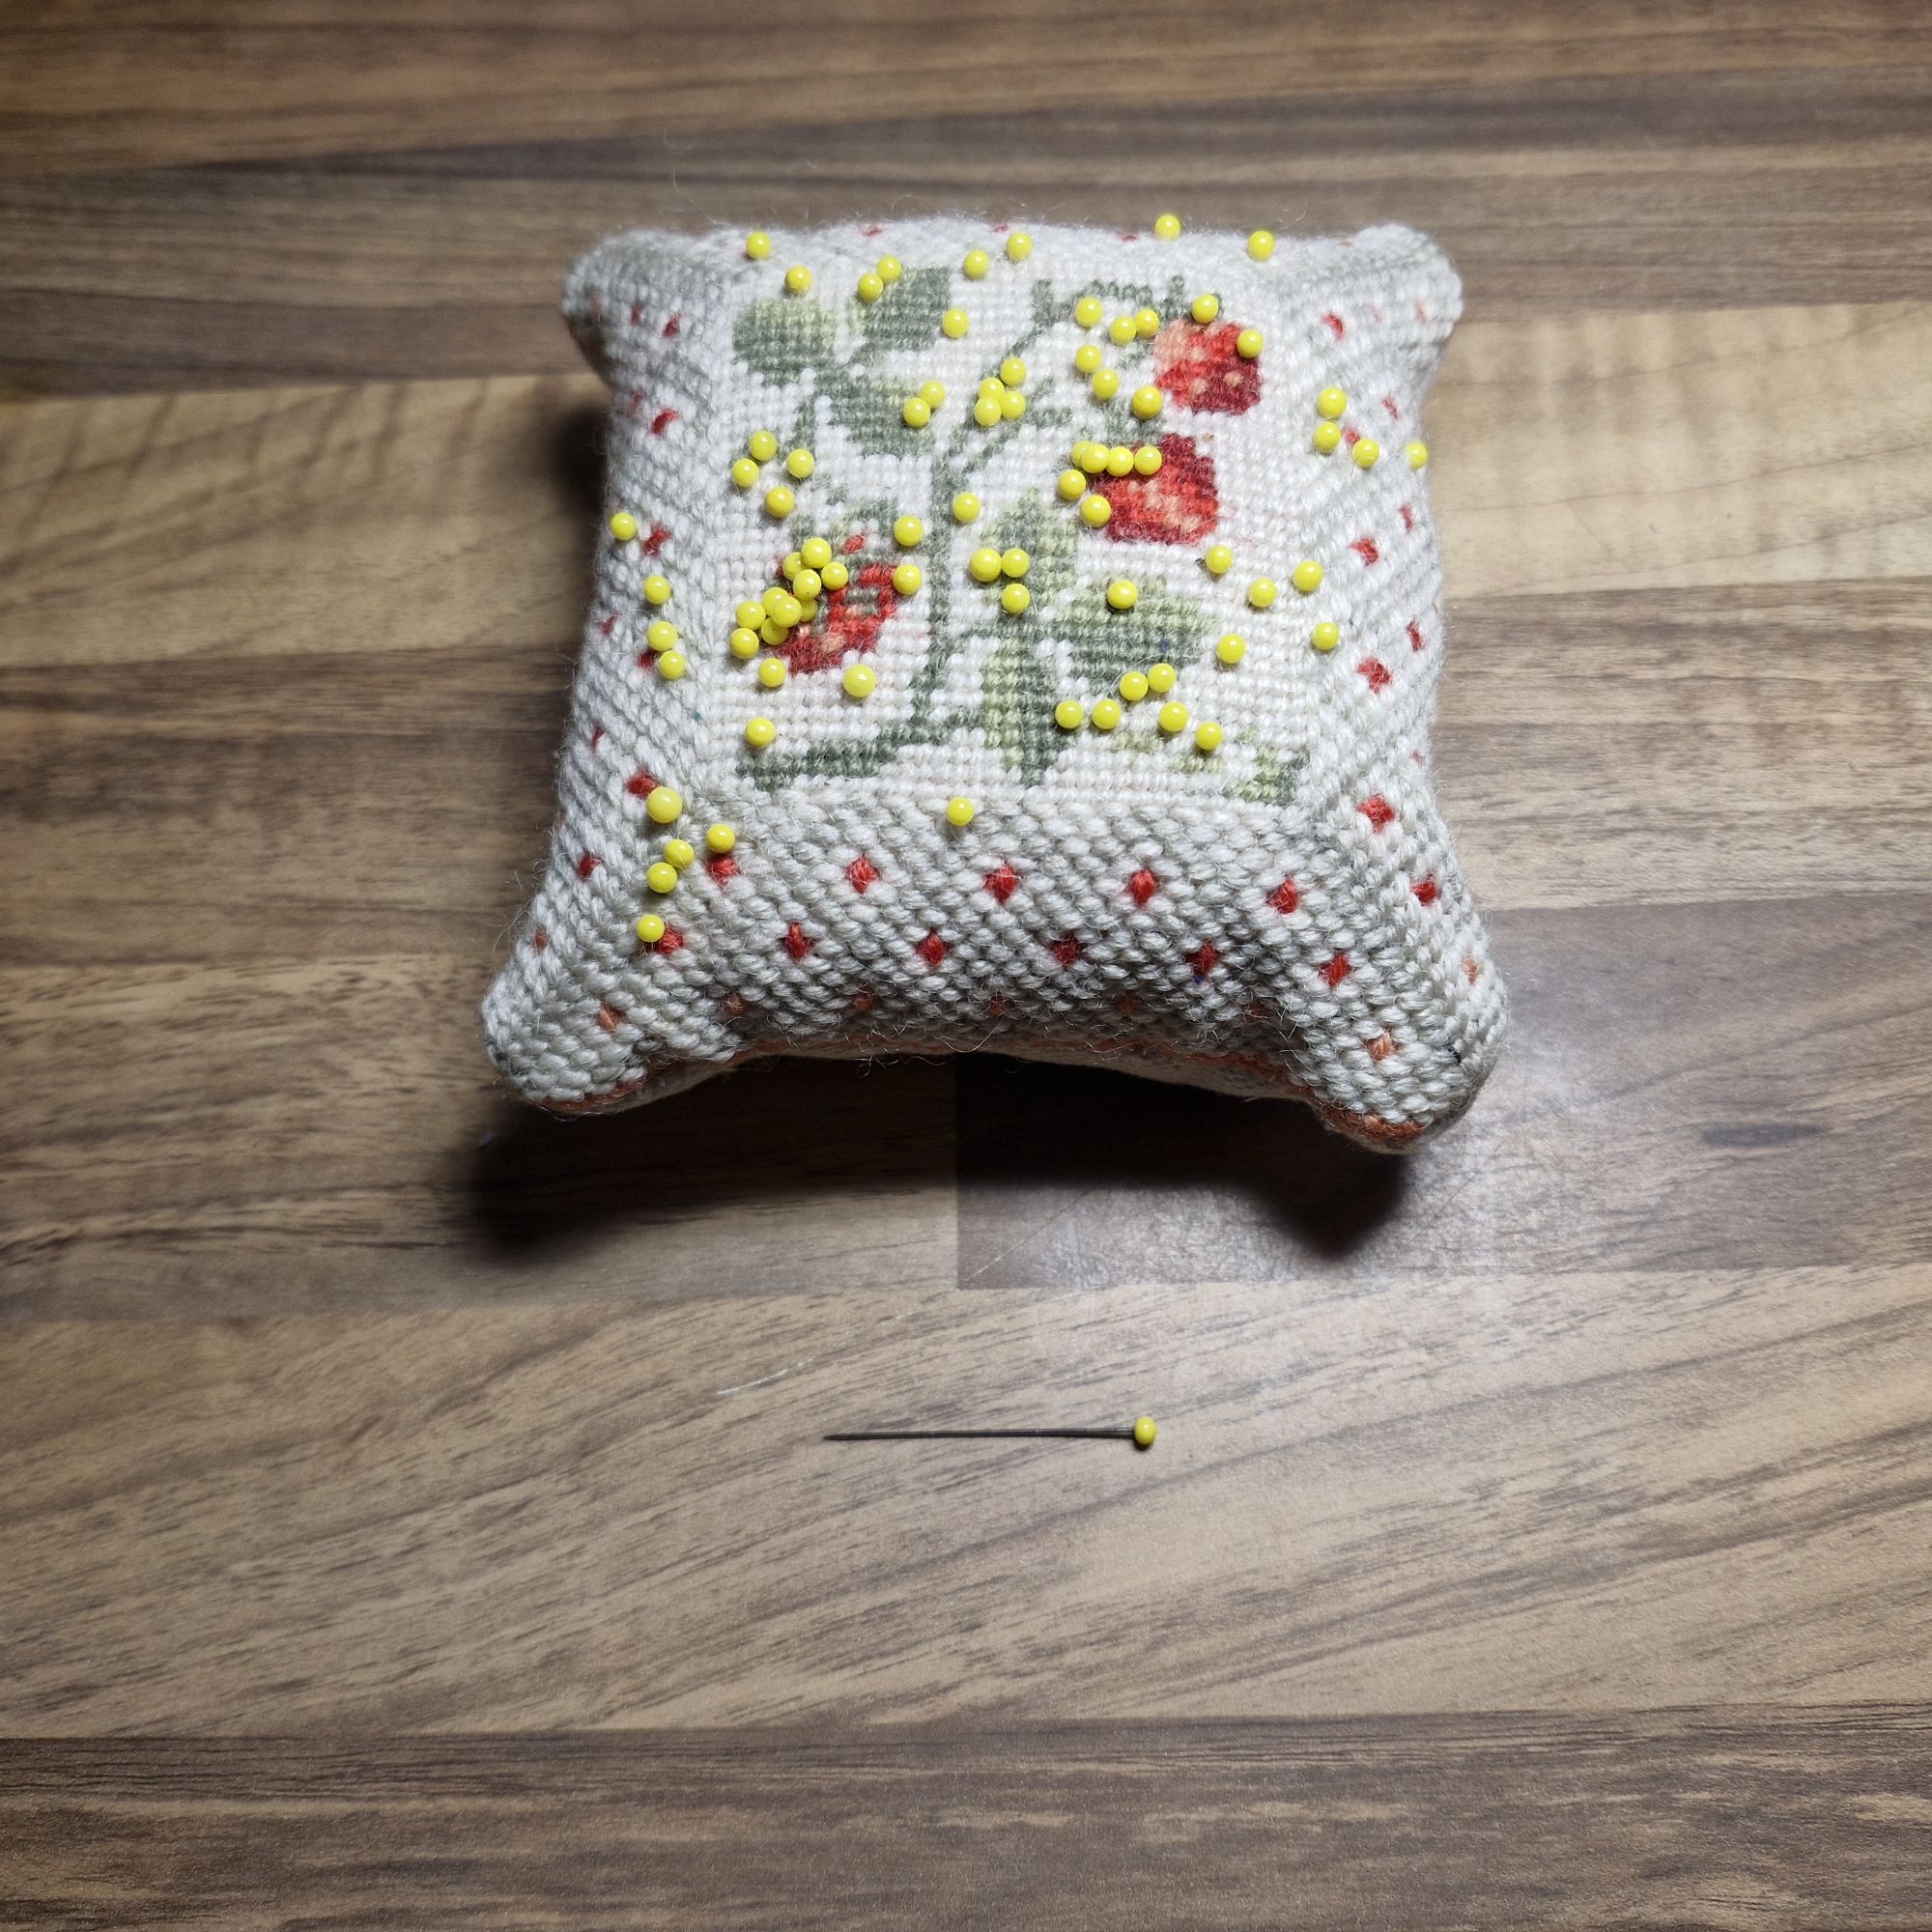
I also have some fine, gold-coloured dressmaking pins. These were the ones I used when using tulle and lace in the making of my daughter’s wedding dress.

This pincushion also has a needlepoint side, but these gold pins show up better on the velvet side!
There’s also a pincushion settled in a cup and saucer (glued together) that I made in a class. In this are all the long, fine, flat-headed pins. These are useful for marking the middle of the sides of a quilt top, wadding and backing in order to square it up when layering the quilt. They are also good for holding sets of blocks together and for many other purposes, too.

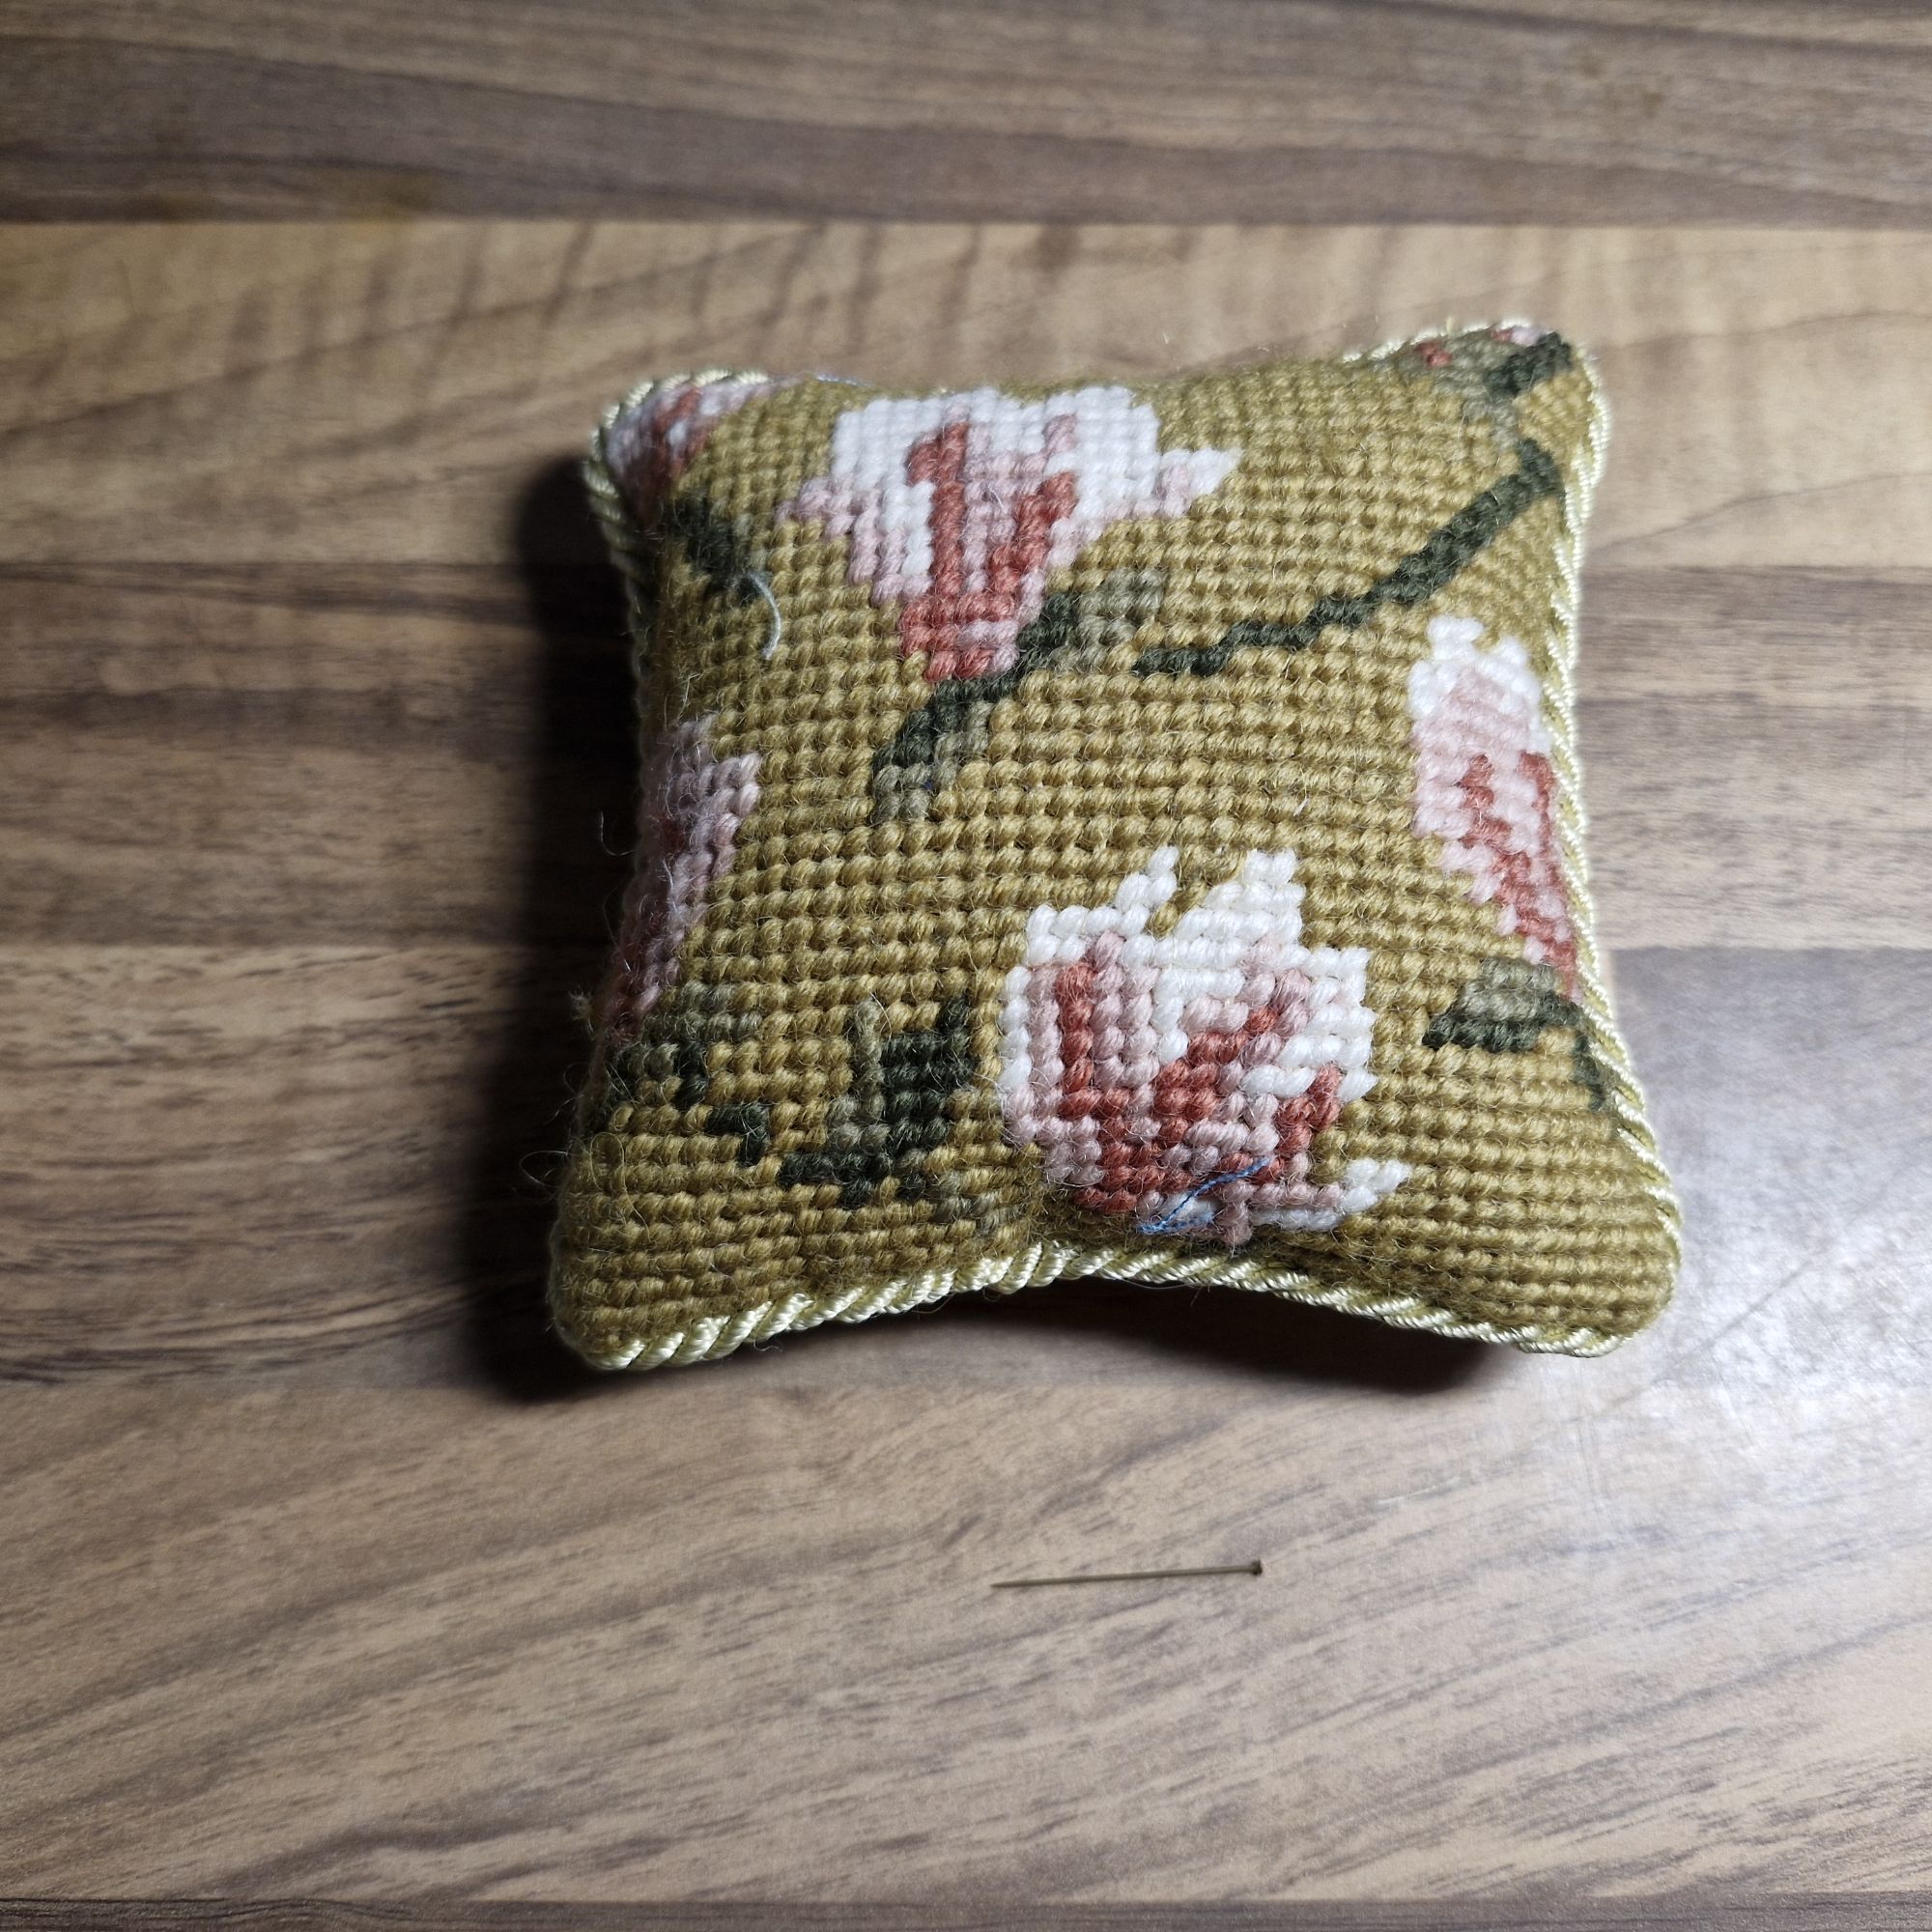
The pincushion below is clearly handmade and came to me via a tombola I think. In it are large hat-pin size pins, which are excellent for pinning out a quilt-back on a carpeted floor (I insert them at an angle – like tent pegs). In the centre is a slightly random selection of larger and longer glass-headed pins. Every now and then they are useful and I like to keep them separate from the blue and the yellow ones seen above.

Now for some small pins. These are perfect for appliqué and I have tried several kinds. These white-headed pins are in a felt pincushion which I received in an international pincushion swop organised by Uppercase magazine. My pincushion was made in Canada!

These are red appliqué pins which sit in a cute house-shaped pincushion.

The needlepoint pincushion below has the final set of appliqué pins. These are the sharpest and the ones I use most often. Some of them are very tiny indeed – perfect for miniature quilts.

Below is a small box of regular dressmakers pins in a small plastic box, held closed with an elastic band. These are the pins I take when travelling (except when flying of course). Although the pins are less easy to use than when they are in a pincushion, this is a safe way of keeping pins intact when en route.

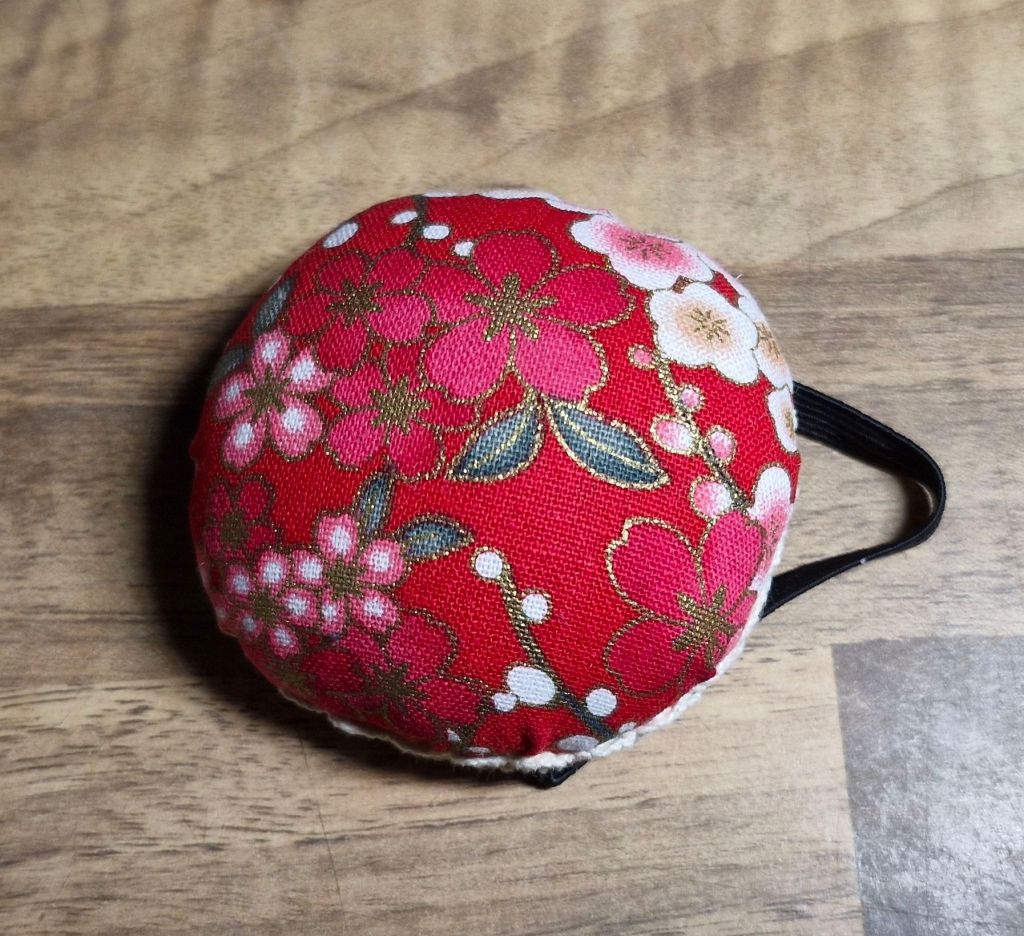
The last photo is of a very useful wrist pincushion, given to me by a friend. Very handy!
Thank you for reading my blog. Quilt Patterns are here, Fabrics are here, Classes are here
Click the ‘Follow’ button to get a blog-post by email each Monday and click here if you would like the monthly newsletter with design and colour inspiration, etc.
If you feel like making a pincushion for your own sewing room, I have a couple of patterns for you. Firstly, there is the Stitcher’s Kit’ which includes a pincushion. Get the pattern here

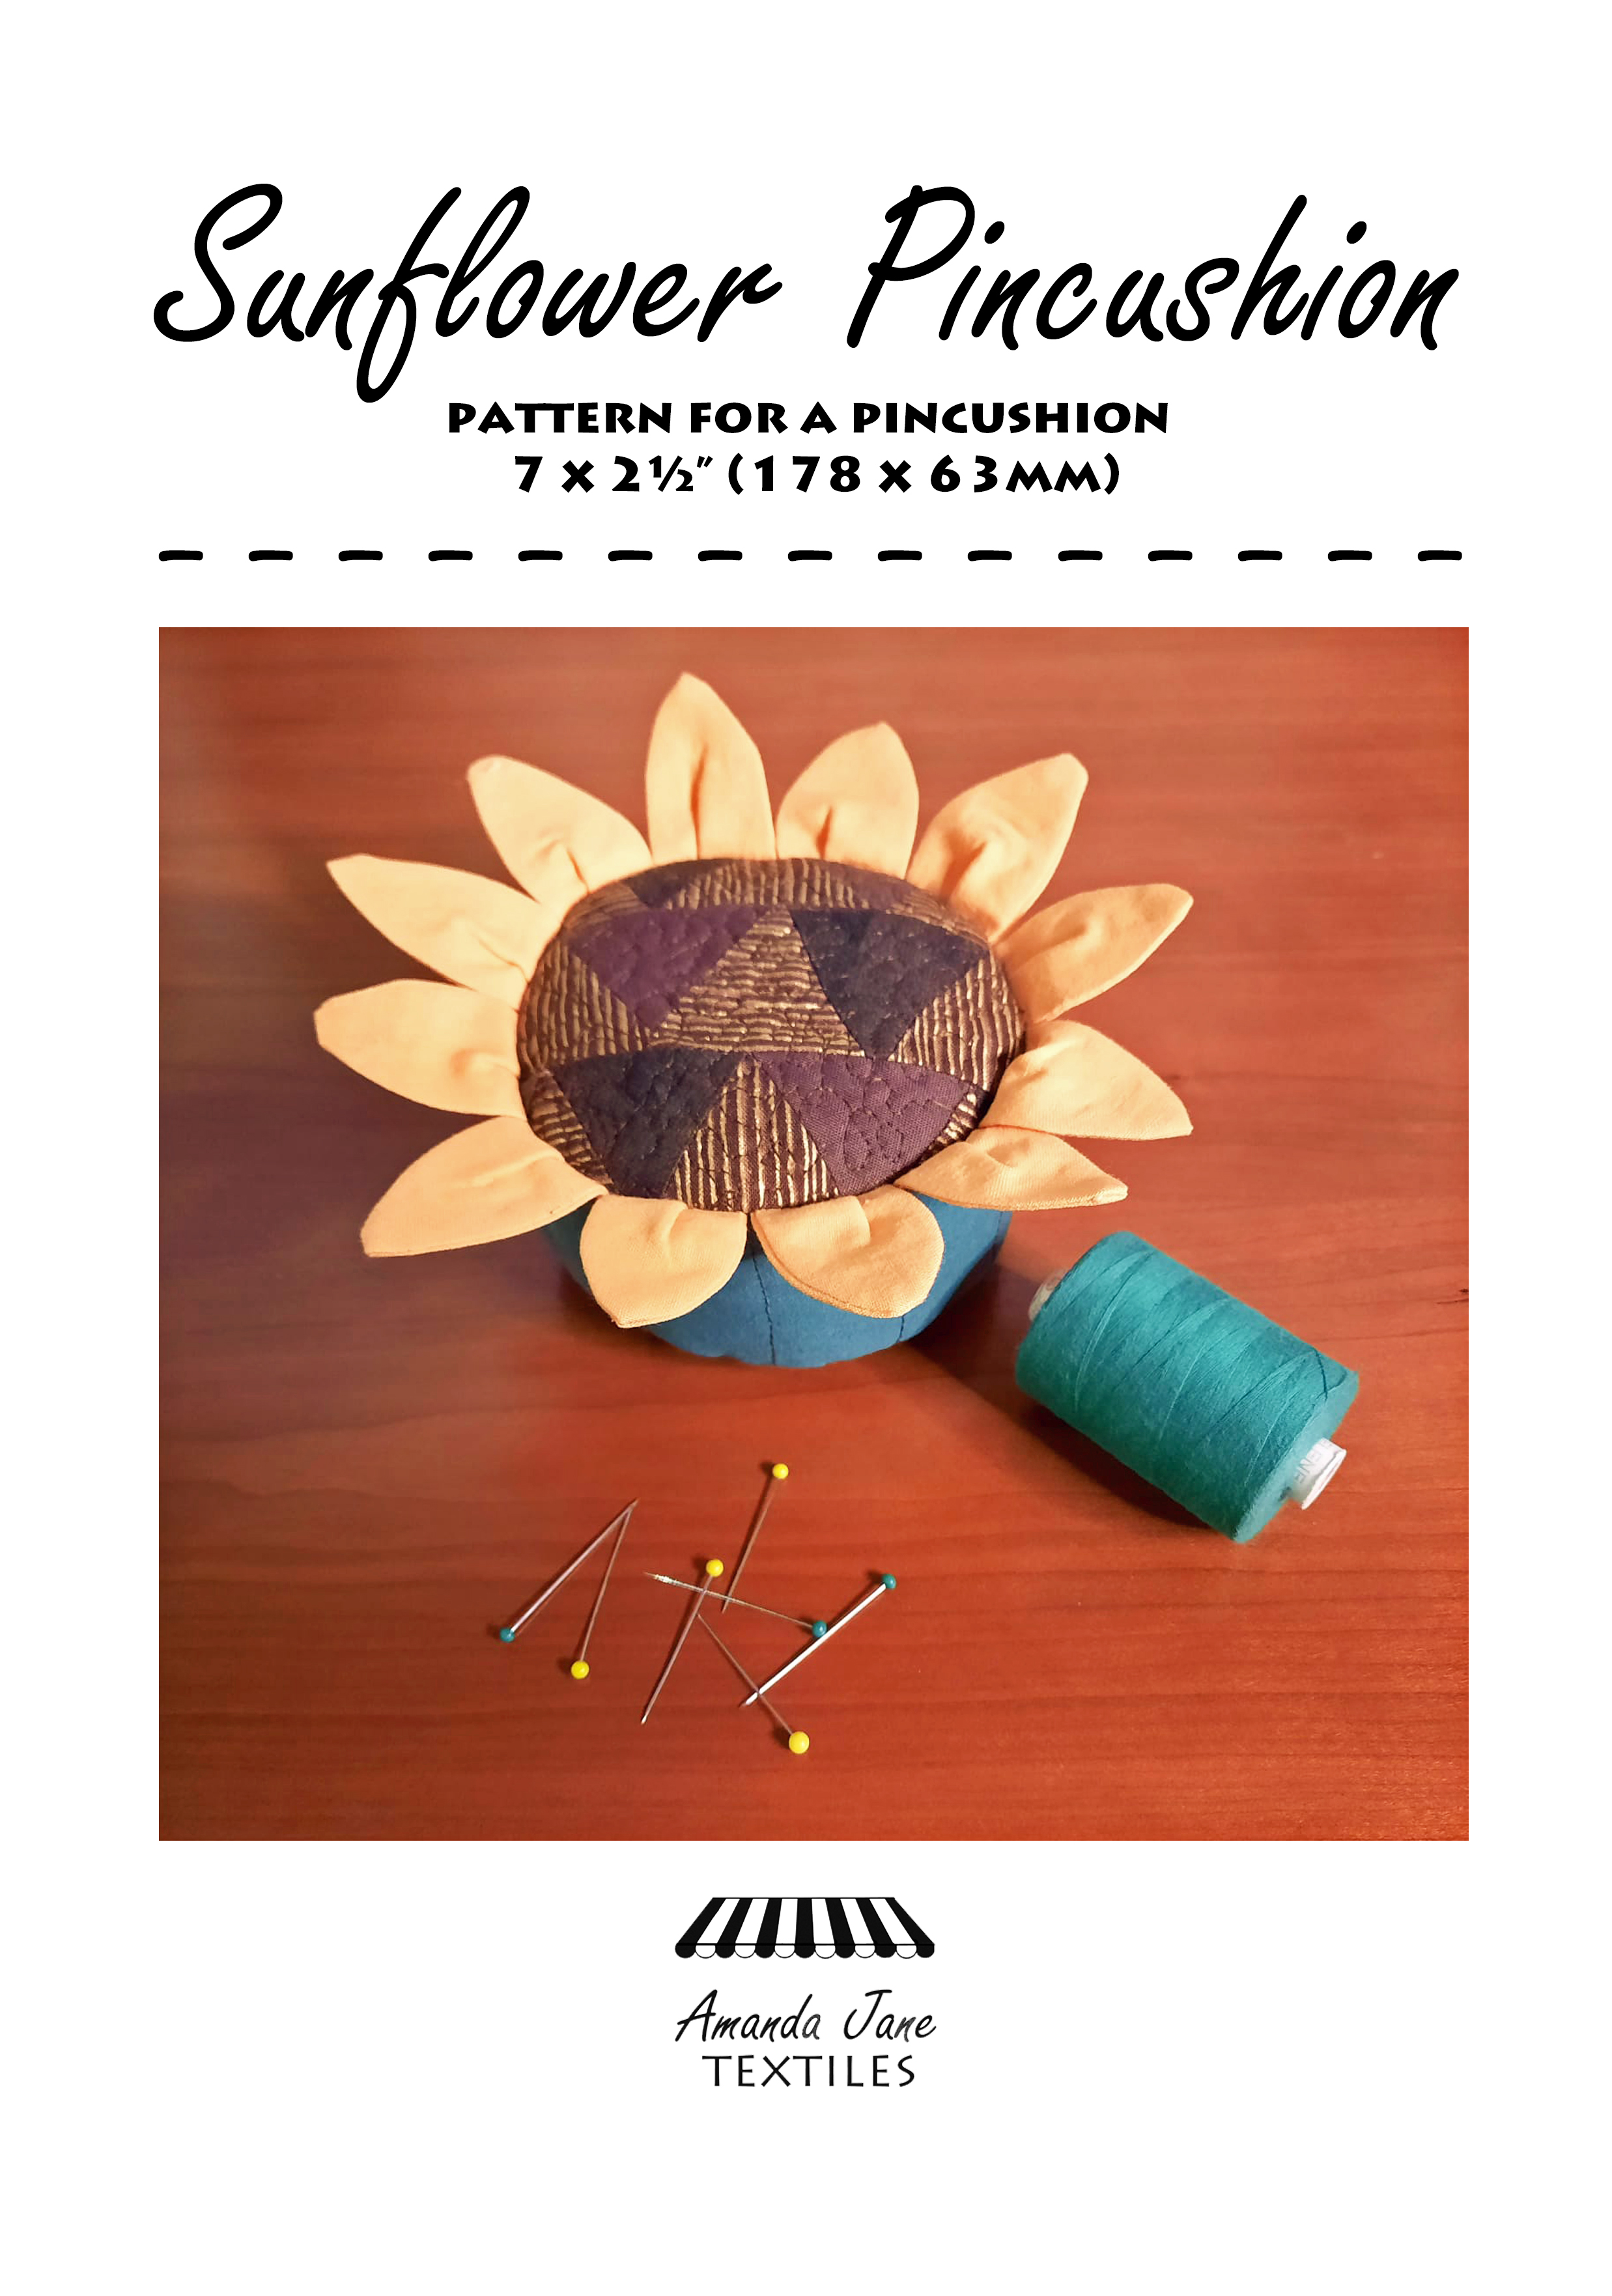
Or you could made the decorative ‘Sunflower Pincushion’ – the pattern is here.