
Let’s say you have made an art quilt (rather than a bed quilt) and you want to hang it on the wall. This is how to make it possible. You need to create an attach a ‘hanging sleeve’ which is a tube of fabric that is sewn to the back of a quilt.
- First, measure across the width of the quilt and make a note of the measurement.
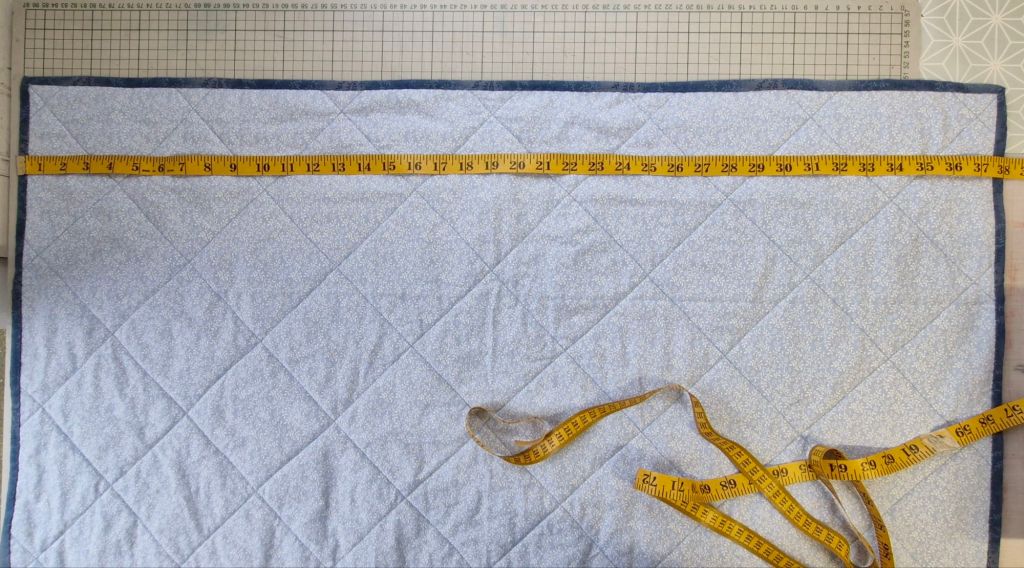
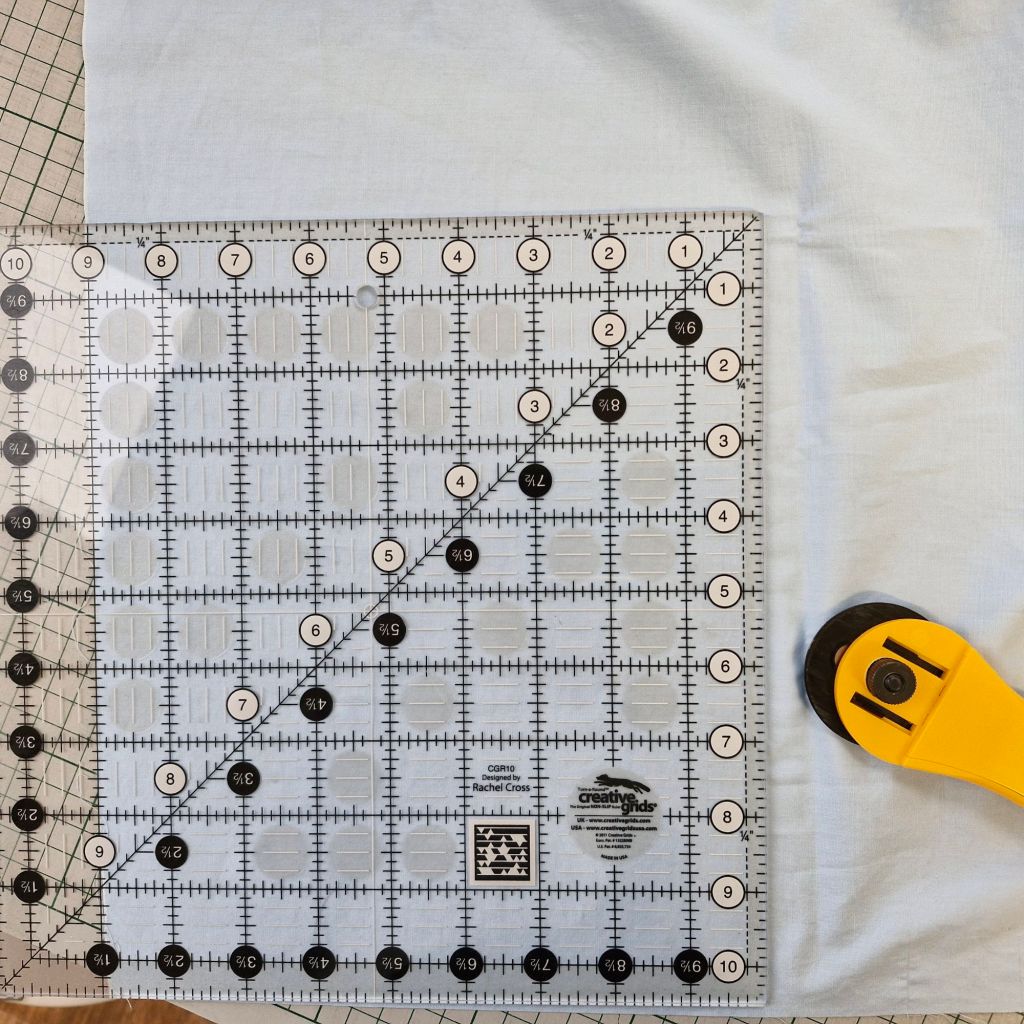
2 Cut a nine inch wide strip, to the length that you noted down in step 1.
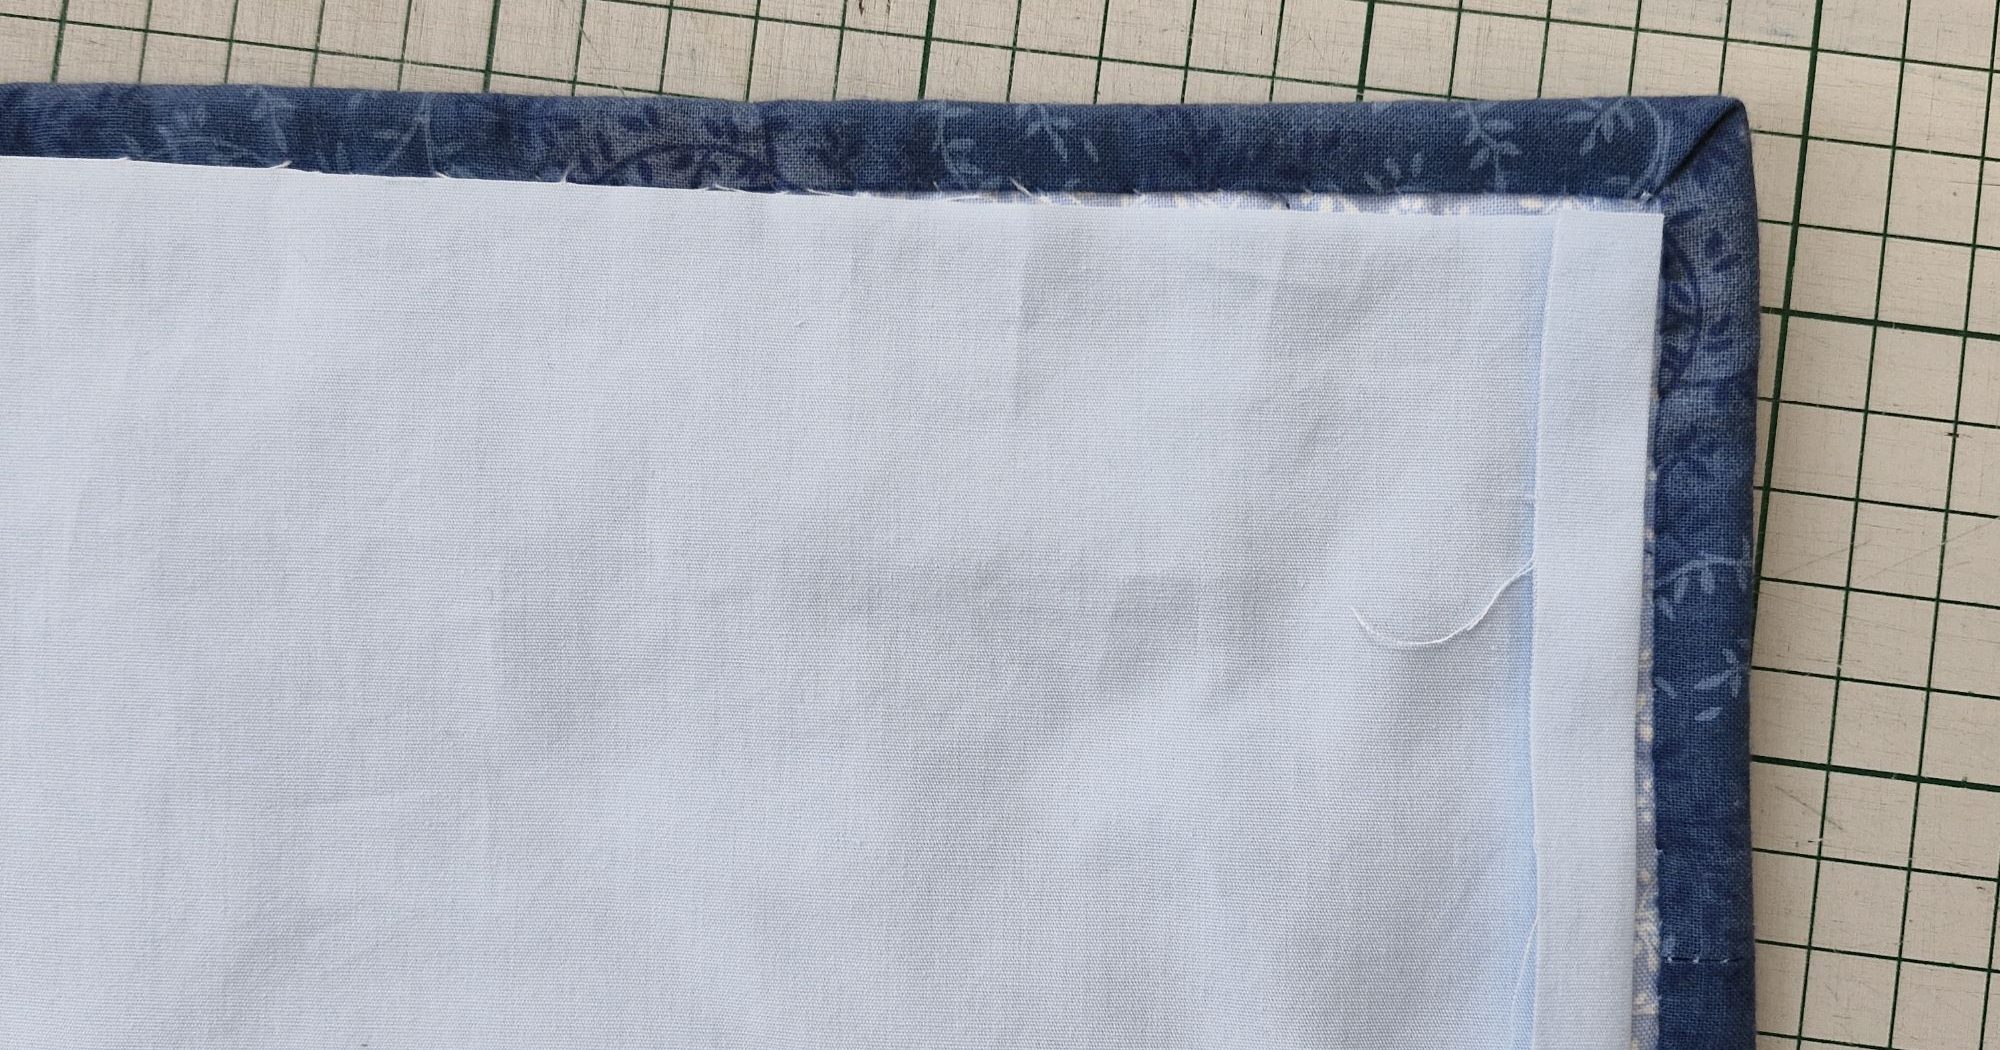
3. Turn in half an inch at each short end of the strip and press with an iron. When you place the strip along the top edge of your quilt, it should lie just inside the finished binding of the quilt, as shown in the photo below.
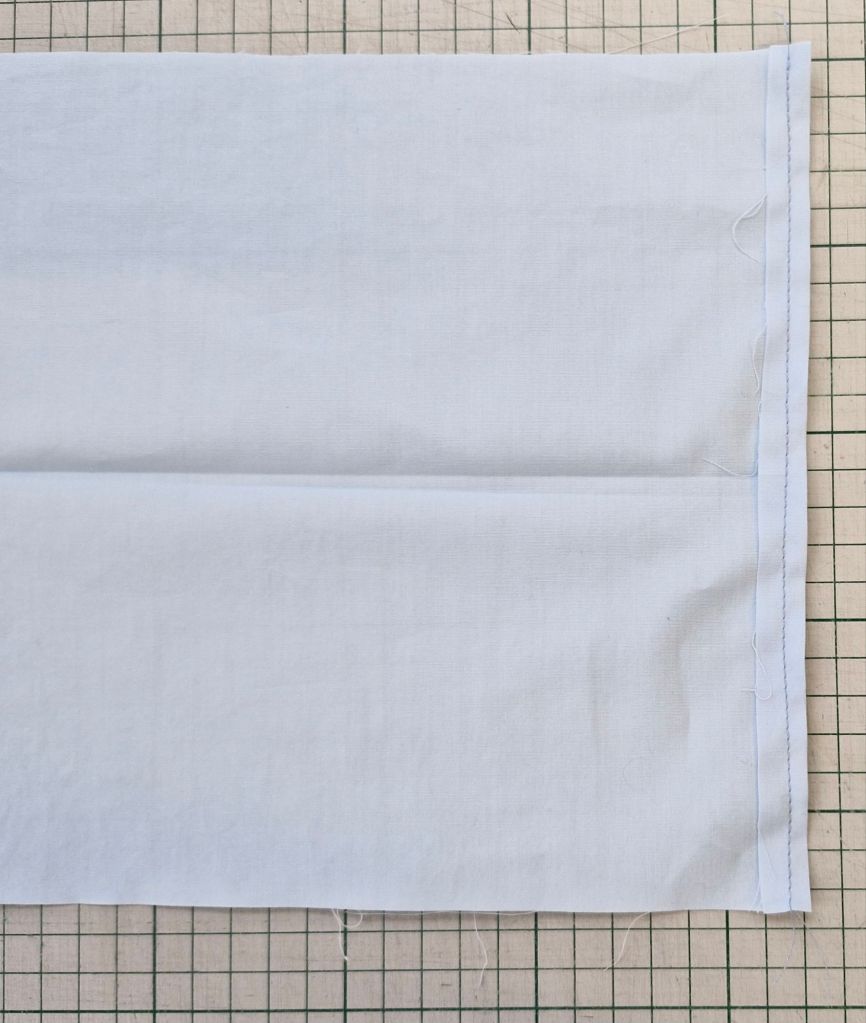
4 Lift off the sleeve. Stitch down each fold at on the sewing machine. as seen below. Then fold the strip in half, along its length, with the wrong sides together. Press the fold with an iron. This fold acts as a marker.
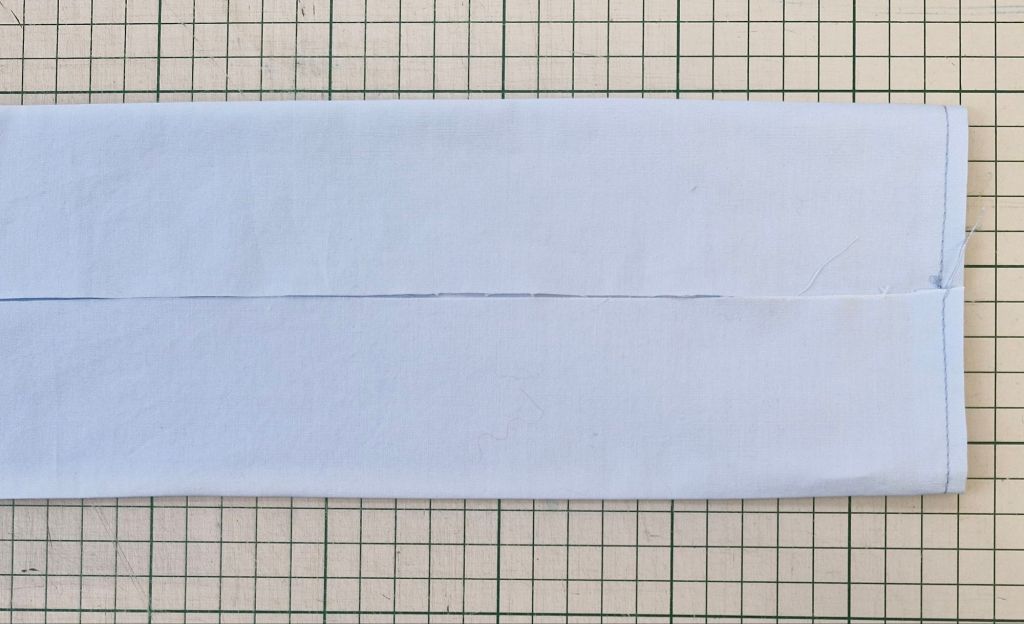
5 Now, with the wrong side facing you, fold the top raw edge down to the central marker fold and the bottom raw edge up to the fold.

6 Iron these two new folds.
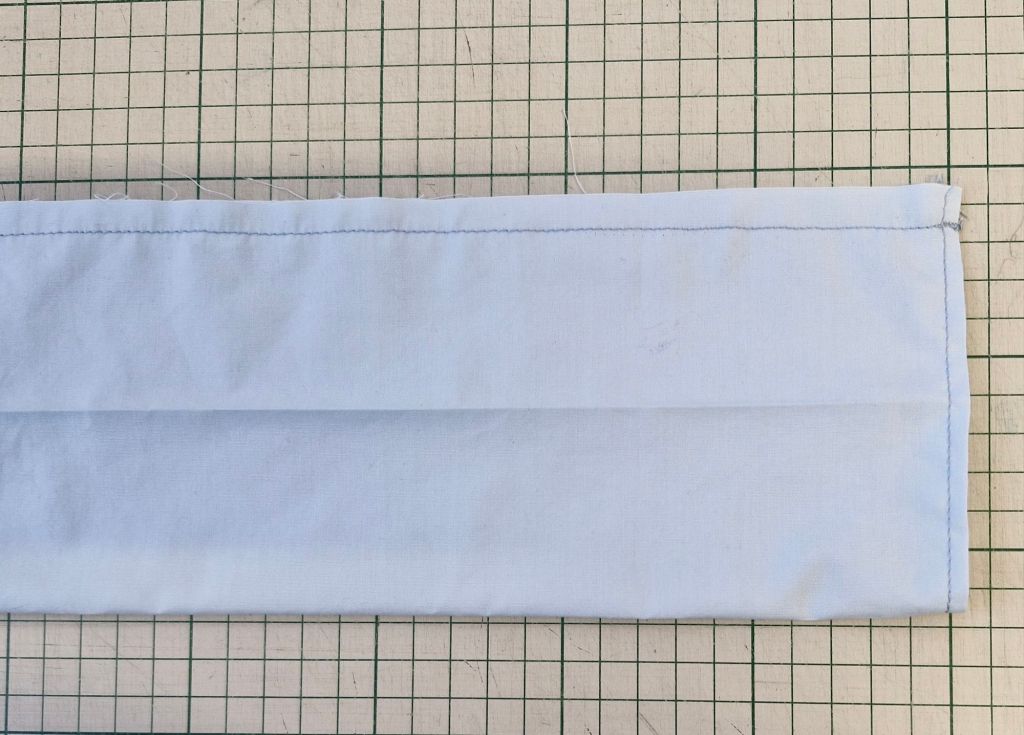
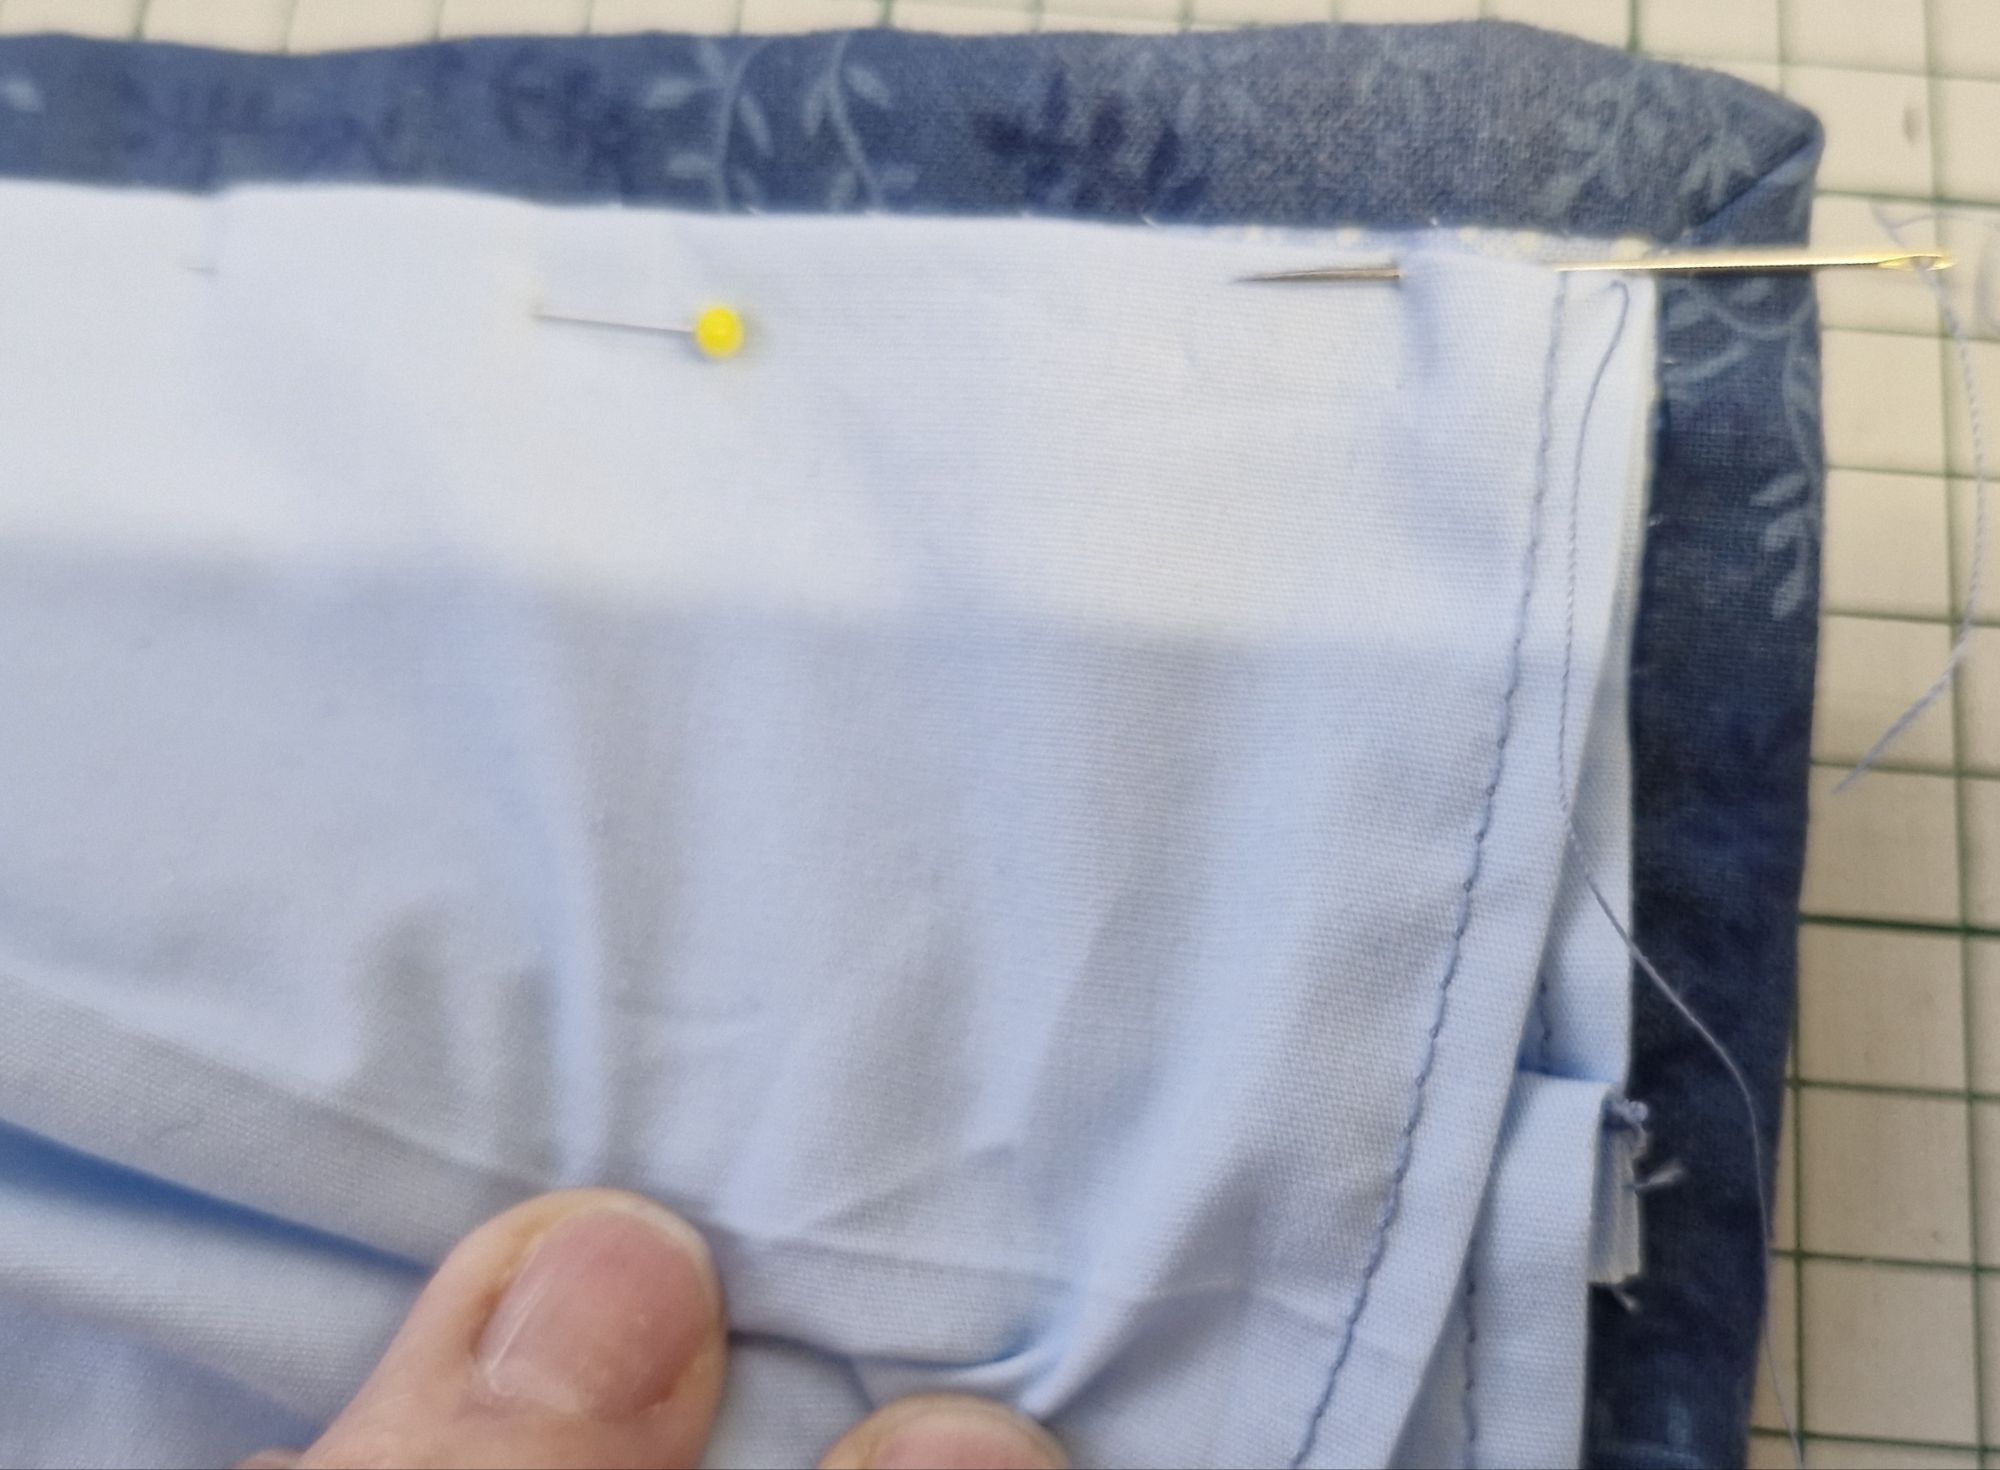
7 Next, open out the strip again and place the two long, raw edges together, with the wrong sides of the sleeve together. Pin the edges together with the pins at right angles to the edge, as shown.

8 Machine-stitch the edges together with a quarter-inch seam. Back-tack at the beginning and the end of the seam to secure.
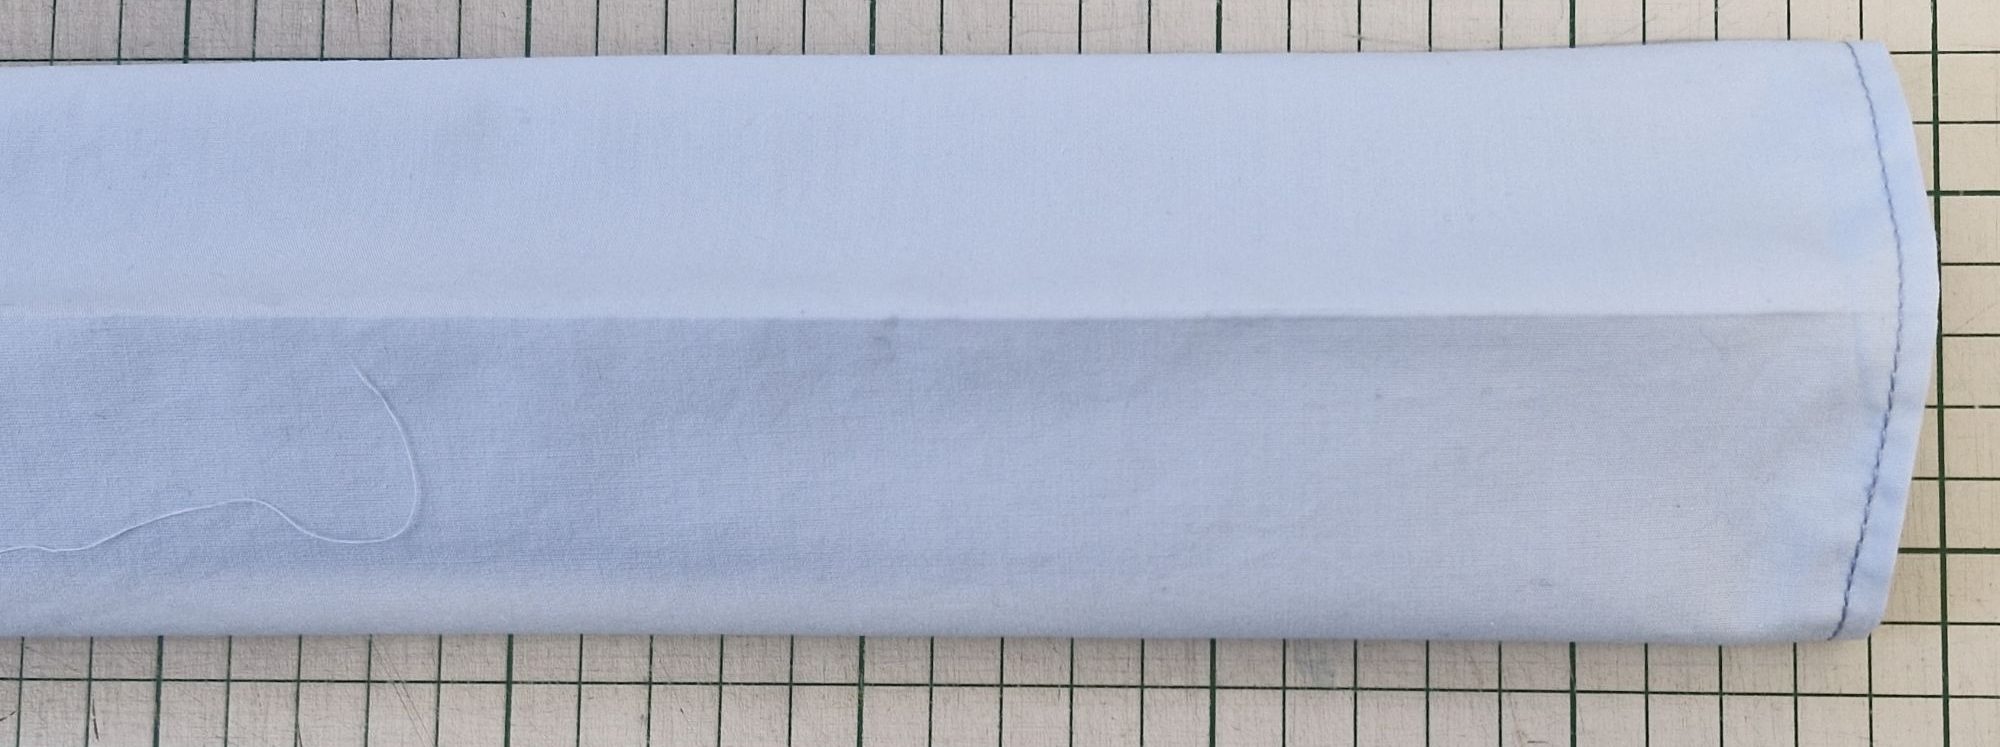
9. Lay the sleeve on your worktable with the two ironed-in folds at the top and the bottom. The sleeve will bulge out towards you. This shape allows a wooden batten to be placed within the sleeve (without any distortion to the front of the quilt).
10. Place the sleeve along the top of the back of your quilt between the two side bindings and below the top binding. Pin in place. inserting the pins along the pressed-in folds at the top and bottom of the sleeve. Pin them in such a way that you can stitch all round the outside of the sleeve. (This sleeve is pinned for a right-handed stitcher.
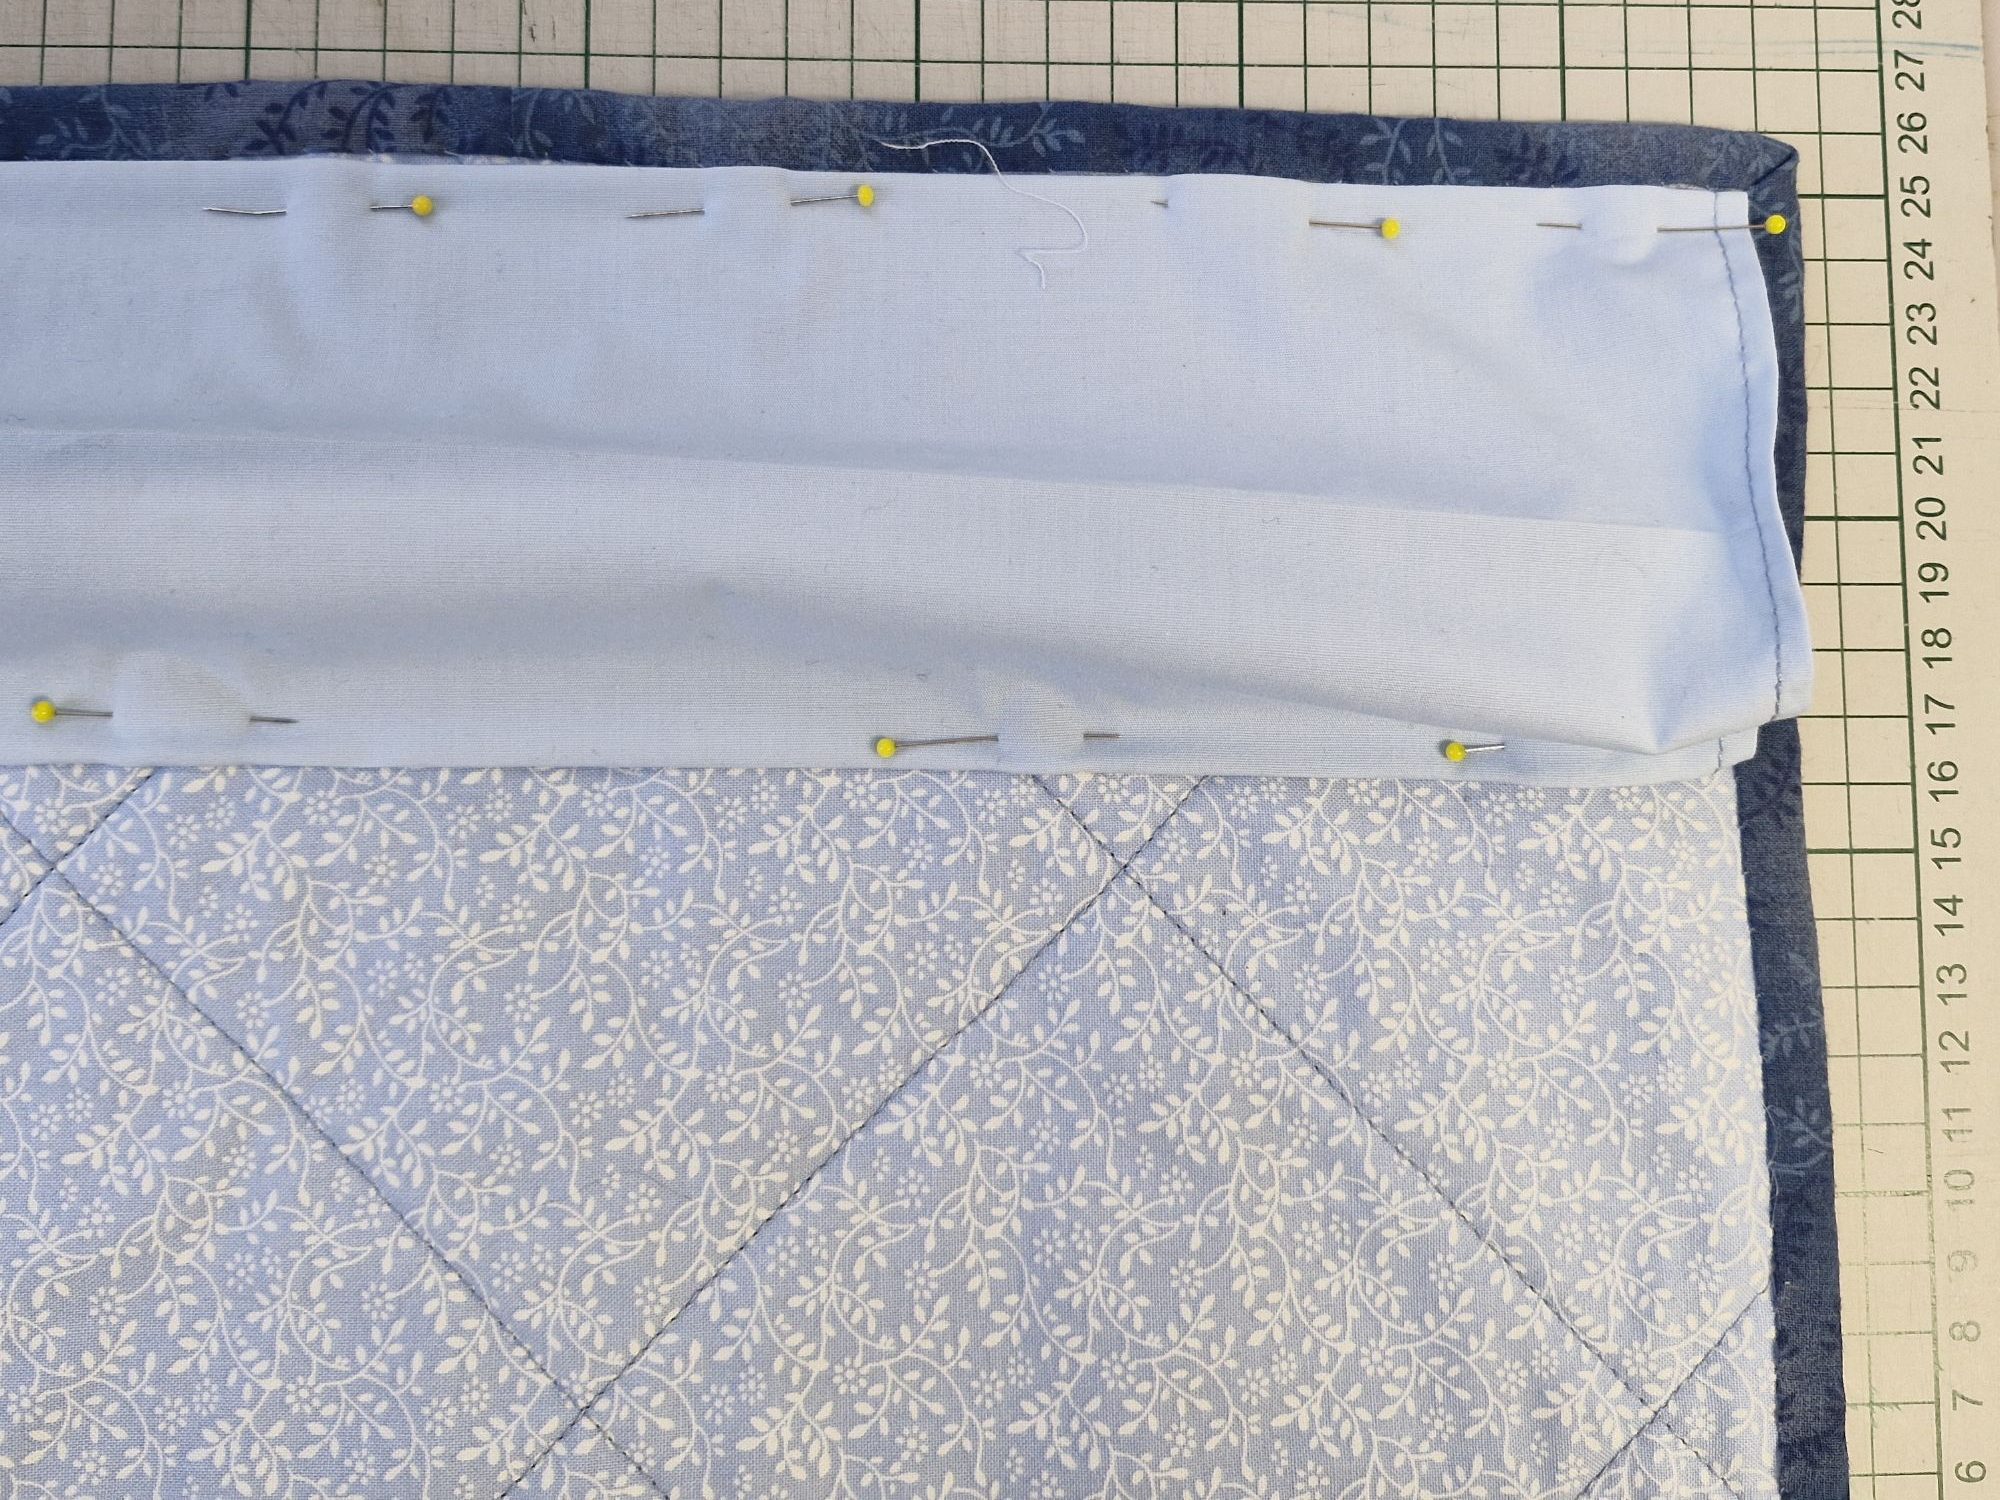
11. Carefully stitch the edge of the top fold to the quilt by hand, ensuring that the stitches do not come through to the front of the quilt. Stitch down the short side , then the bottom fold and finally the second short side. NB, the seam you stitched to join the raw edges is now held at the back of the quilt behind the sleeve so it is out of the way of any batten put through the sleeve.
12. To hang the quilt you need a wooden batten, cut to a length half an inch less than the width of the quilt (so it does not protrude beyond the edge of the quilt). Drill a hole at each end of the batten, half an inch in from each end. This will enable you to attach the batten (carrying the weight of the quilt) to the wall with a nail (as seen below)or with a screw and rawlplug. The quilt will cover the end of the batten which remains unseen, so it appears that the quilt is ‘floating’ on the wall.
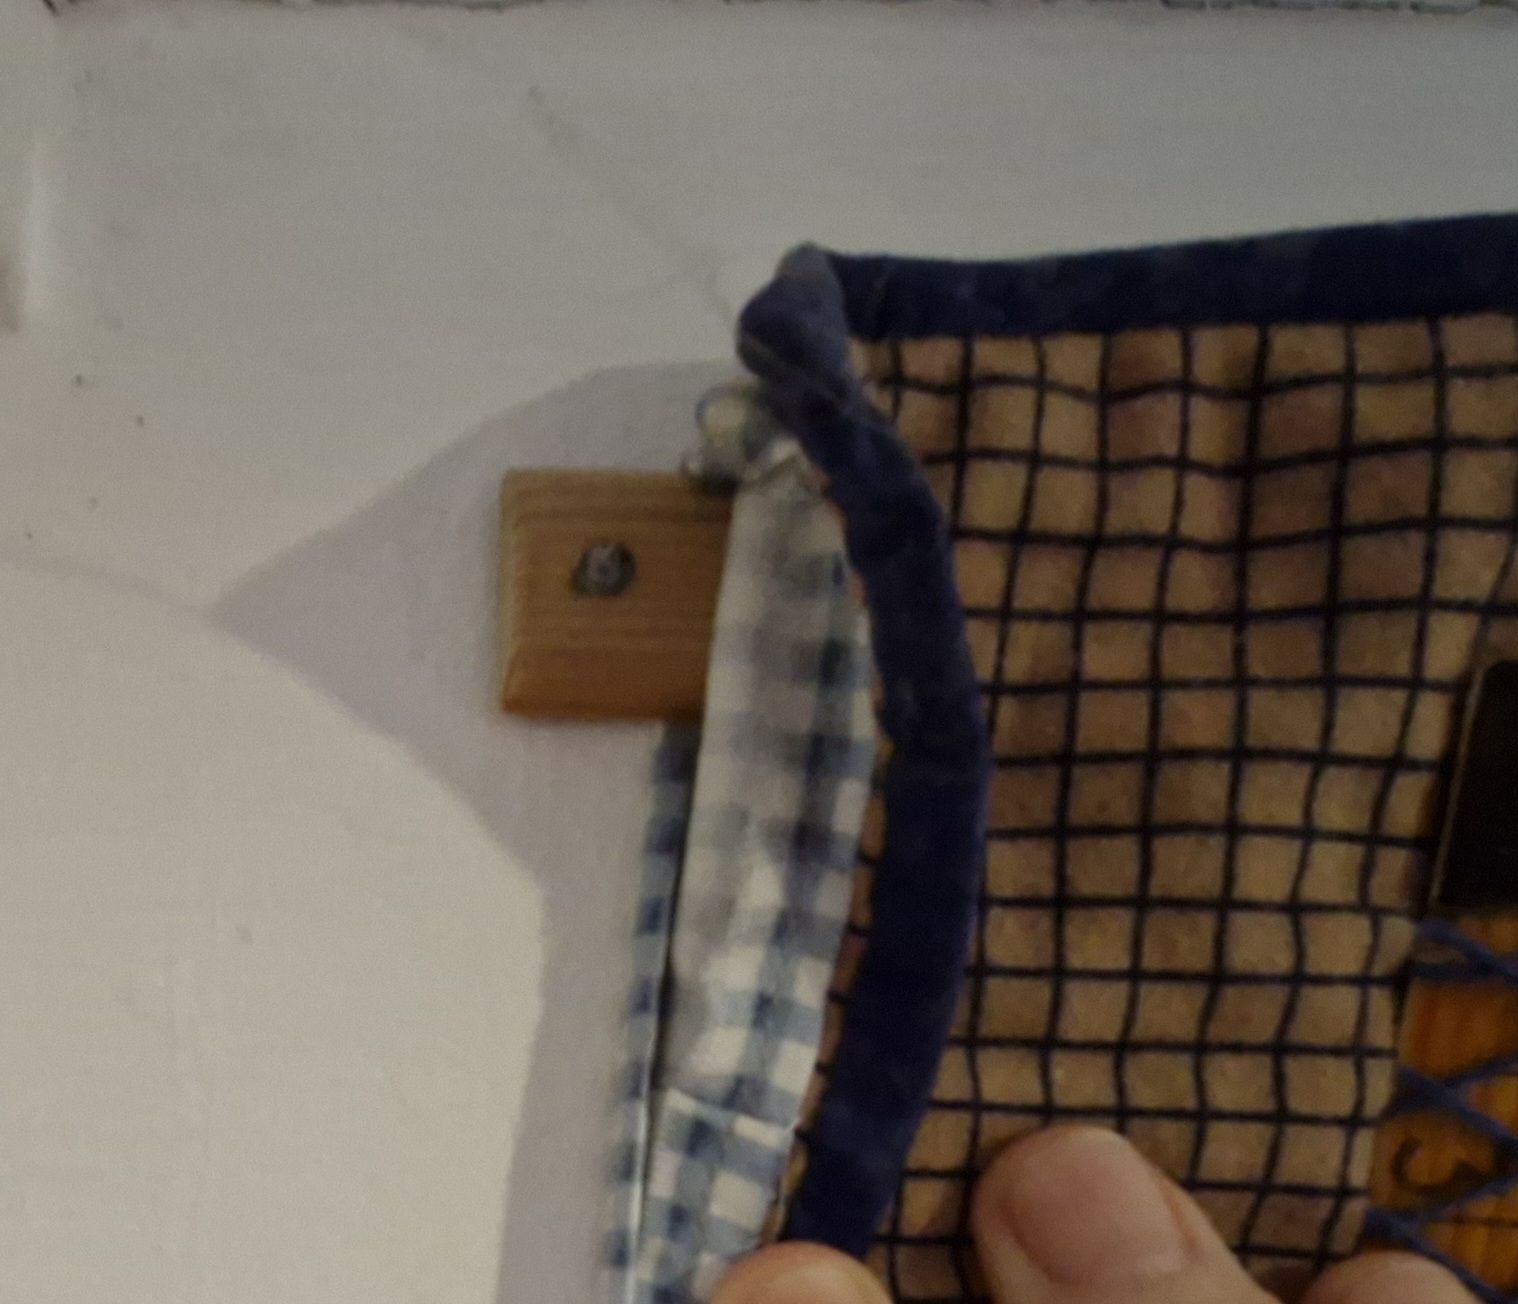
If neither of these methods are possible, strong cord can be threaded through the holes in the batten and a standard picture hook can be added to the wall, so the quilt can be hung from a hook.
Why not make yourself a wall-hanging with your own hanging sleeve The quilt in this pattern works well as a wall-hanging (as well as a table runner’. It is called ‘Thankful’ and you can get it here.

Thank you for reading my blog. Quilt Patterns are here, Fabrics are here, Classes are here
Click the ‘Follow’ button to get a blog-post by email each Monday.
There’s a great monthly newsletter full of design and colour inspiration, plus textile news of all kinds – click here if you would like to get it.
