To my great surprise, my daughter asked me to make her wedding dress. I am a textile artist, designer and maker, I can construct clothes and draft patterns… but a WEDDING DRESS. I was touched and challenged in equal measure.
We began with exchanges of emails: Becky sending me images that she had seen on the internet, in magazines, taken at the weddings of friends and acquaintances, which I sifted to try and find the common elements which had drawn her eye. I sketched an idea which I scanned and sent, then re-drew and sent again, and then a third sketch. We both had fun with a design program on the internet (www.weddingdresscreator.com) which allows you to put different parts of a design together and we ended up with the image below, which gave us a good start.

Becky tried on several wedding dresses in bridal shops and definitely favoured a fitted dress with a fishtail skirt. She wanted a dress with sleeves which proved difficult to find.
Finally an image of a designer dress was found which began to clarify the different ideas. The difficulty about the image was that it was clearly a fashion garment, created for the catwalk – or even just for a fashion shoot (the flowing, draping skirt was too full at the front for the model to walk in). In addition, the dress was very transparent so not quite suitable for a bride. We needed to find a way of interpreting the key ideas in a format that was right for a wedding dress.
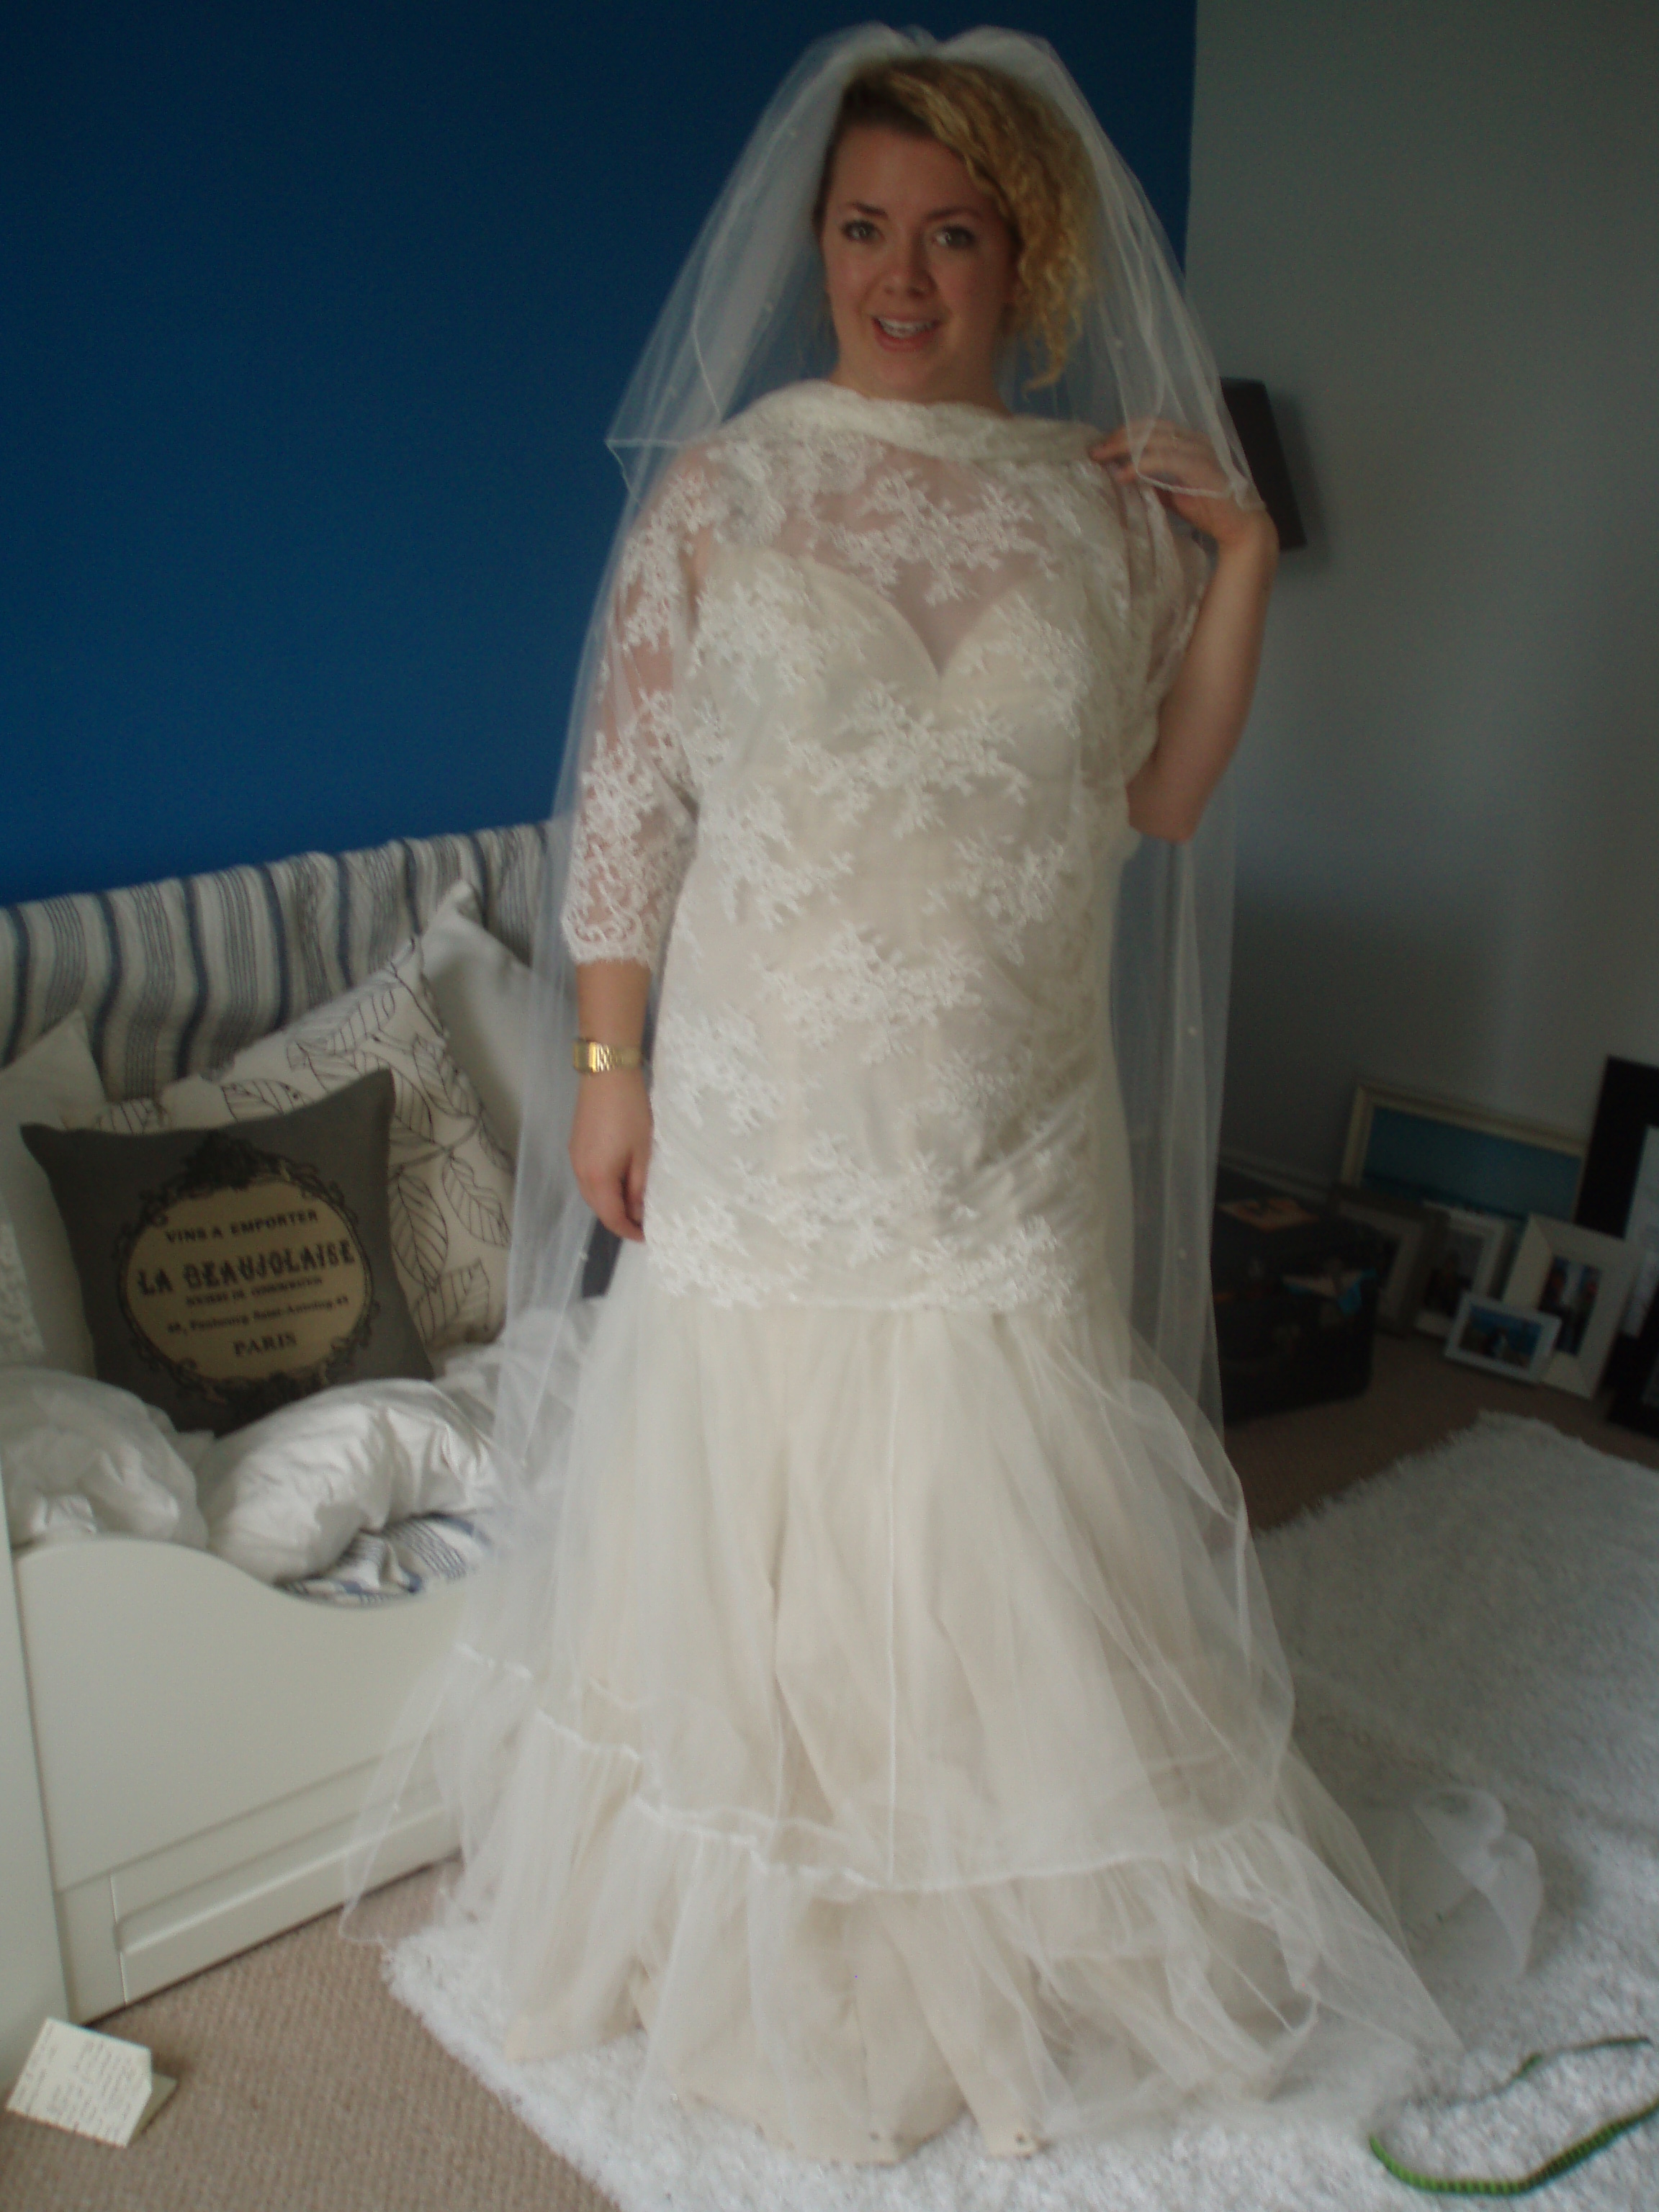
The next step was to find a commercial pattern for a panelled dress with a bodice. I re-shaped the bodice to our requirements and made up a ‘toile’ (a prototype version of the dress made in cotton calico). In the photo, a simple transparent upper bodice has been created and spare lace motifs added to try out the look.

Having looked at different sources of lace, priced at up to £230 a metre, I came across some beautiful corded lace on sale. We bought several metres, so there was plenty to experiment with. We wrapped Becky in the lace to see how it would look. I created a bodice from some organza, and tried out some sample lace motifs around the neck.
I had some nylon net and we messed about creating the look of the full, gathered skirt Becky envisaged and we experimented with pinning individual motifs onto the skirt (see photos below).
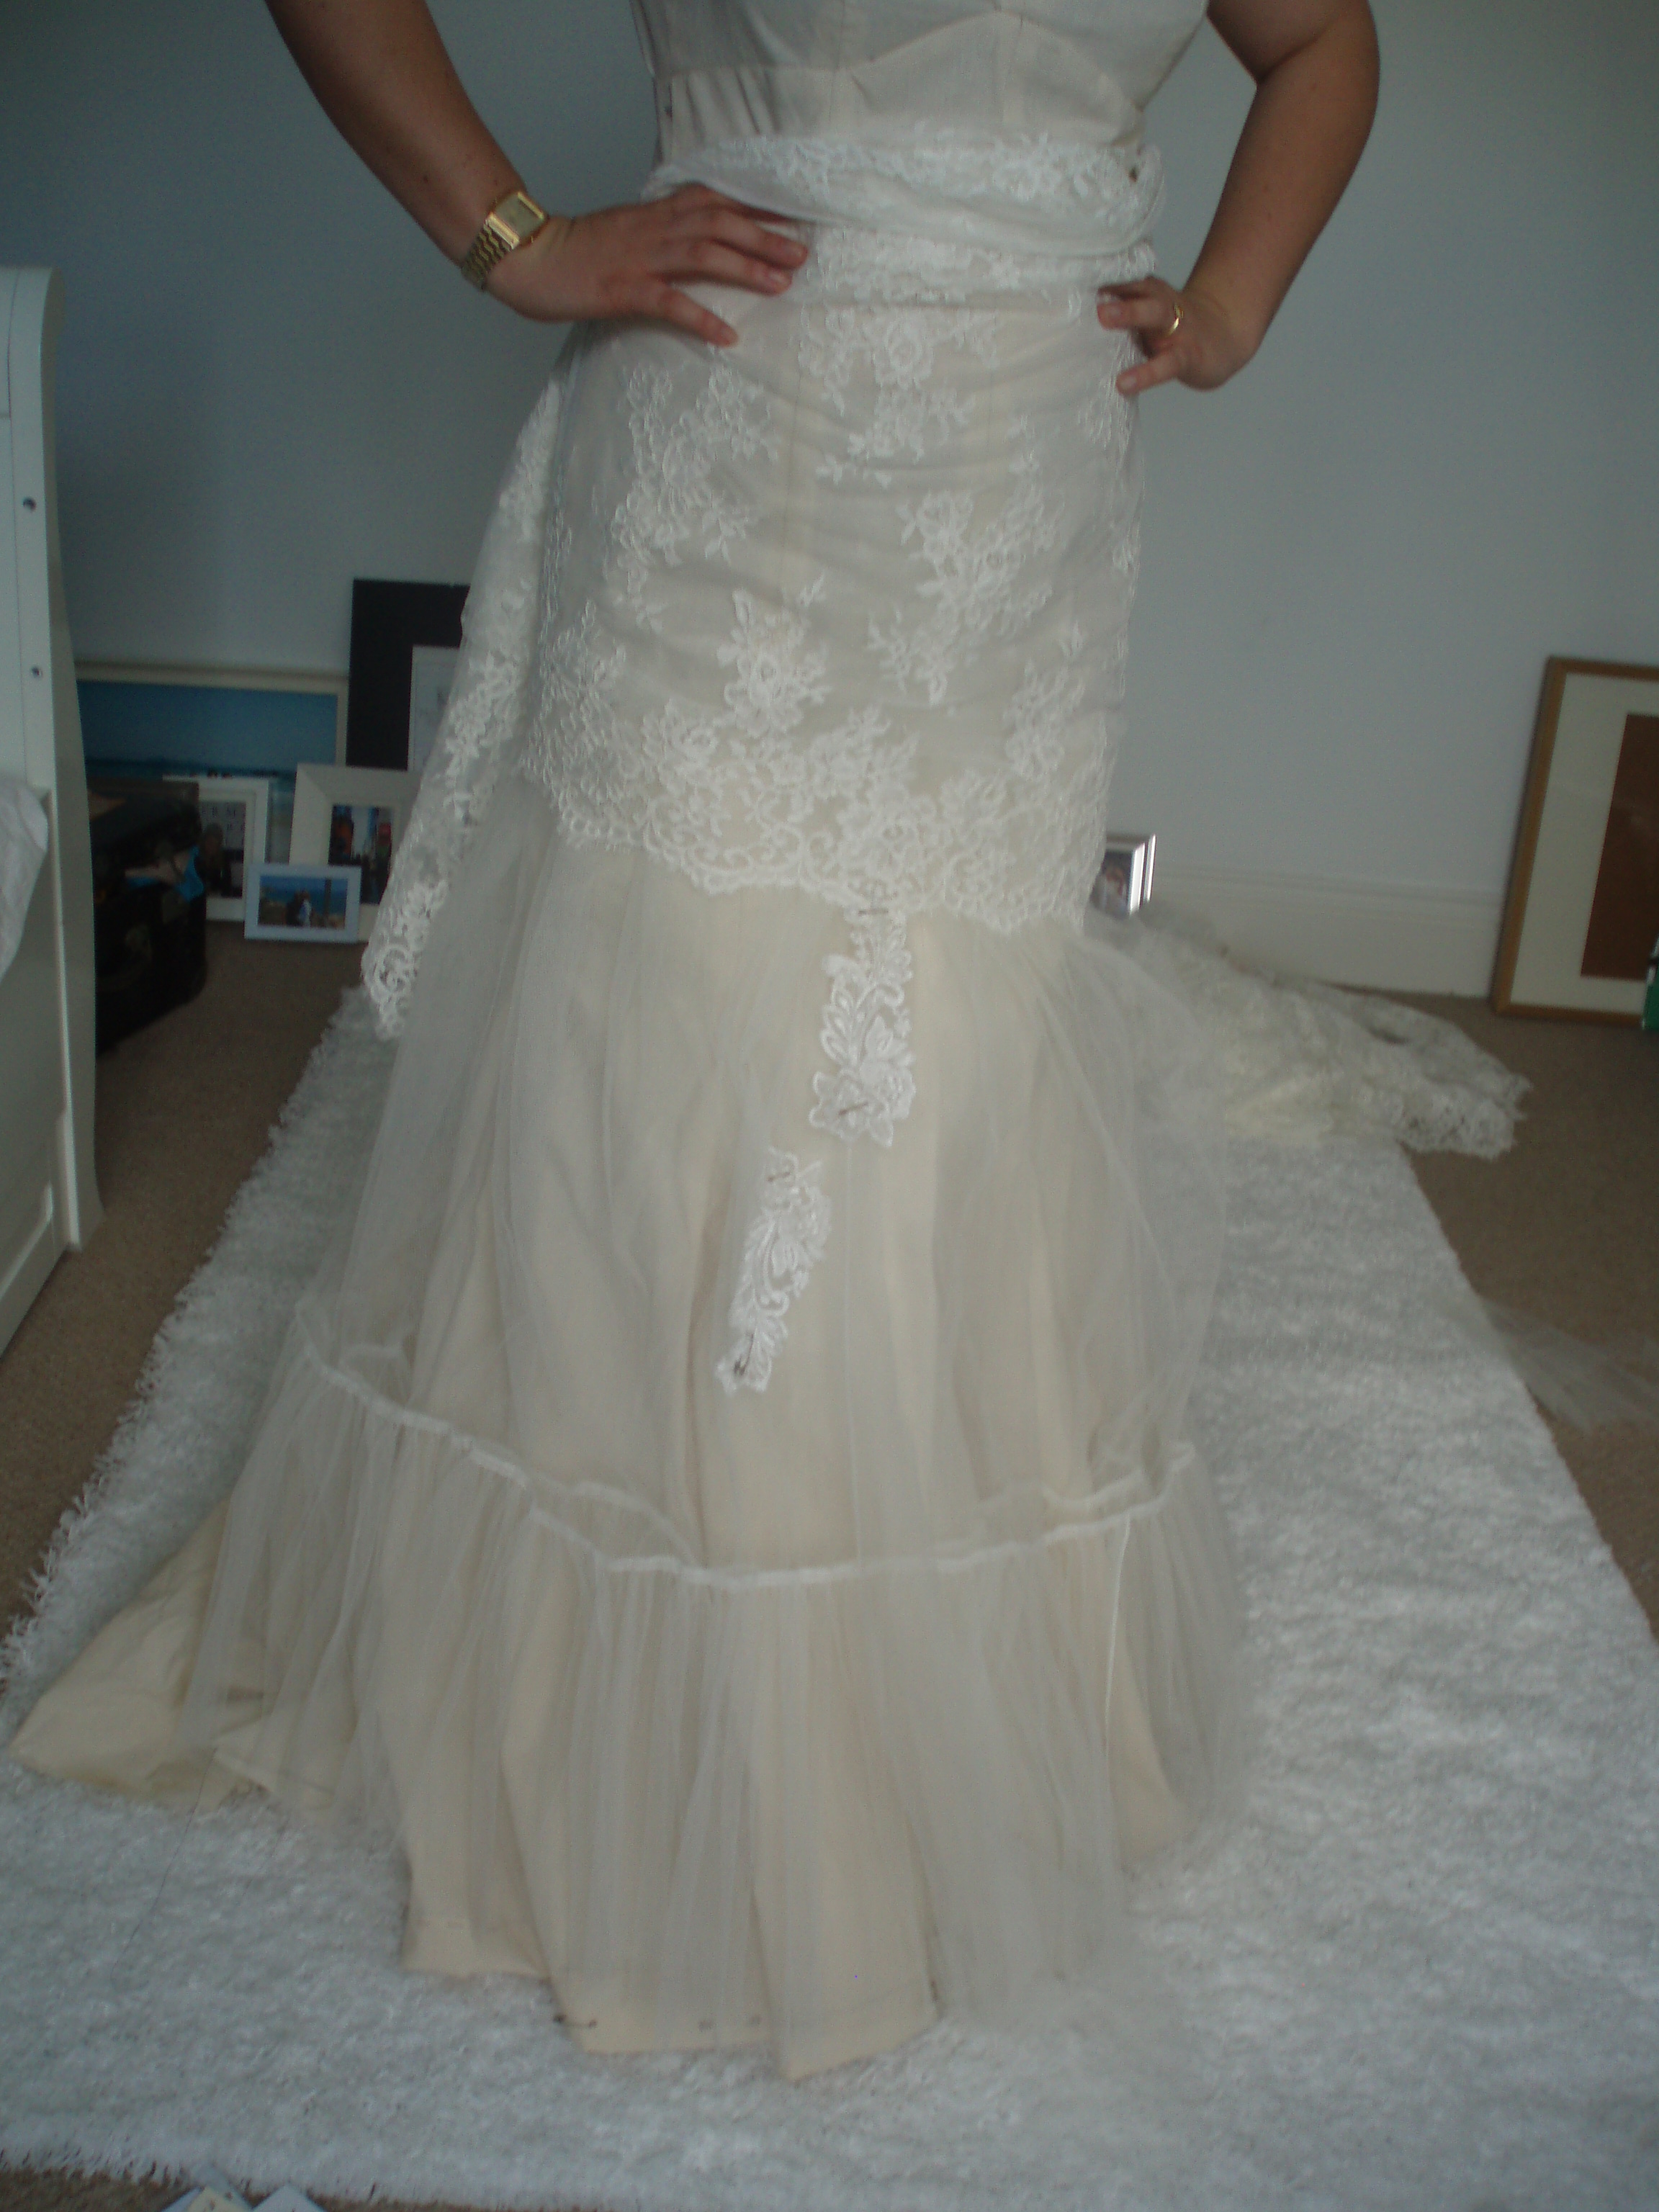
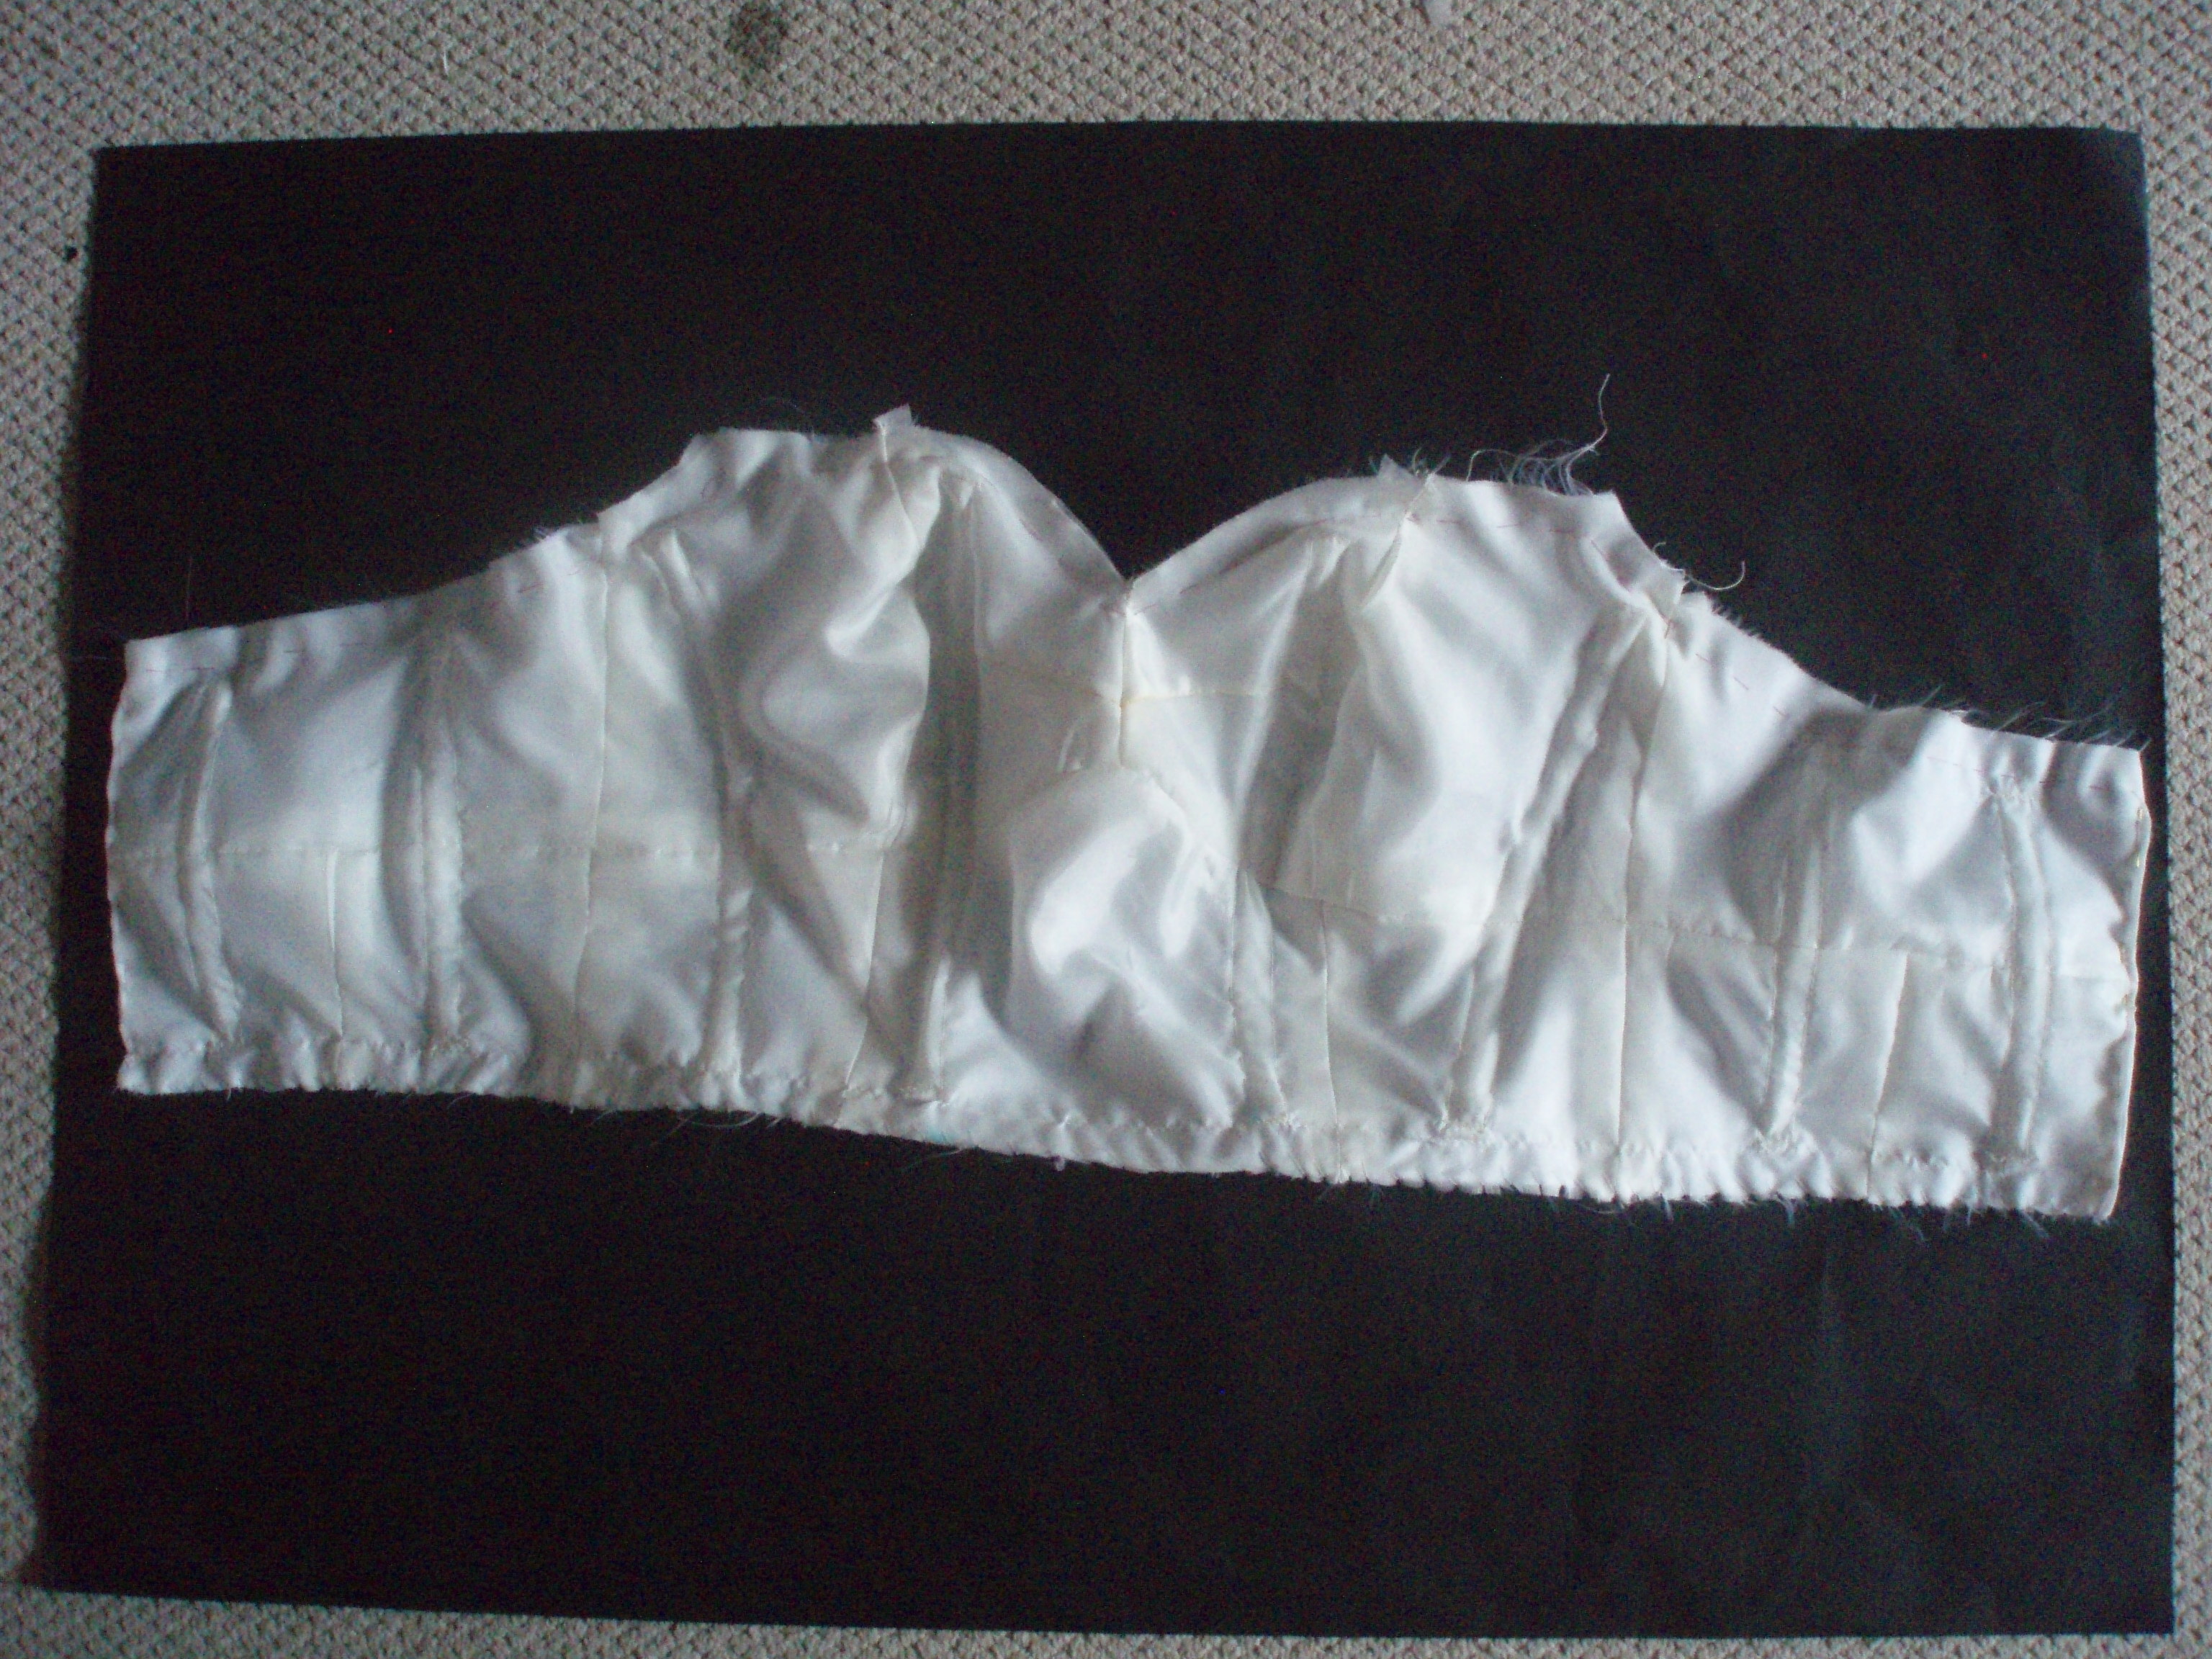
Having bought the all-important lace, the other fabrics needed to be purchased. Becky wanted some subtle pink tones in the dress and we had sourced some beautiful shell-pink tulle for the layers of the gathered skirt. The upper bodice and sleeves were to be constructed from the lace. The fabric to be layered under the lace in the main body of the dress was difficult to find. Becky wanted a soft subtle pinkish cream – the colour of a vintage luggage label – and when we hit on the correct shade, we bought the fabric, which was a soft cotton. The same shade was used for the under-layer of the bridesmaids’ dresses which helped to link them visually. To make the fabric work well as a bridal fabric, it was carefully bonded to some soft Vilene which can be seen in the photo below of the interior of the bodice. This underling only extended as far as mid-thigh, the point at which the tulle skirts would be attached.

The dress was a mixture of highly structured, fitted panels, and loose soft flowing layers. The photo below shows the ‘real dress’, with lace draped over the upper part, so I could work out exactly where the motifs would fall. The ‘mermaid tail’ part of the skirt had a layer of the tulle stitched onto it, so that even if the tulle layers ruffled up, a toning under-layer would be seen.

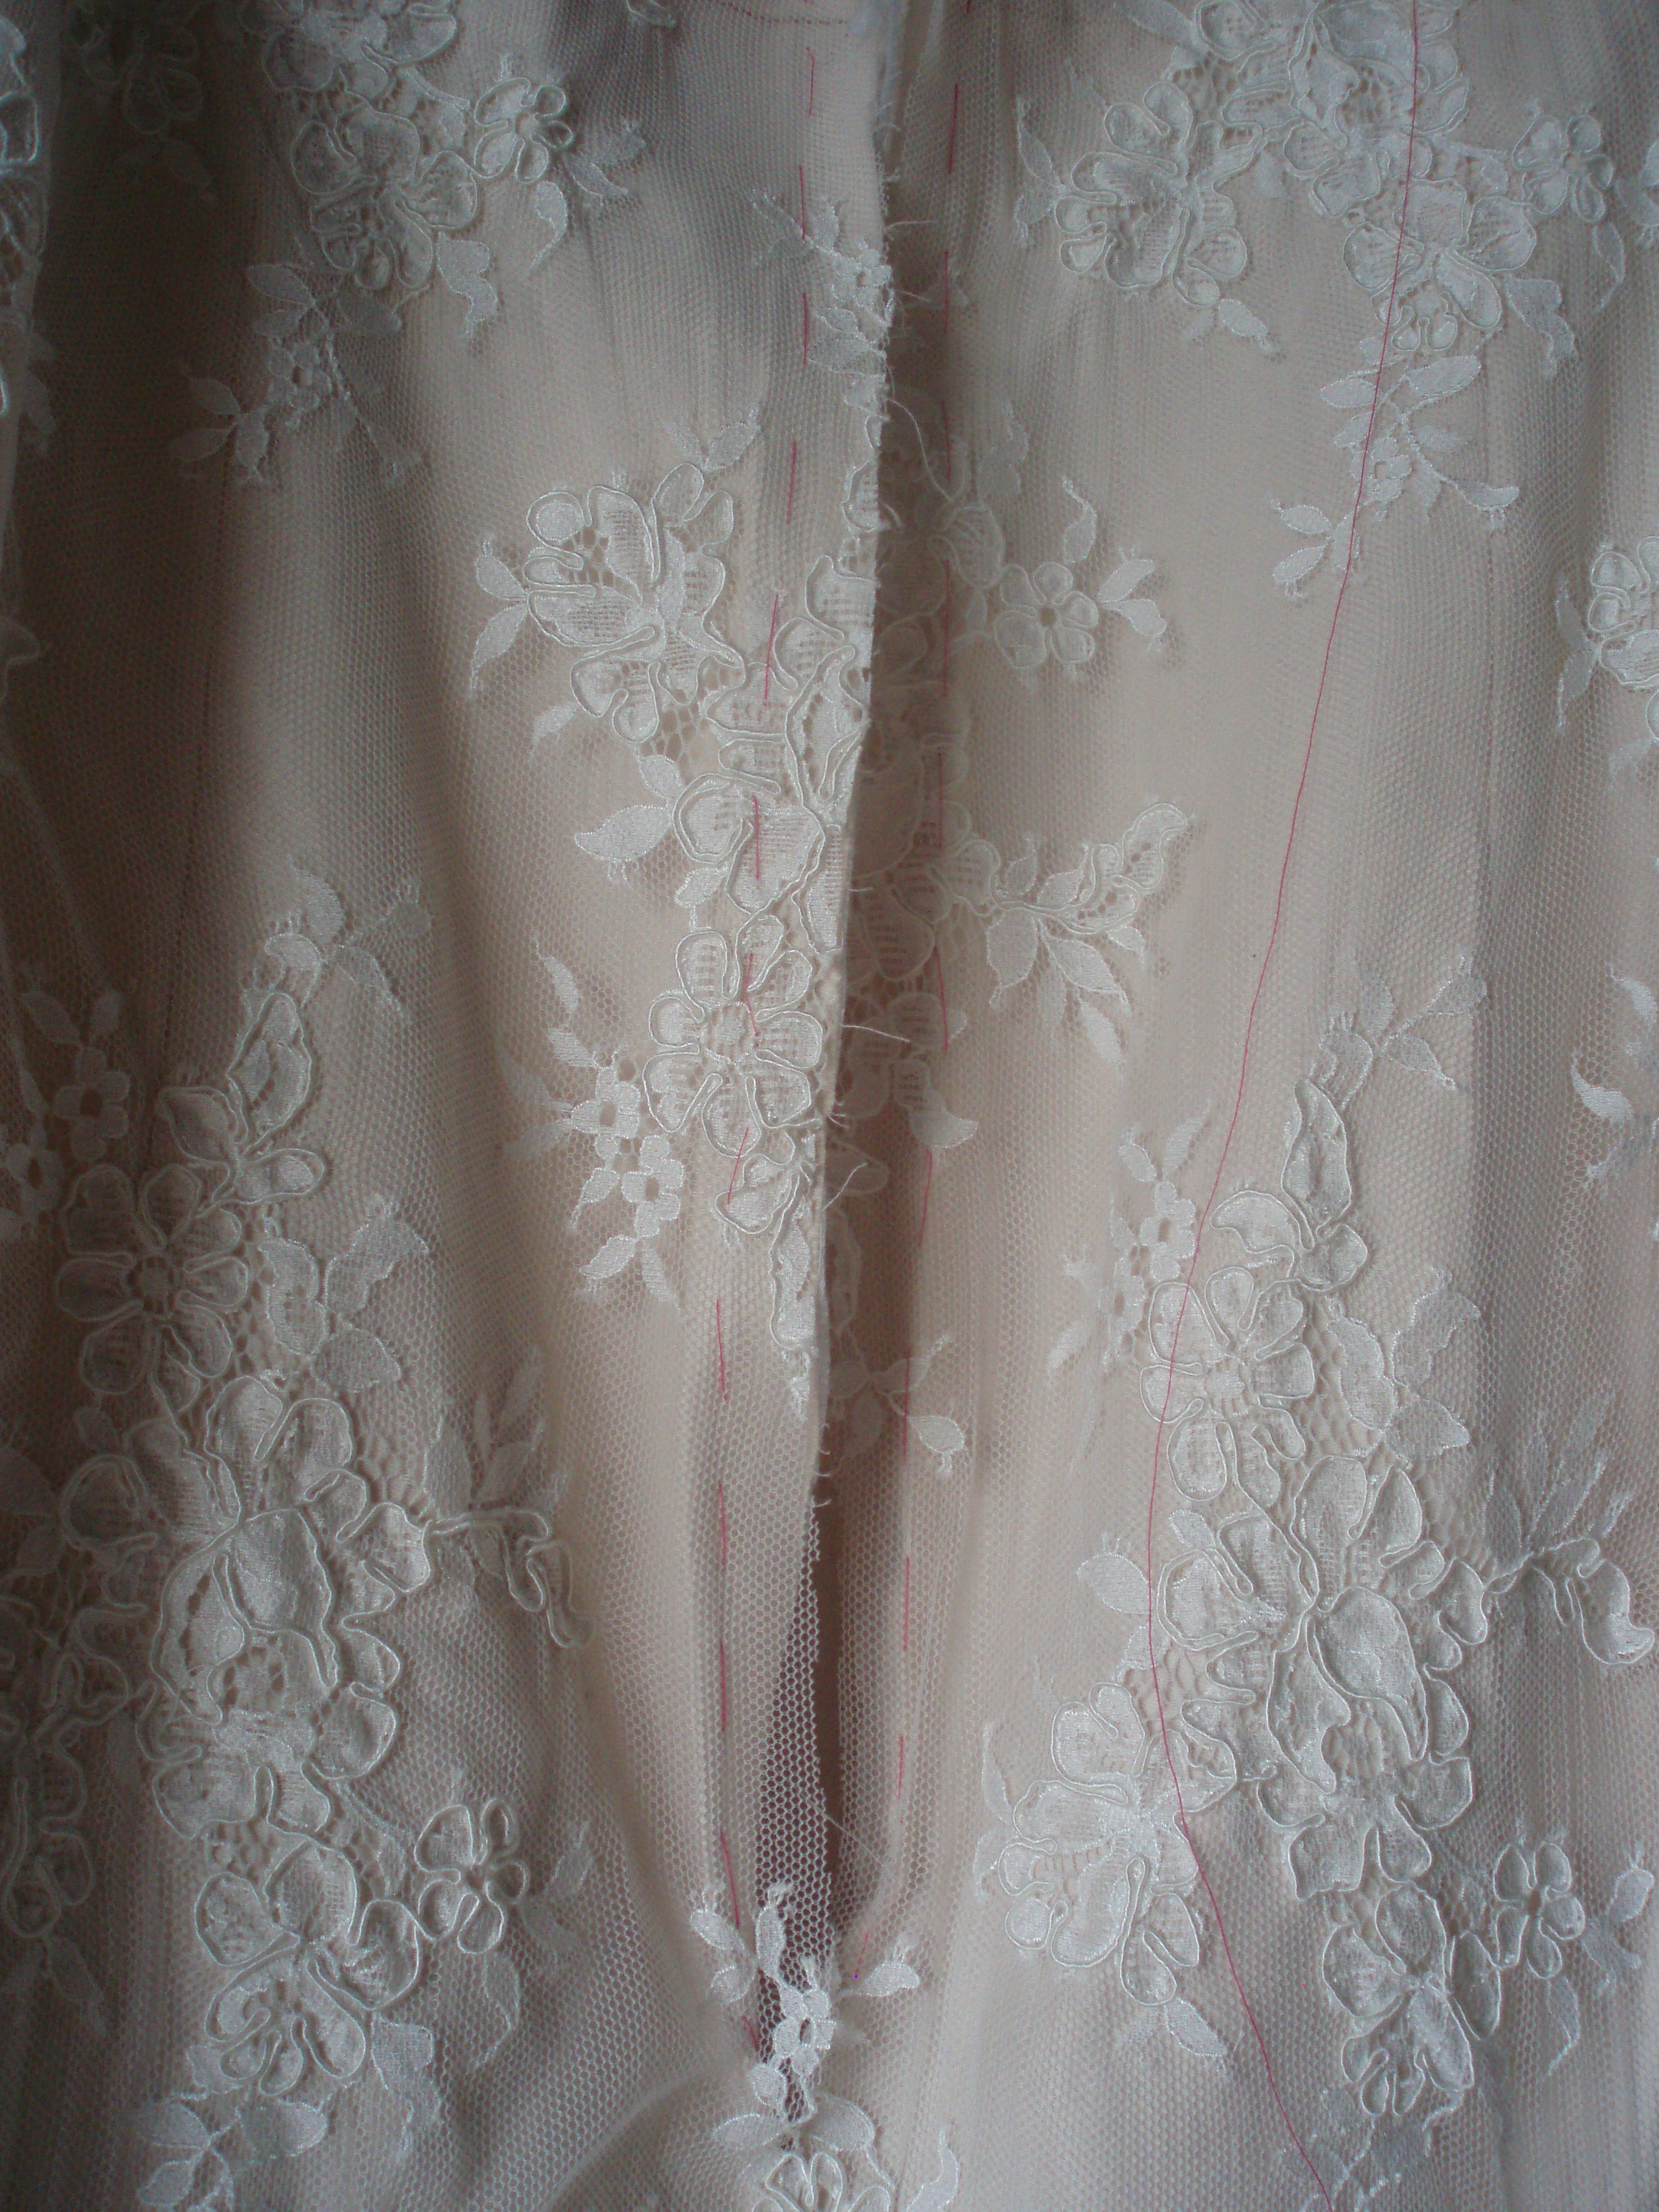
The lace was anchored to the base fabric, by stitching round each motif individually. The whole of the back was done when I realised it wasn’t quite even on each side and it all had to come off and be re-done! The zip could then be set into the centre back seam (see photo below).
Individual motifs from the lace were used in several different places. They needed to be cut out with sharp scissors and were then stitched on, for example at the point where the lace part of the dress and the tulle met.

All the work on the upper bodice (where lace motifs were stitched onto ‘nude tulle’) had to be completed before any work on the interior. Individual motifs were stitched around the ‘keyhole’ back, across the front of the neck and around the edge of the sleeves.
The tulle layers for the skirt were cut out in an oval shape with a circle cut out of the middle. (A little like a cross-section through a boiled egg!). This ensured that the skirt draped well. We started with four layers of tulle for the skirt and finally ended up with eight layers altogether. They were stitched by hand onto the dress and then the lace on the main body of the dress overlapped it and additional motifs were added to ensure the join was covered. The decision was made to set the lace into the side seams of the main dress; this would enable all the work on the dress to take place and yet still allow any final size alterations to happen just prior to the wedding.
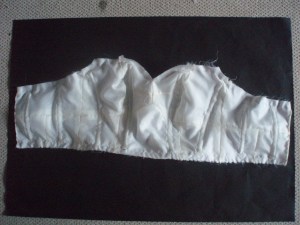
The dress was supported by a boned bodice (shown below)
A full underskirt was made. Both of these were added – very carefully! – AFTER completion of the upper bodice and sleeves.


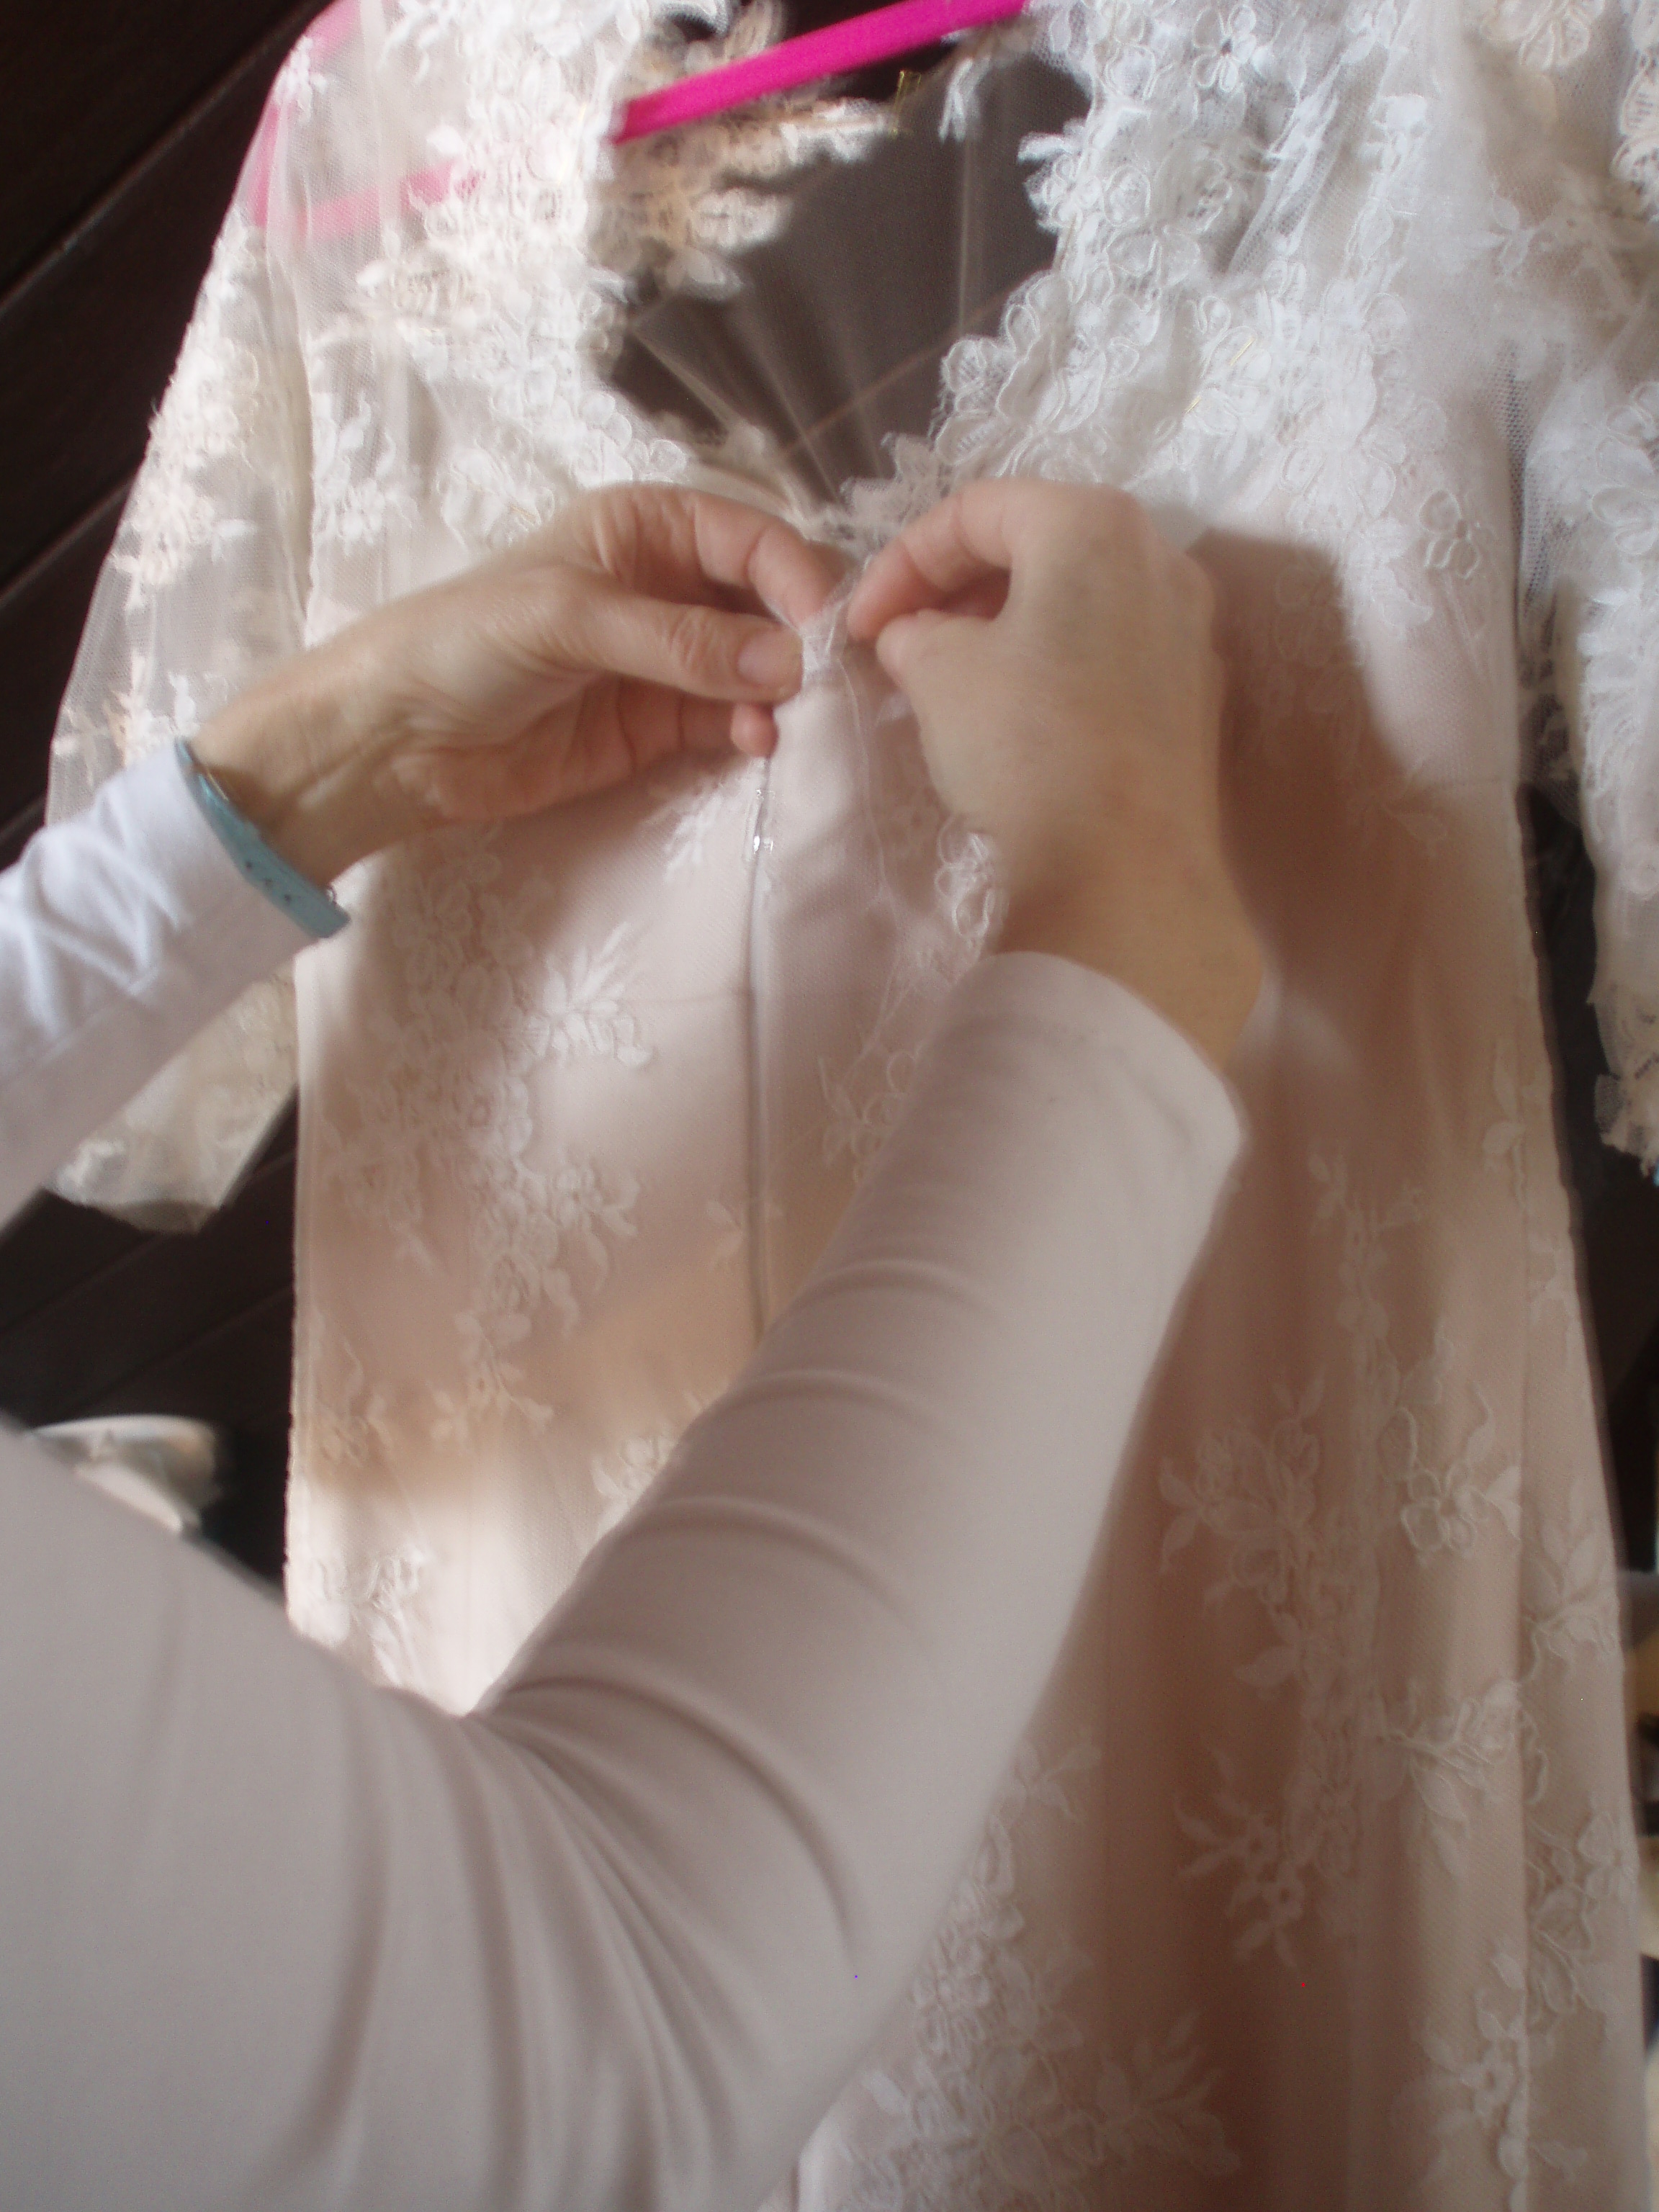
The photo above shows the penultimate fitting. At this point the dress was made, but Becky wanted to add some 3D leaf effects on the shoulder (in the picture they can be seen pinned on). The length was checked and we decided to add lace motifs on the net section of the dress. These motifs were dyed a soft pink, so the dress would grow ‘pinker’ as the dress reached the ground. The photo below shows a motif (set in an embroidery ring) being stitched onto the top layer of tulle in the gathered skirt.
At the final fitting, the dress was taken in to fit. This involved taking in the side seams of the main dress, the side seams of the lining and making alterations to the boned bodice. Then a final check on the length and the hem was finished.
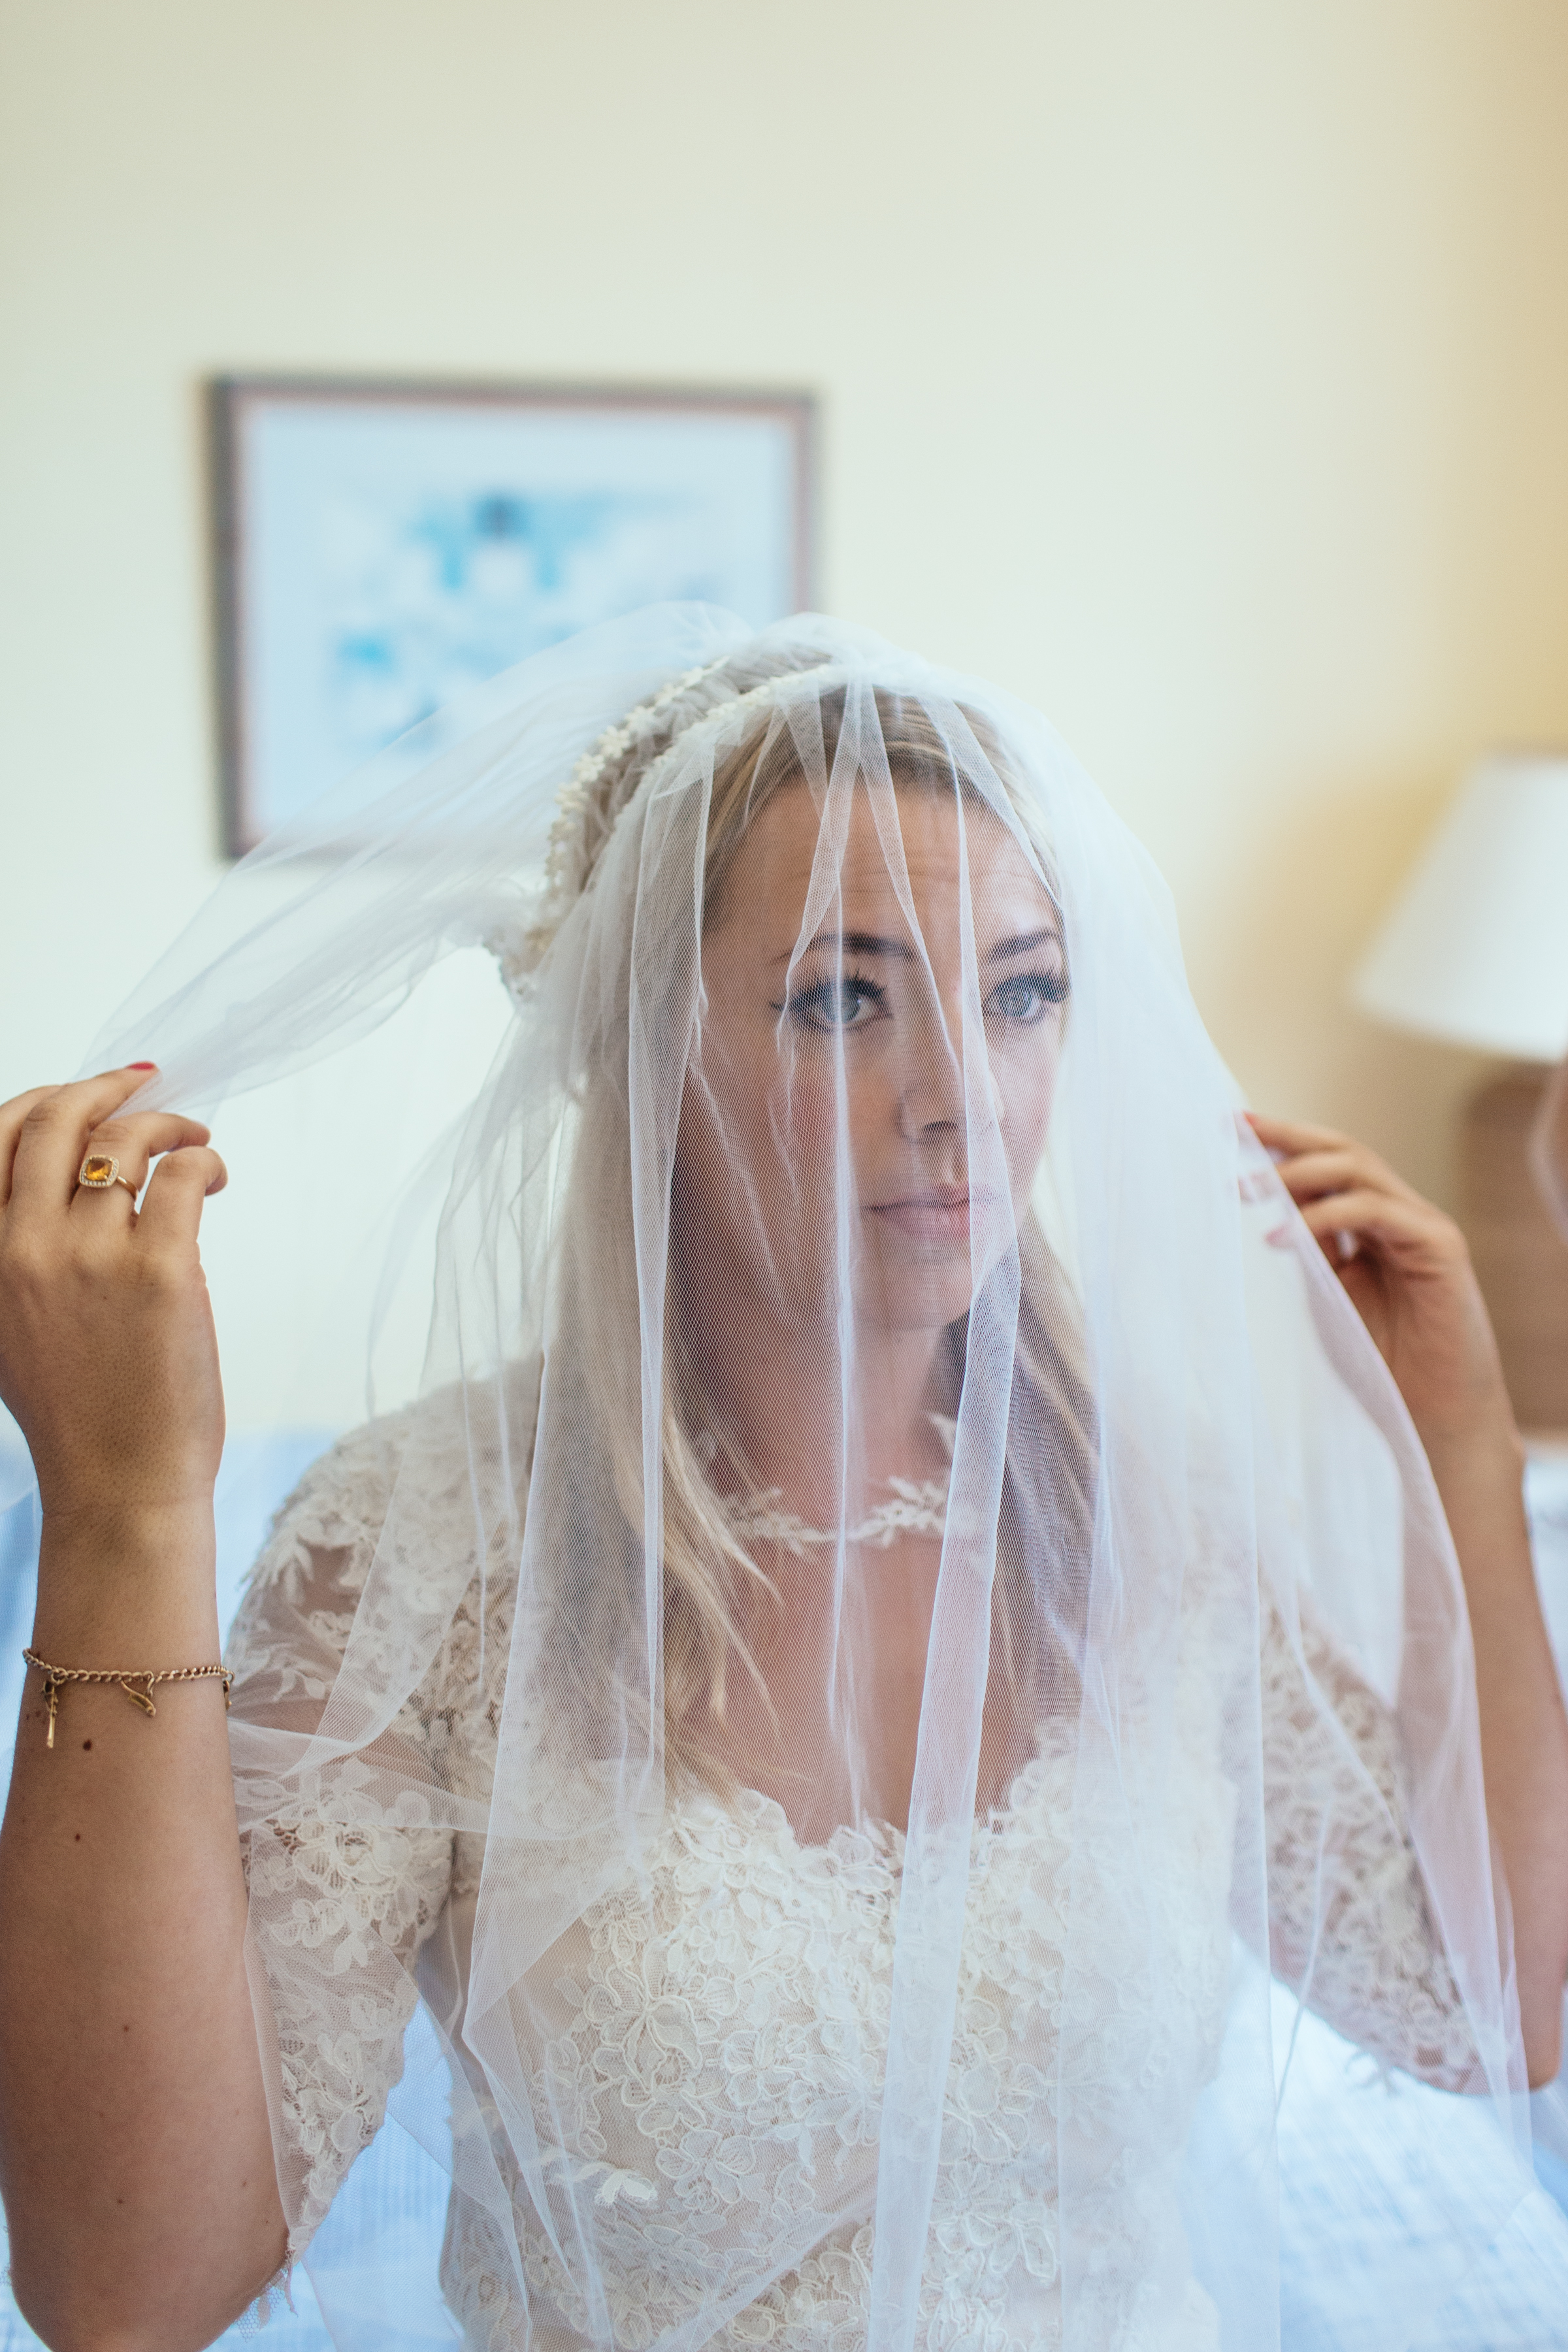
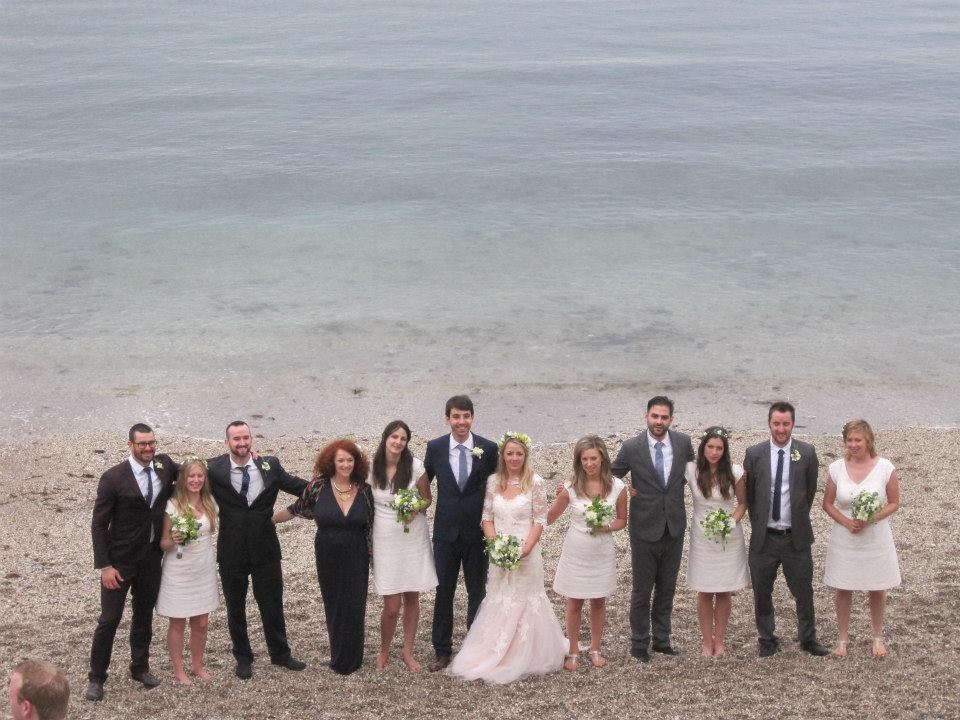
And here is the dress on the day…
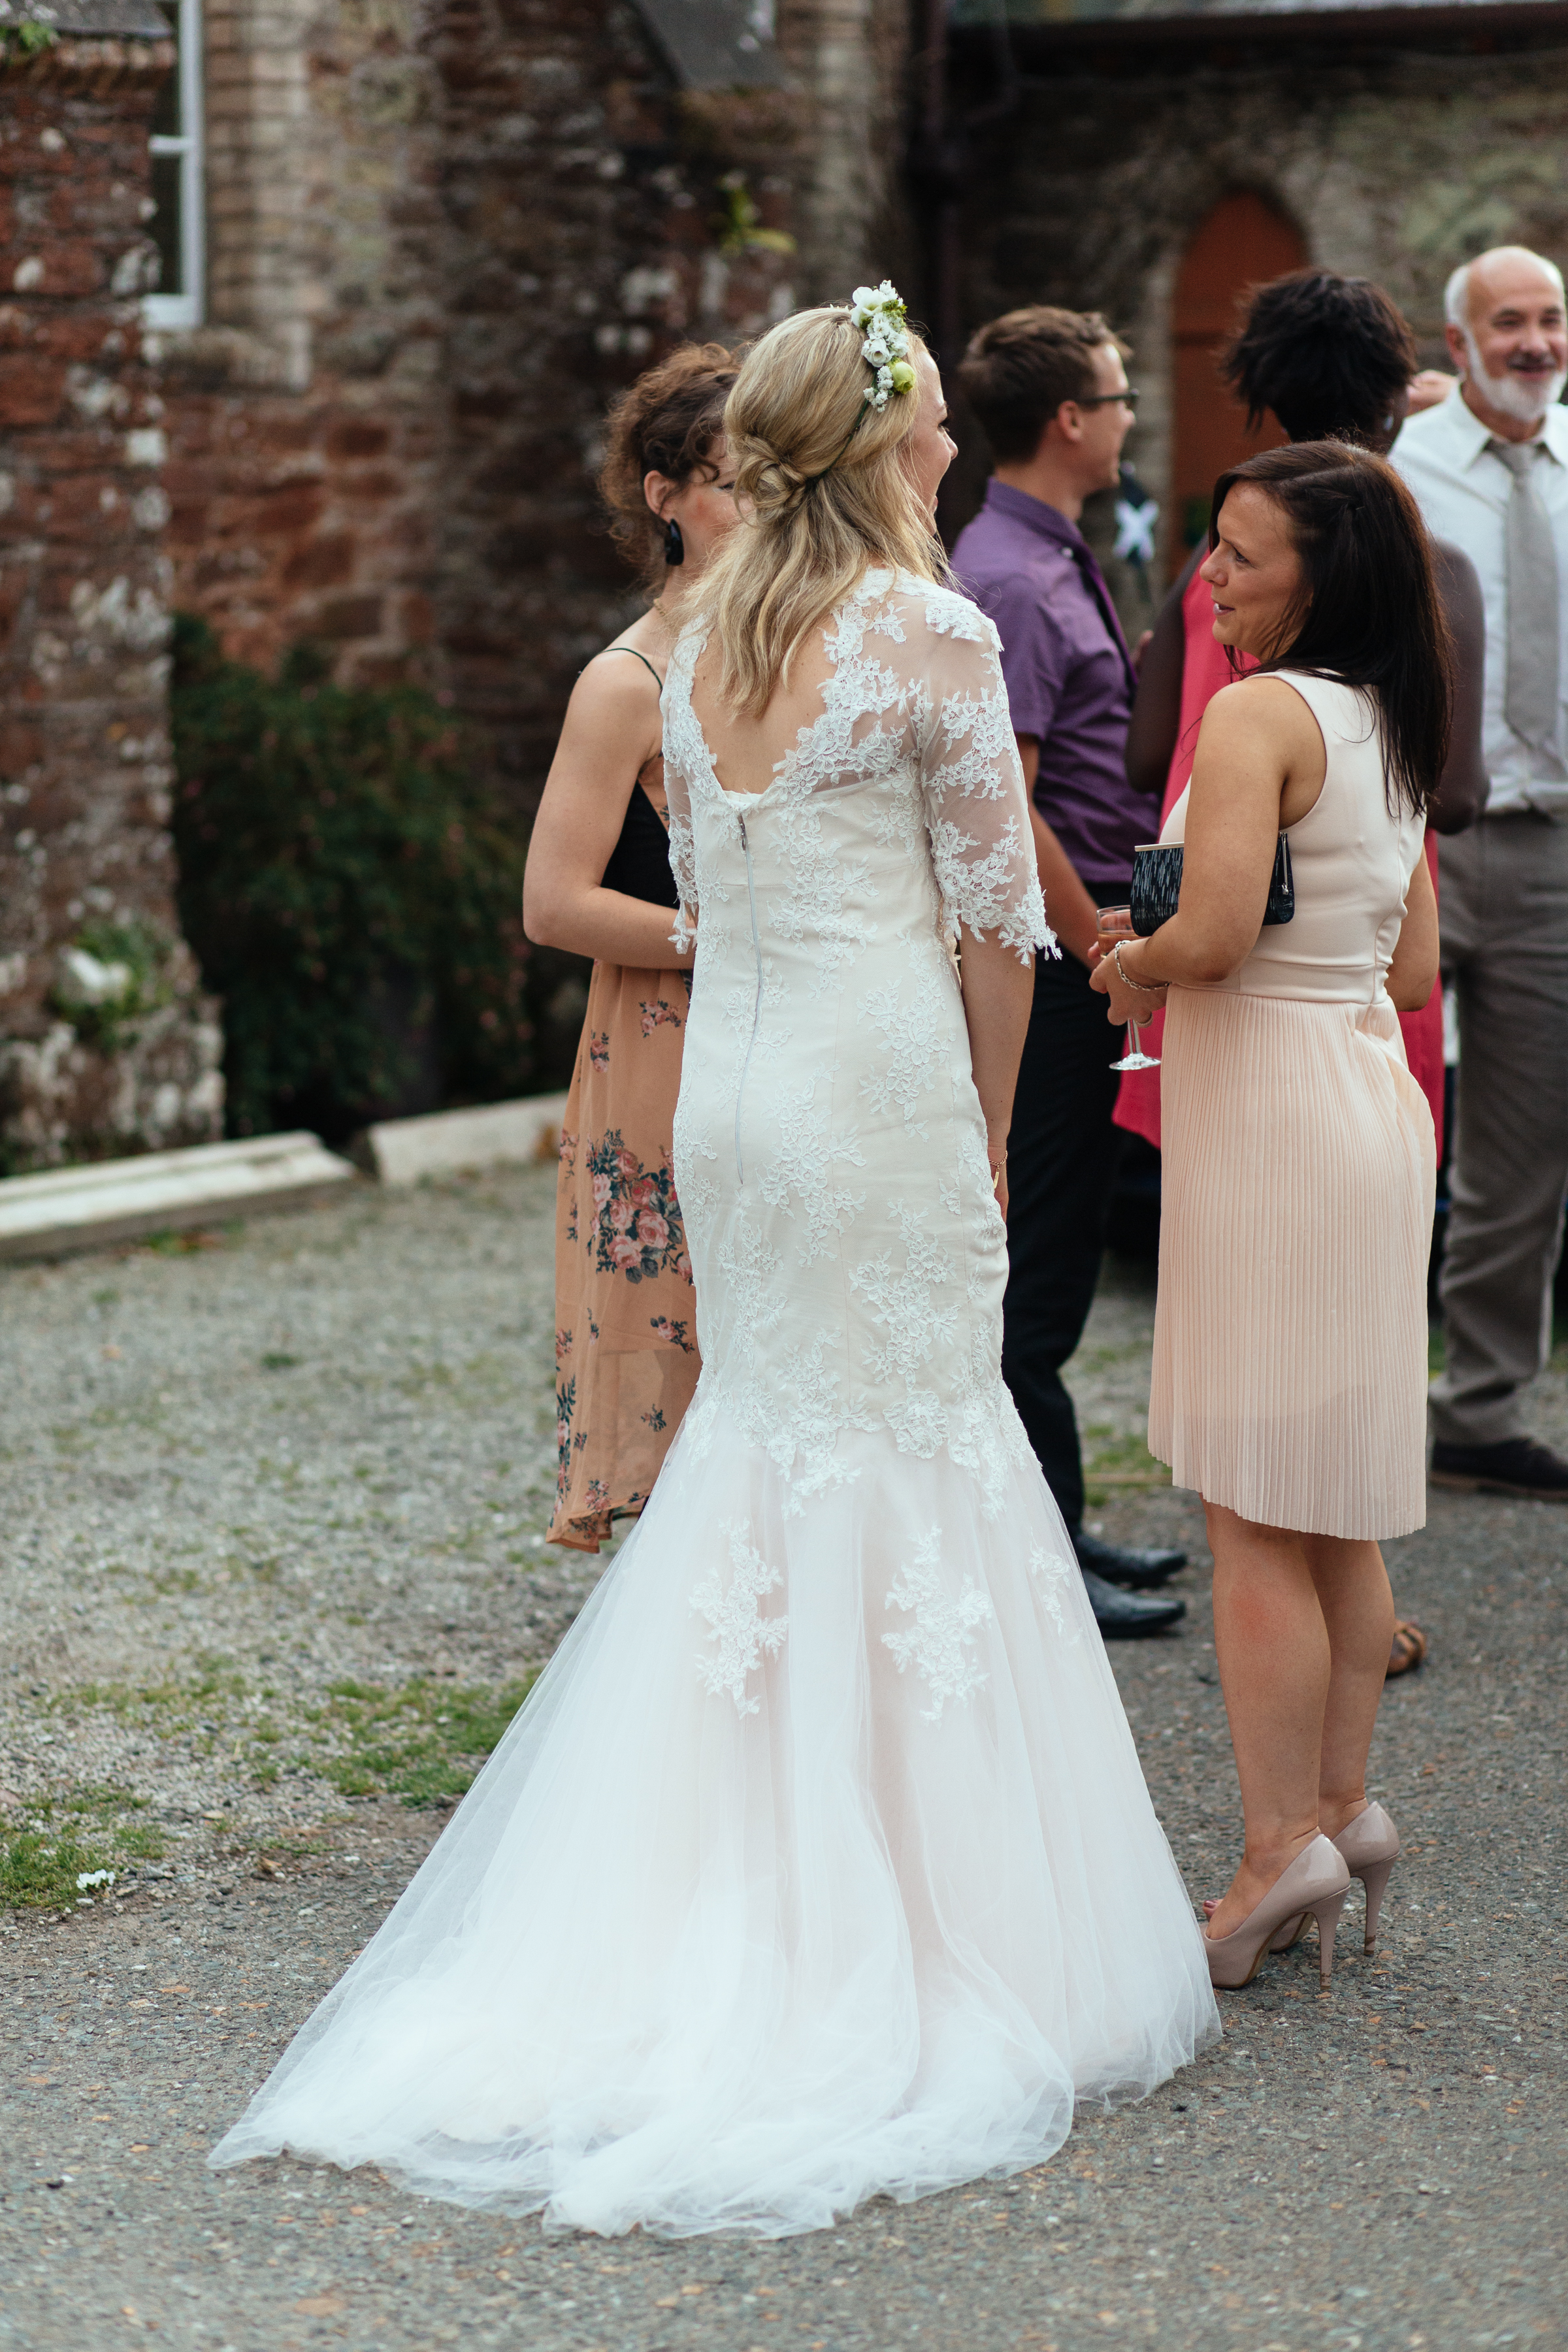
Last two images: Copyright Sarah Falugo (www.sarahfalugo.com)
In addition, there were five bridesmaids’ dresses – these were adapted from a commercial pattern and were each made to measure.
Thank you for visiting the website. Quilt patterns are here, Fabrics are here, Classes are here and quilts for sale here
Click the ‘Follow’ button to get a blog-post by email each Monday and click here if you would like the monthly newsletter with design and colour inspiration, etc.

What a wonderful story and what a stunning dress. great to remember such a special day a year ago.
LikeLike