
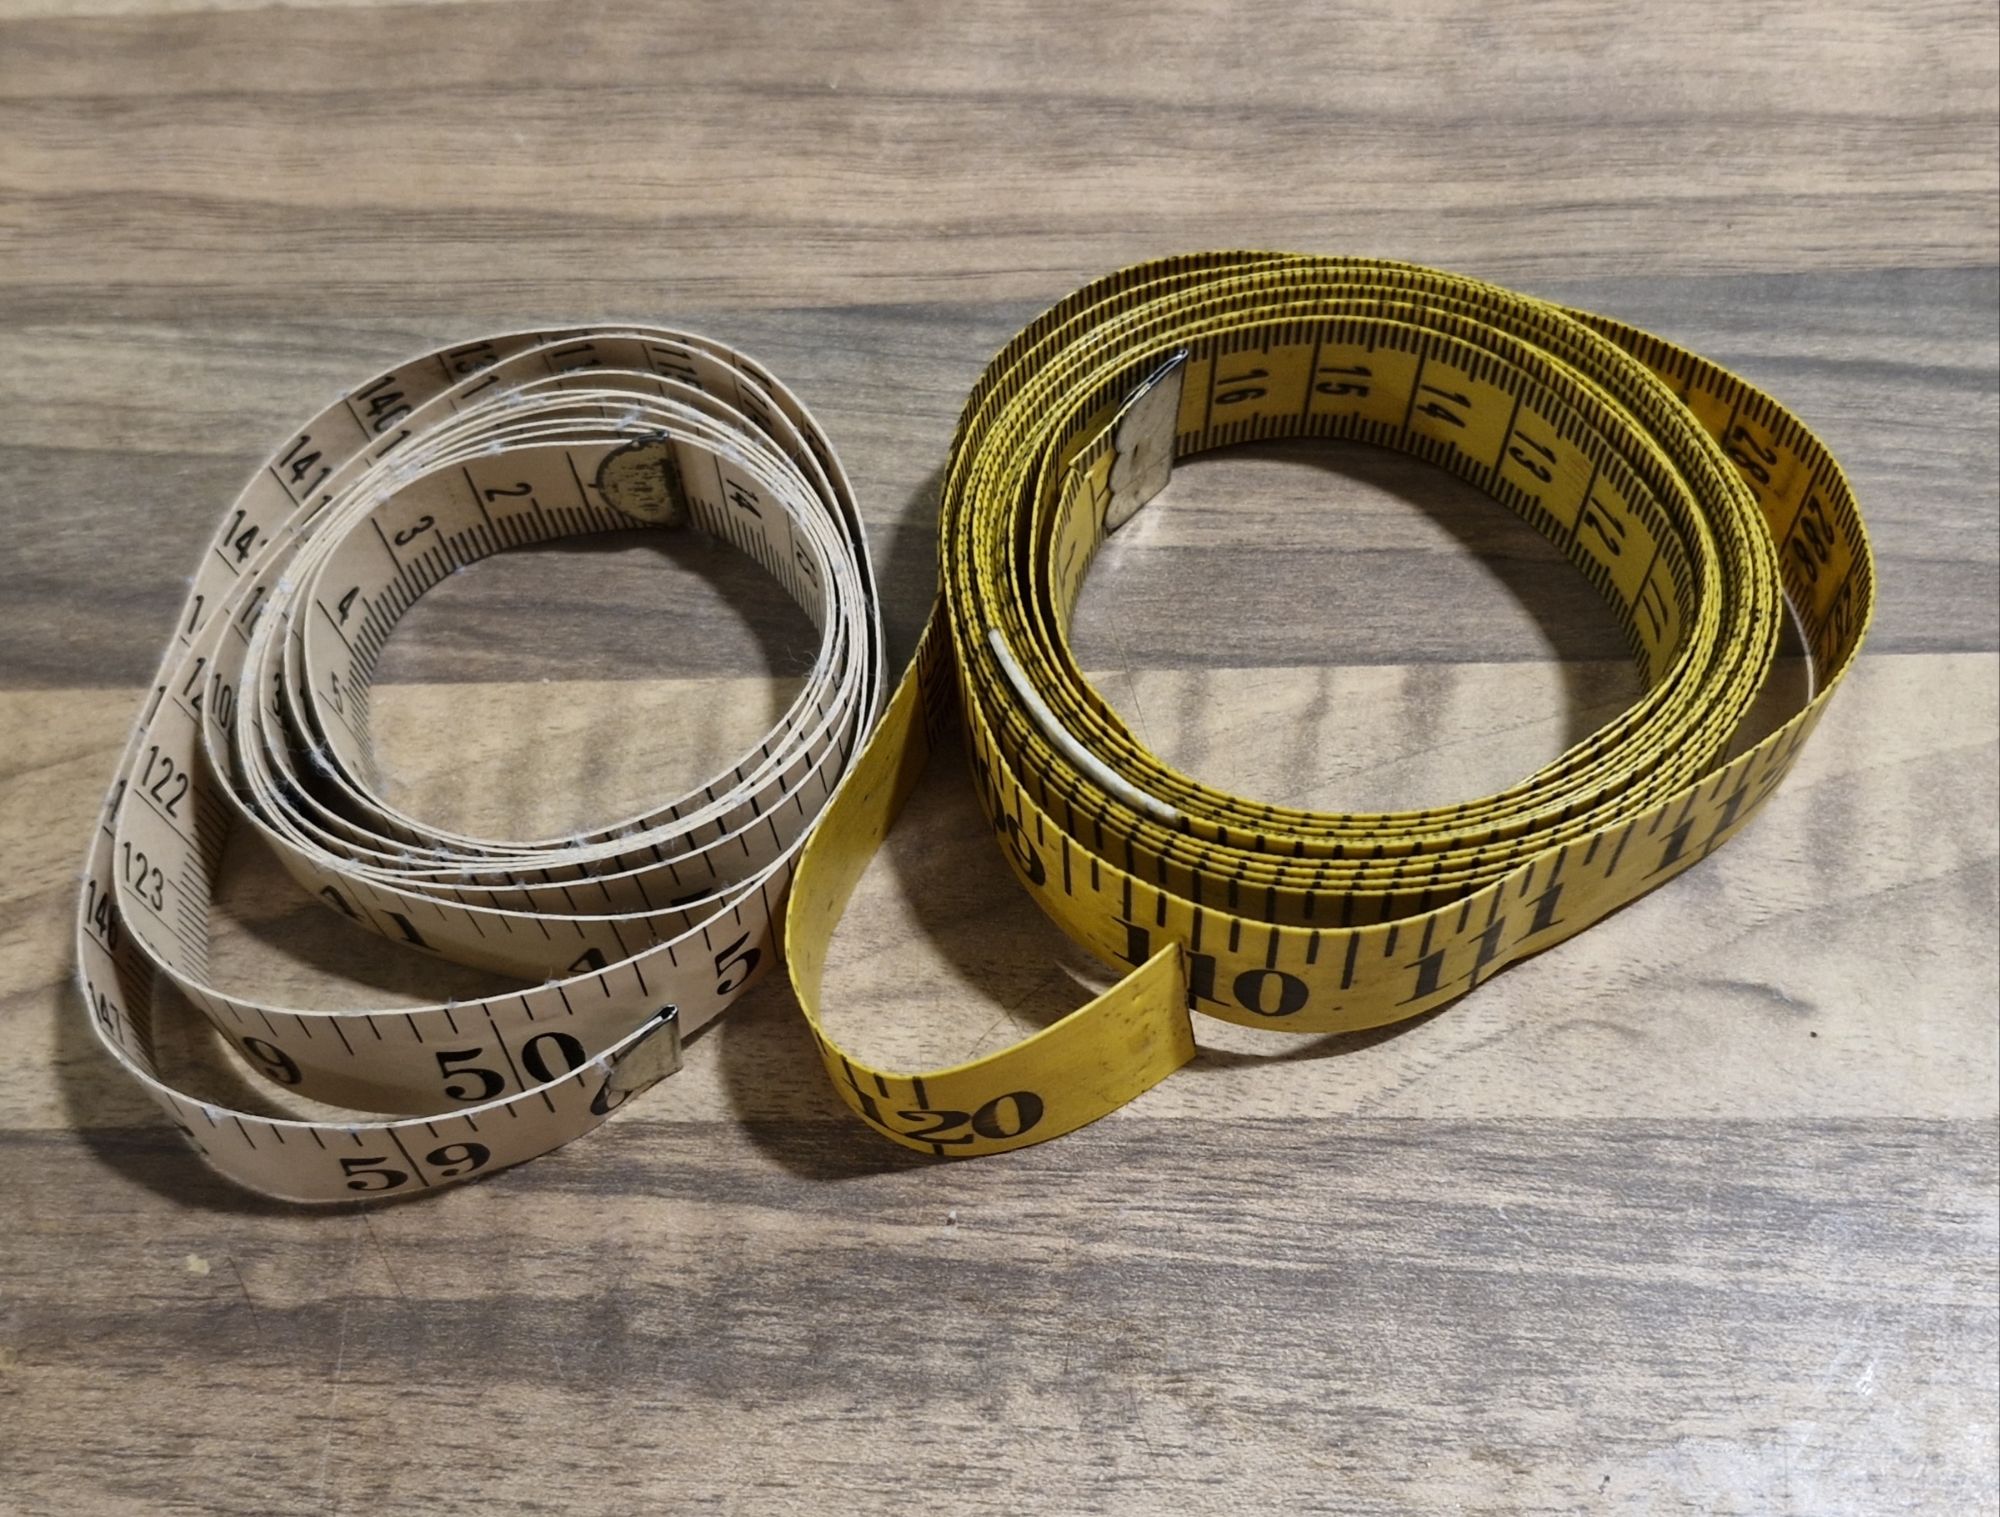
Today’s post is all about the tools I have in my studio for measuring, mostly measuring fabric. I’ll start straight in with a tape measure, traditional tool of tailors and dressmakers. Pictured below are the ones I use: a 60″ tape on the left and a 120″ tape on the right. They are both make from sturdy plastic (so they won’t stretch) and metal at the ends (well, except the yellow one which has escaped somehow…). The 120″ one is really useful for tasks like accurately measuring fabric for a quilt back or measuring across the top, middle and bottom of a finished quilt. I actually have two 120″ ones which allows me to check the length and width measurements of a finished quilt at the same time. They are kept loosely coiled (I wrap them around my hand before putting them away) as I don’t want to create tight curls in the tape.
Next up is my metre ruler. I use this for measuring large pieces of fabric, for helping me cut off the correct size of wadding from the 15 metre roll I usually buy (I measure first and then lay the ruler horizontally to give me a cutting line.

I don’t use the metal ruler with a rotary cutter – all cutting is done with quilters’ rulers. I have already written a guide on how to choose your quilters’ ruler in the post here, so for this post I’m just going to share some shapes and sizes I have found useful. For example, this 6 x 24″ ruler by Omnigrid is a really good size to use when you are squaring off a finished quilt top.

In combination with the 6 x 24″ ruler, a 12½ square ruler, by Olfa, placed in the corner of the quilt, in combination with the longer ruler above, will help you square off your quilt accurately.

I have recently been experimenting with making a miniature quilt and for that I have been very pleased to have a 6 x ½” ruler, by Sew Easy:

This has enabled me to cut and stitch some very tiny blocks, shown here against a ruler by Creative Grids :

I’m working on a big quilt at the moment, made up of nine 24 x 24″ (finished) blocks. Each block requires a number of half-rectangle units (literally, half-oblongs). This little specialist ruler (given as a free gift with a quilting magazine) helpfully indicates where to chop of the pointed acute angle of each triangle in a way that makes it much easier to join the two triangles together. I recommend it!

The above quilt (which I’ll tell you more about when I am further on with the project) also needs 2½” squares, lots of them. This little 2½ x 2½” ruler (bought second-hand at a table-top sale) has been so handy. I can cut a 2½” wide strip with a longer ruler and then whizz along with this little ruler to get my squares.

Finally, I keep this ruler in my studio and use it whenever I can. It seems to have been made in 1912. Eighteen inches is a useful length for drawing straight lines in various contexts and I love the idea of using a tool that someone before me has used. There is a beautiful patina on the wood and it’s a pleasure to hold.

Did I forget anything? Do you have any favourite measuring tools?
Thank you for reading my blog. Quilt Patterns are here, Fabrics are here, Classes are here
Click the ‘Follow’ button to get a blog-post by email each Monday and click here if you would like the monthly newsletter with design and colour inspiration, etc.
This appliqued quilted table-runner is proving popular in my Etsy shop at the moment. It was designed for Canadian and American Thanksgiving but it’s good to be thankful at any time, so perhaps it can be used more widely! Get the pattern here

