
We are right in the middle of September (as it’s the 15th today) so it seems like a good time to mention Second Hand September 2025. This is an initiative from Oxfam to encourage us all to live more sustainably by actively choosing to buy clothes second-hand. You can find out more about the challenge – and why Oxfam considers it so important here
In 2023, I rose to the challenge in a big way: you can read about that here.
For this year, I’m going to show you how you can alter a second-hand dress or skirt, to make it a bit longer if need be. I’m quite tall, so when I found a nice cotton dress in a charity shop recently, i bought it even though it was slightly too short for me. The method below works when the item has a reasonably deep hem.
1 You need to measure your hem all the way round and add a couple of inches extra. That’s the length of bias binding tape you need to buy. I suggest a tape-width of seven-eighths of an inch or one inch..
2 You may like to also buy some half-inch wide bias binding (the same length as in step 1) to cover the marks left by the old hem (see further below).
3 Unpick the existing hem and press the edge of the skirt. Make sure you pull out all the small threads like the ones in the centre of the photo below.

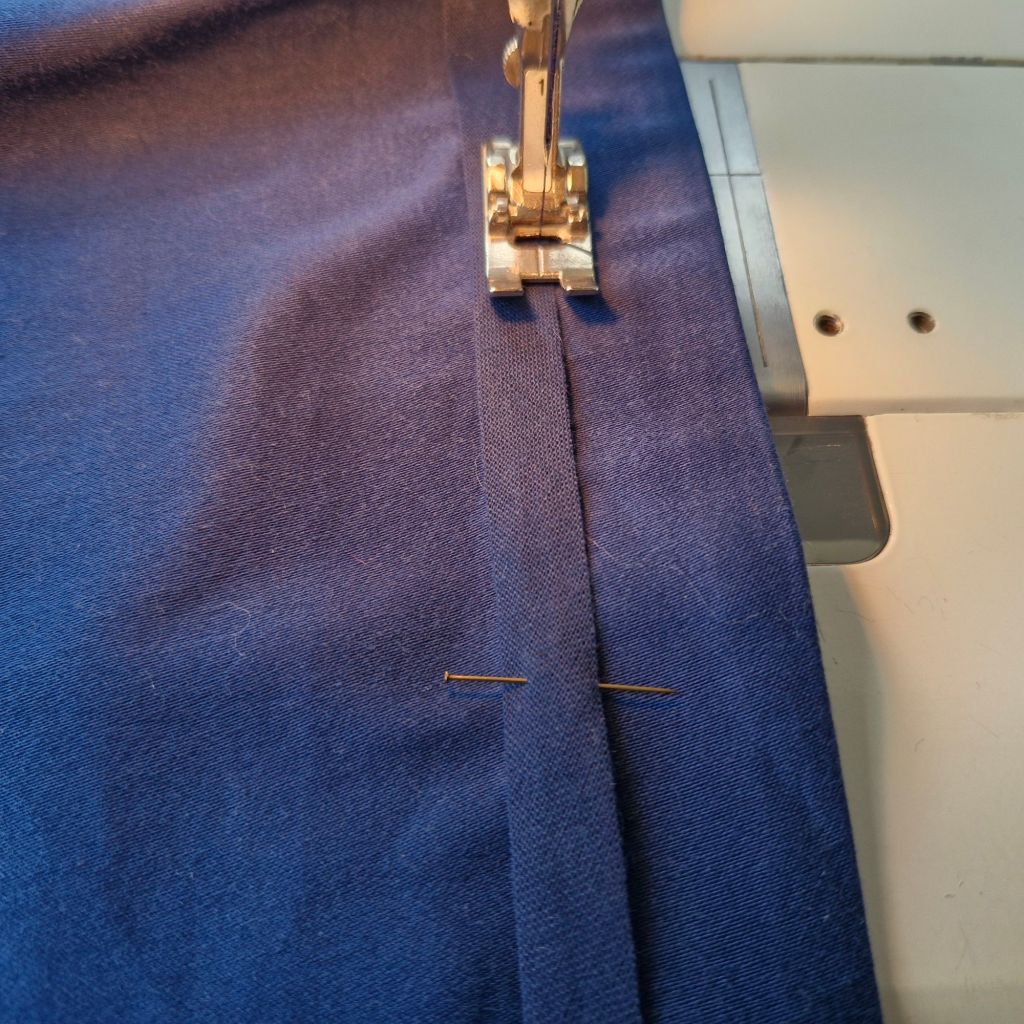
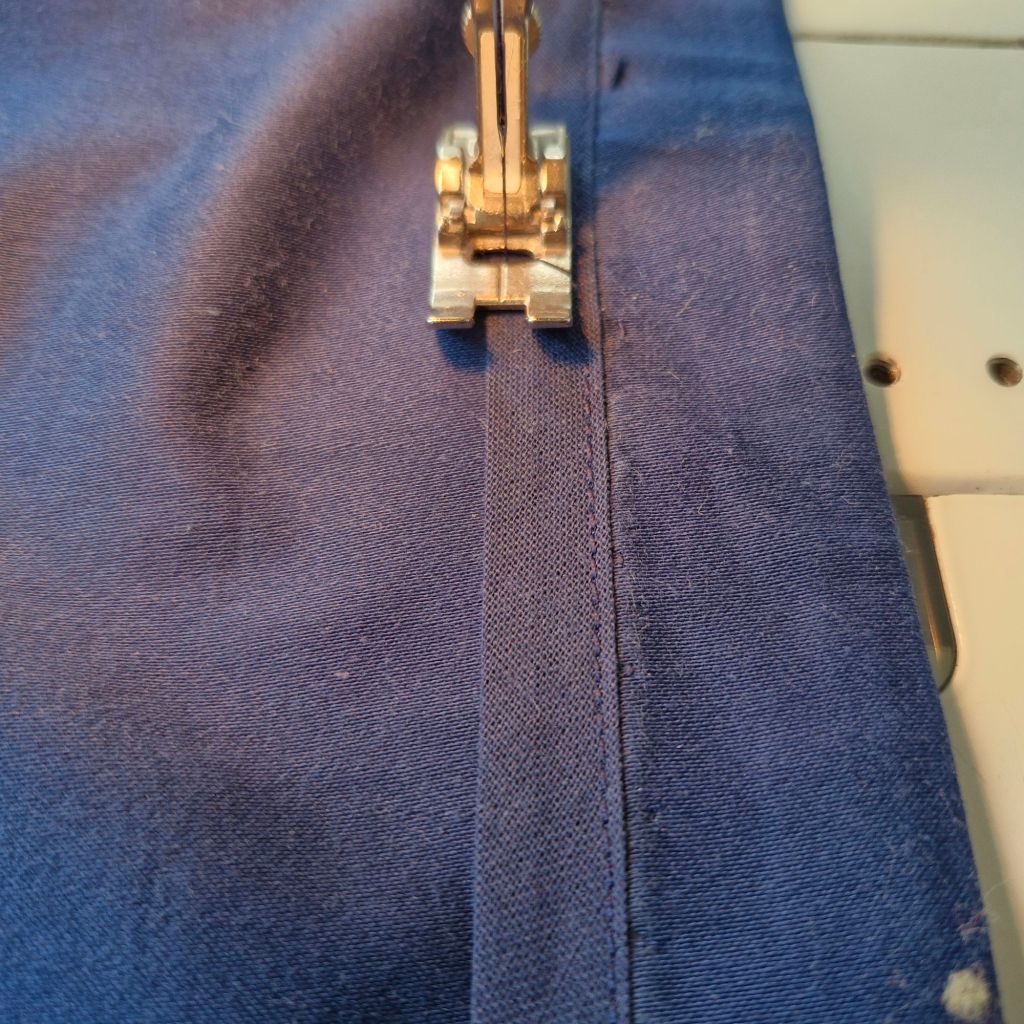
3 Open up the bias binding, which will have both long edges pressed in towards the wrong side. Open up the top edge and place the binding right side together with the right side of the garment. At the beginning, fold in the short edge to create a neat join (you can see how this looks in *step 5 below). Stitch along the top crease of the binding on the sewing machine, all the way round the hem. When you get back to the beginning again, make sure that the end of the bias binding goes in neatly behind the short folded edge you made at the beginning.
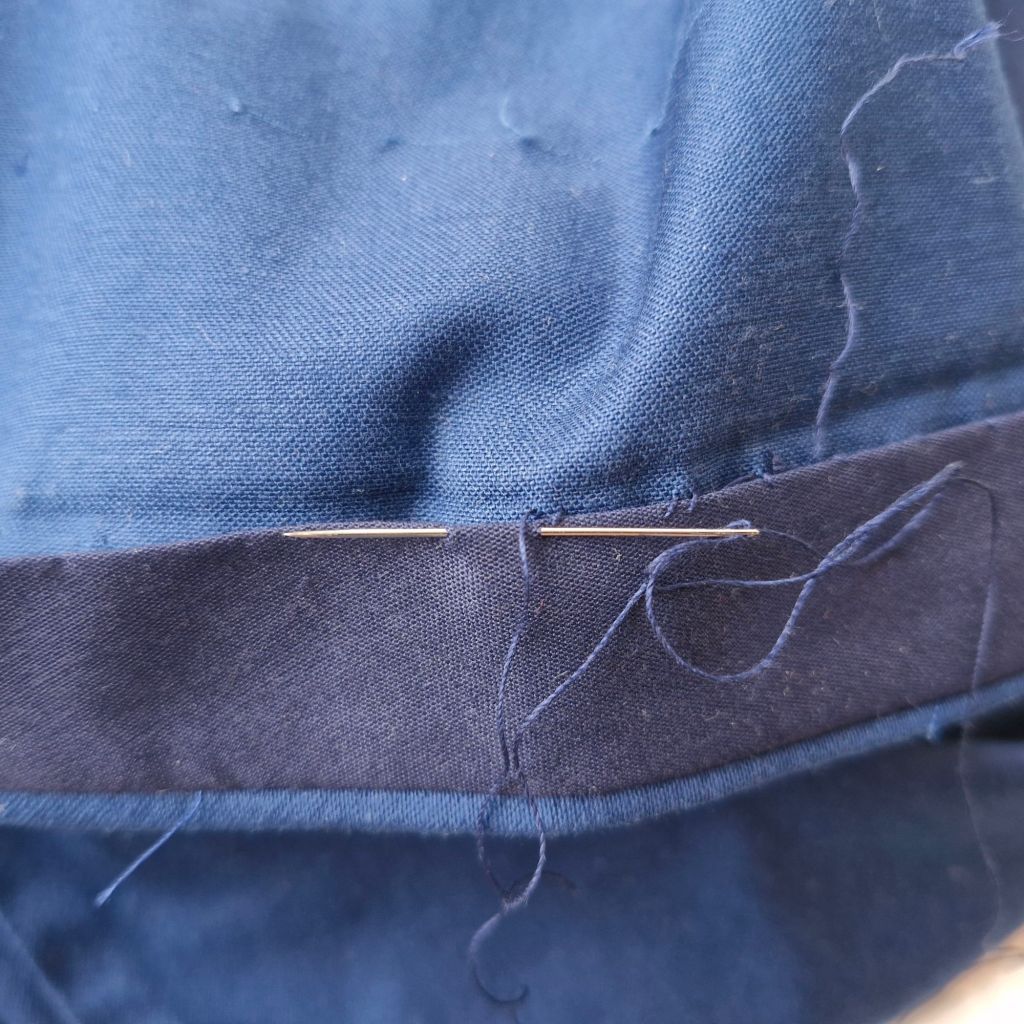
4 Fold the bias binding to the wrong side of the dress and press. Then with the other narrow folded edge of the binding tucked in, attach the binding to the dress with a hemming stitch. First take a tiny stitch into the fabric, just catching a couple of threads…

…then run your needle through the top fold of the bias binding (see photo below). Repeat these two steps all the way round.
5 *Here you can see how the end of the binding strip has tucked in neatly under the fold at the beginning,

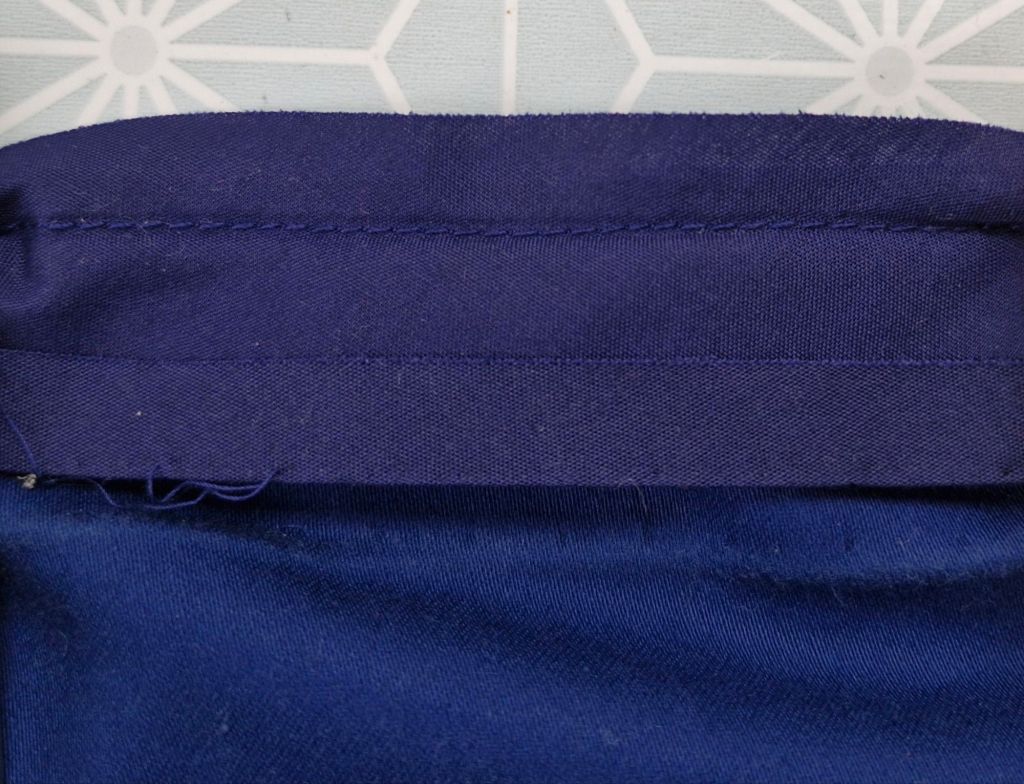
6 If the dress has been worn, it is possible that the original hem may have worn or faded as seen here.

7 This is where the second piece of bias binding comes in. Starting at a side seam, or at the back seam, lay the binding on top of the old hem. measuring carefully from the bottom of the new hem. to make sure the binding goes on straight. Pin the binding in place, remembering to tuck in the short edge at the beginning as you did before.
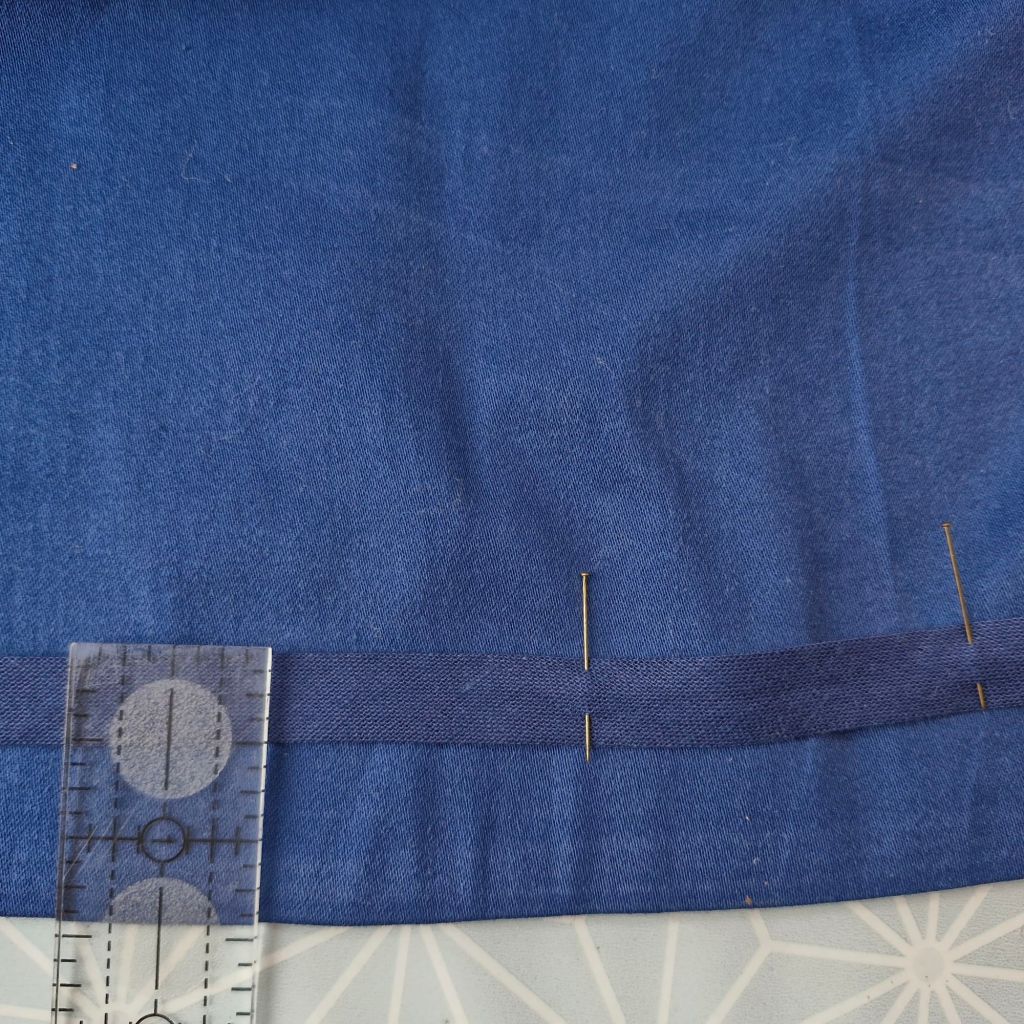
8 Top-stitch along the bottom of the binding, taking the pins out as you go.
9 Then top-stitch along the top of the bias binding.
10 Top-stitch at the point where the end to the tape is tucked behind the beginning, to ensure that it lies flat.

That’s it. So please consider buying a dress second-hand, even if the length is wrong! As Oxfam says:
Every time you choose second hand – whether that’s buying a vintage tee or donating what you don’t wear any more – you’re making a statement. You’re dressing for the world you want.
Oxfam – second-hand september 2025
Thank you for reading my blog. Quilt Patterns are here, Fabrics are here, Classes are here
There’s a great monthly newsletter full of design and colour inspiration, plus textile news of all kinds – click here if you would like to get it.
Click the ‘Follow’ button to get a blog-post by email each Monday.
I have great quilt pattern to use with pre-loved shirts! It’s here

