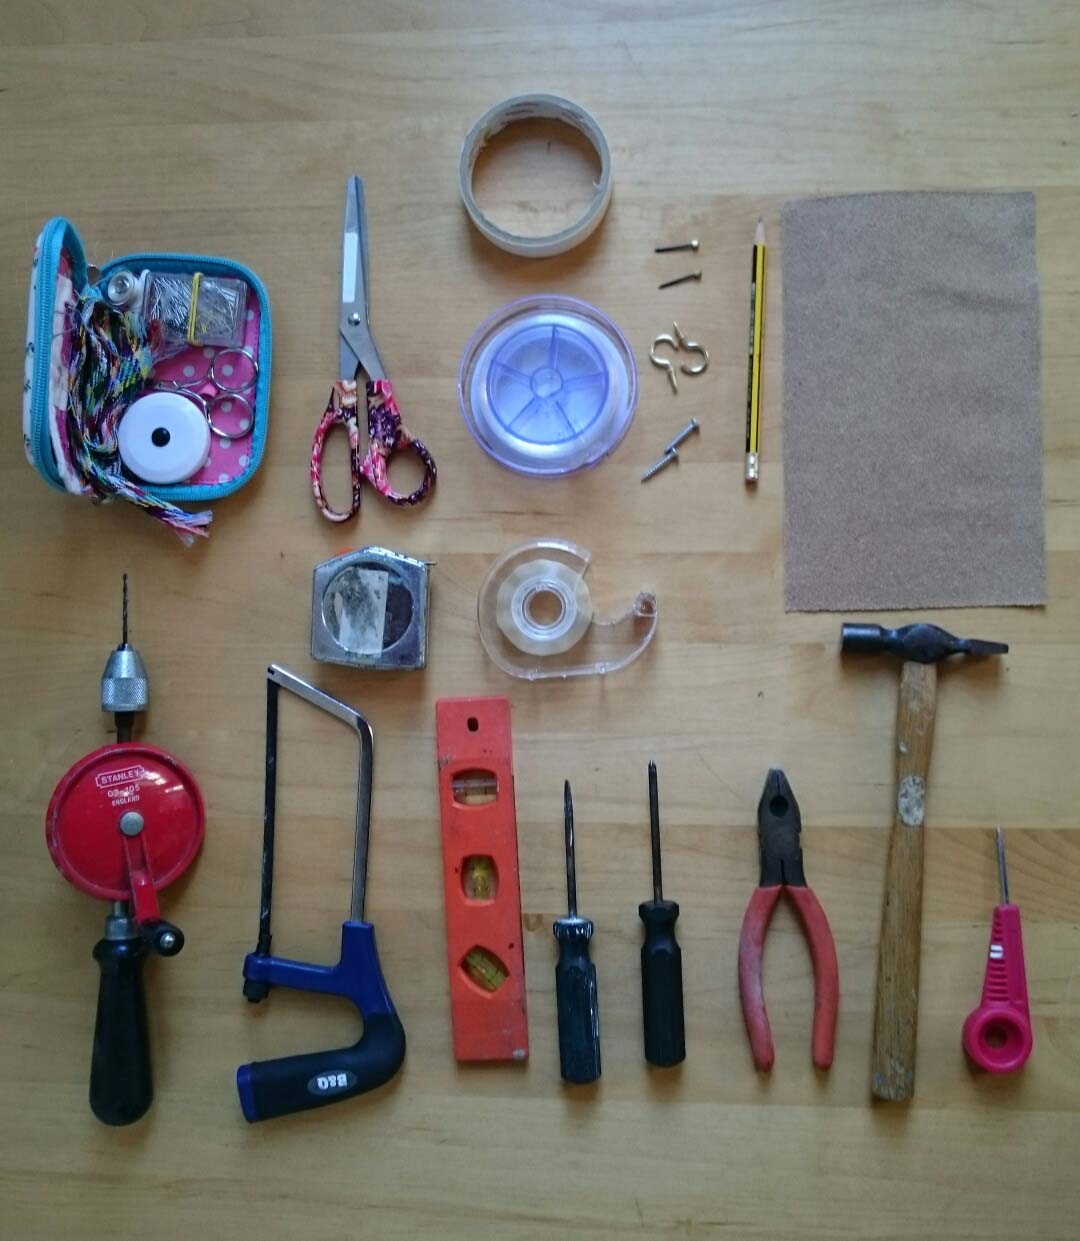
Here’s the kit I used to put up the recent exhibition:
- small hammer (a lightweight one is good)
- picture pins (these are strengthened, so won’t bend when hammered in)
- pliers (to take out pins)
- two screwdrivers (regular and cross-head)
- screws (fine screws, not too long, can be either regular or cross-head)
- bradawl (to help make a hole)
- small cup-hooks
- map pins (good quality ones, that won’t break, easier to take out than drawing pins)
- spirit level (to check each piece is hanging straight)
- steel tape measure to check the distance between pieces, etc
- fishing line (the strongest you can get)
- sandpaper
- masking tape
- sticky tape
- junior hacksaw
- hand drill
- scissors
- small sewing kit
Here’s how to make a sleeve to hang up textile pieces:
- A ‘sleeve’ is a tube of cloth, which is stitched to the back of the piece.
- To make a sleeve, you need to cut a strip of fabric. The length of the strip is the same as the width of your textile, less a few centimetres. The width of the strip should be enough to go round a batten (see below), plus enough for the seam.
- Neaten the two ends of the strip on the sewing machine.
- On an ironing board, fold the two long sides in to the middle and press.
- With the wrong sides together, machine stitch a seam along the length.
- Stitch the tube to the back of the quilt with neat hand stitches. The long seam should lie against the back of the quilt and the raw edges will be hidden. Stitch along the two ironed folds: the tube should form a slight D-shape, to allow for the insertion of a batten.
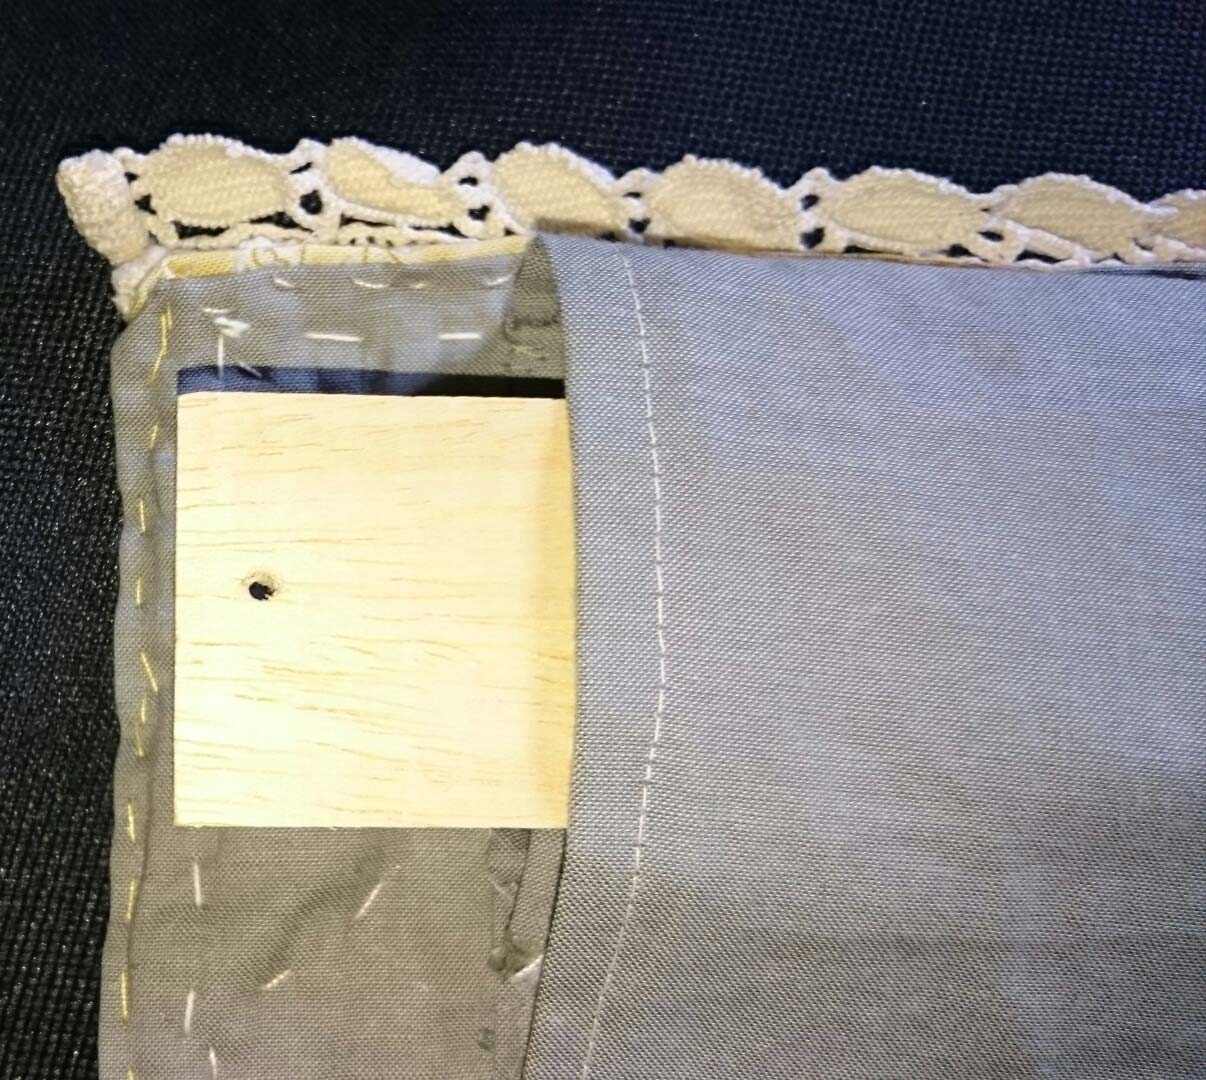
How to hang the textile piece:
- Buy a suitable batten from your local DIY store. Sometimes they will cut the battens to size for you, so measure your textile pieces before you go.
- You will find them in the ‘mouldings’ section. I chose a rectangular profile moulding for the larger pieces and a lighter semi-circle profile for the smaller ones.
- If you are cutting them yourself, use a junior hacksaw like the one above.
- Sand the corners with sandpaper so they don’t catch on the textiles (or give you a splinter!).
- Each batten needs to be just less than the width of the quilt. The batten should be covered by the edges of the quilt when it is hung up. It should protrude a little on each side of the sleeve.
- Make a pencil mark on the wood at the centre point between its end and the place where it enters the batten.
- Drill a hole through the wood at the pencil mark. I prefer using a hand drill for greater control. Insert a fine drill bit and use a piece of scrap wood beneath.
- Attach larger pieces to the wall by putting a screw through the hole and using a screwdriver to put each screw in half-way at first, then all the way in.
- To attach smaller pieces, thread fishing line through one hole, knot firmly and then thread through hole at the other end and attach with a good knot. This allows the piece to be hung from a hook.

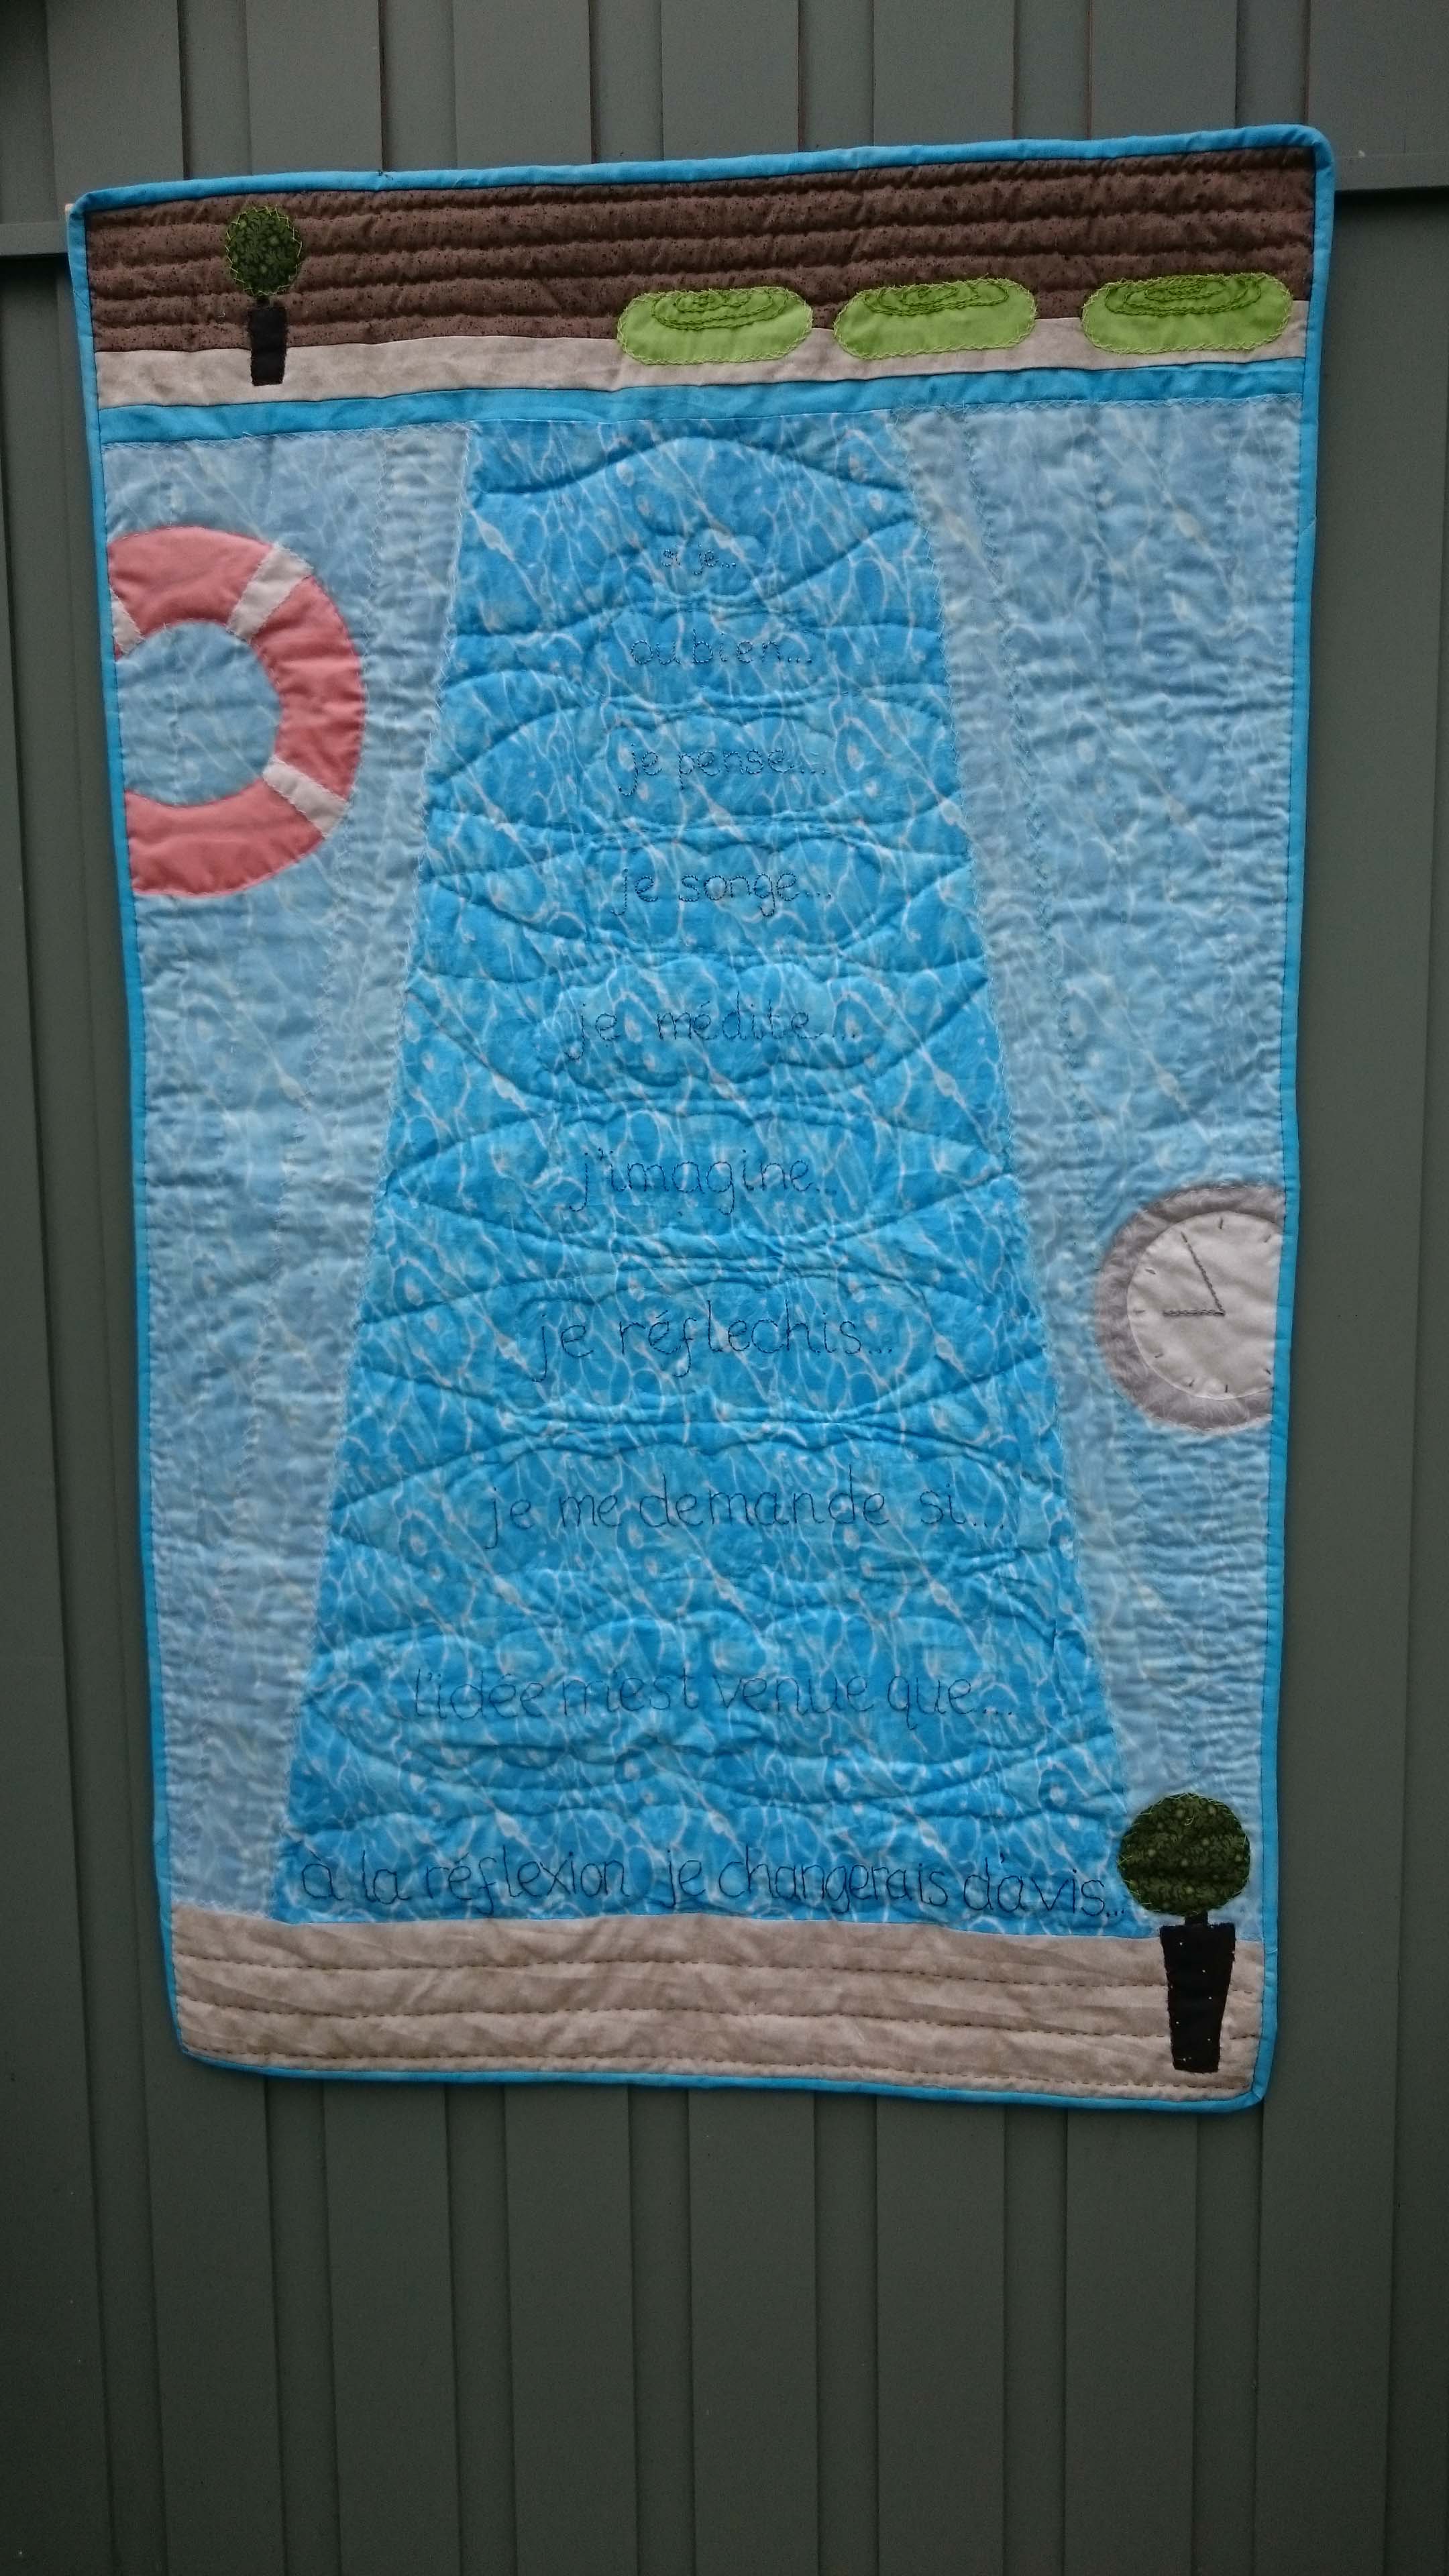
This is what one of the larger pieces (‘Reflections’) looked like when hung using screws through the batten:
Other things you need:
- Business cards
- Profile sheets – I put two on an A4 sheet and cut it in half
- A list of the pieces you are exhibiting, and something about each one, plus the price
- Any other information you want to make available (I had a sheet of forthcoming workshops)
- A cash box, and/or money belt with plenty of change
- A bottle of water (and possibly an easily eaten picnic lunch, if the exhibition goes on all day!)
Thank you for reading my blog. Quilt Patterns are here, Fabrics are here, Classes are here
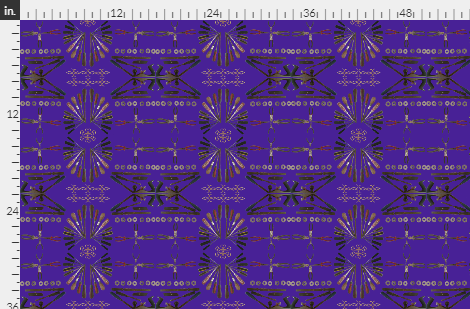
This is (appropriately enough!) ‘Dancing Tools’. Get the fabric here