I have written elsewhere (click here) on this blog about the need to be a Jack-of-all-trades when you are a small business owner – or in my case, I suppose, a Jill-of-all-trades.
One of the most difficult things for me is taking good product photos. I’m not really talking here about technical things to do with the photography itself, though that is challenging enough. Regarding equipment I do have a daylight lamp (just in case there isn’t enough natural light on a winter day in the North-East of England), I have a camera which takes high resolution photos and I do use both a large tripod and a small one which can sit on the desk. I reckon to be gradually improving in the framing and taking of photos and I am definitely getting quicker and more competent at editing photos on my computer. But that’s not the main issue: it’s more that quilts are such tricky items to picture well.
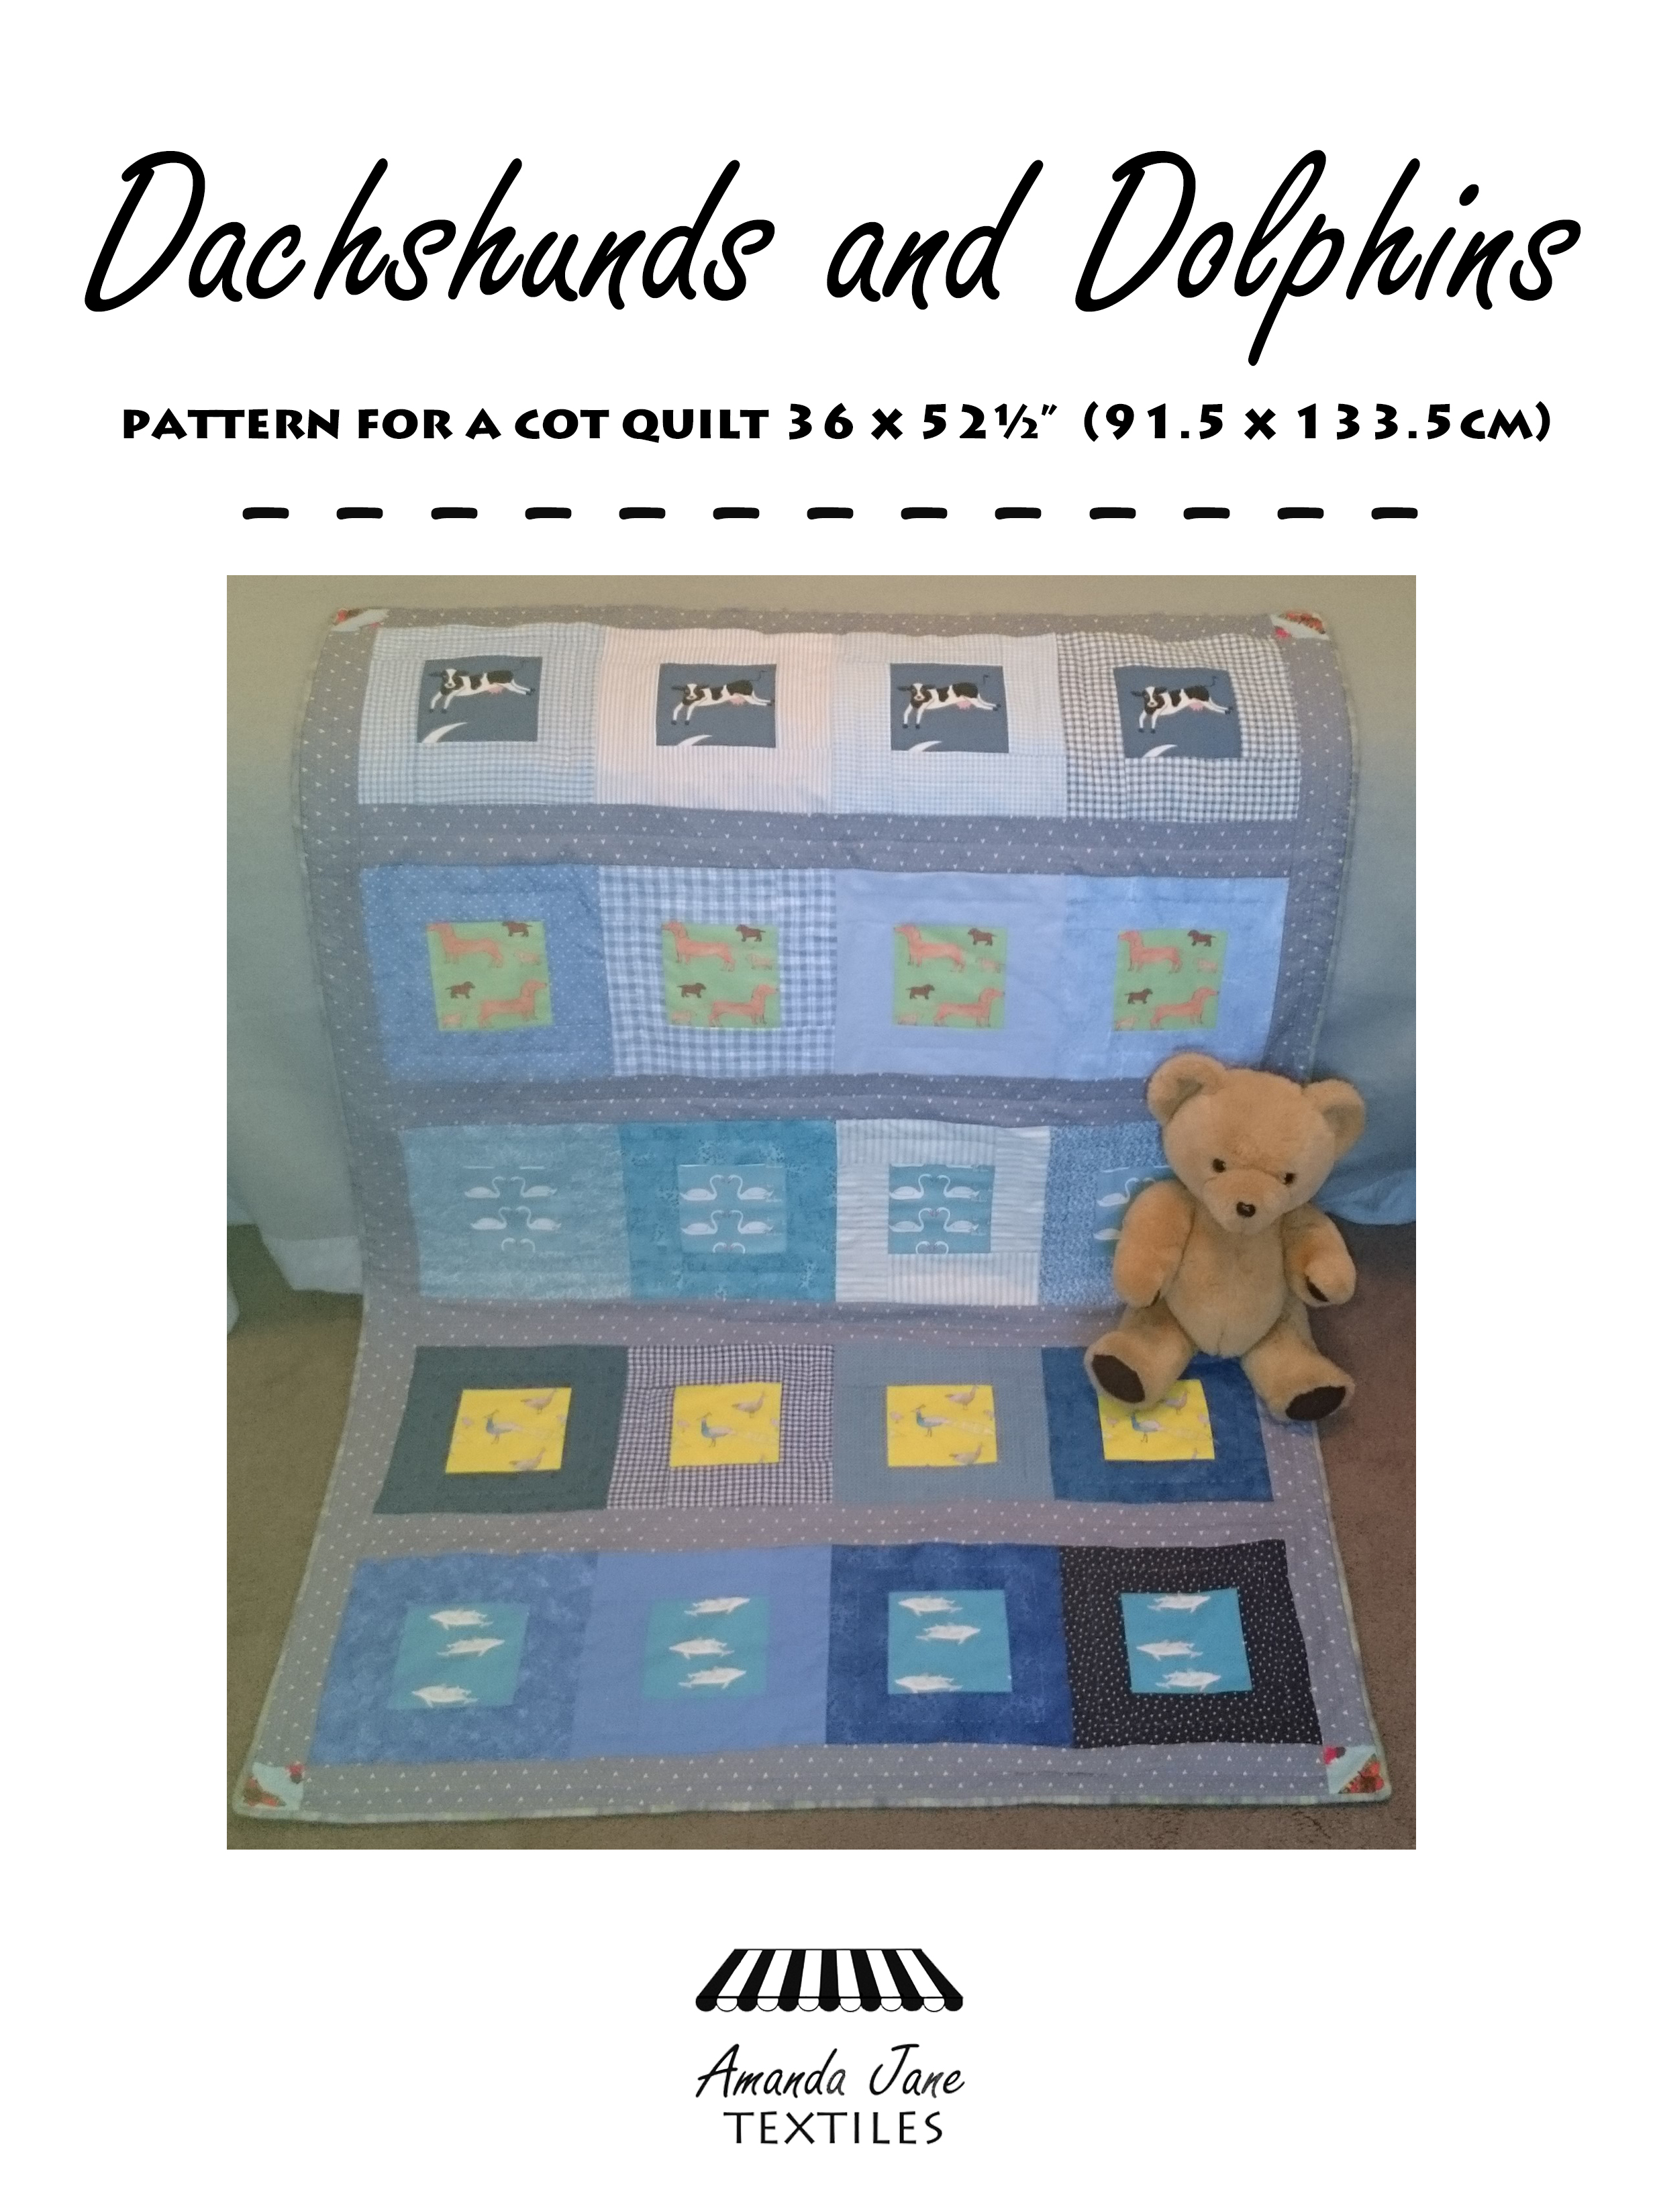
Recently, I have been working on a quilt for a friend’s baby. He will have the original and I have written a pattern ‘Dachshunds and Dolphins’ based on his quilt (click here to see it) . The pattern needs a picture. A photo of the product needs to show the whole quilt and also be clear enough to see the detail. Often the space on the pattern is a rectangle in landscape format (wider than it is tall) or is square in shape. Both of these shapes are at odds with the size and shape of most quilts which tend to follow the shape of a bed and are generally taller than they are wide. Also, my ‘quilt for a teddy’ (click here to see) and my two previous baby patterns so far (click here, and here) have featured a rather splendid teddy bear originally bought from a vintage stall, so I needed to find a way of getting him into the picture.
Here is the quilt hanging (on the right) on the banister rail of the mezzanine where I have my studio – I use this method to look at quilts (like a design wall).

However, the quilt is a bit distant there, so I took some photos with the quilt lying flat on a table and laid out of the floor. The first few photos do show the whole quilt, but there’s always a slanting edge to the shape and the orientation is wrong, because all the creatures appearing in the quilt (cows, dachshunds, swans, peacocks and dolphins) are facing in the wrong direction.

Next, I tried some direct sunlight, but that can be tricky with quilts too, as if too many shadows are cast, the surface of the quilt can look really crumpled (even if it’s not!).

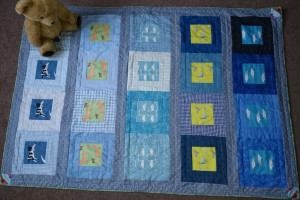
Next I tried putting the quilt on a bed (which is kind of logical), but it’s astonishing how much furniture and other extraneous objects need to be removed – a bedside table and lamp are in the way here.

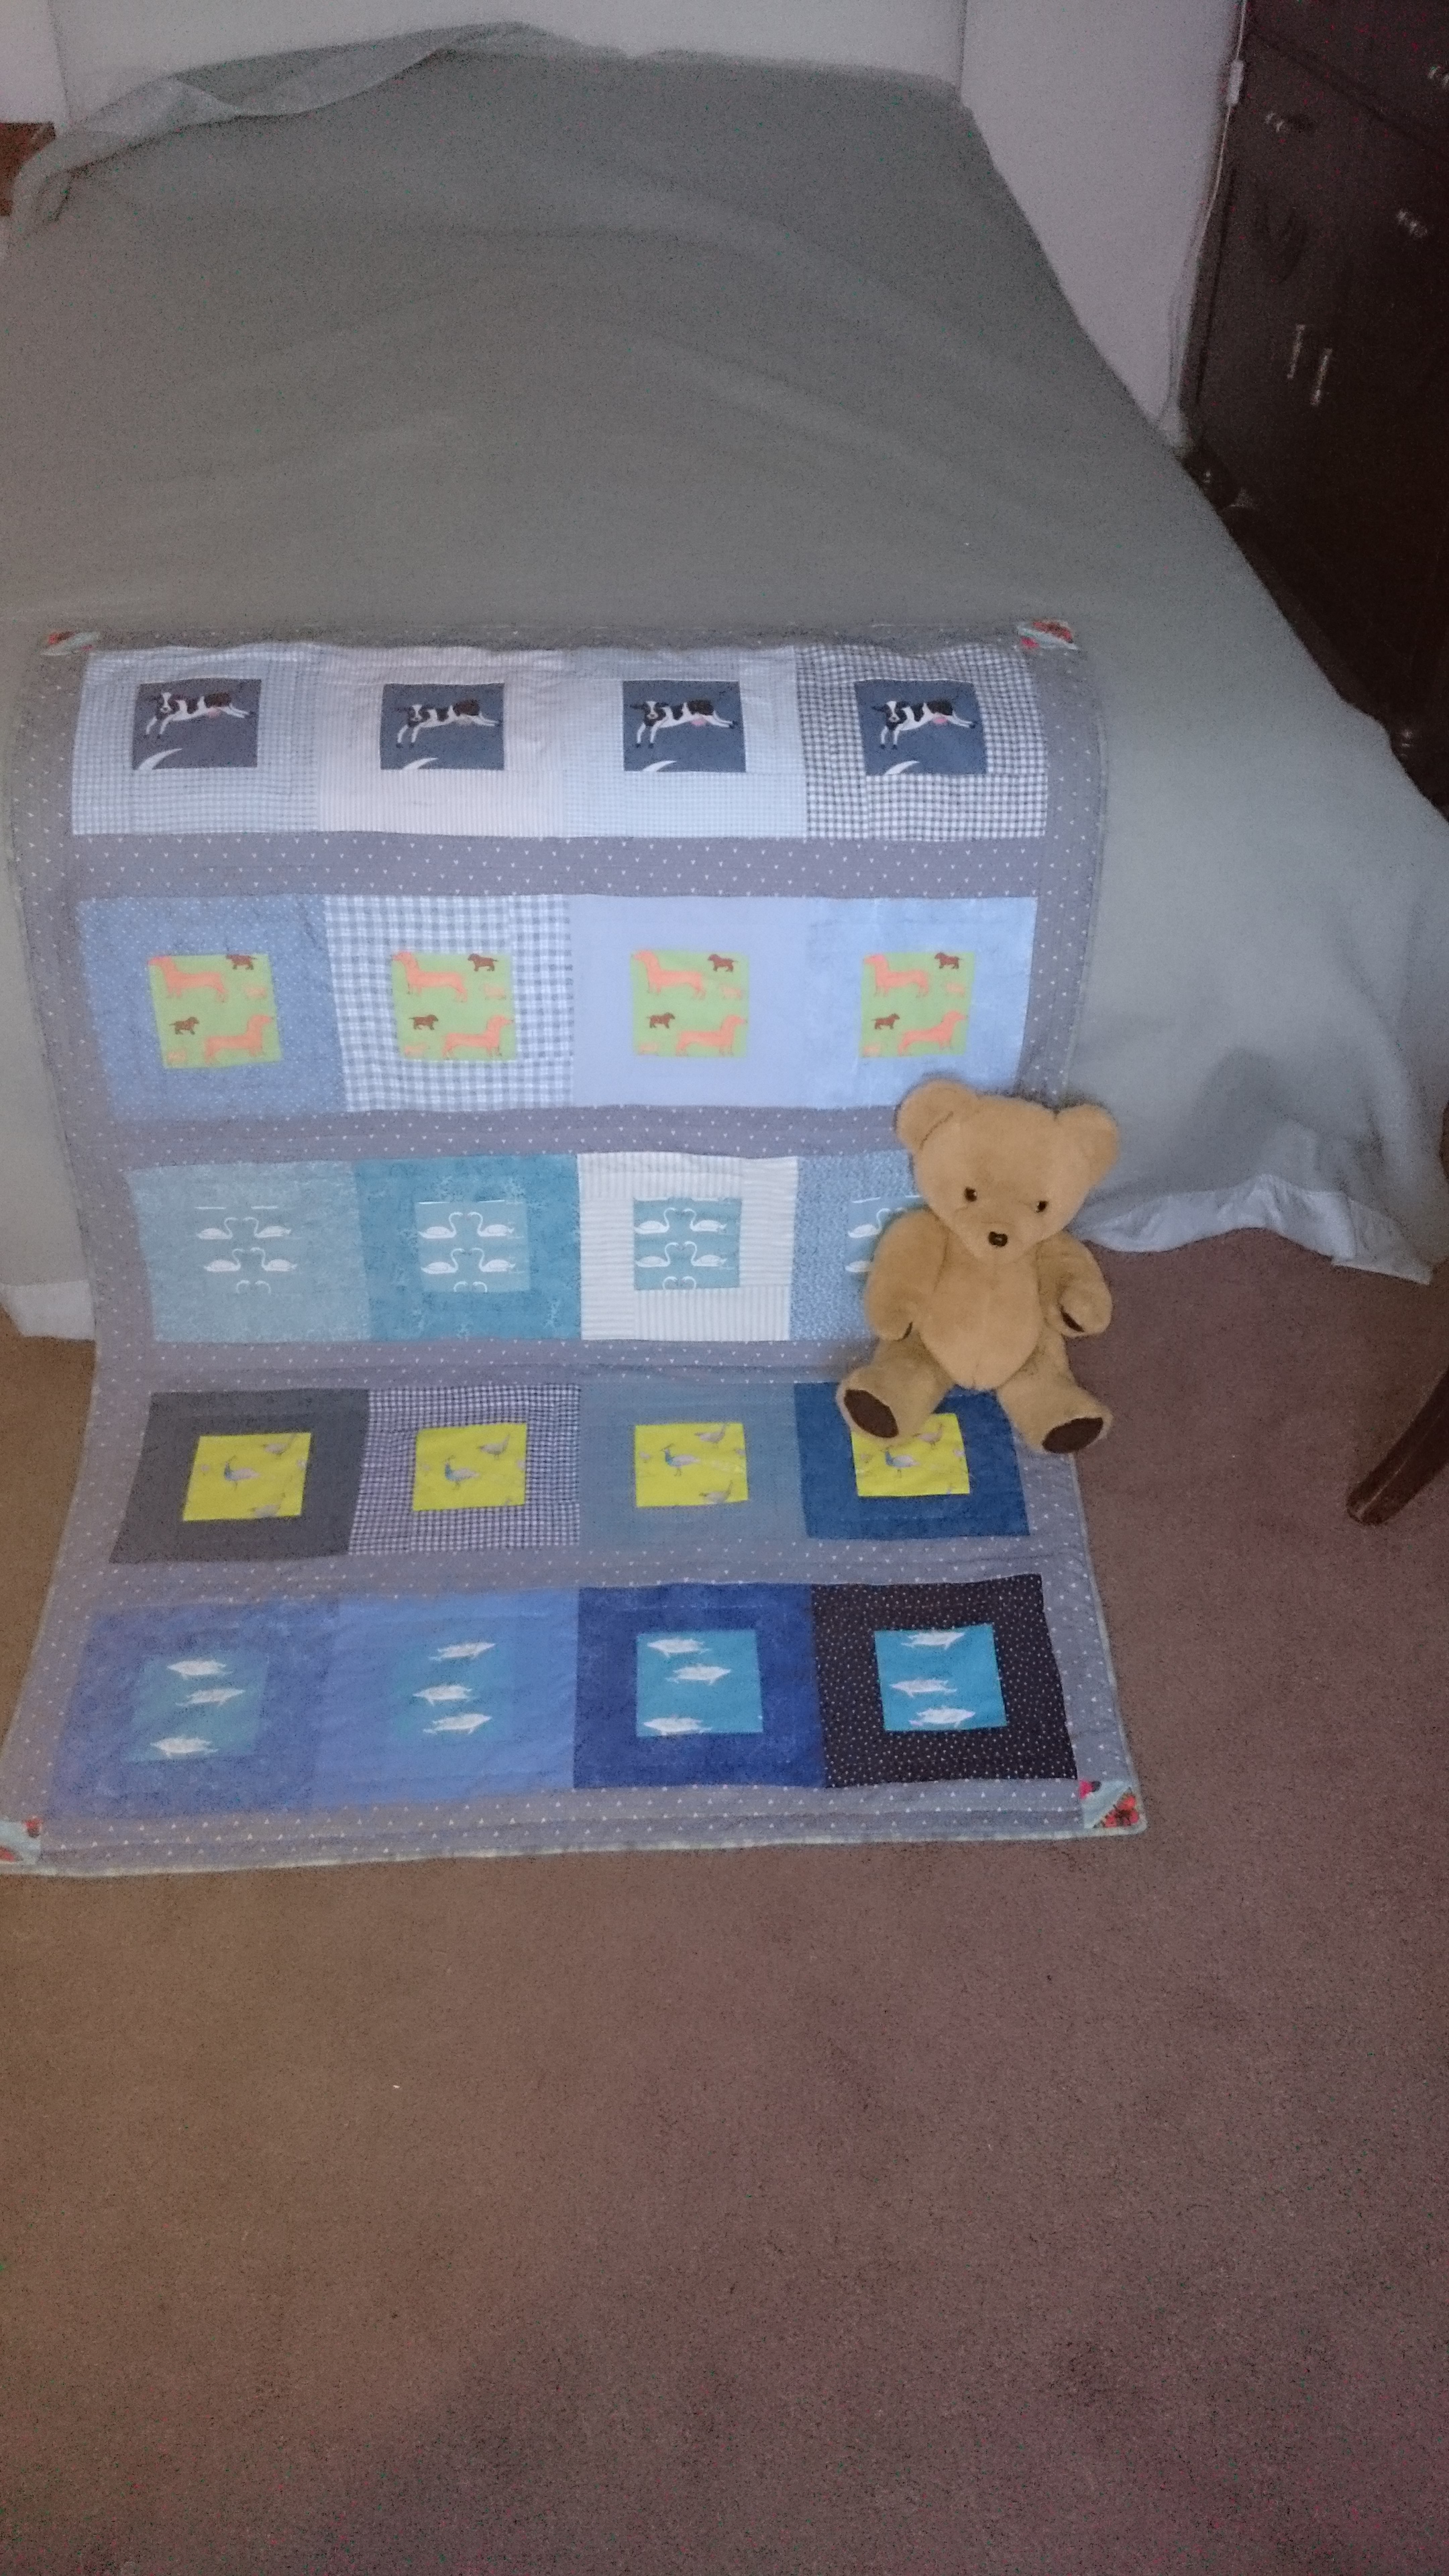
After that, I moved the quilt onto the bedroom floor and got this image.

Still not right – not enough detail of the individual fabrics and now a really unusual shape.
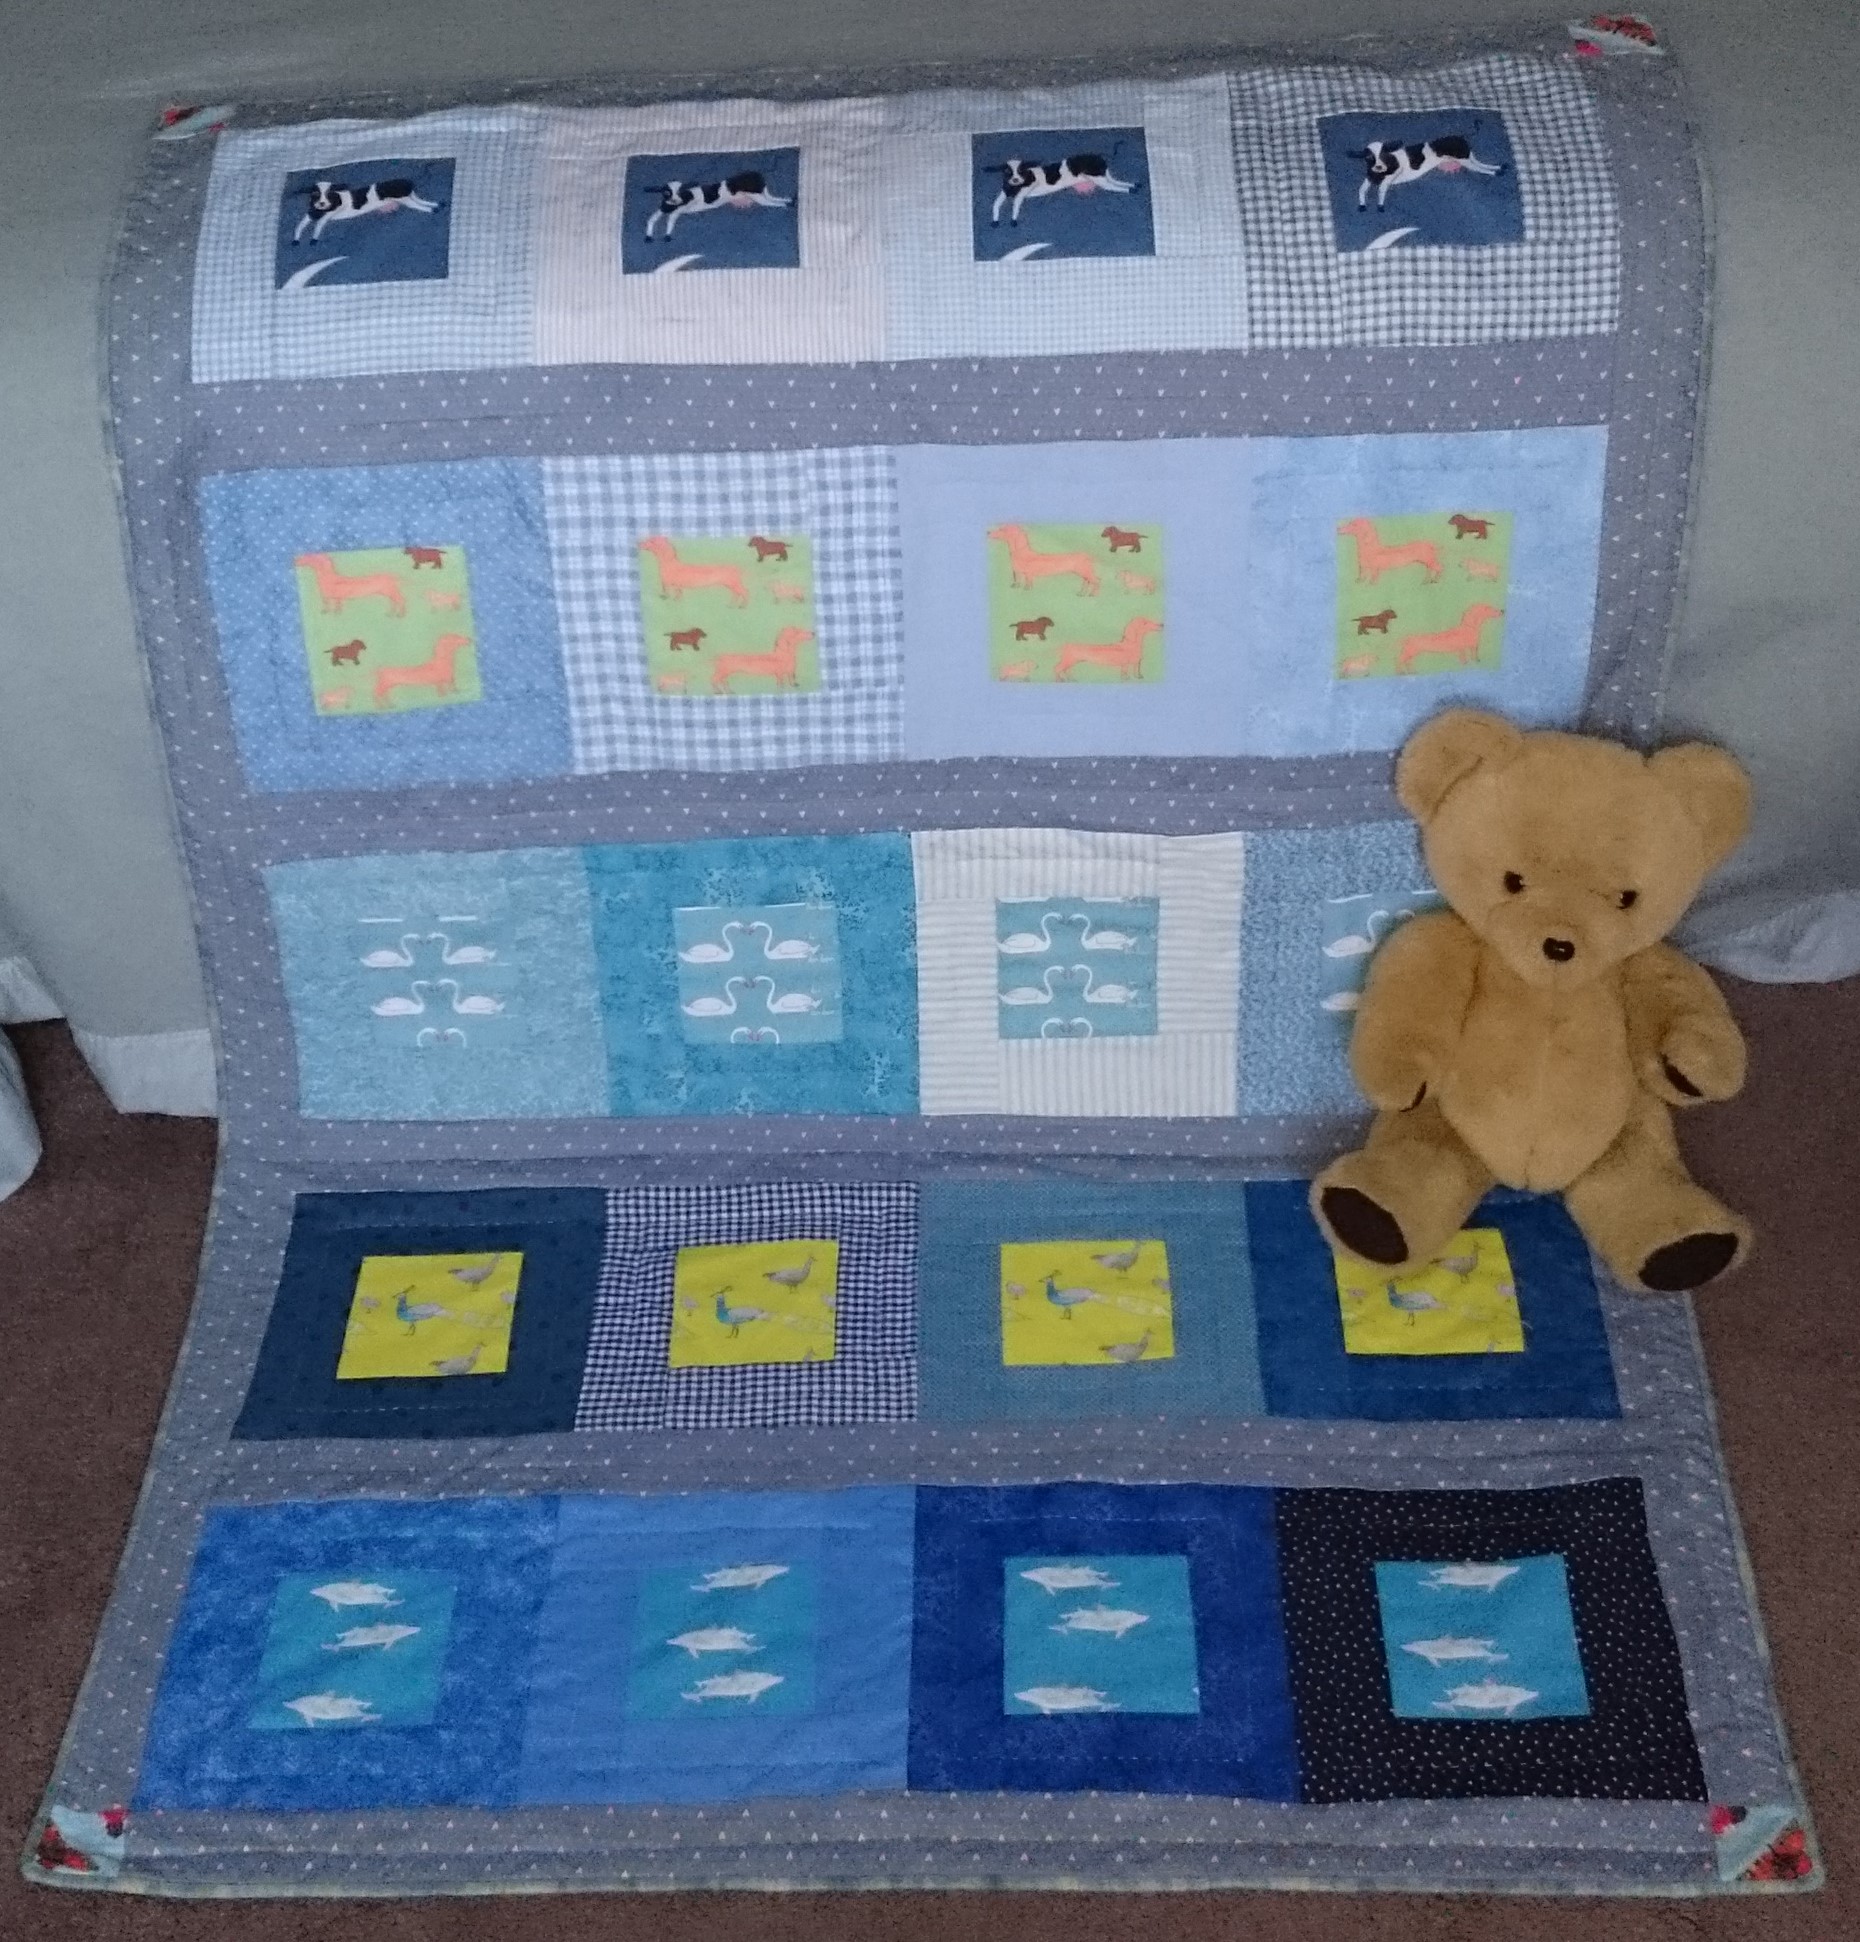
And then finally, I used a vertical and a two horizontal surfaces which gave me the image that was used on the final pattern:
Cropped appropriately, it looks like this:
And here it is on the pattern. You can find it here.
Please do get in touch, I’d love to hear from you – there’s a contact form. If you have a friend who would enjoy this blog, please would you forward it to them? If you would like to read this blog every week, look for the words ‘Follow this blog by email’ and enter your email address. The blog posts will arrive each Monday in your in-box. If you would like to receive my special monthly newsletter, complete with colour inspiration, design inspiration and a free tutorial, please complete the pop-up form or get in touch via the contact form. I will never share your email with anyone.
Thank you for reading my blog. Quilt patterns are here, Fabrics are here, Classes are here

3 thoughts on “Taking photos of products”