
As I mentioned earlier, this autumn I took part in an Instagram quilt challenge to make a quilt block a day, each to be taken from Tula Pink’s book ‘100 modern quilt blocks’. The challenge began on 17 August and concluded on 24 November 2016, so it was quite a considerable commitment. One block a day had to be uploaded on to Instagram, which was part of the point for me as I wanted to become more familiar with this wonderfully immediate mode of communication. It was fun seeing the same block, made in a myriad of different prints and colours, being posted on the same day from locations all over the world.
This week, I finished putting the quilt top together. There are 10 blocks in each row and 10 rows, with sashing strips and corner-stones separating out the blocks. There is a narrow purple band around the whole thing and then a six-inch border of the same fabric as the sashing strips. Here it is hanging from the banister which at the edge of my mezzanine studio.

This is a large quilt: 92 x 92″ (234 x 234cm), so I knew that layering it up was probably going to be tricky. In the event, it went quite well. Here is how I did it.
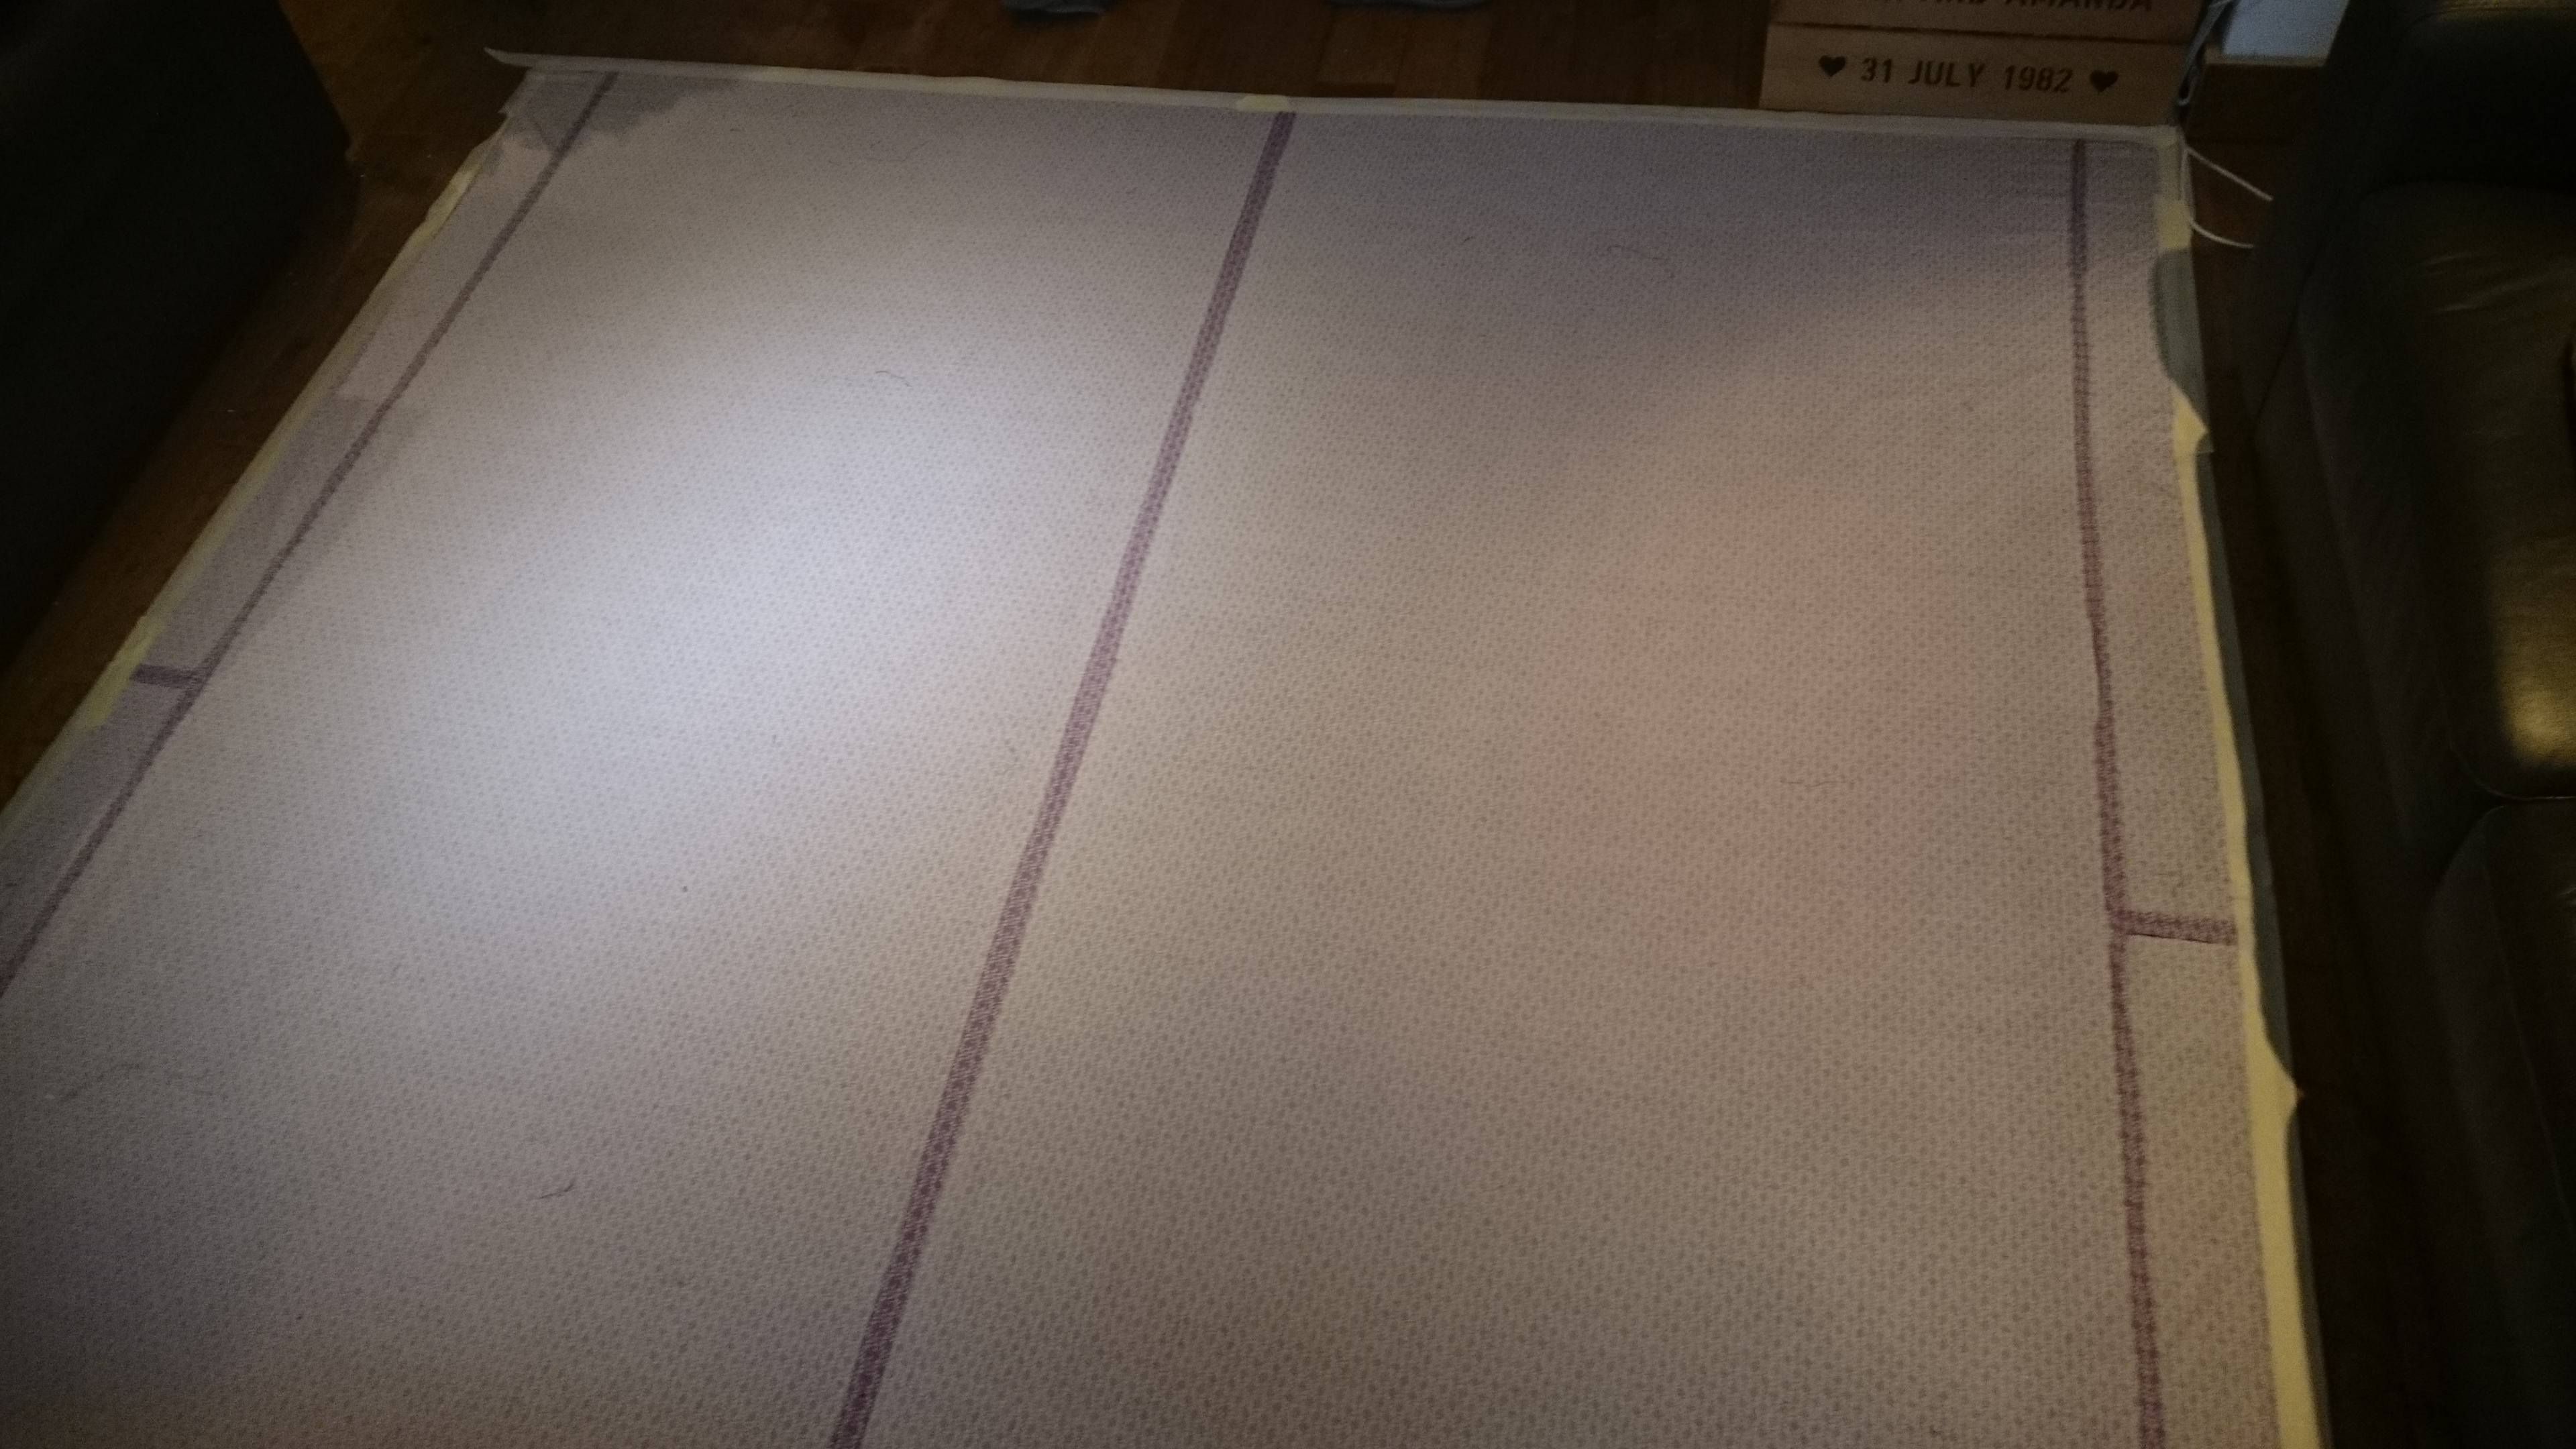
1. I ironed the quilt top and the backing fabric really thoroughly. Then I moved the sofas aside in our living room, which has a wooden floor. This give me just enough room to lay the quilt out flat, and the wooden planks gave me some straight lines to work with too! I taped the backing fabric to the floor with wide masking tape, ensuring that the material was pulled really tight. The fabric for the back was joined down the centre and the pieces on the sides were joined at the mid-point. These seams gave me a mid-point on each side.
2. I folded the wadding neatly into four and laid it on the top right-hand quarter of the backing (with the folded edges of the wadding facing in towards the quilt). 3. Then I put on a mask, because breathing in glue (in any form) is a potential health hazard!
 4. I lifted the top edges of the wadding and folded them back so that the top one-eighth of the backing fabric was exposed. I sprayed this with a temporary adhesive for fabrics (I used the 505 brand here).
 5. Then I folded the wadding back down. With my hand on top of a single layer of wadding, I smoothed the wadding onto the backing in that one-eighth area of the quilt.
6. Next, I re-folded my wadding into the neat shape I began with (see photo 2). Then I folded the shape upwards to expose the next eighth of the quilt. I sprayed the backing, then folded the wadding back down on to it and smoothed the bottom single layer of wadding as before. By now, one quarter of the wadding was attached to one quarter of the backing.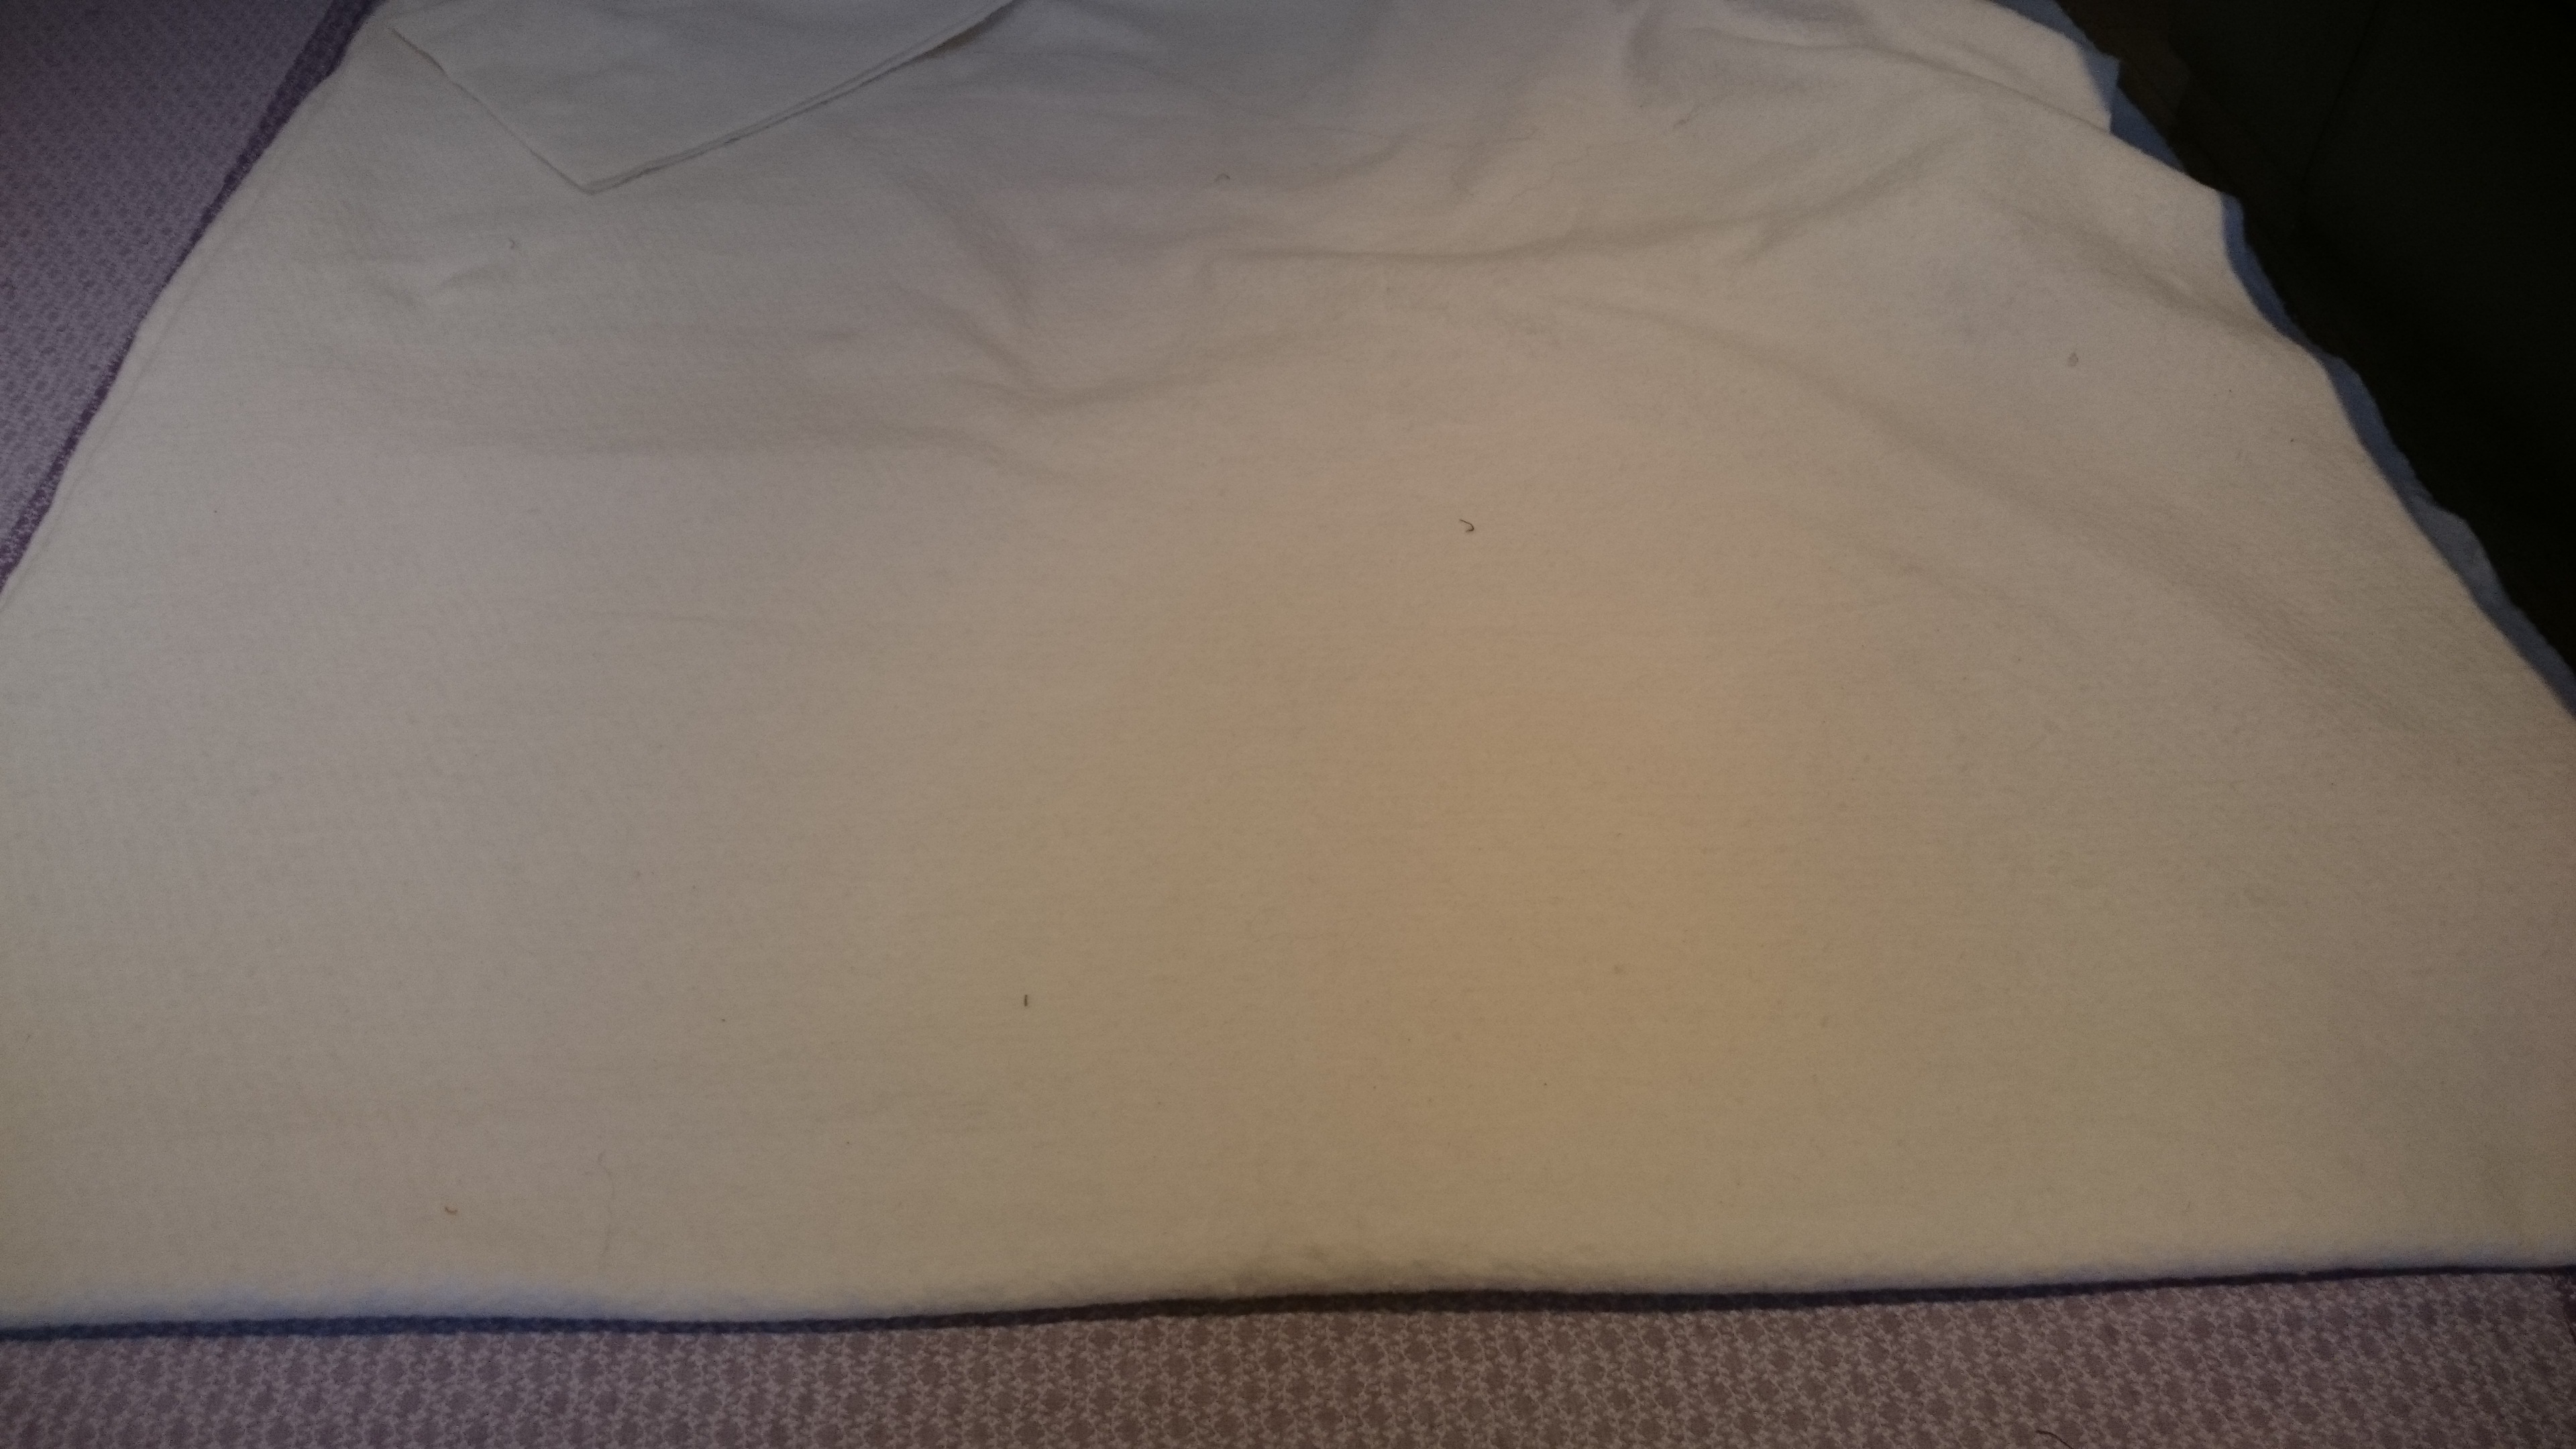 7. Then I sprayed the next eighth of the backing (working downwards), and then unfolded, and smoothed the wadding onto the backing. Finally, I did the same again with the last eighth, which meant half the wadding was joined to half the backing.
8. The left-hand side of the quilt was easier to manage, as there was now only one layer of wadding to deal with. I sprayed a quarter of the backing at a time and smoothed the wadding onto the backing.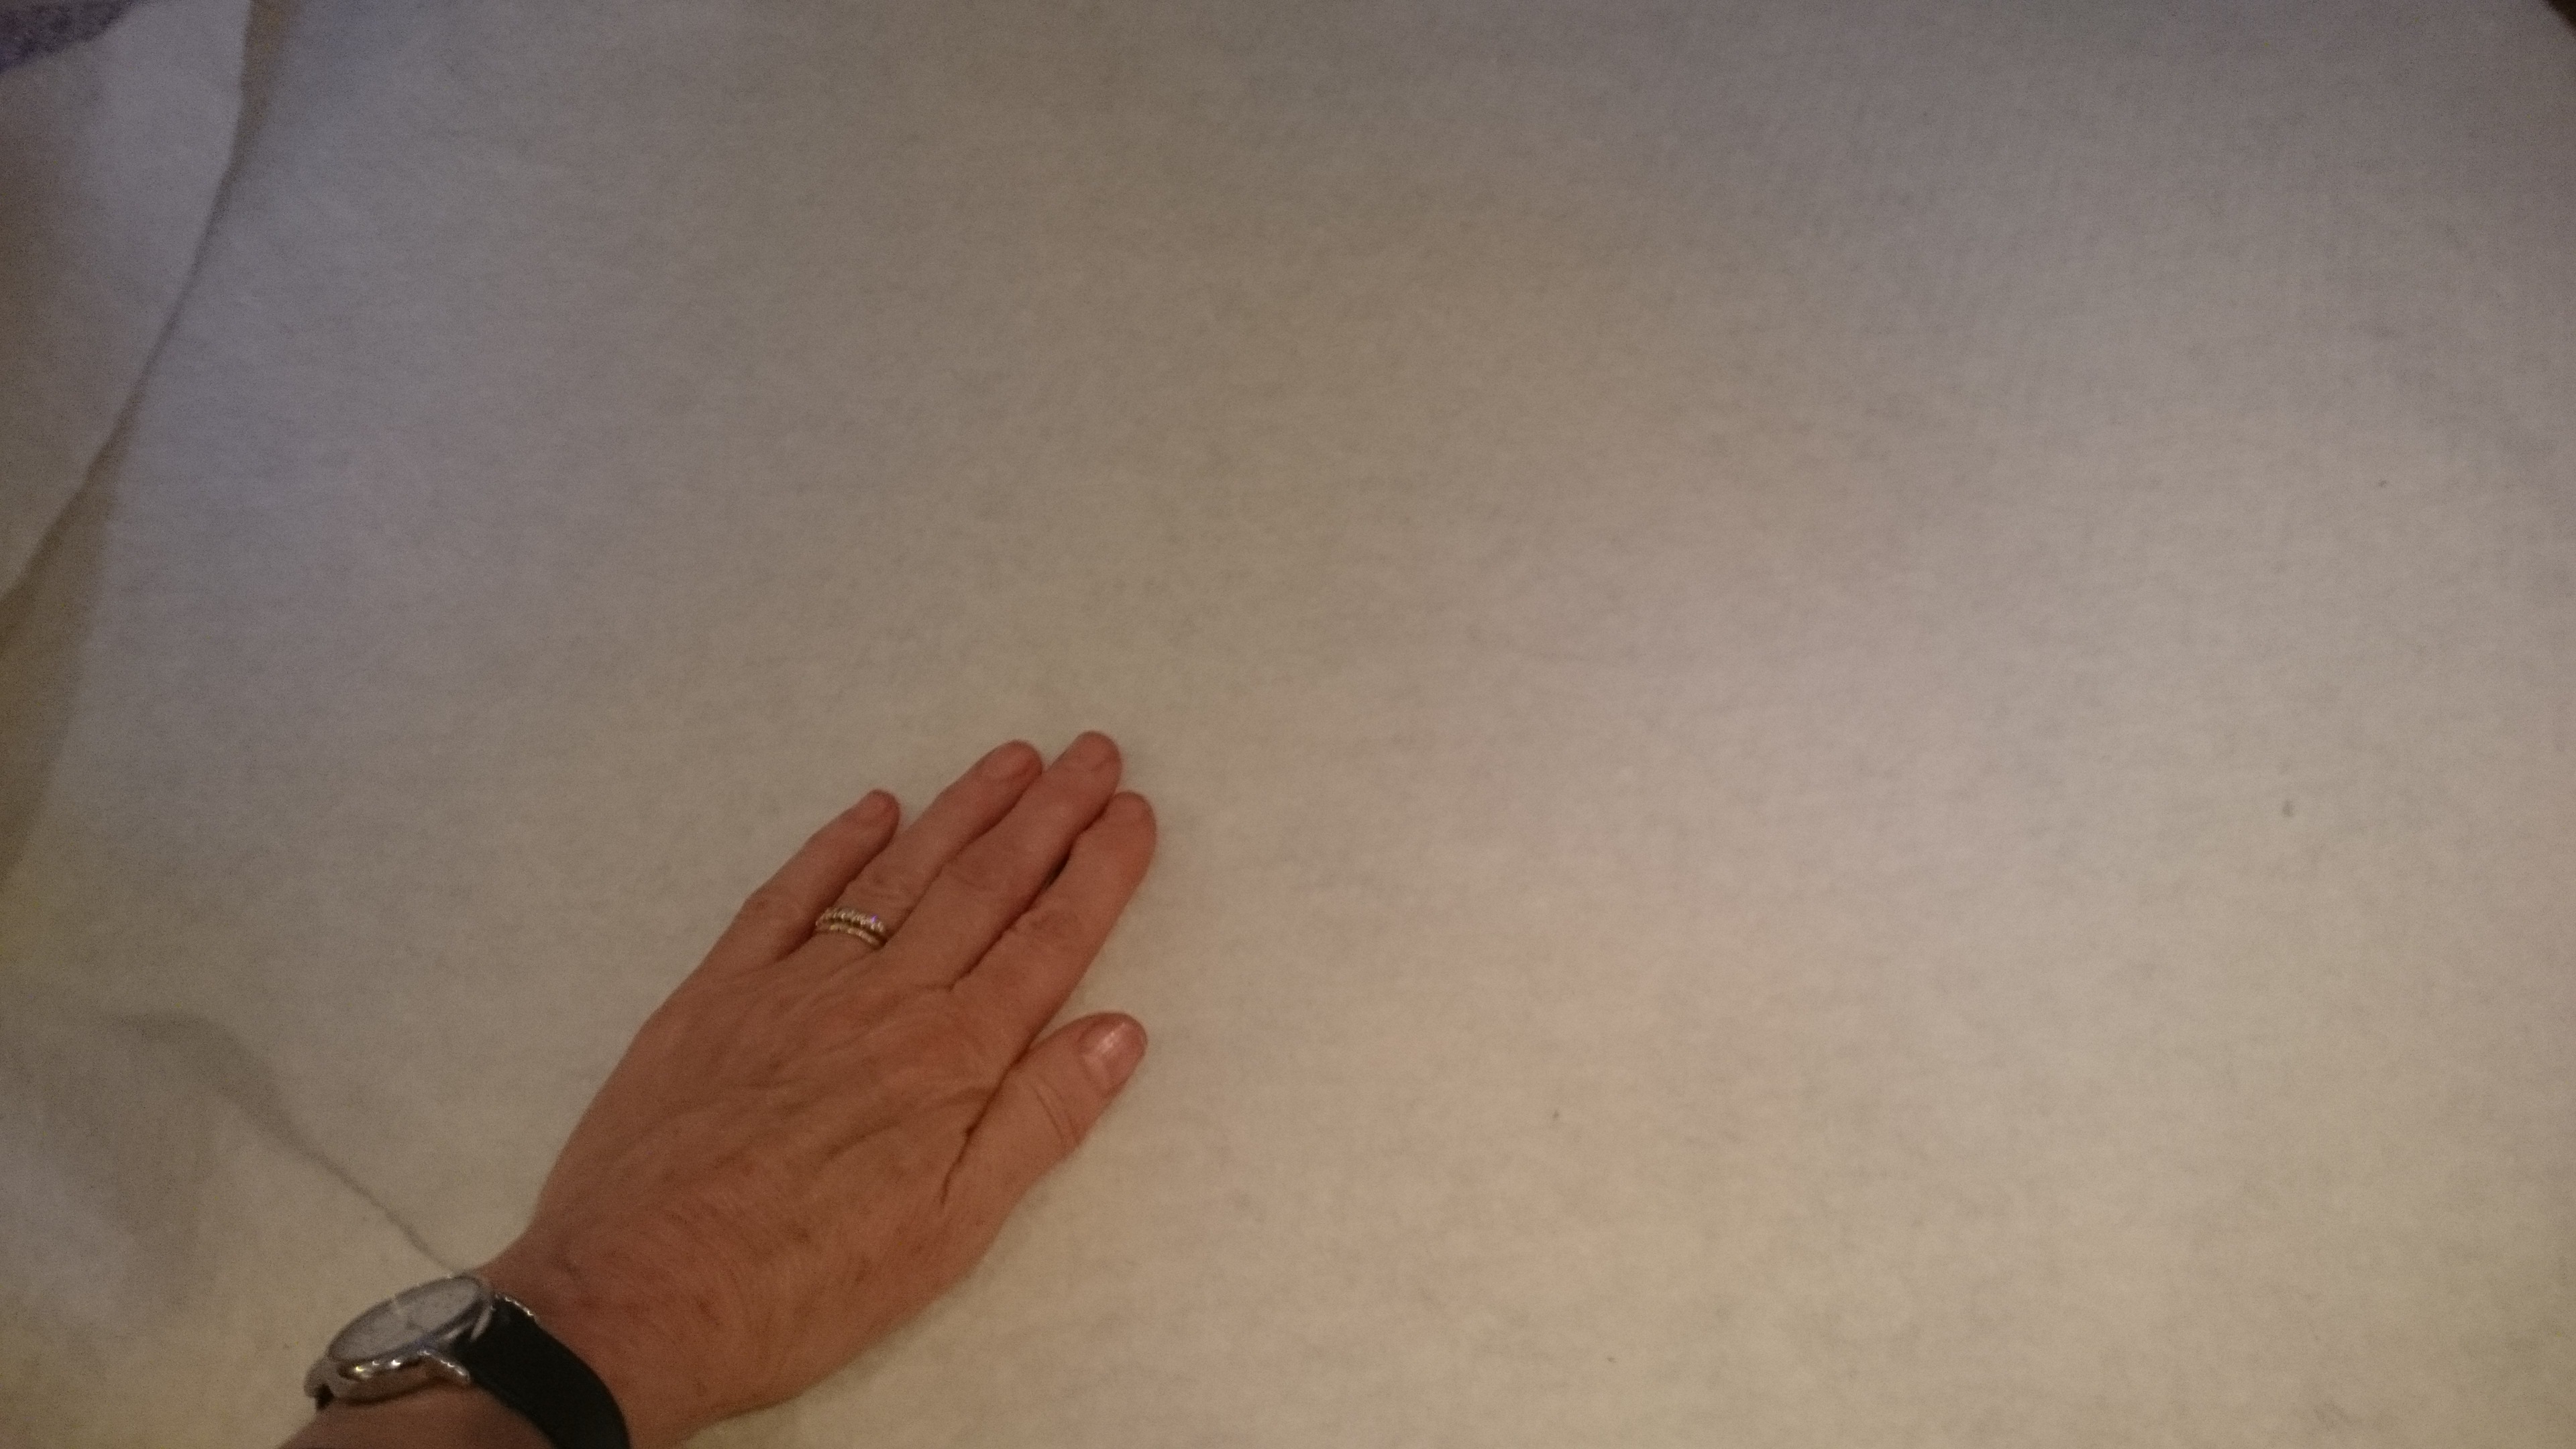 9. Once all the wadding was attached, I laid the quilt-top on top of the wadding, right side up. I then folded the quilt-top down the centre line, so the top lay folded, right sides together, on one side of the wadding.
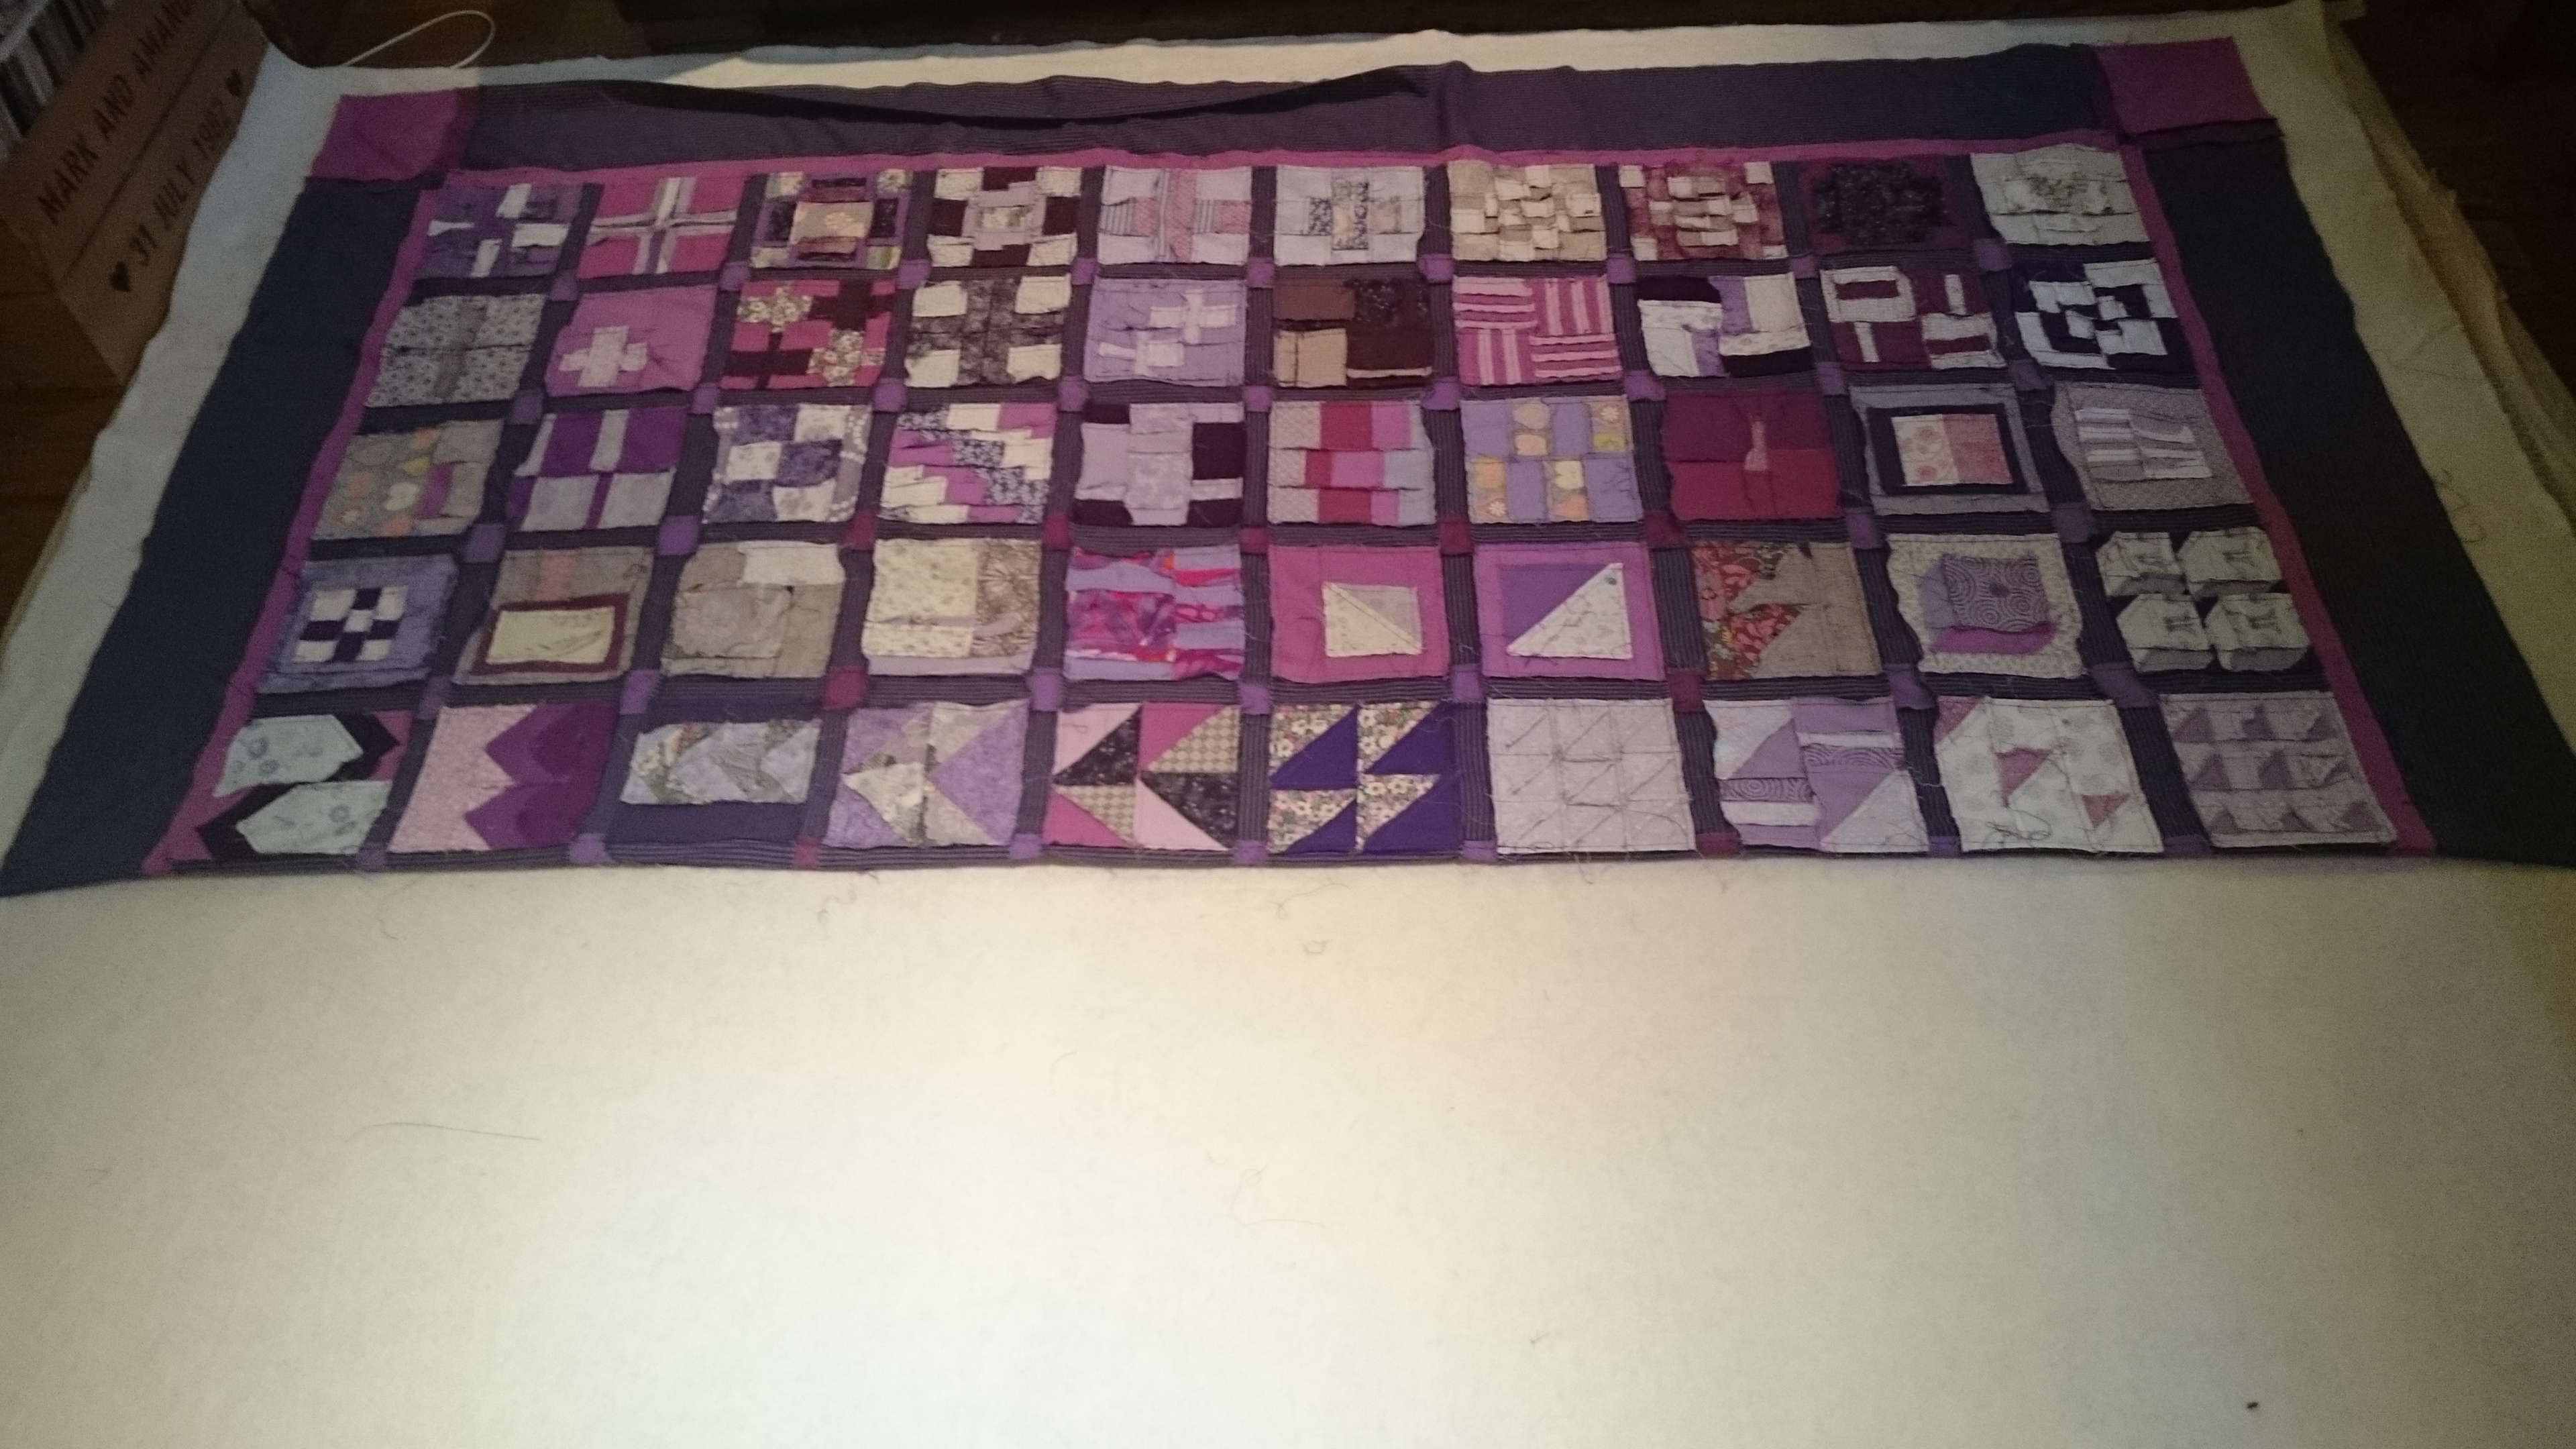 10. I attached the quilt-top to the wadding at the top and bottom with a quilter’s pin, ensuring that this point aligned with the centre point of the backing beneath.
 11. Then I sprayed the wadding which was to the left of the quilt-top, from the top to the bottom of the quilt and reaching across one eighth of the total quilt. Then I opened out the folded top and smoothed it onto the sprayed area.
 12. Once this was flat, I folded back a strip one-eighth of the quilt wide, from the top to the bottom of the top, sprayed the wadding and then re-folded and smoothed this part of the top. The other half of the quilt was done in the same way (steps 11 and 12).
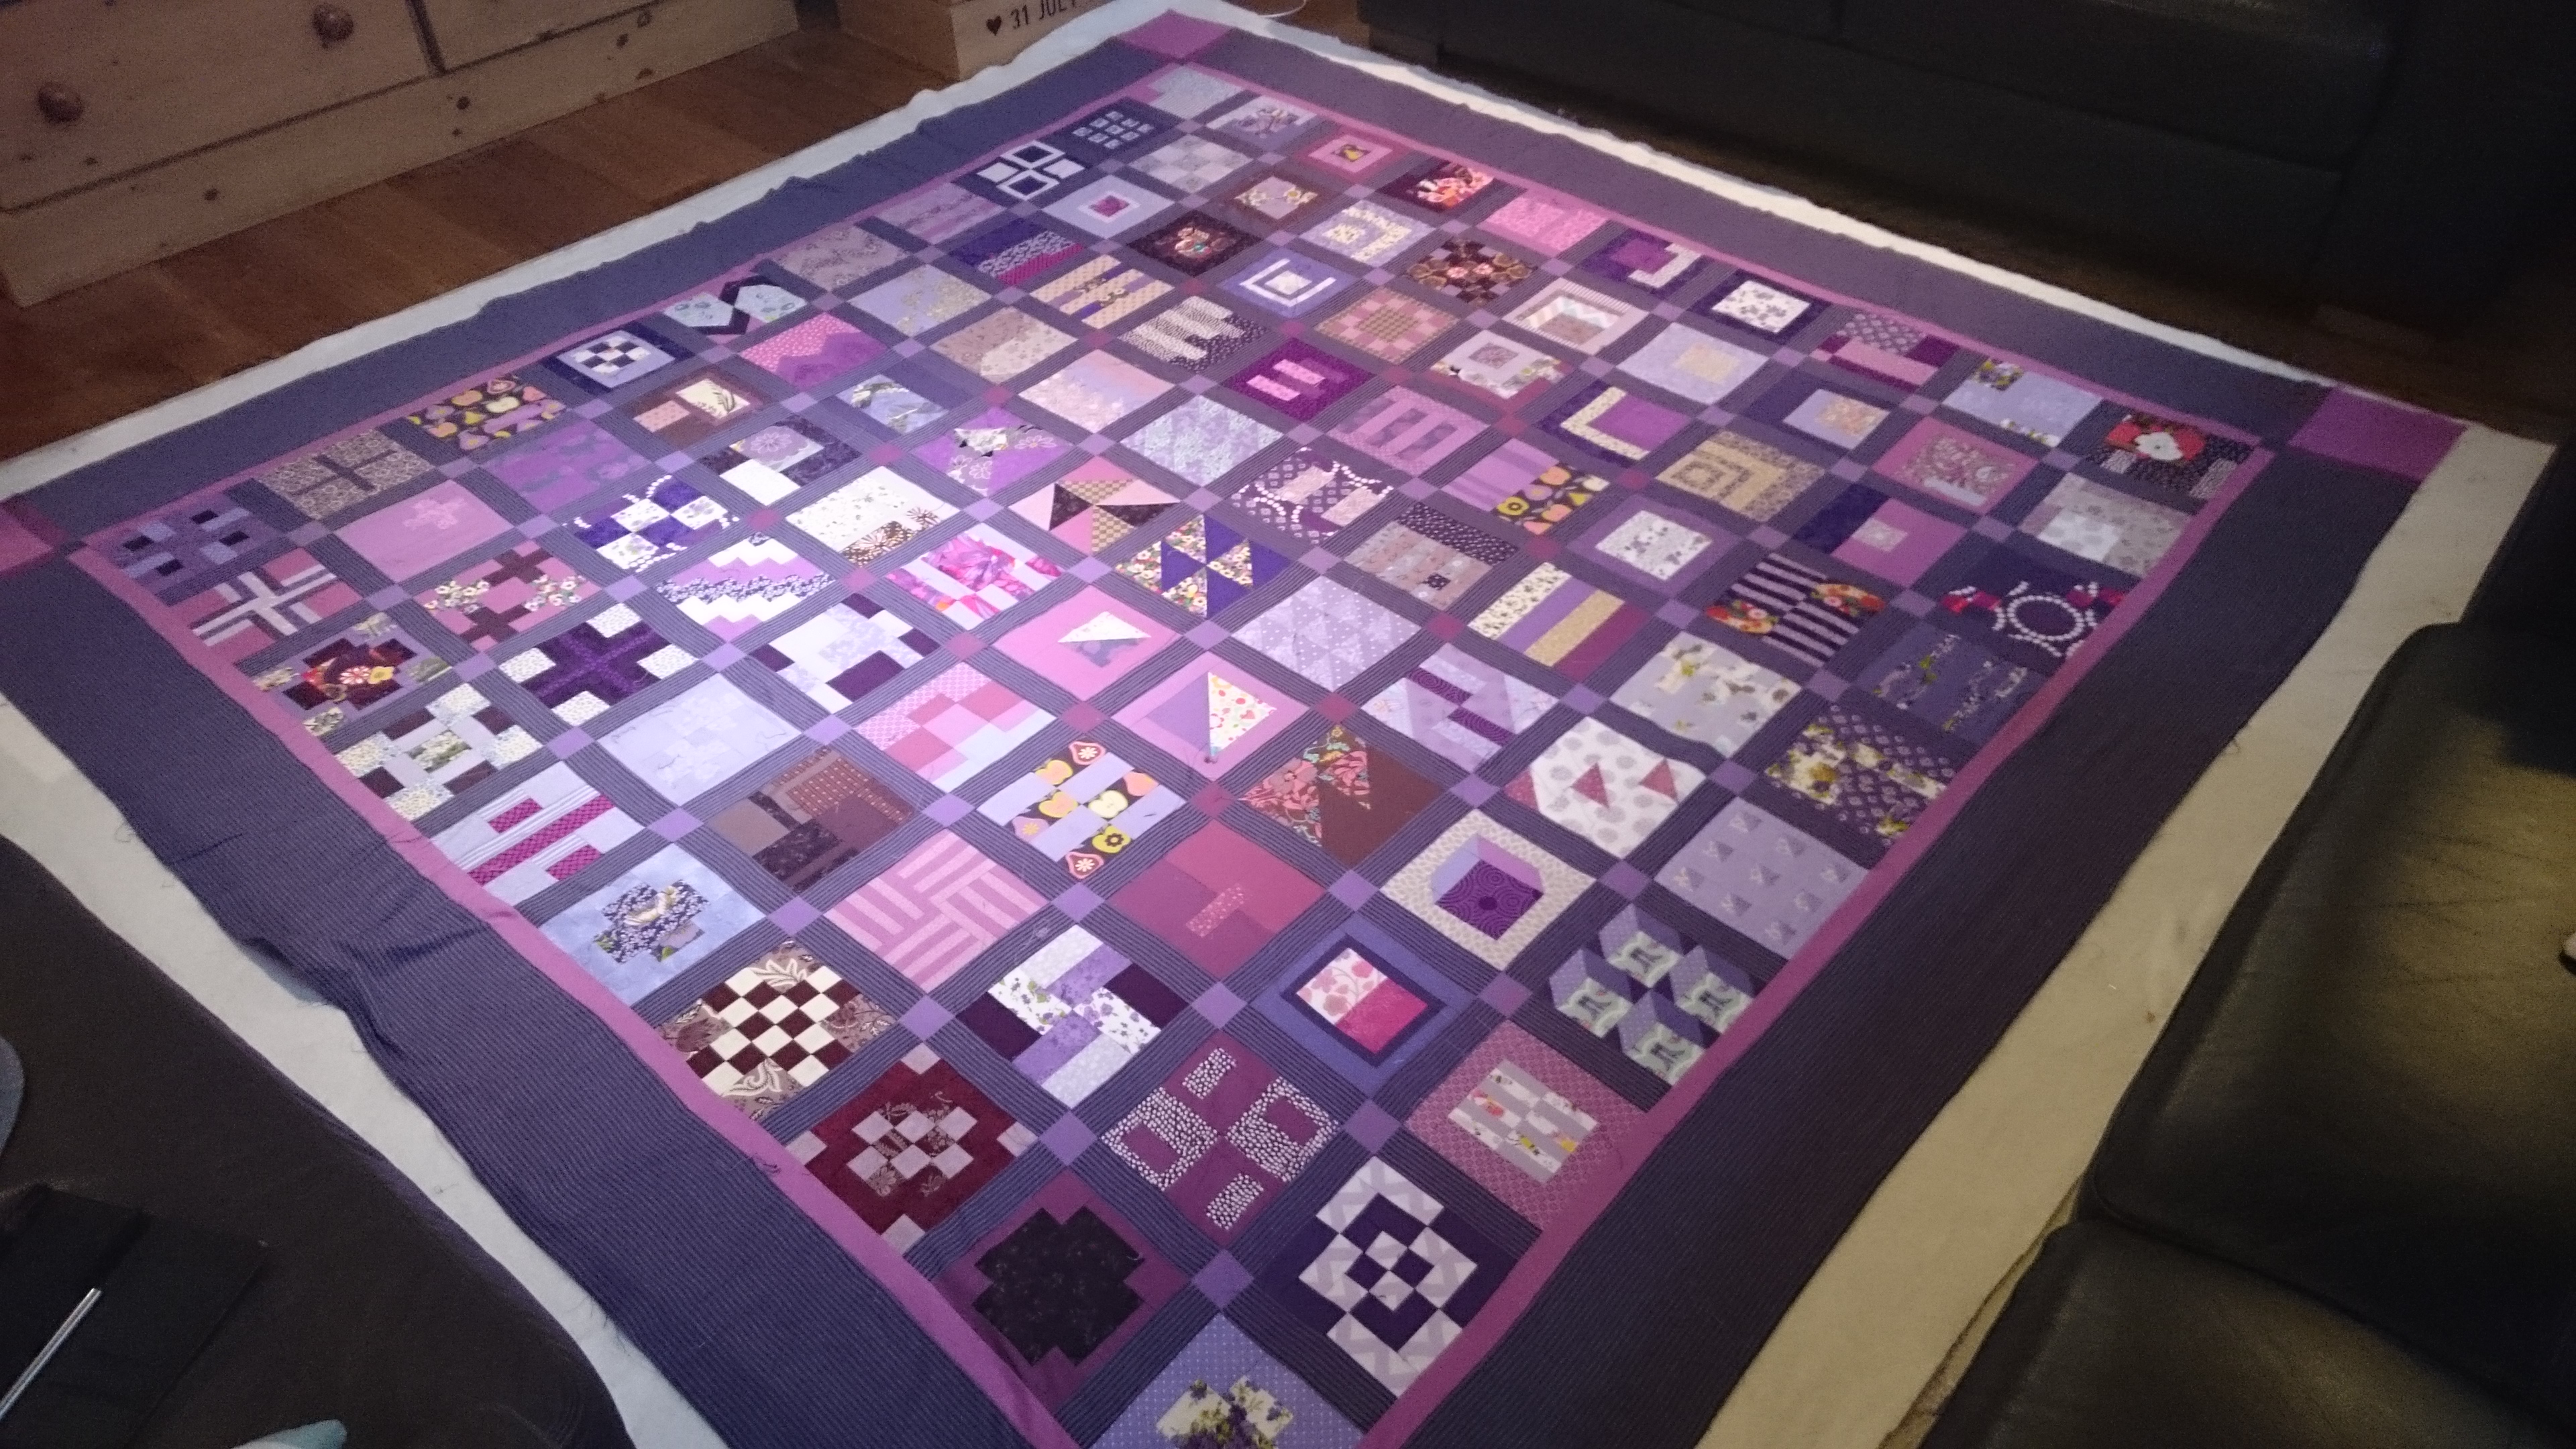 13. Once the process was complete, I pulled up the masking tape from one edge only. Then starting at the mid-point of that side. I tacked along the edge. I started at the centre point and worked outwards ensuring that the border was completely smooth. The three remaining borders were treated in the same way.
 14. Here is the finished item draped over a sofa while I tidied up! The whole process took two hours.
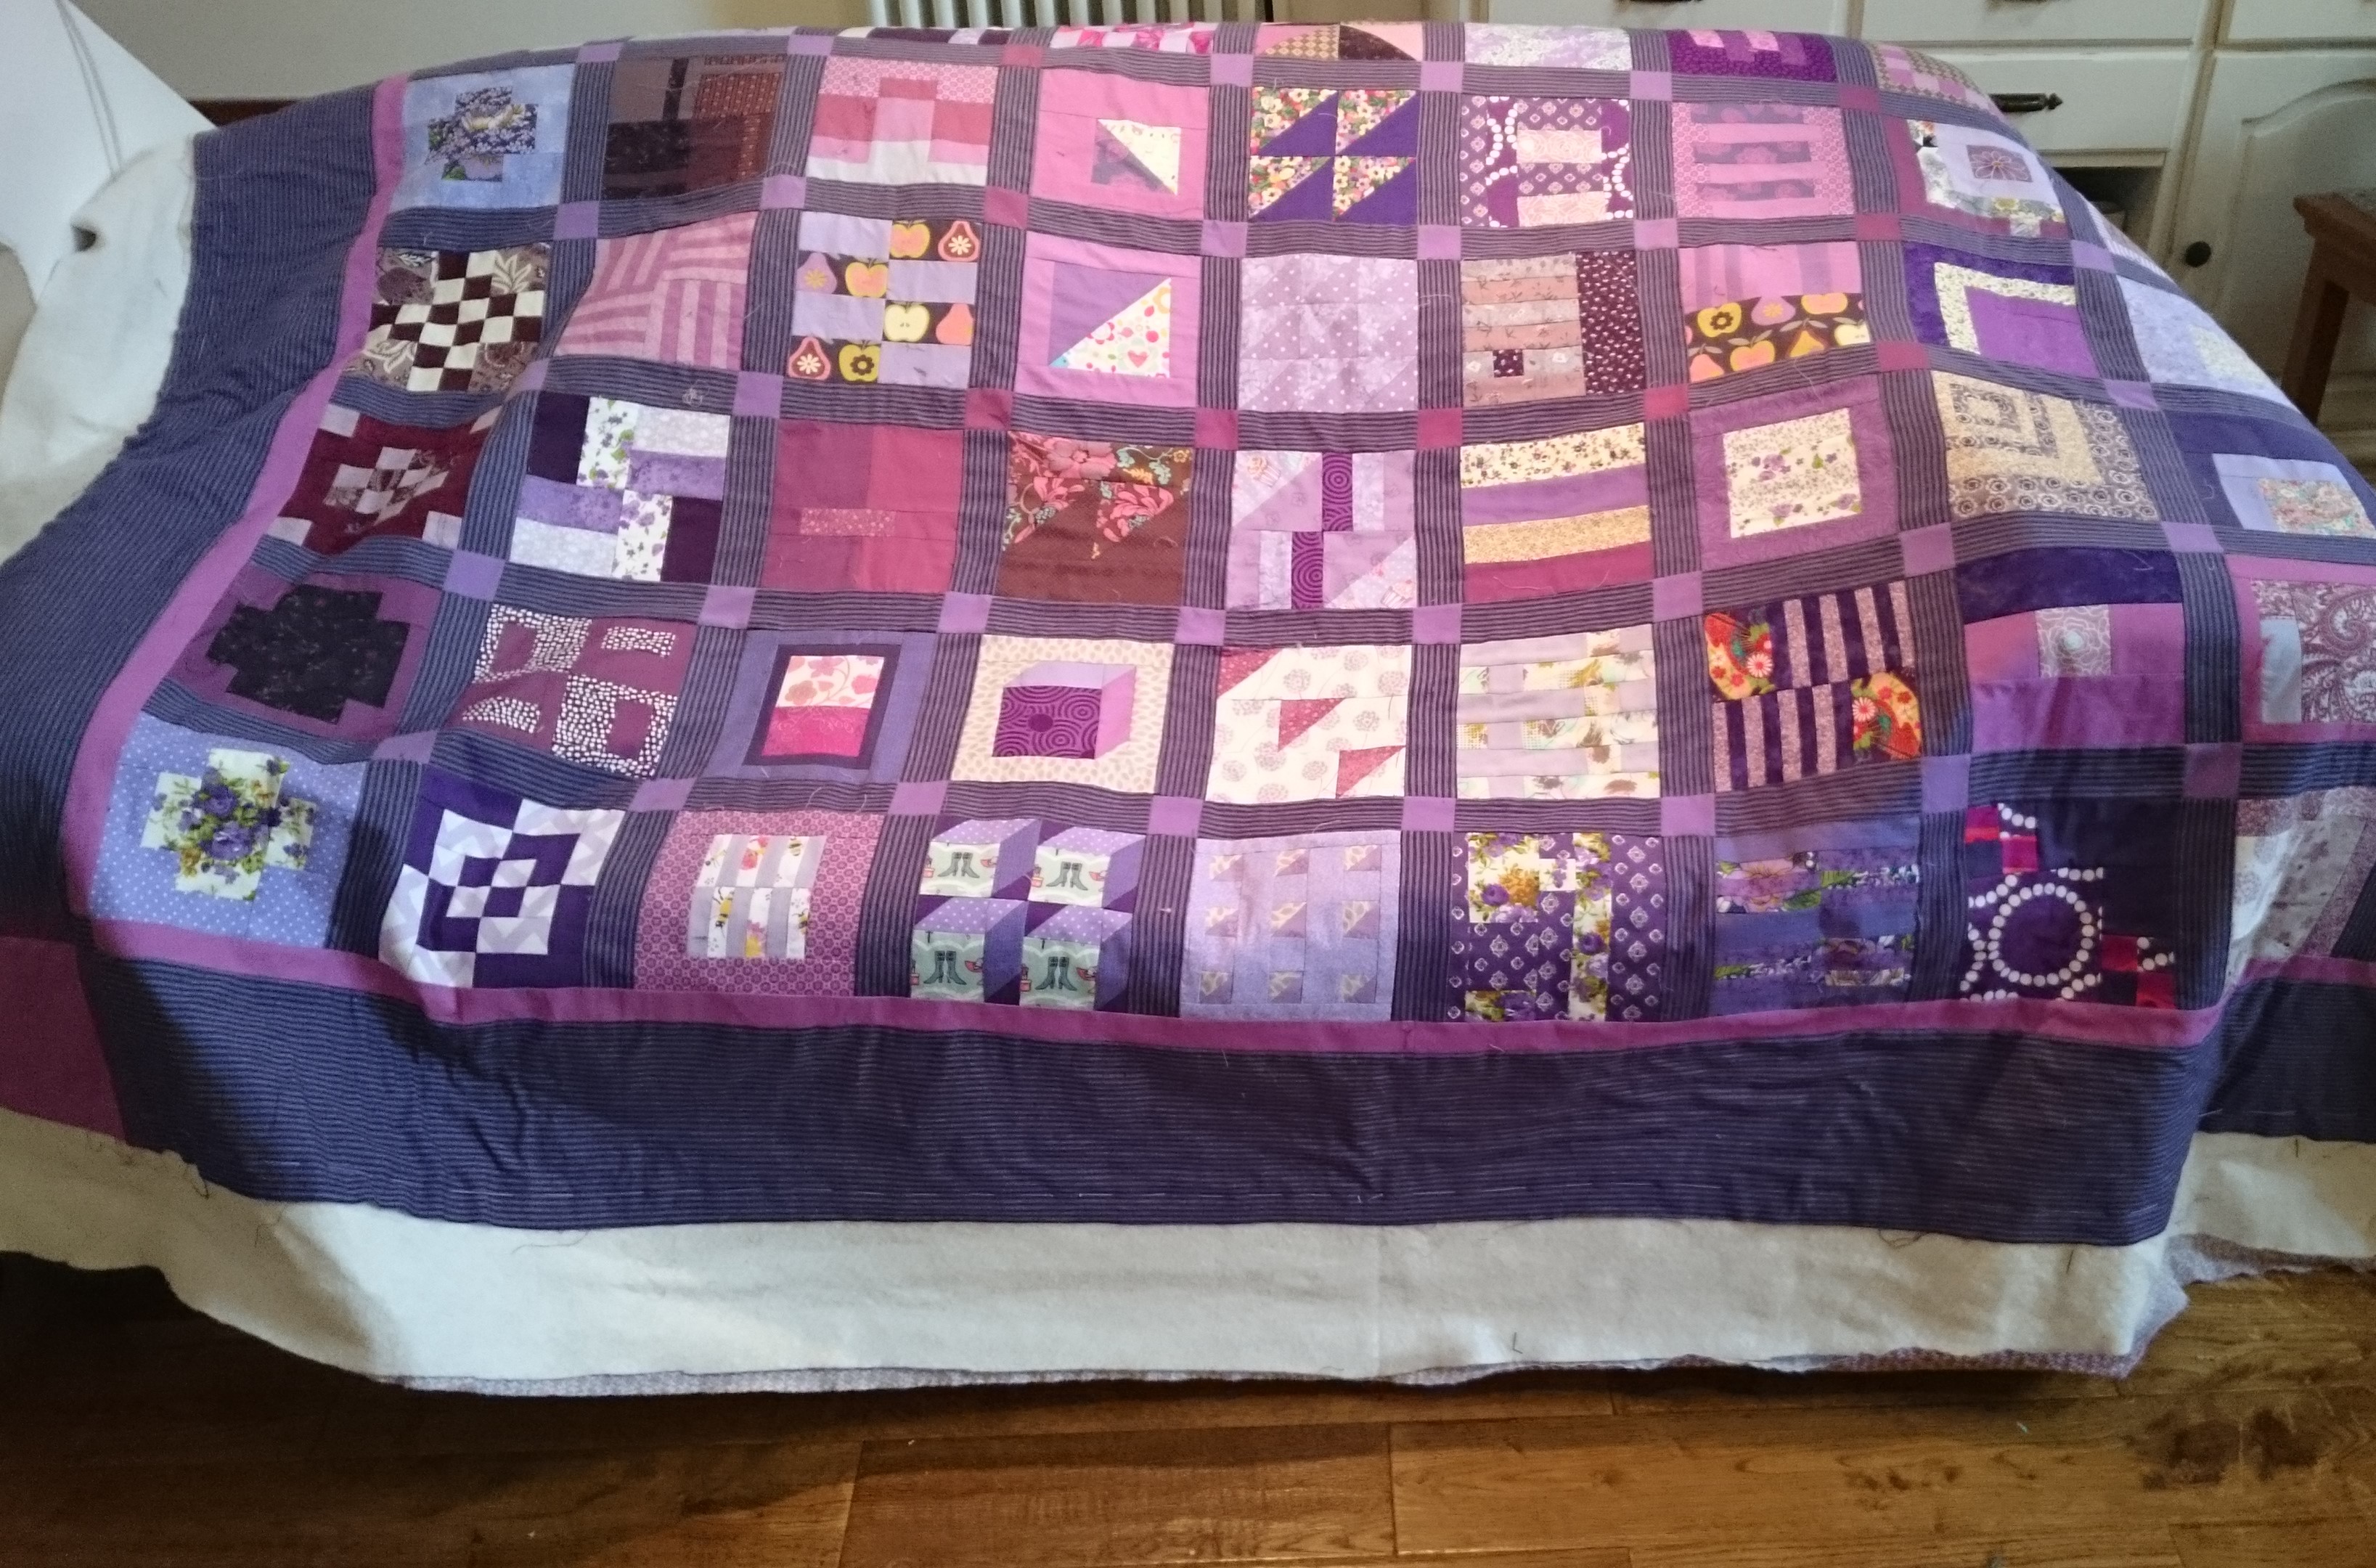 If you would like to read this blog every week, look for the words ‘Follow this blog by email’ and enter your email address. The blog posts will arrive each Monday in your in-box. If you would like to receive my special monthly newsletter, complete with colour inspiration, design inspiration etc, click here. I will never share your email with anyone.
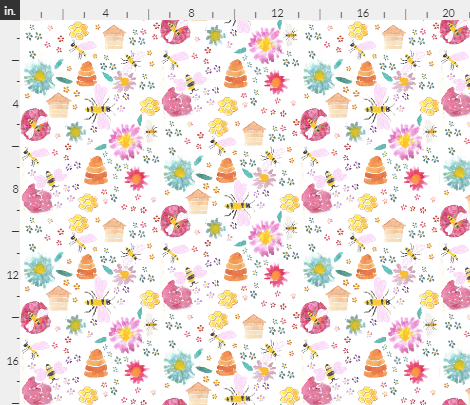
This is my ‘Bees and Bumble-bees’ fabric. There are a few pieces of it the quilt above! You can find it here.
Thank you for reading my blog. Quilt patterns are here, Fabrics are here, Classes are here

7 thoughts on “How to layer up a quilt”