I hope that followed instructions given each month of last year to make a sampler quilt. You can find links to all the blocks in the December blog post here
.Last week, I told you how to put sashing strips between the blocks, to separate them out and to highlight them. This week the post is about adding borders.
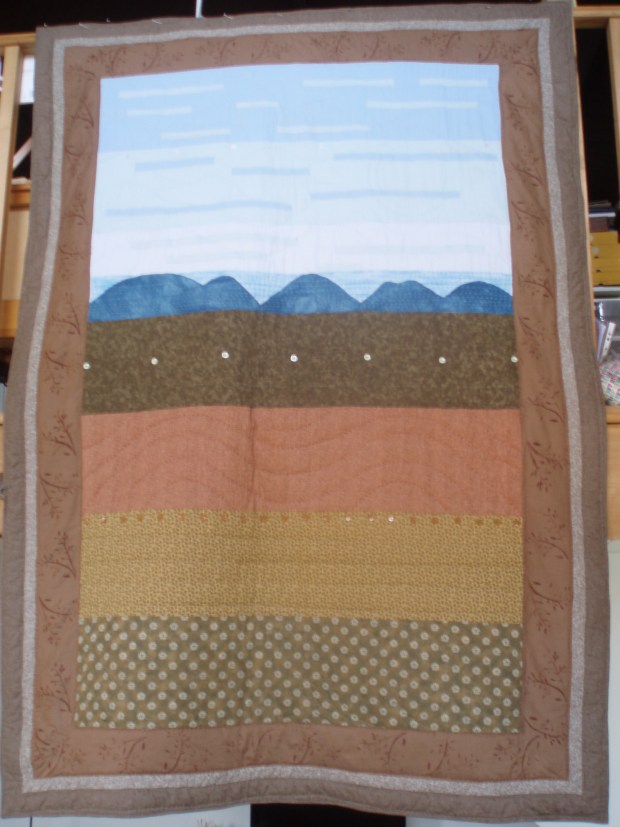
I decided to keep going with my ‘low-volume’ print (the small white polka-dot on navy) that I used for the sashing and use the same fabric for the border. Often, I would choose a different fabric for the border – and might even add extra decorative features, like the stencilled pattern in a border of my ‘Blue Mountains’ quilt, shown below (this quilt has three borders!
For the sampler quilt, we’re going to keep things simple, with a single border.
You will need 1½ yards of fabric 42″ wide.
For the top and bottom borders, cut – across the width of the fabric – four pieces 6½ x 27½” and for the side borders cut four pieces 6½ x 29½”
1 Join the short ends of the two pieces for the top border with a quarter-inch seam. Press.
2 Repeat step 1 for the bottom border and for the two side borders.
3 Attach the side borders first. Find the centre of the left-hand side of the quilt top and insert a marker pin.
4 Lay the side border right sides together on top of the quilt top with the central seam in the border aligned with the marker pin.
5 Now pin the outside ends of the border to the quilt top.
6 Then insert pins, at right angles, every three inches or so from the end pin to the centre and then from the centre to the pin at the far end.
7 Stitch on the machine, with a quarter-inch seam, taking out the pins just before the machine needle gets to them.
8 Press the seam, then open up the border and press again, pressing the seam allowances outwards towards the border.
9 Follow steps 4-8 with the right-hand border.
10 Attach the top border in the same way. The top border rests on top of the side borders in this quilt.
11 Finally, add the bottom border in the same way.

Next week, on the blog, how to layer up your quilt and add the quilting.
Thank you for reading my blog. Quilt patterns are here, Fabrics are here, Classes are here.
Click the ‘Follow’ button to get a blog-post by email each Monday and click here if you would like the monthly newsletter with design and colour inspiration, etc.
