This week’s post is a free pattern to make a drawstring bag, perfect for a shoe-bag (for children, for travel, etc) for a gift-bag (great to hide a pair of slippers in), a knitting bag – or what you will! It’s a very sturdy bag as the construction uses French seams and the way the casing is added makes the drawstrings function really well.
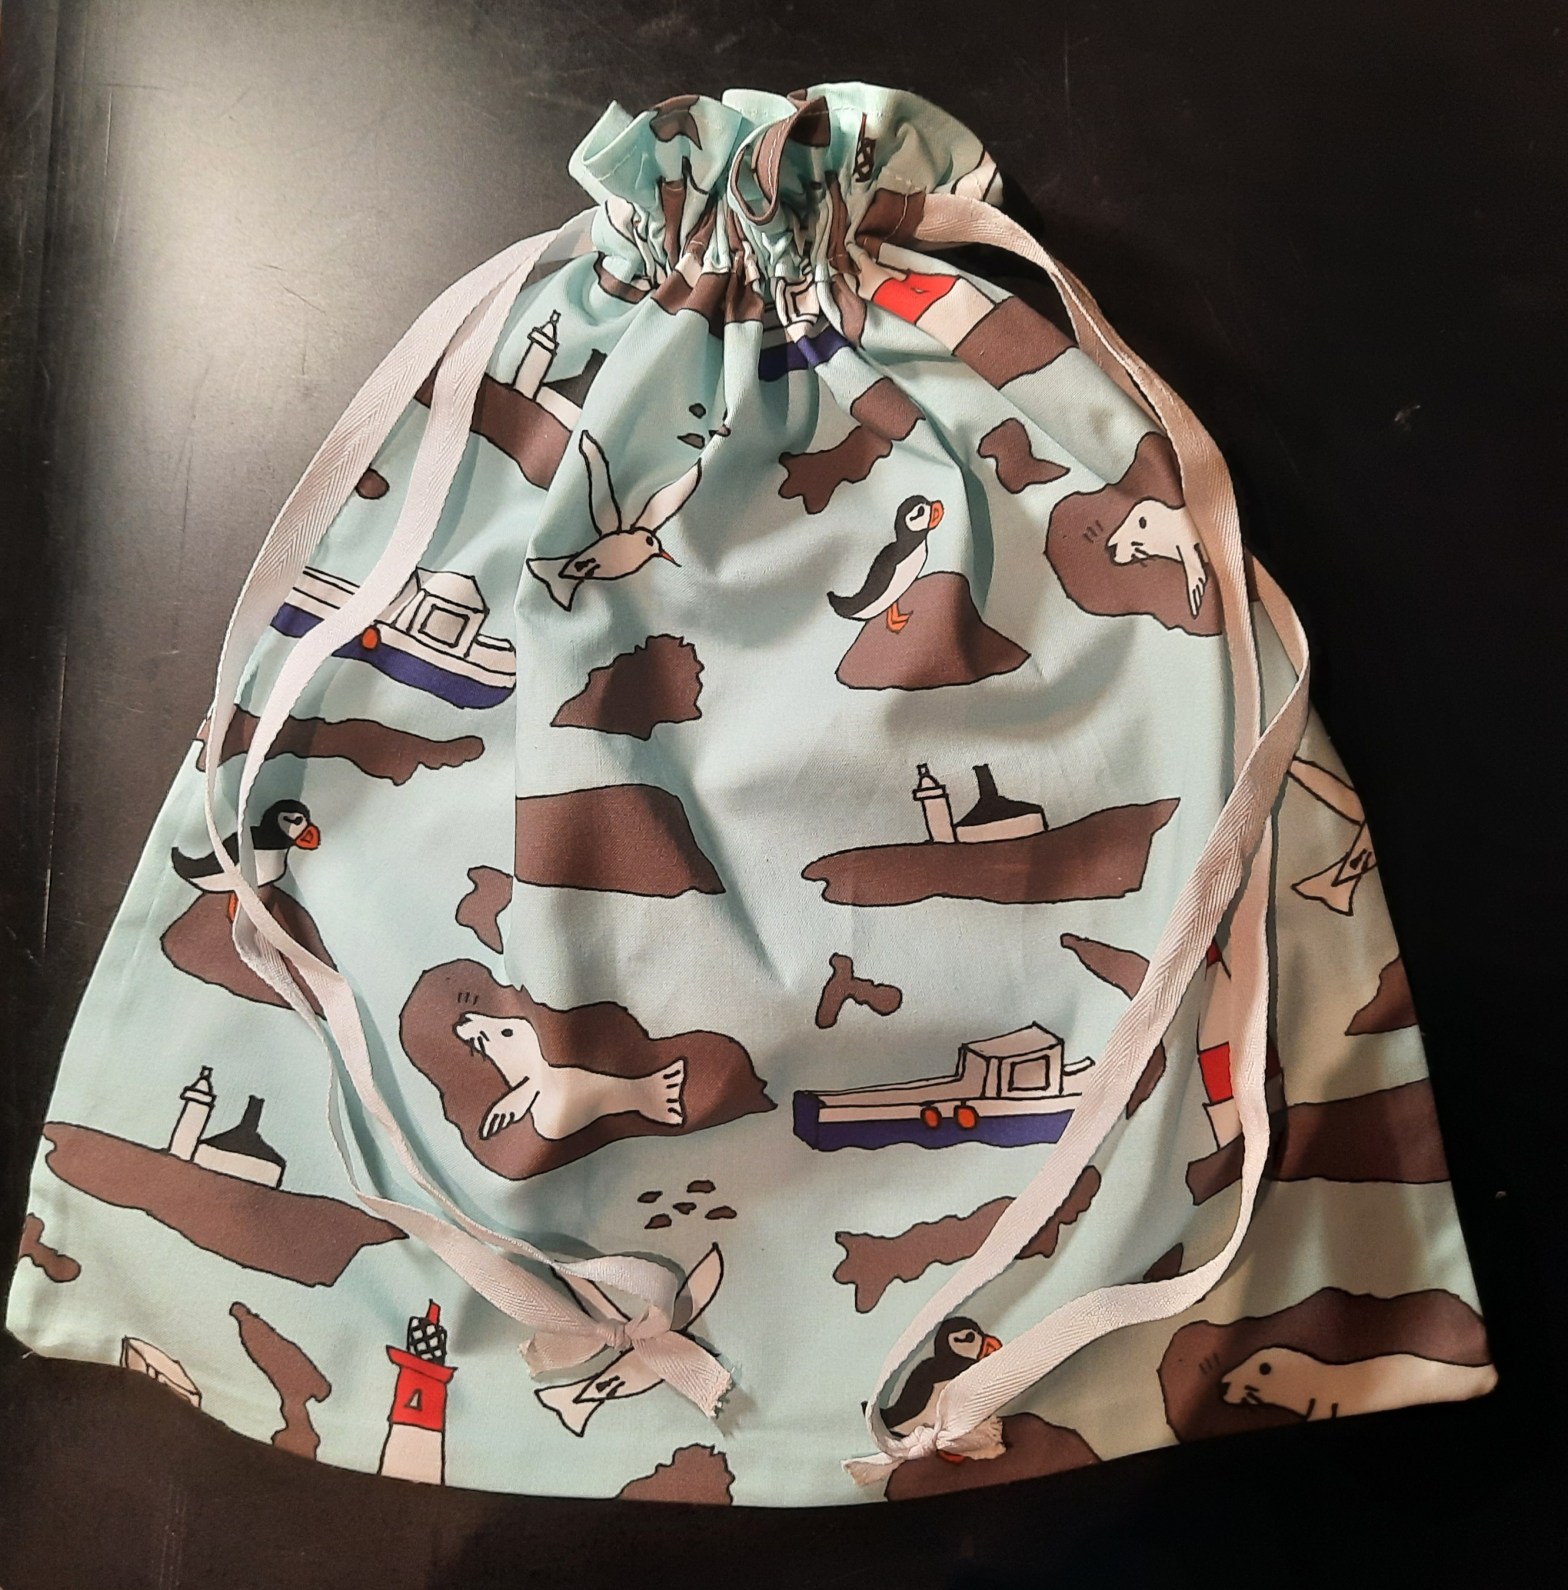
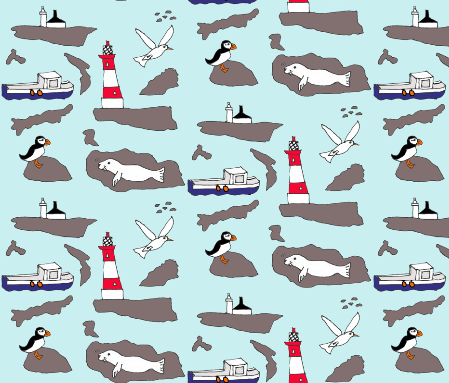
To make the bag you need ½ yard (50cm) of fabric 42″ (107cm) wide. The fabric used here is my ‘Farne Islands’ design on Petal Cotton. One yard of fabric will make two bags. (You can find the fabric here)
You also need 2¼ yards (2.05m)of white woven tape ½” (12mm) wide and coordinating sewing thread.
Cutting: Cut two pieces of fabric, each 16½” (42cm) wide and 17″ (43.2cm) long for the bag front and back. From the remaining piece of fabric from the half-yard, cut two strips 14″( 35cm) long and 1¾” (44mm) wide. Cut the white tape into two equal lengths.

Fold under the short ends of the casings ¼” (6mm)and press. Then fold in the long sides ¼” (6mm) and press.

Pin one casing to the front of the bag, 1¾” (44mm) from the top and 1¾”(44mm) in from each side. Removing pins as you go, stitch along the bottom of the casing ⅛” (3mm) from the folded edge, back-tacking at the beginning and the end. Repeat at the top edge.

Do the same on the back of the bag.

Place the wrong sides of the the front and back together and stitch round three sides with a ¼”(6mm) seam, leaving the top open. Raise the presser foot and pivot on the corners, as shown.

Press the bag well.

Turn the bag to the wrong side. Stitch round three sides of the bag again, with a ½”(12mm) seam, enclosing the previous seam, leaving the top of the bag open.

Turn the bag to the right side and press. Press both side seams towards the back of the bag. Turn over the top raw edge ¼” (6mm) and press, then turn another ¼” (6mm) and press again. Stitch along the top as shown.

The stitching at the top of the bag is ⅛” (3mm) away from the top fold.

Fold over the end of one of the pieces of tape and insert a safety pin. Push the pin through the channel on the front side of the bag.

Then, without twisting the tape, push it through the casing on the back of the bag.

Tie a knot in the two ends of the tape.

Insert half the second tape from this side into the casing across the front and the other half of the tape into the casing at the back, using the safety pin as before.

Knot the two ends of the second drawstring.

Using a zig-zag stitch (stitch width 3, length 1) sew to and fro at the ends of the tape to prevent fraying.

Give your bags as gifts, sell some for charity or enjoy them yourself!
Thank you for reading my blog. Quilt patterns are here, Fabrics are here, Classes are here
Click the ‘Follow’ button to get a blog-post by email each Monday and click here if you would like the monthly newsletter with design and colour inspiration, etc.
