
When you join two pieces of fabric to make a quilt block, you sew each seam one quarter-inch (6mm) away from the raw edges. If you are new to quilting, you may be surprised to discover that the seam allowance is so small! If you have come from a dress-making background, you will have been used to seam allowances that are all five-eighths of an inch (1.5cm). So how do you achieve an accurate quarter-inch seam? Why is accuracy important?
Why is accuracy important?
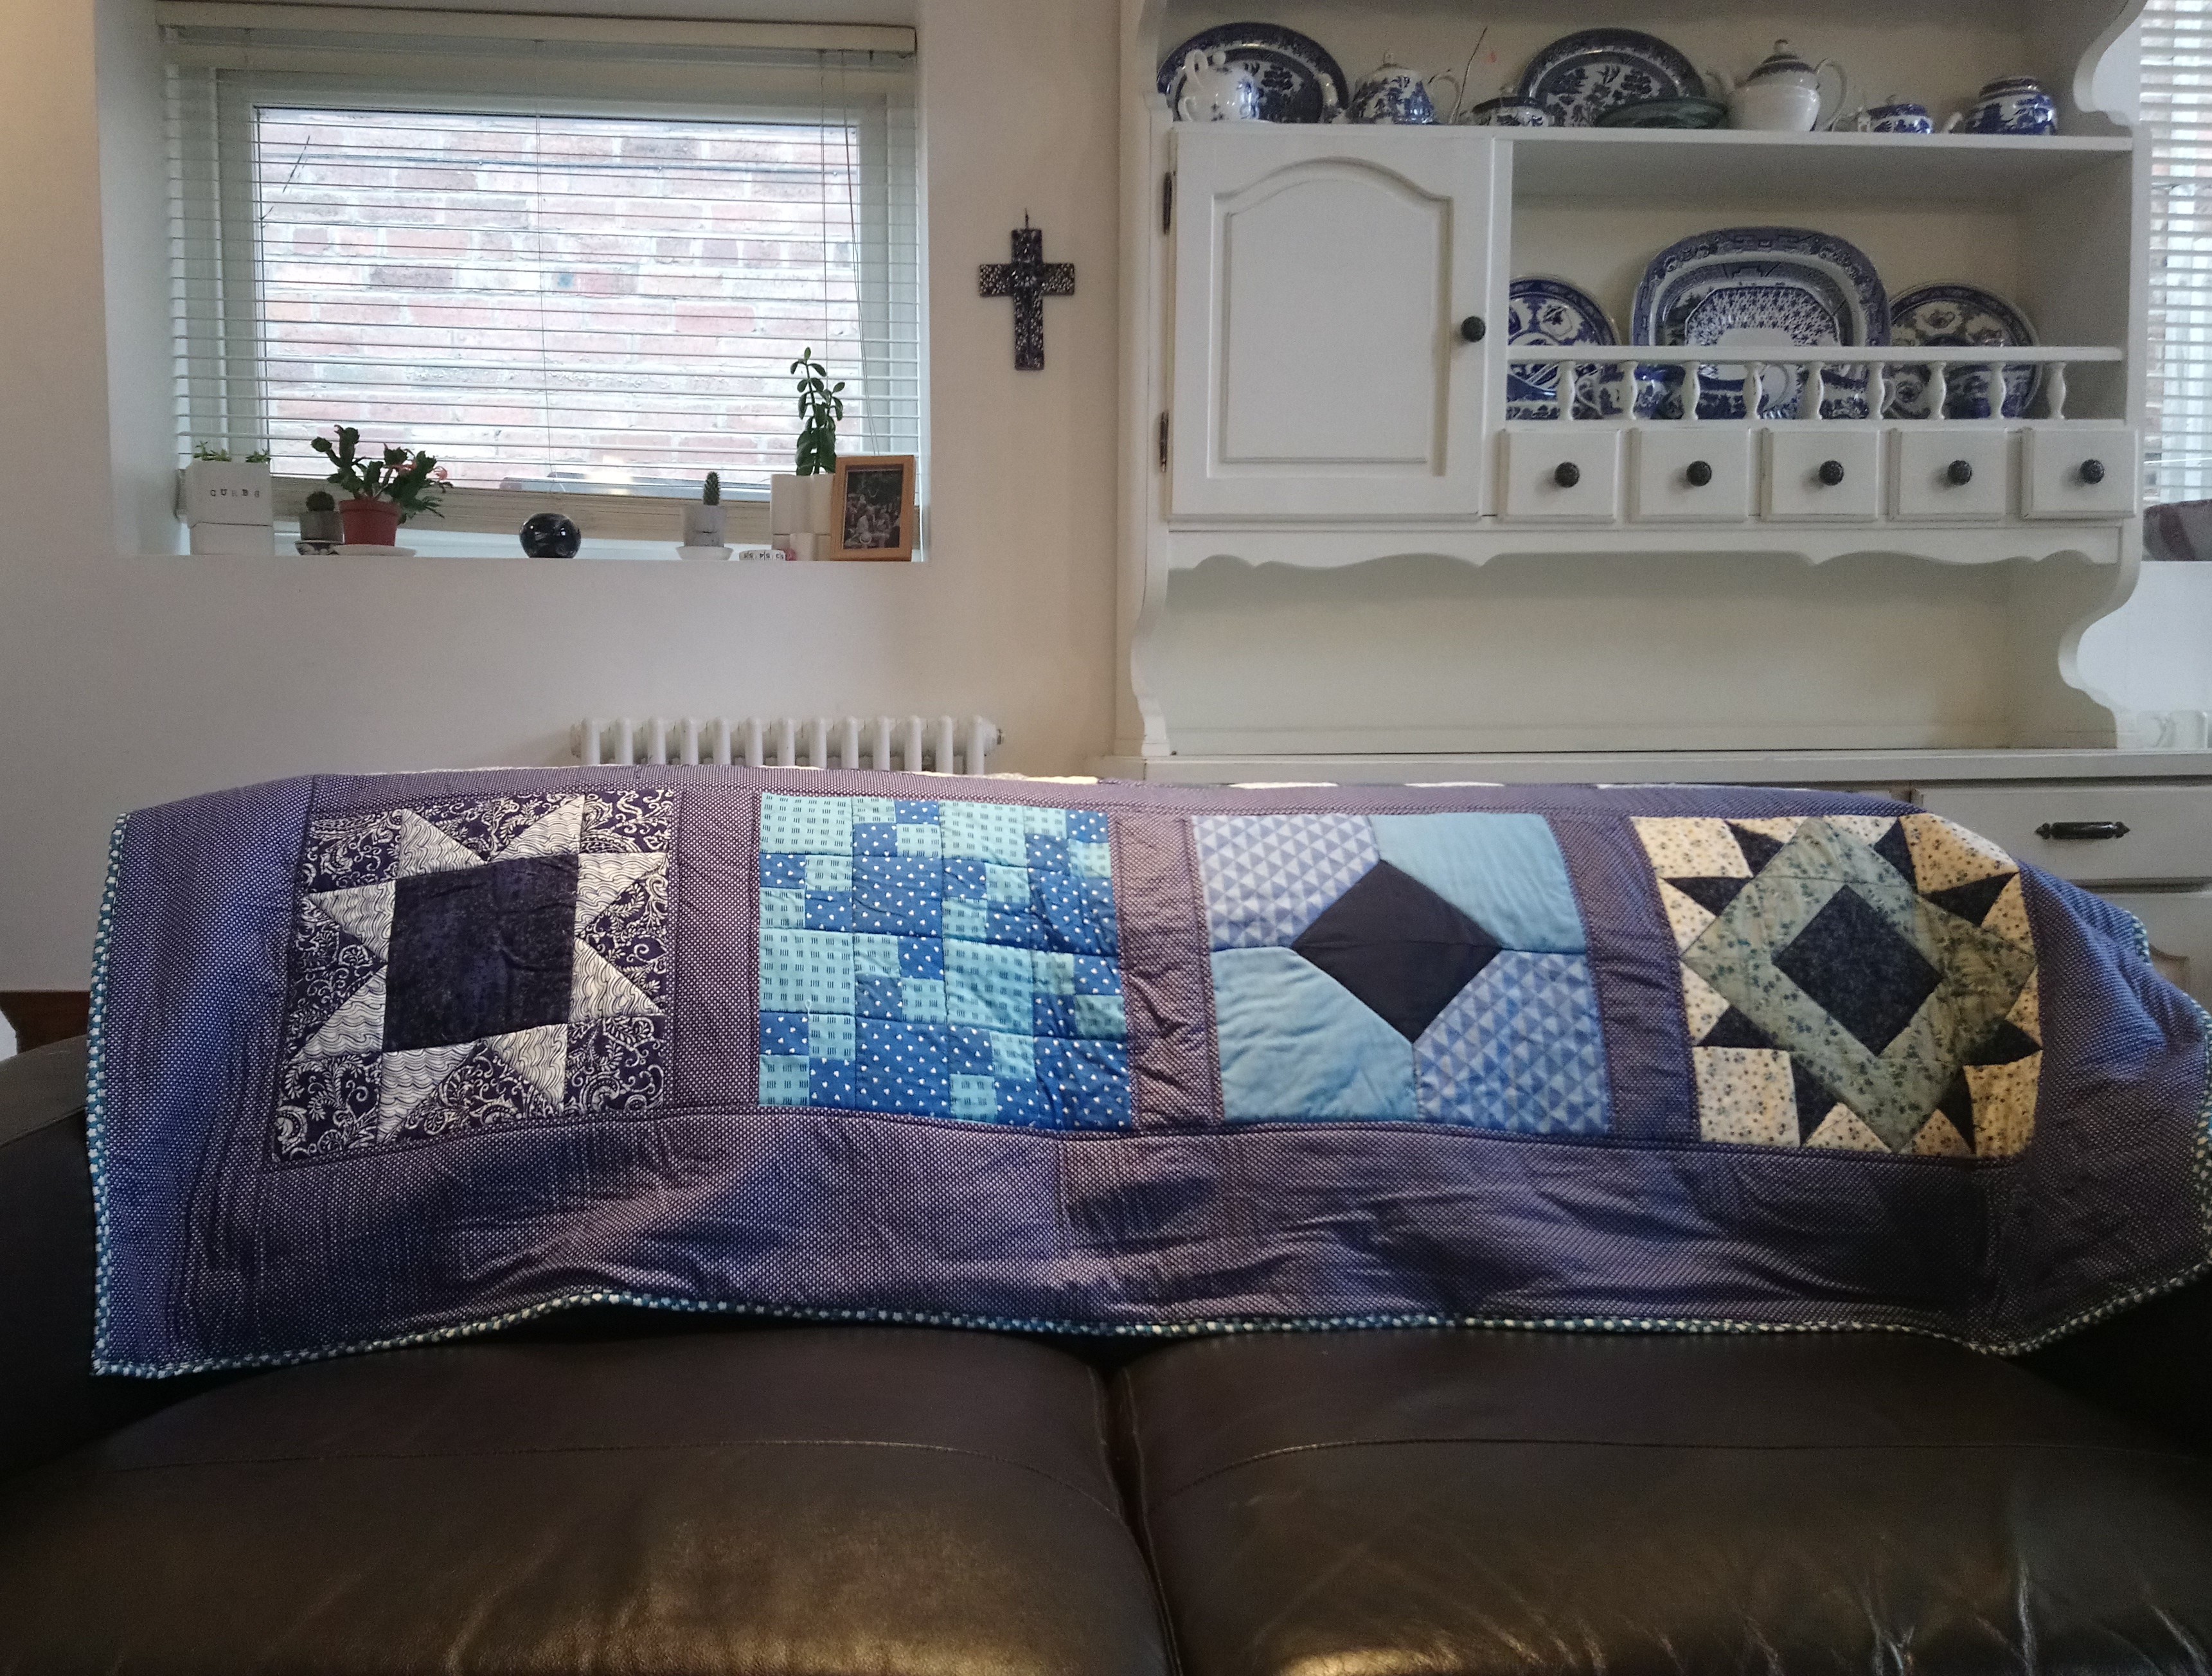
To answer the accuracy question first, here is a patchwork block I made recently:

The block will measure twelve inches square when it is stitched into a quilt. Each coloured square measures two inches. The squares are cut out at two and a half inches square. Each square is two inches by two inches when finished. You can see that the squares will only match up with each other if every single seam in each row measures a quarter inch and if all the rows are joined with exact quarter-inch seams. Any slight inaccuracy on any of the seams will make the finished block too big or too small.
In a sampler quilt like ‘Singing the Blues’, which was a quiltalong here in 2019, each block measures twelve inches square but all the blocks are different. (The link to the instructions is here.) Unless each seam in each block is a quarter-inch, the blocks won’t line up and look right together.
Now, for how you can sew an accurate quarter-inch seam yourself.
A quarter-inch foot
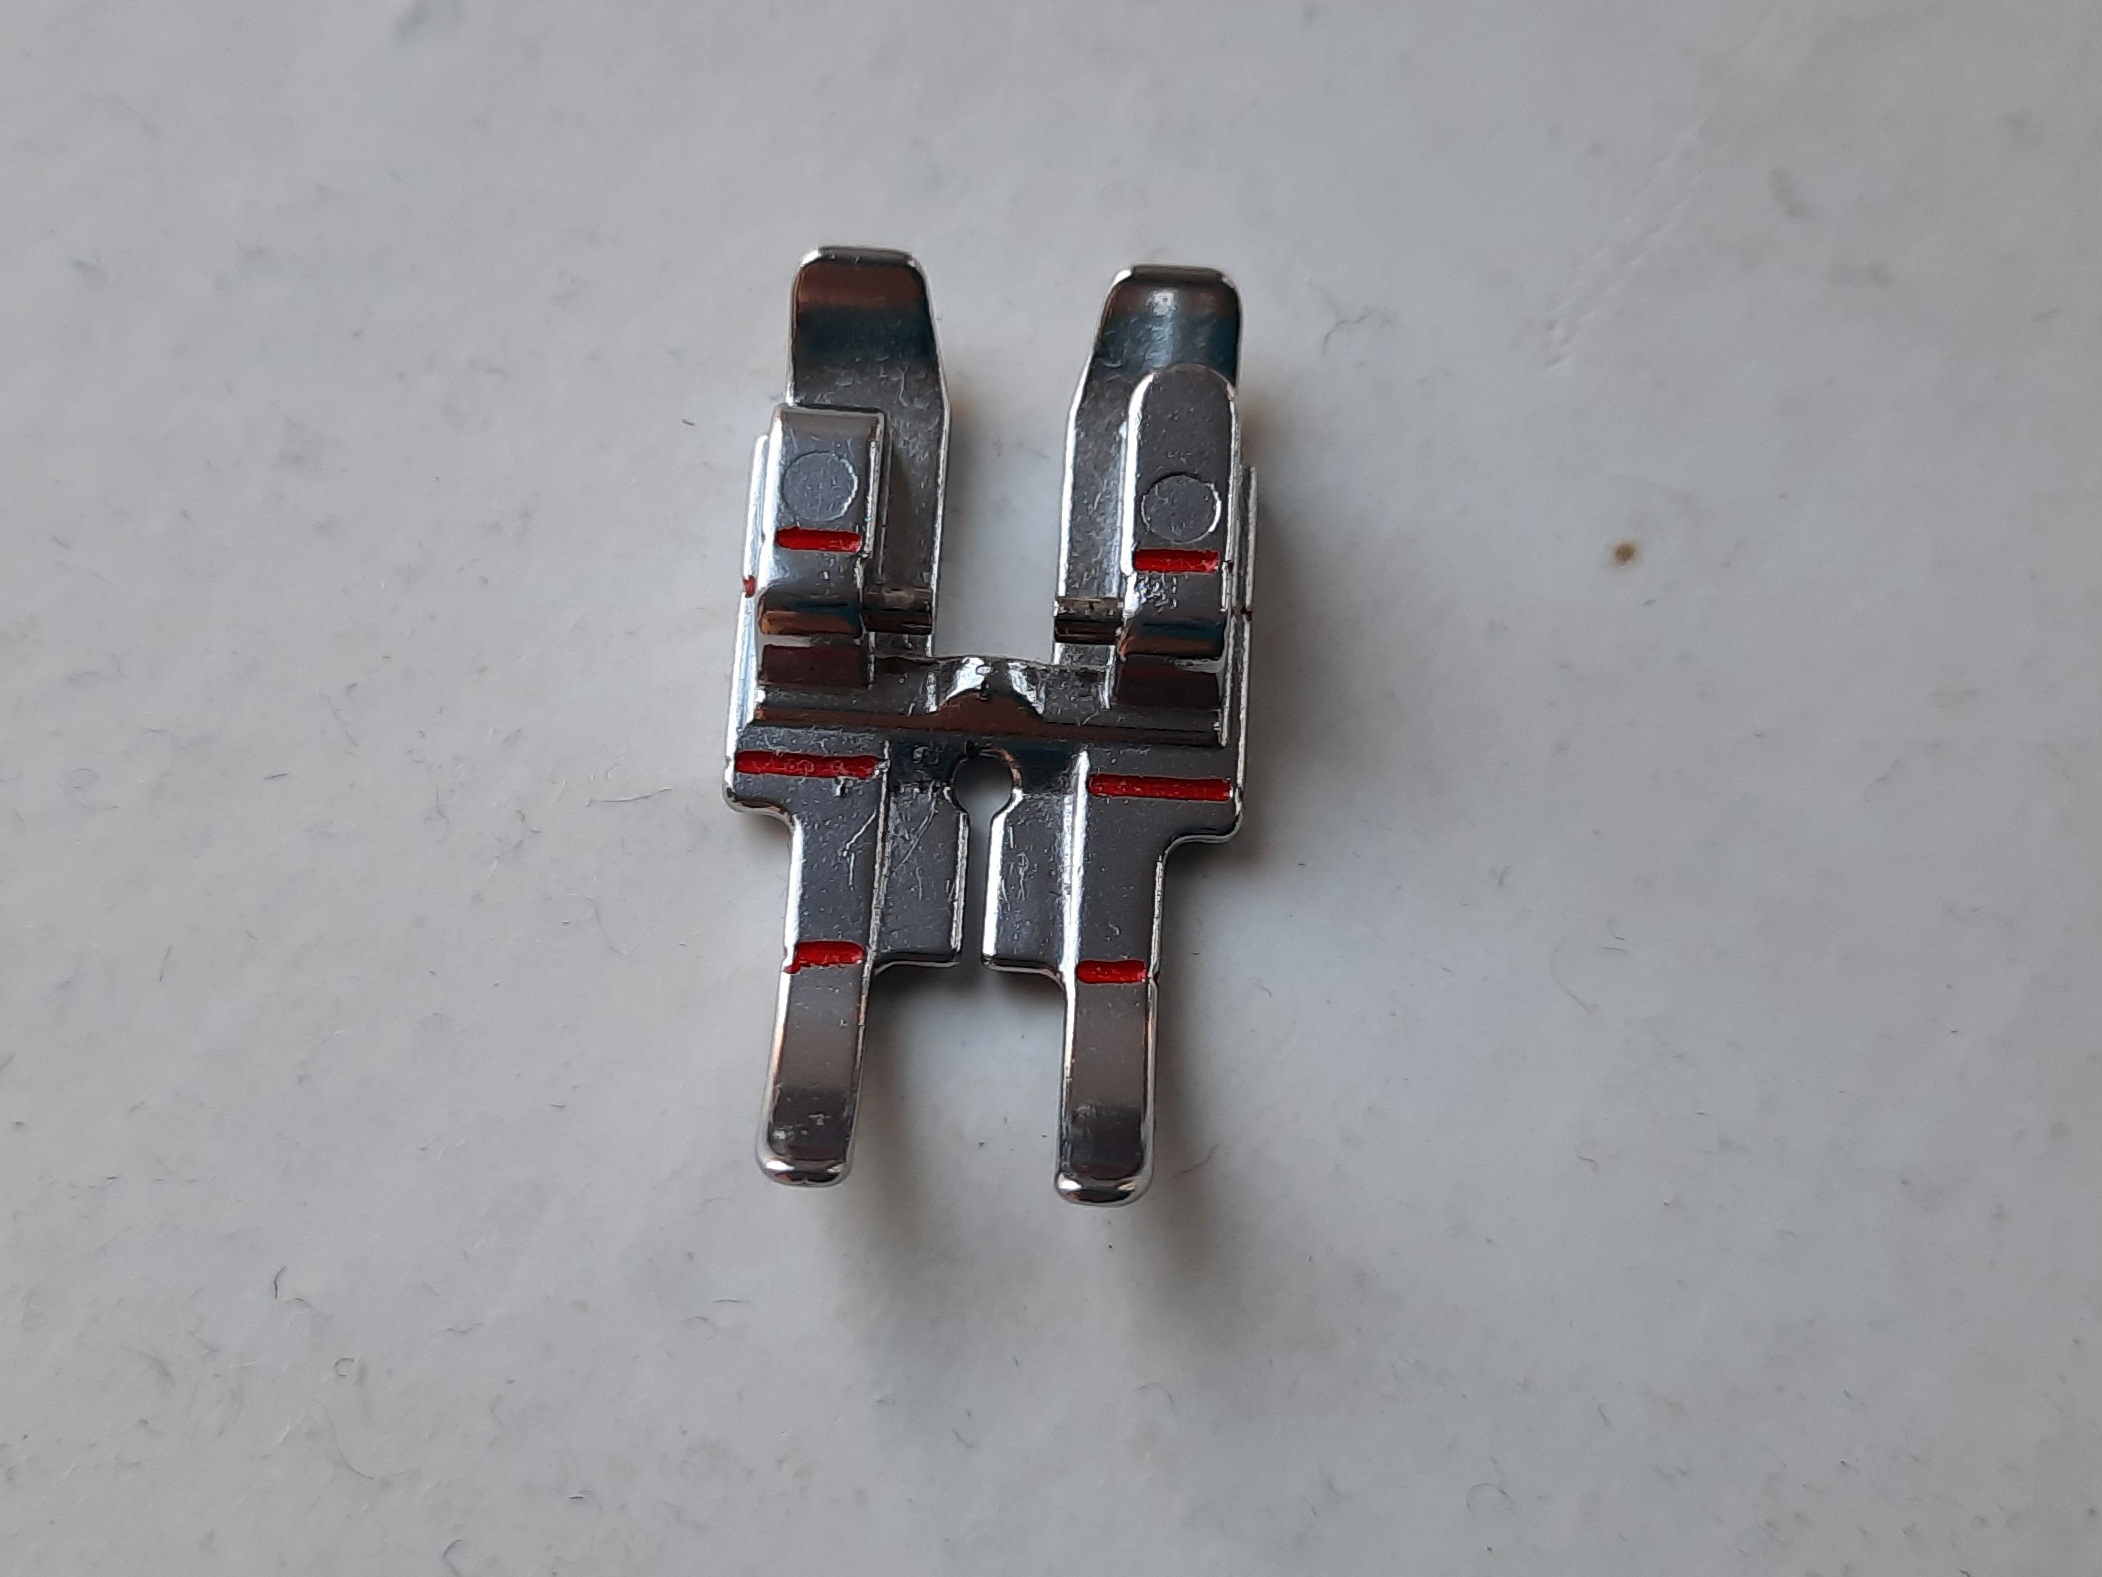
1 Look in your sewing machine accessories box and see if you have a quarter-inch foot. On this foot, the distance between the outside of the foot and the sewing machine needle (when the foot is attached) is exactly quarter of an inch. If you don’t have one, it is well worth considering buying one as it makes quilt blocks so much easier. All you have to do is line up the raw edges of your fabrics with the outside edge of foot and your seam will be in exactly the right place. This is the foot for my Pfaff machine.
A single-hole stitch plate
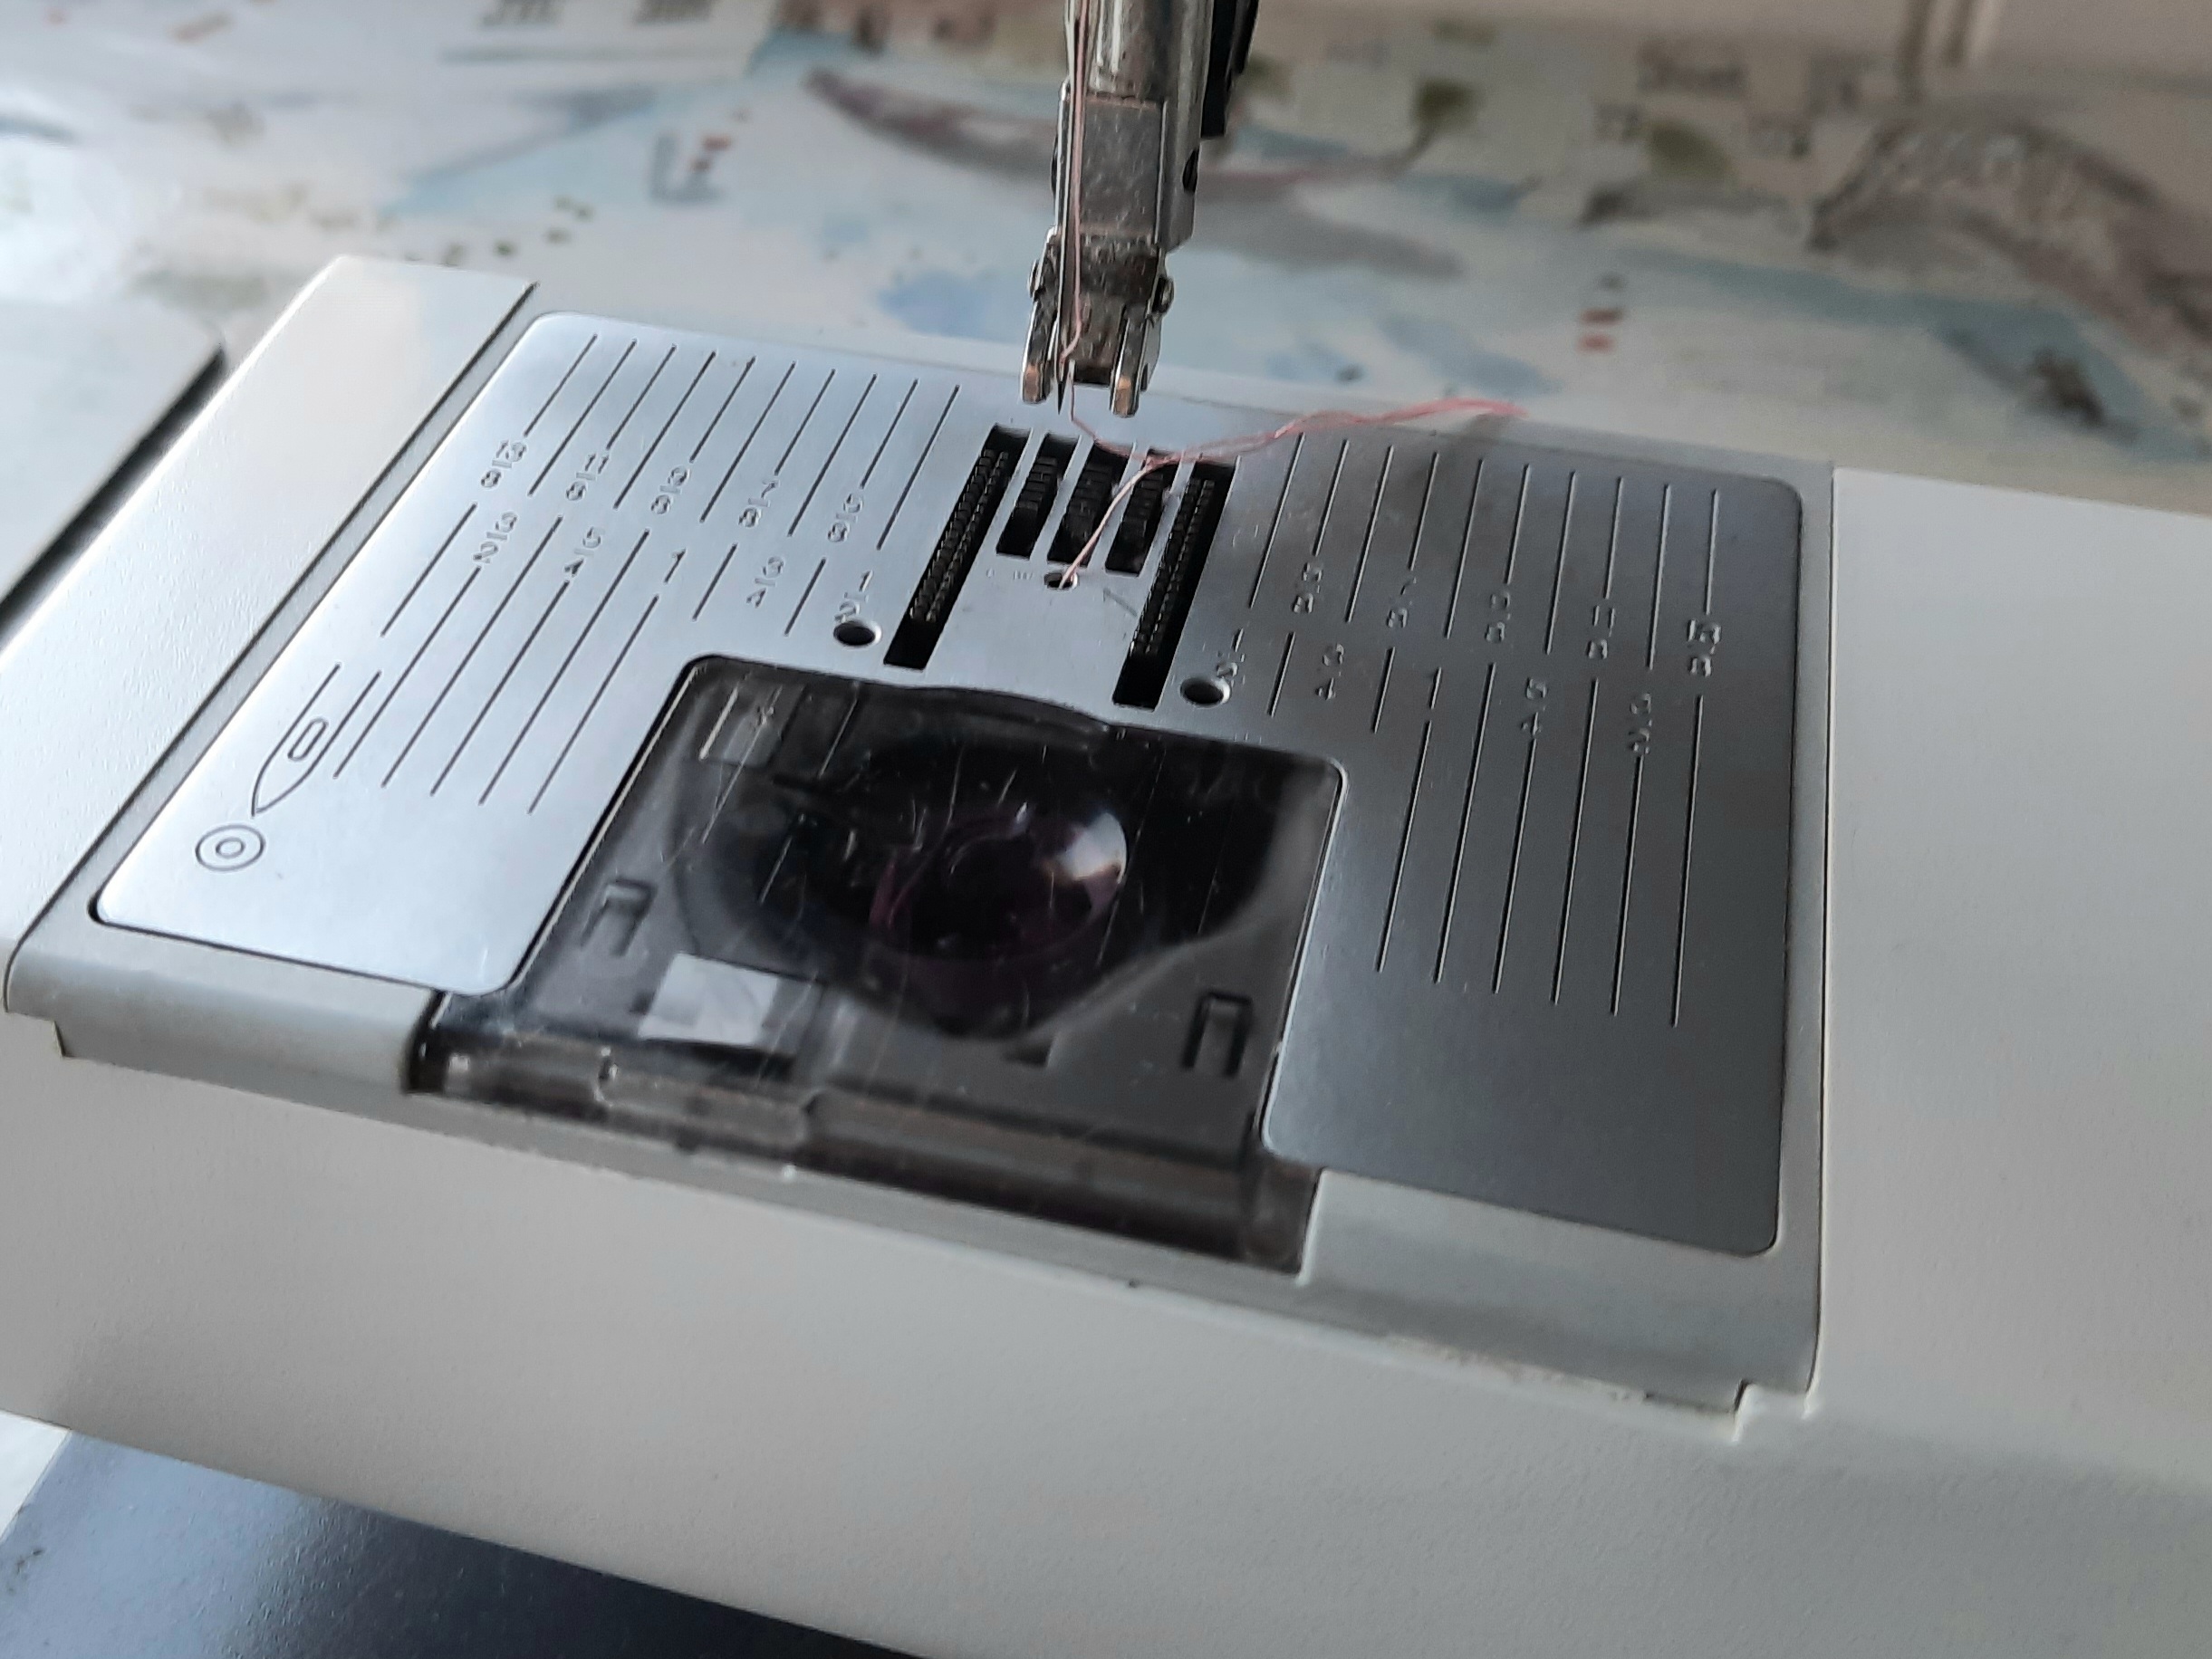
2 Another very useful tool is a single-hole stitch plate. Pictured below is the one I purchased (as an extra) for my Pfaff machine. You can see that the pink thread from the bobbin is coming up through a small central hole rather than through the much wider slit on a regular stitch plate. The small hole helps to stop small pieces of fabric being drawn down into the gap when you are sewing and so it helps the accuracy of the seam. It is really important to remember that you can only do straight stitching using this stitch-plate. You can see the reminder marker engraved into the bottom left of the plate. If you try to do anything else (like a quick zig-zag on another project) your needle will snap!
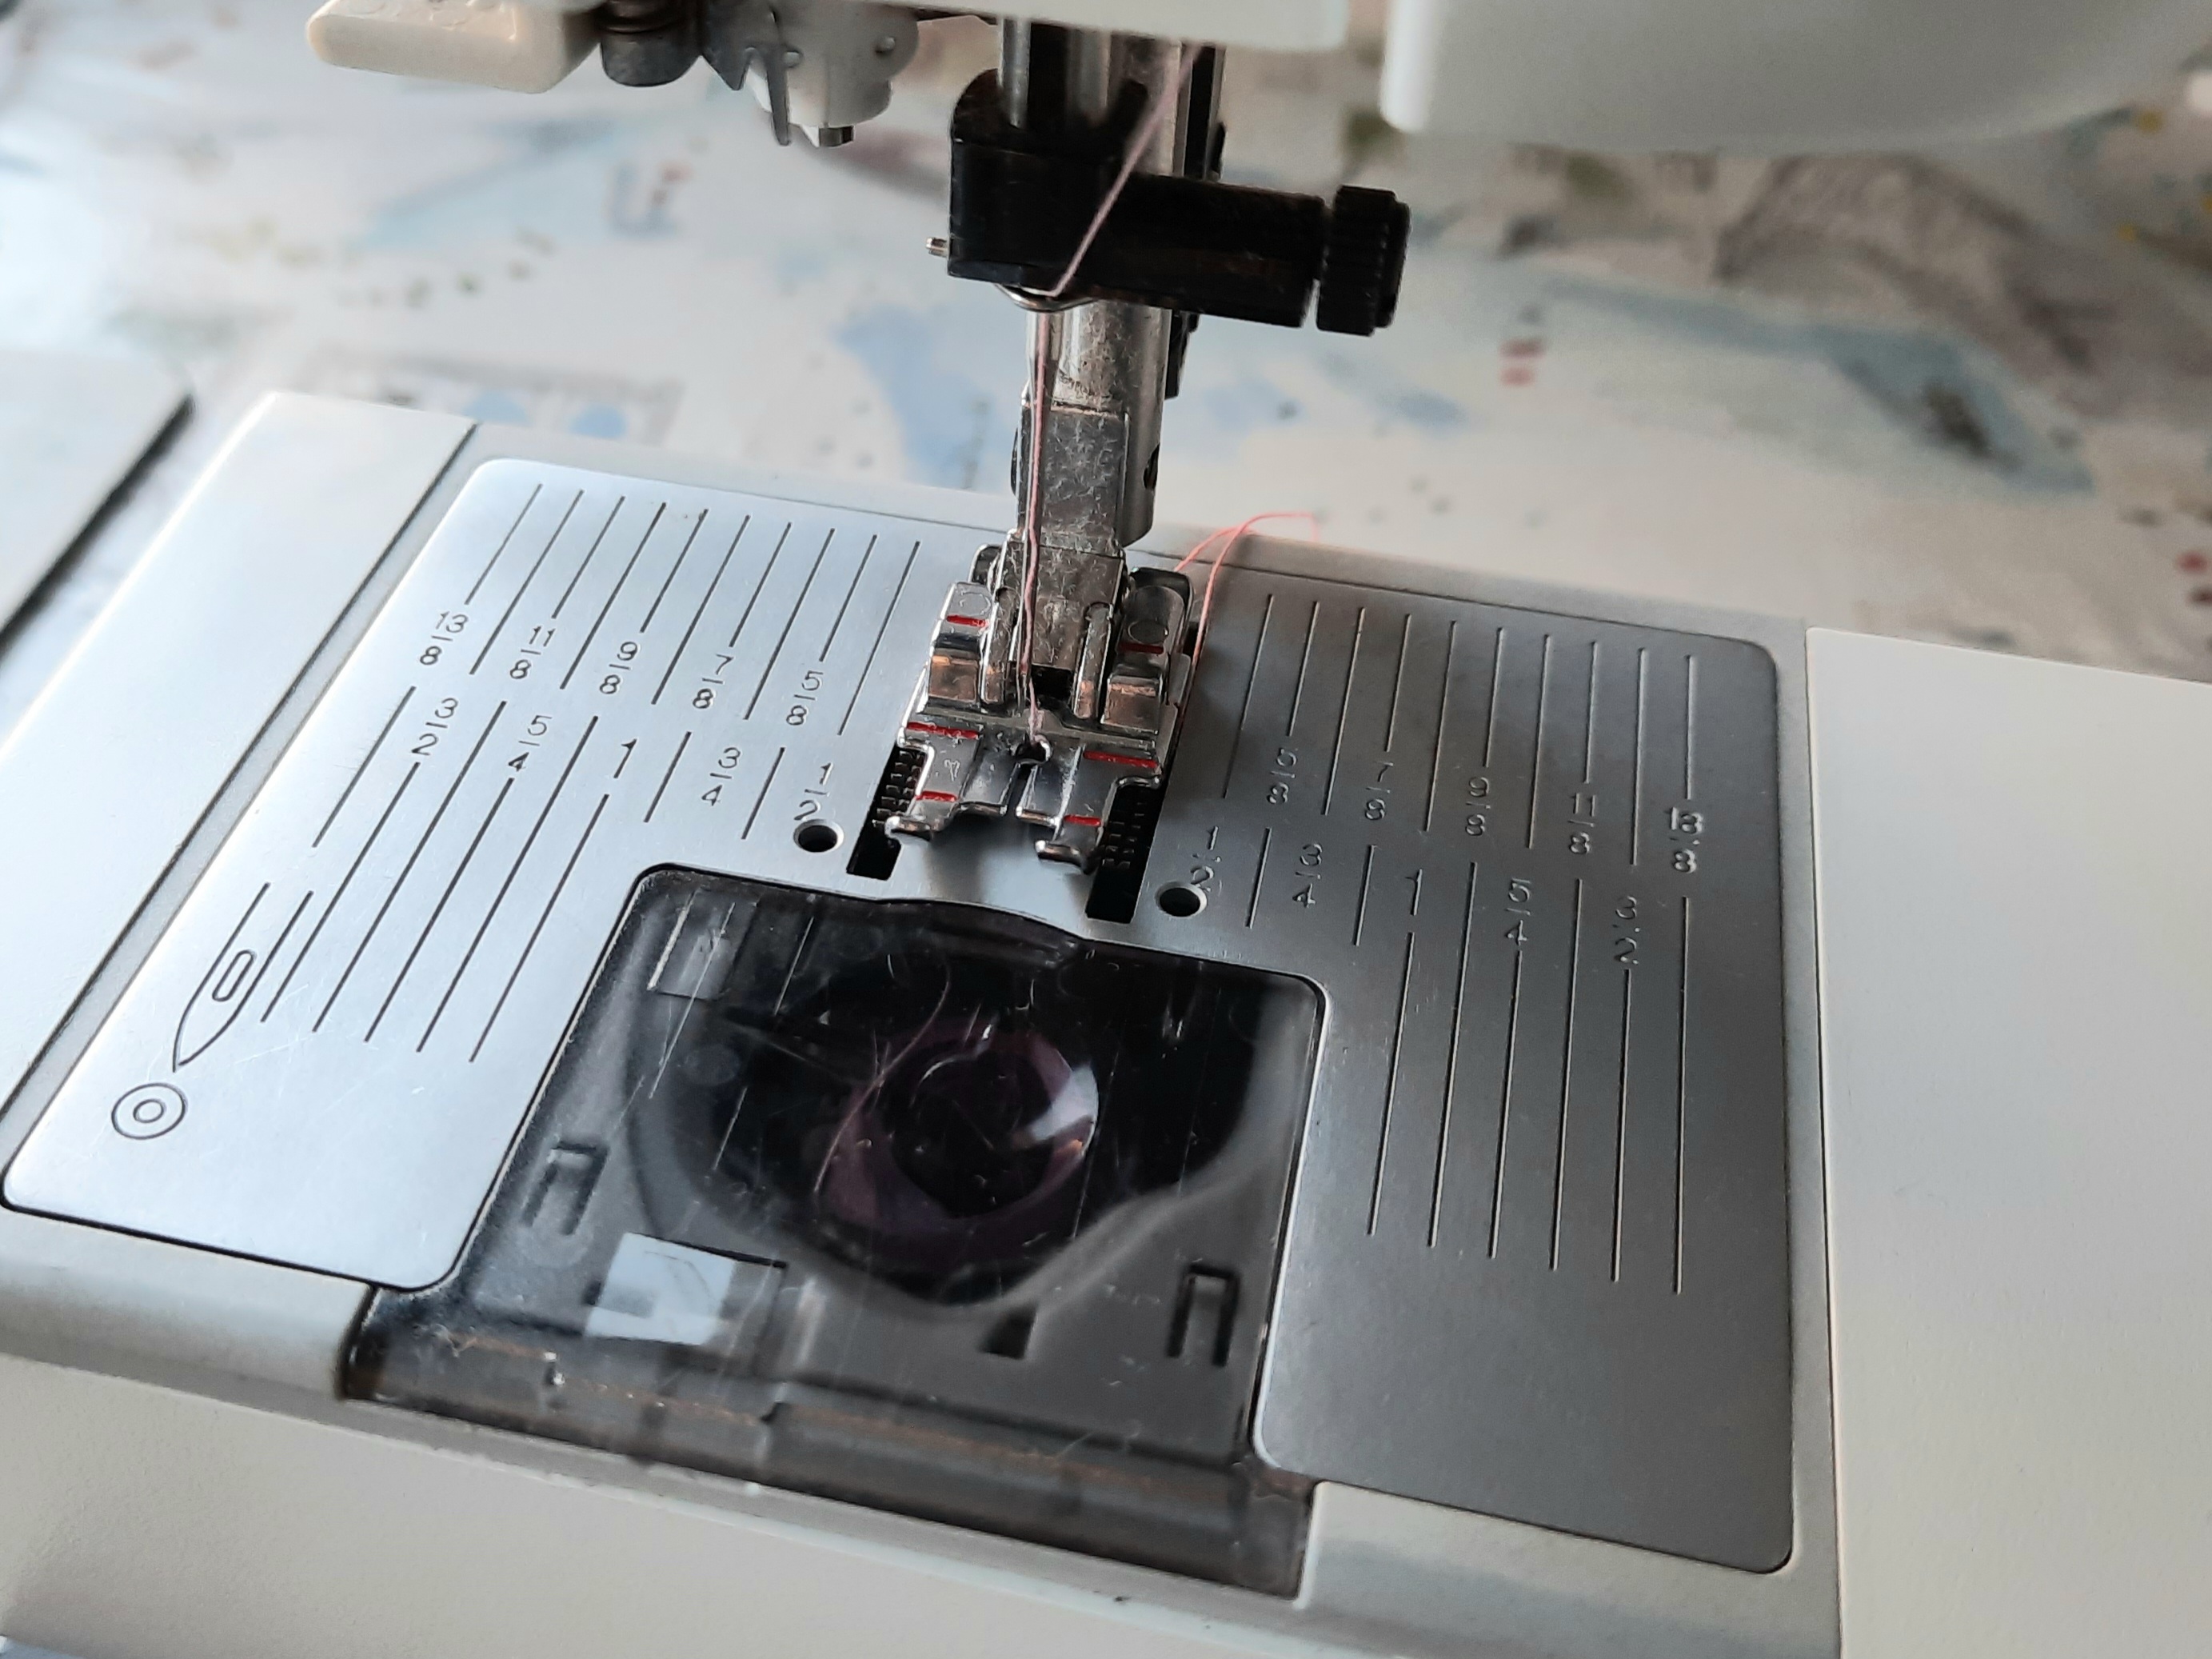
Here is the quarter-inch foot, lowered onto the stitch plate. You can see that the edge of the foot lies exactly a quarter-inch away from the half-inch guide on the stitch plate.
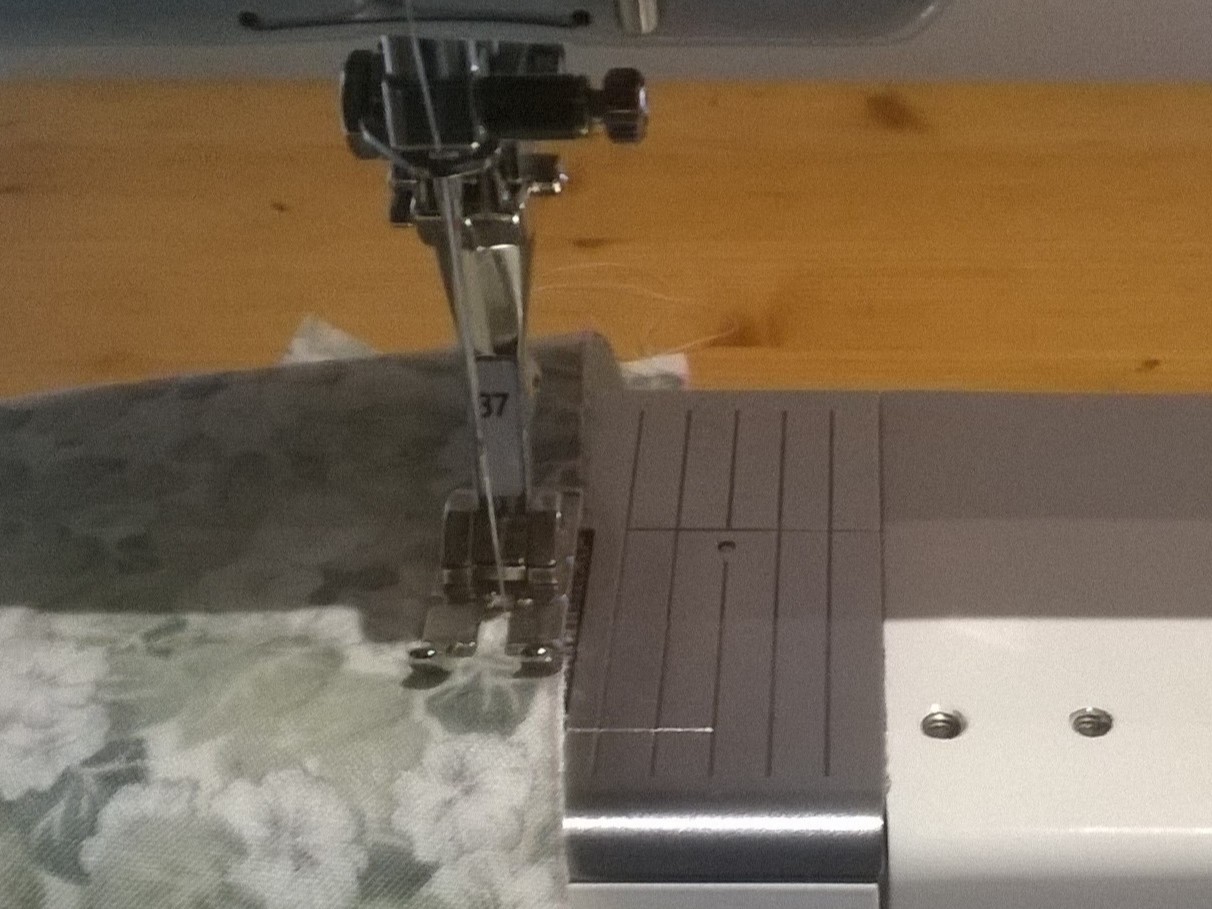
(By the way, I also bought a quarter-inch foot (foot number 37) and single-hole stitch plate – seen below – for my Bernina machine, because I use both machines for piecing. I have never regretted the investment!)
Other options for accurate stitching
3 If you don’t have either the special foot or stitch plate, you can improve your accuracy in different ways.
(a) You can use the markings on the stitch plate to line up your fabrics – in the photo of the Pfaff machine, the quarter-inch line is exactly on the far edge of the feed-dog opening.
(b) You can put a small, narrow strip of masking tape on your regular foot at a quarter-inch distance from the needle. You then line up the raw edge of your fabrics with the strip of tape rather than the edge of the foot.
(c) You can put a small strip of masking tape down on the stitch plate, in front of the foot, in the correct position, a quarter-inch across from the needle position. (On my Pfaff machine, the strip would need to be placed on the plastic cover above the bobbin.) Make sure your tape doesn’t go over the feed dogs. You then line up the raw edges of your fabrics against the tape.
(d) You can use the quarter-inch marking on your quilting ruler to rule a line in pencil on the fabric. Lay the ruler on the fabric so the raw edges are on the quarter-inch mark and draw a line along the ruler. Use a propelling pencil or a regular pencil with a very sharp point. Stitch just inside the mark to allow for the width of the pencil line.
Changing the needle size
4 Using a finer needle for piecing can help you to be more accurate. Try a number 70 needle but don’t forget to change back to a sturdier needle when it comes to quilting.
Choose the thread carefully
5 Consider which thread you will use for piecing. A fine thread will help you to be more accurate.
Measure the seam
6 Ensure that the whole of your seam is quarter of an inch wide! It is easy to start off well and drift a bit wider (or narrower) towards the end of your seam. Try measuring your seam with a tape measure. Then complete your whole block and measure again.
Slow down
7 Stitch more slowly. Some sewing machines will allow you to change the speed, so check your manual. A slower pace will allow you to concentrate on accurate piecing.
Press well
8 Press each seam carefully. The seam needs to be pressed once (with the two fabric pieces held together) to ‘set’ it, before opening the pieces up and pressing again. At this point, you have the option of pressing the seam allowances to one side or you could press your seams open to make sure they are really flat!
‘Practice makes perfect’ – or perhaps ‘Practice makes it better than before!’
Thank you for reading my blog. Quilt patterns are here, Fabrics are here, Classes are here and quilts for sale here
Click the ‘Follow’ button to get a blog-post by email each Monday and click here if you would like the monthly newsletter with design and colour inspiration, etc.
If you are a just starting out as a quilter, ‘Clouds and Smoke’ is a great beginner project. Buy the pattern here

