This post is part of the 2021 Quiltalong. The plan is to complete a double-bed quilt by the end of the year. The fabrics used here are from ‘Summer Bouquets’ collection, available from Spoonflower (here).
The starter post with all the fabric requirements is here. The cutting instructions are here. The first block is here. The second block is here. Making the columns is here. Adding the sashing is here. Adding the internal borders is here. Adding the outer borders is here. Layering up the quilt is here
Quilting tips
When you read a quilt pattern, the next stage is often given as ‘quilt as desired’. But if you have never made a quilt before, here are a few pointers.
You need to know how far apart to do your lines of quilting. This will depend on what wadding you have used and you need to check what the manufacturer specifies. For example, the label on the wadding might say ‘quilt up to 10″ (25cm) apart’. That means that the wadding will not disintegrate inside the quilt if your quilting lines are 10″ (25cm). If there is no label, then a good ‘rule of thumb’ is to make sure that quilting lines are no further apart that the width of your hand.
You can choose to quilt ‘in the ditch’, which means stitching (through all the layers of the quilt) on top of the seams between the blocks or parts of blocks.
Another option is ‘shadow quilting’ when you sew a quarter inch (6mm) either further out from a block (or other shape on the quilt) or further in. This emphasizes and shows up the shapes in the patchwork.
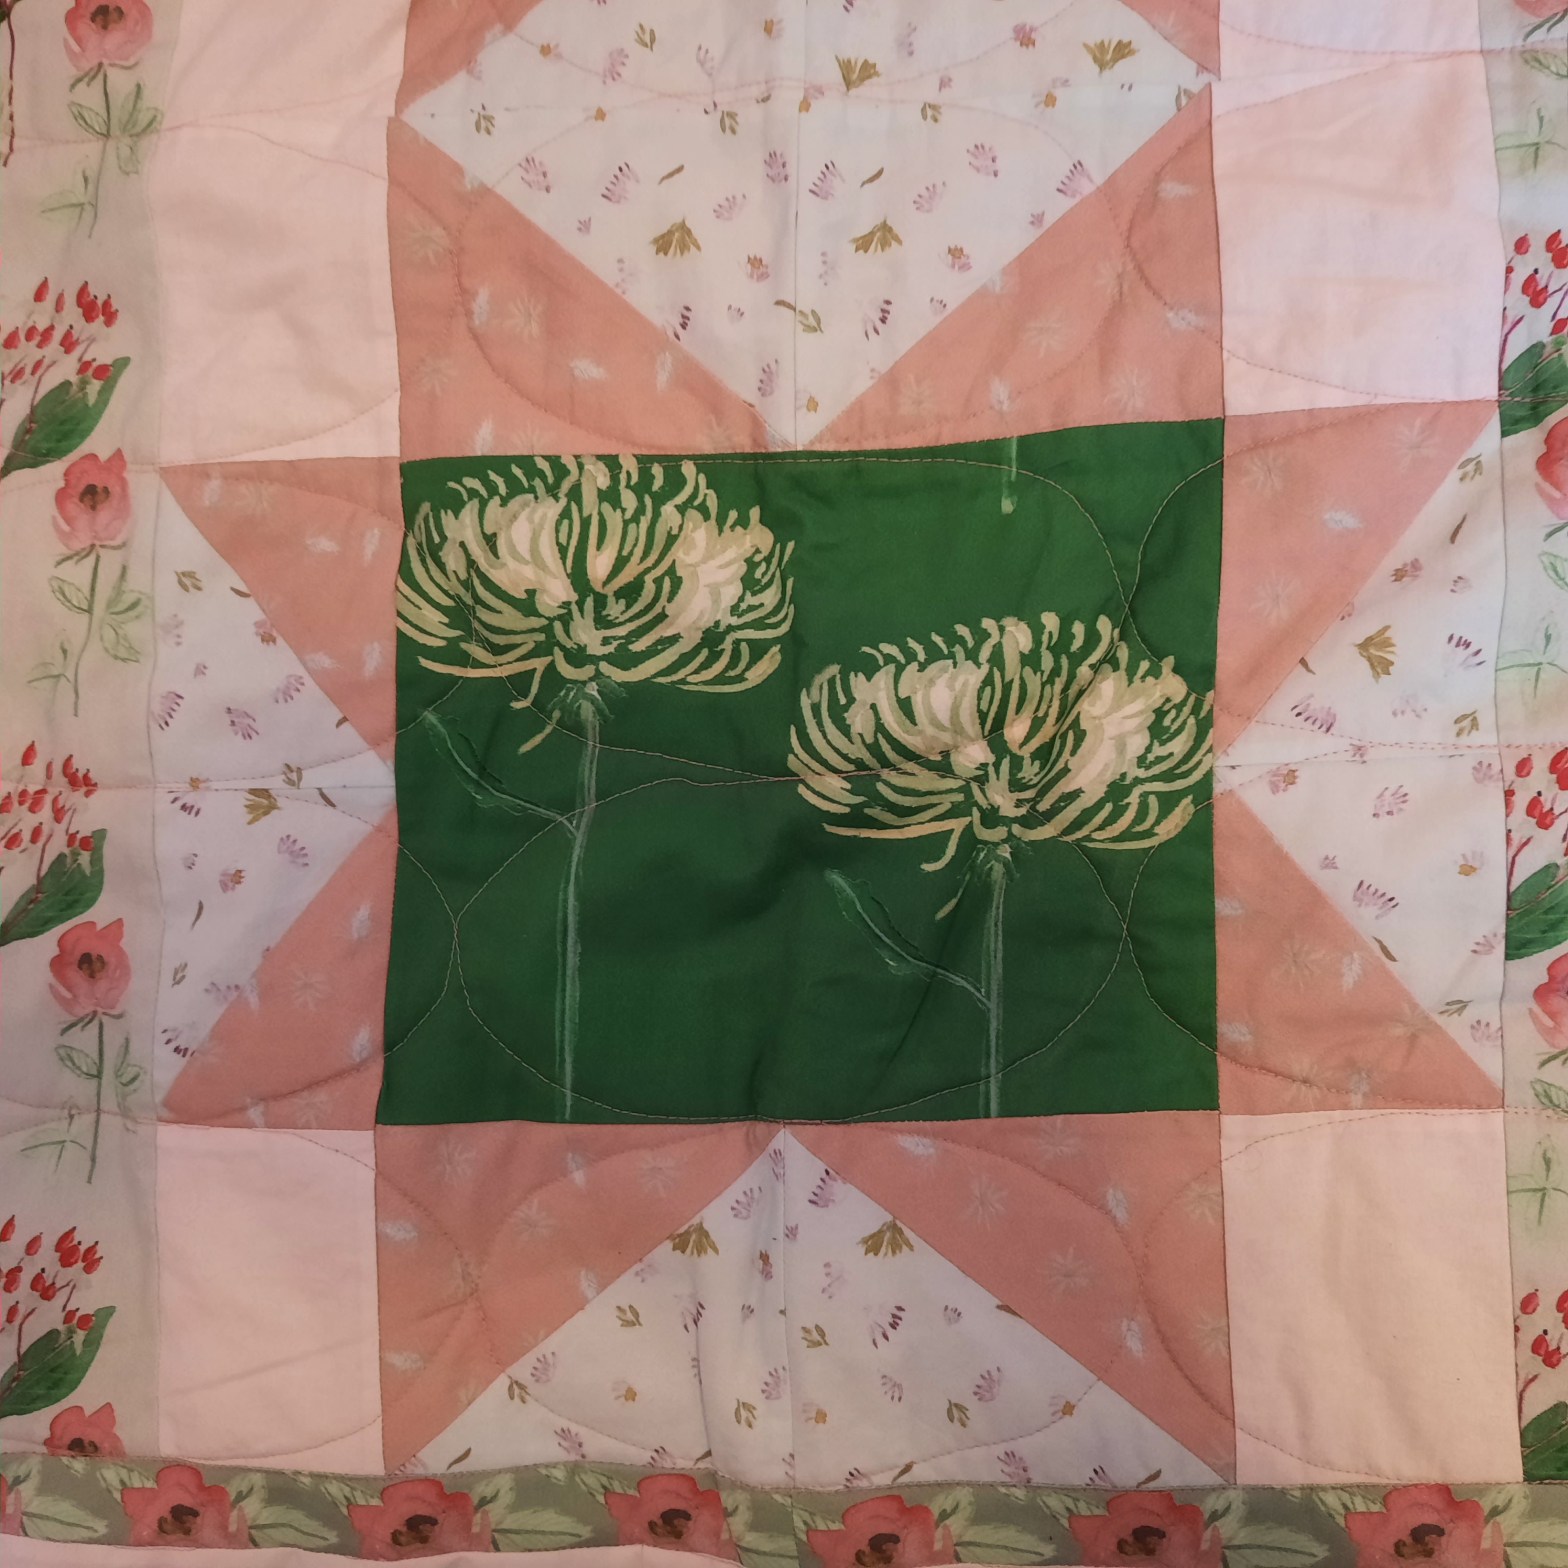
Alternatively you can choose to mark out and quilt a completely different pattern over the surface of the quilt which then provides a pleasing additional design feature. This is what I decided to do with the ‘Summer Bouquets’ quilt. Here are the instructions, if you want to do the same as me:
Using a template for all-over quilting
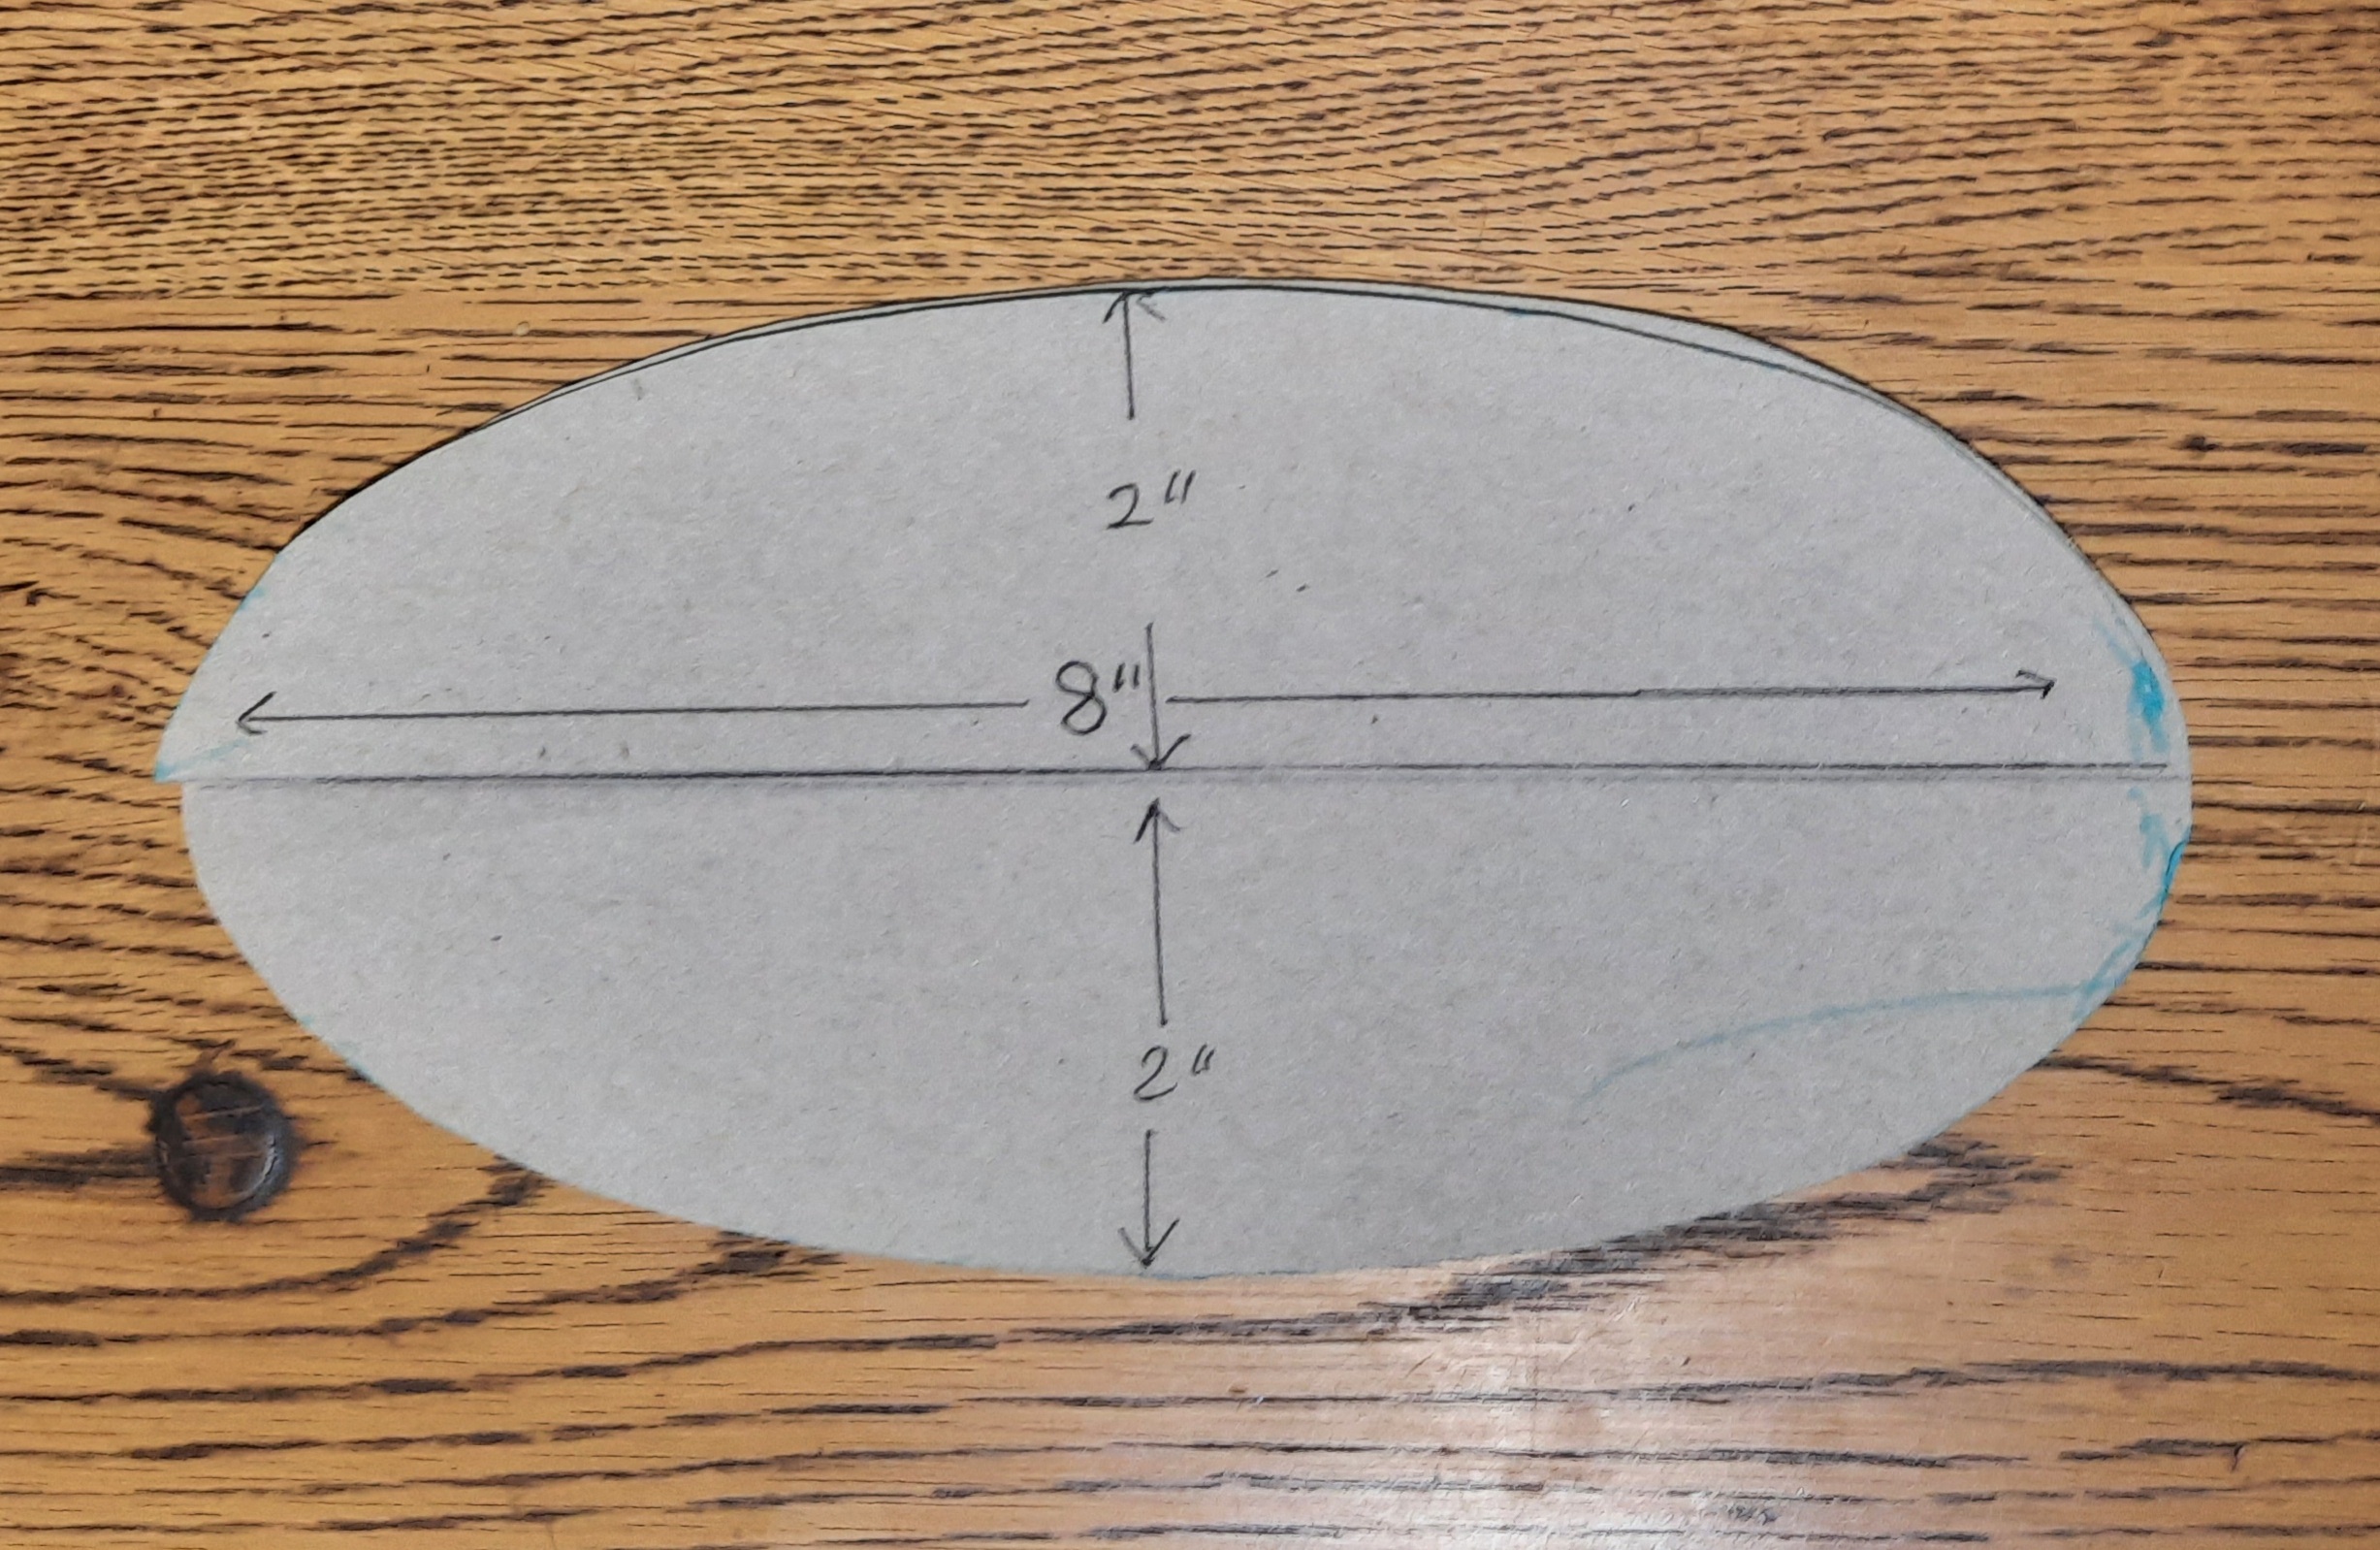
1 Make a lozenge-shaped template out of cardboard 8″ (203mm) in width at the centre and 4″ (102mm)high at the centre:s
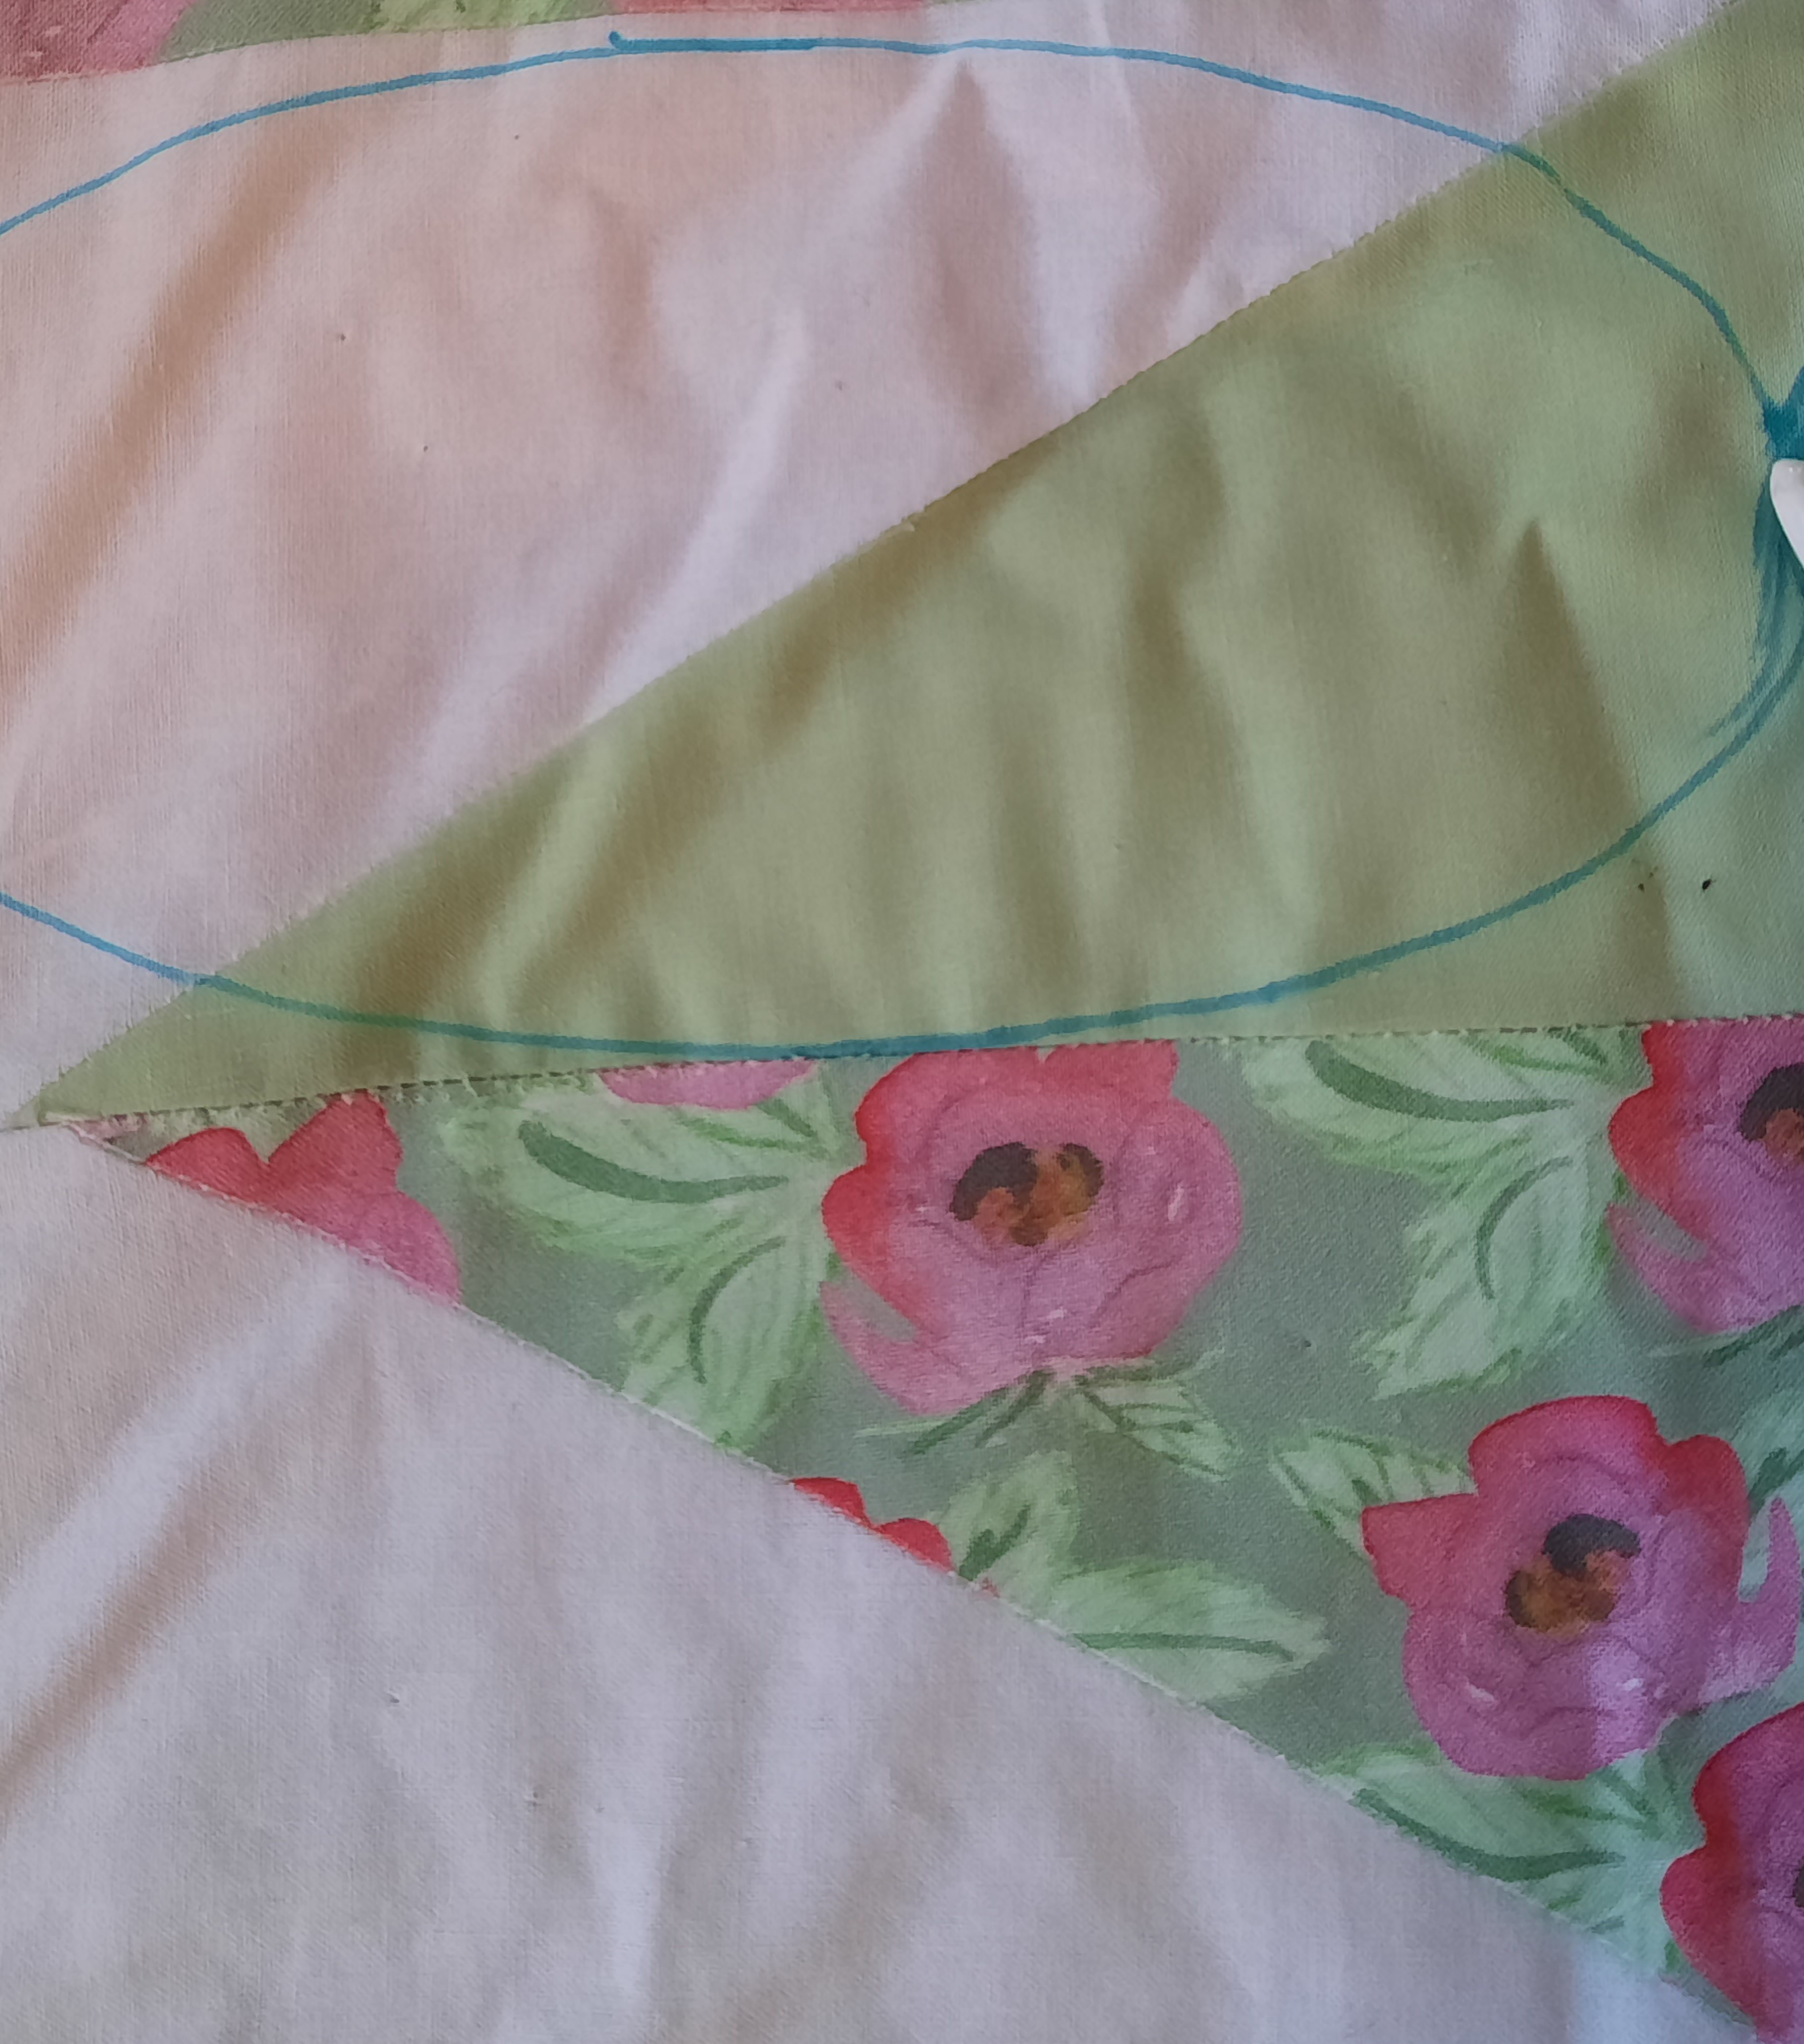
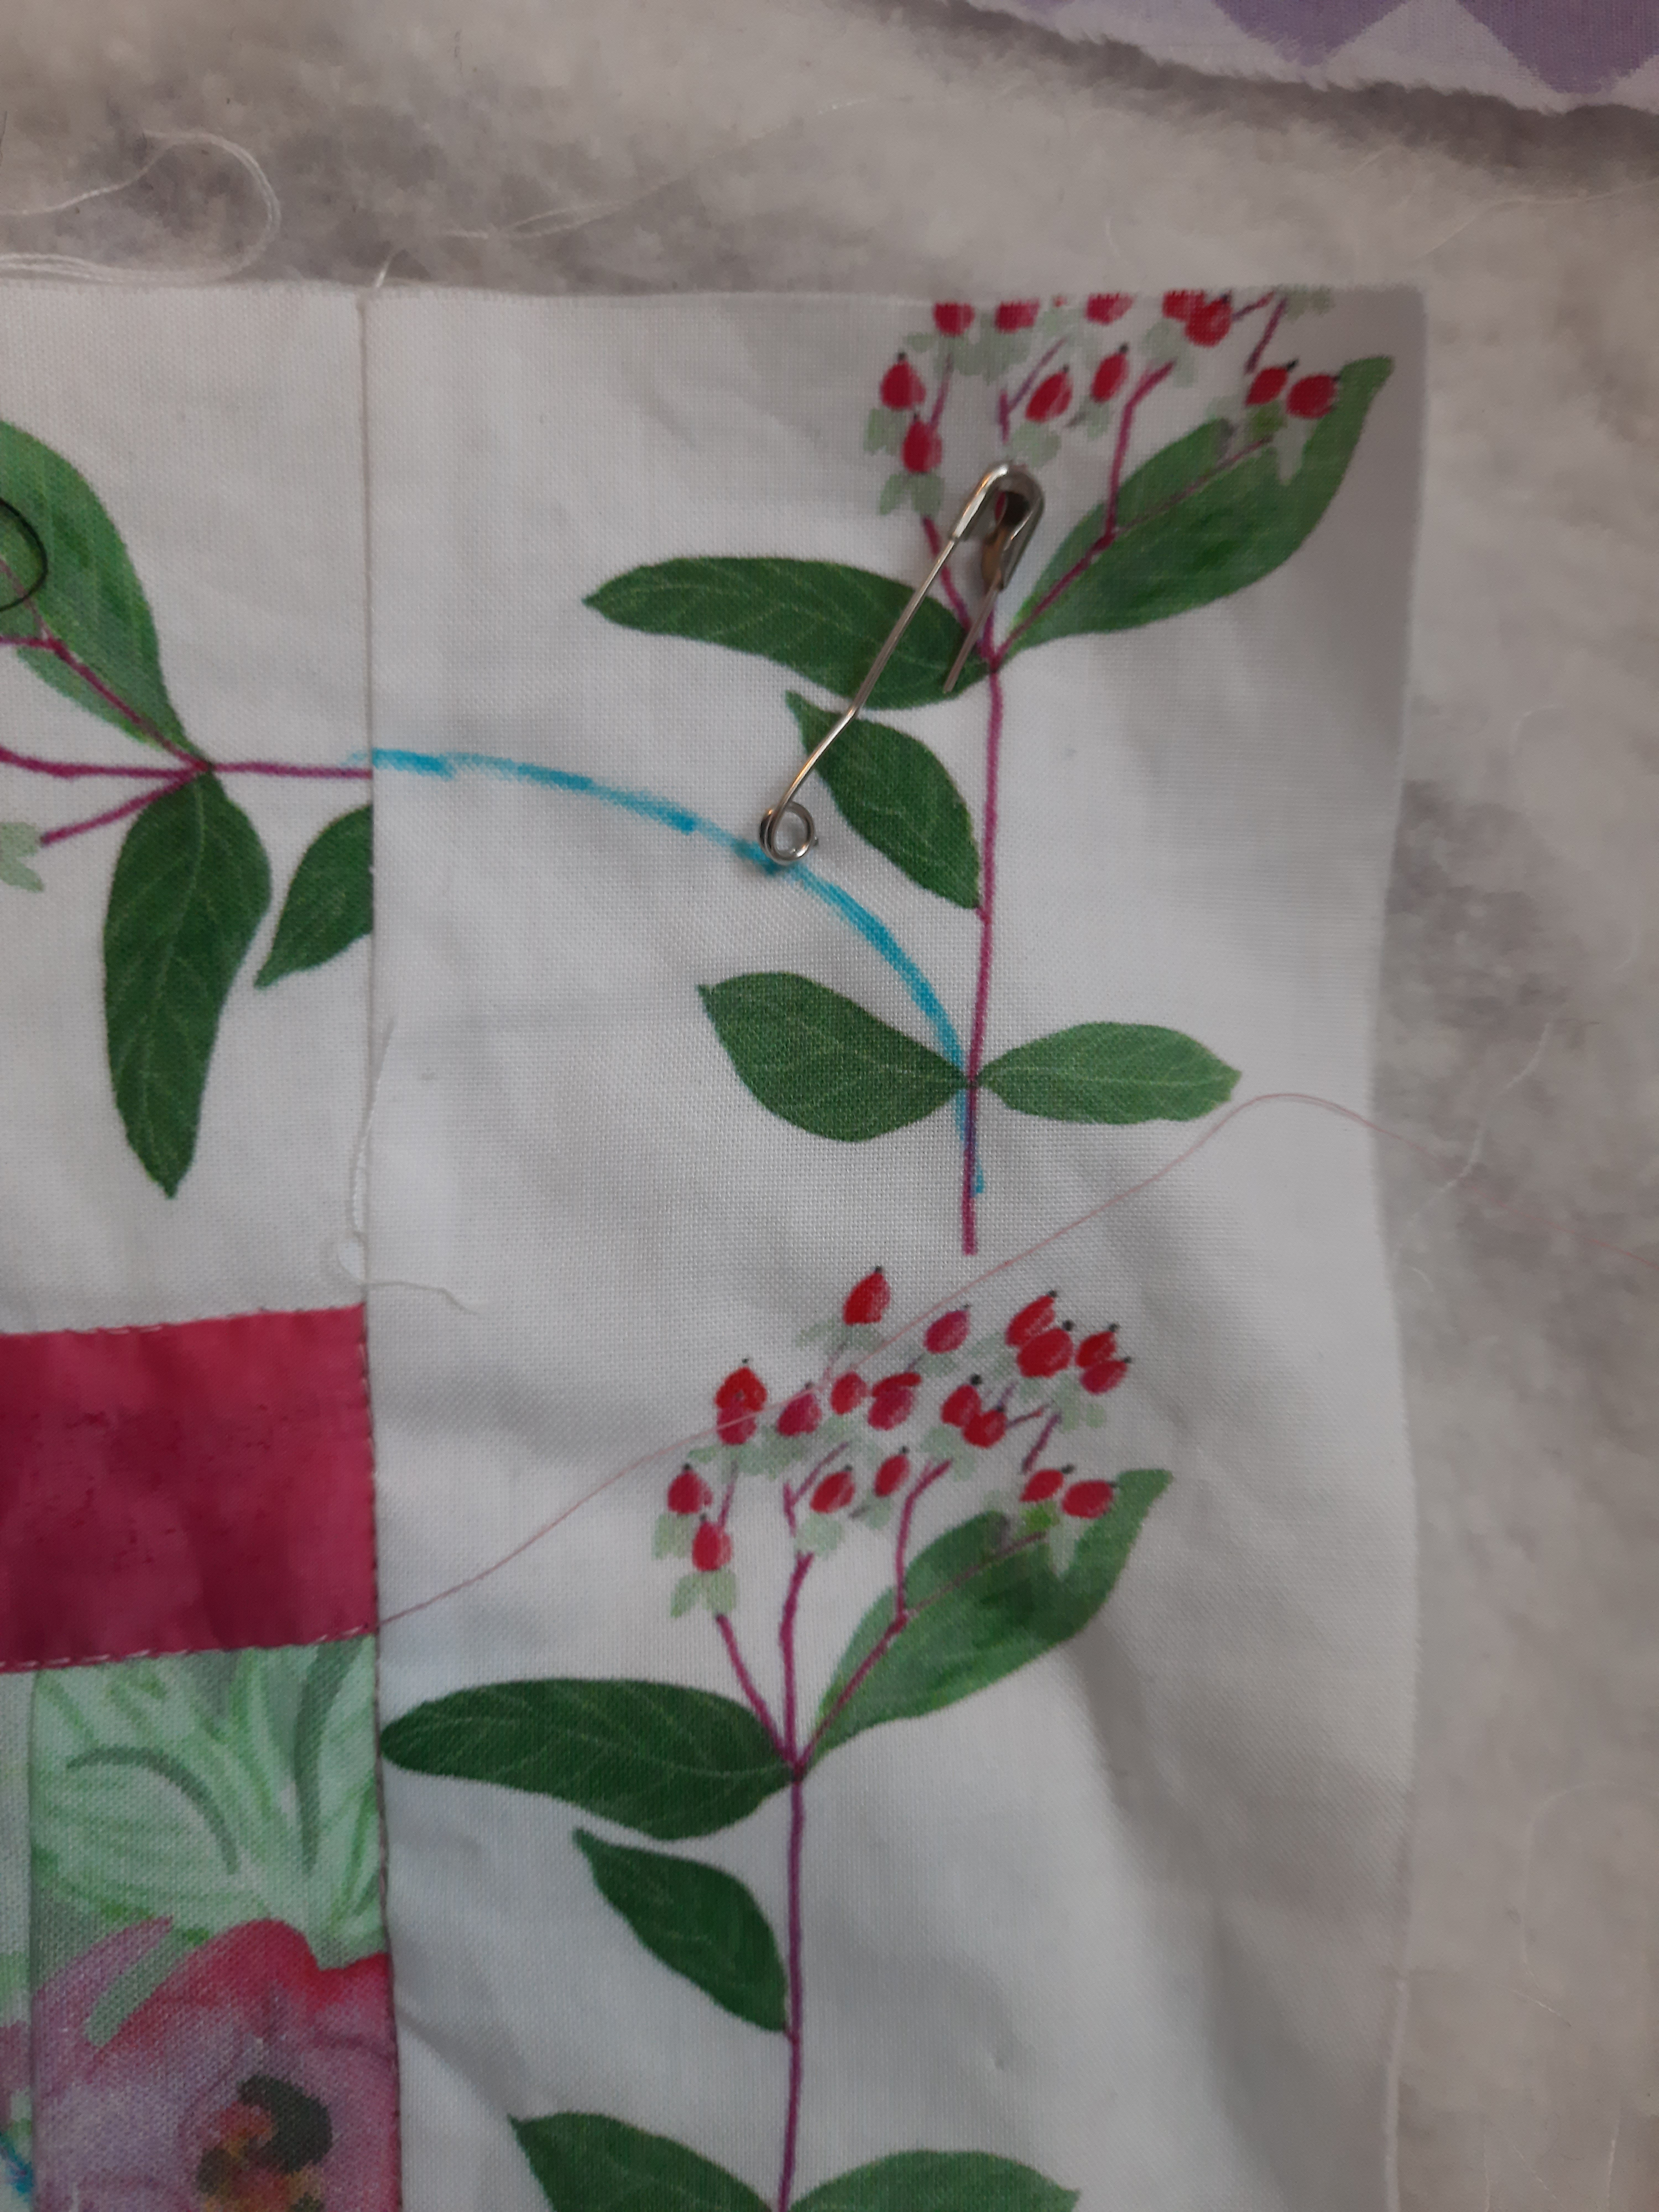
2 Mark out a series of lozenges horizontally, in rows, across the quilt (not including the berry border). Use a specialist fabric marker or water-soluble pen.
3 When it comes to doing the quilting, you should start at the centre of the quilt and work upwards to the top and downwards to the bottom.
4 Begin by stitching the lower curve of the first lozenge, then go straight on to quilting the upper curve of the second lozenge.
5 When you get to the end of the row, take the quilt out of the machine and stitch along the same row of lozenges again. This time stitch the upper curve of the first lozenge and the lower curve of the second lozenge.
6 When the main part of the quilt top is covered, finish off the ends of each quilting row by burying the threads in the wadding,
7 Now mark a series of vertical lozenges in the borders, using the same template.
8 Use a rounded line on the corner.
9 Quilt each border in turn, doing two passes as in steps 4 and 5.

10 Finish off these threads too.

In the November post, you will find instructions for binding and finishing the quilt.
Thank you for reading my blog. Quilt patterns are here, Fabrics are here, Classes are here.
Click the ‘Follow’ button to get a blog-post by email each Monday and click here if you would like the monthly newsletter with design and colour inspiration, etc.The ‘White Dahlia’ fabric in this quilt is one of my favourite designs. Find it here


One thought on “Summer Bouquets – adding the quilting”