This month, in the 2021 ‘Summer Bouquets’ Quiltalong, we are adding the outer borders to the quilt top.

This double-bed quilt has two sets of borders: a narrow one and a wide one. The instructions for adding the narrow set appeared last month (see below). The plan is to complete a double-bed quilt by the end of the year. The fabrics used here are from ‘Summer Bouquets’ collection, available from Spoonflower (here).
The starter post with all the fabric requirements is here. The cutting instructions are here. The first block is here. The second block is here. Making the columns is here. Adding the sashing is here. Adding the internal borders is here.
Adding the vertical outer borders
1 Take two of the fabric C 3½ x 36½” (89mm x 92.7cm) strips and join them at the short ends to make a long strip, with the ‘Berries on White’ sprigs all facing in the same direction. Press.
2 Pin the long strip to the left-hand side of the quilt top, aligning the central seam in the strip with the centre seam of the internal border. If you are using ‘Berries on White’ the sprigs point downwards on the left-hand border.
3 Stitch. Press the seam allowances towards the border.
4 Repeat steps 1-3 and attach the second external border strip to the right-hand side of the quilt top aligning the central seam of the internal border. This time the sprigs of berries are going upwards
5 Stitch. Press the seam allowances towards the border.
Add the horizontal outer borders
6 Take two of the fabric C 3½ x 36½” (89mm x 92.7cm) strips and join them at the short ends to make a long strip. Press.
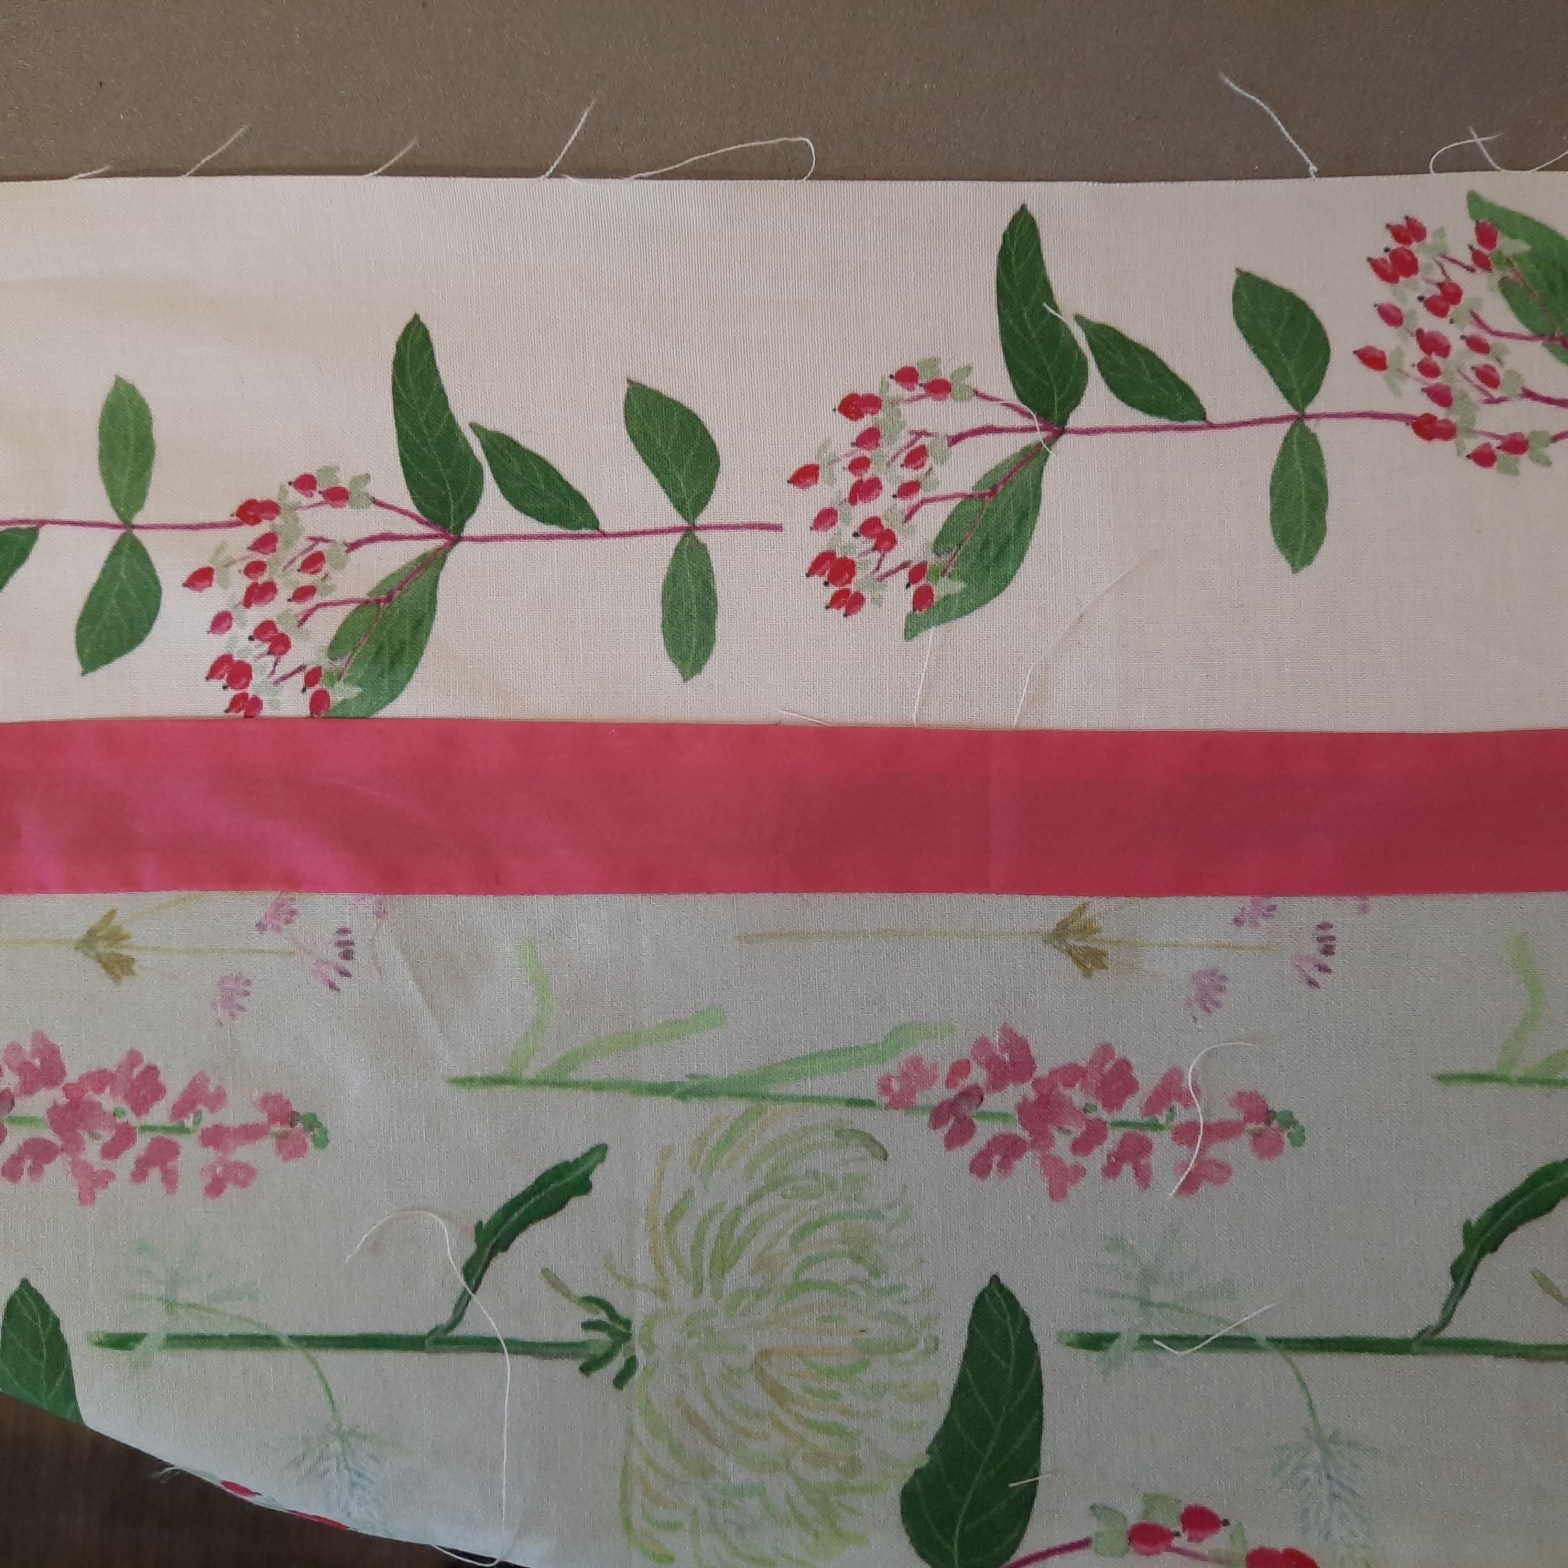
7 Pin the strip right sides together with the internal border along the quilt top. First, align the central seam in the fabric C strip with the centre seam of the fabric D strip. If you are using the ‘Berries on White’ fabric, this sprigs go from right to left along the top border (as seen in the photo at the top of the post).
8 Pin each end of the long strip to each end of the quilt top.
9 Now insert pins at right angles all the way along, holding the external border and internal border together evenly. Take care not to over-stretch the borders.
10 Stitch on the machine, removing pins as you go.
11 Press the seam, then press the seam allowances towards the border.

12 Repeat steps 6 – 11, this time attaching the external border to the bottom of the quilt top. This time, the sprigs go from left to right along the bottom border.
The quilt top is now complete. Next month’s post will cover layering up the quilt. Check the first post in the series ( here ) for quantities of wadding and backing fabric required for this quilt.
Amanda Jane Textiles offers unique fabrics for sale here, quilt patterns here and classes here
