Last week’s blog post was about making modern, so-called ‘wonky’ blocks (if you didn’t catch it, you can find it here). That post was my four hundredth blog post! I began blogging in the summer of 2014 and here I am still, in the winter of 2023. I can hardly believe it! You can find all sorts in the collection of posts on this website: ‘How-to’ pieces, quiltalongs, write-ups of quilt shows and reviews of art exhibitions, as well as news about what I have been designing and making.
For perhaps the first time ever, I am writing about the same subject for two weeks running and I am returning to the ‘Wonky’ blocks topic. After making the two blocks I shared with you last week, I showed a photo of the pieces to another quilter. ‘Ah’ she said ‘this one is good, but this one is not really very wonky’. Oh dear! How difficult it is, when you have been striving to be neat, geometric and accurate for years to now be trying to change all the rules! The quilter reminded me that it is good to challenge ourselves from time to time. Yes, indeed.
As it happens, a couple more blocks are required for this particular project (a group quilt made for charity) and so I am having another go at making two ‘wonky’ blocks which (nevertheless) need to end up measuring eleven and a half inches at the end of the process. It is for you to judge whether I have made these two sufficiently ‘wonky’.
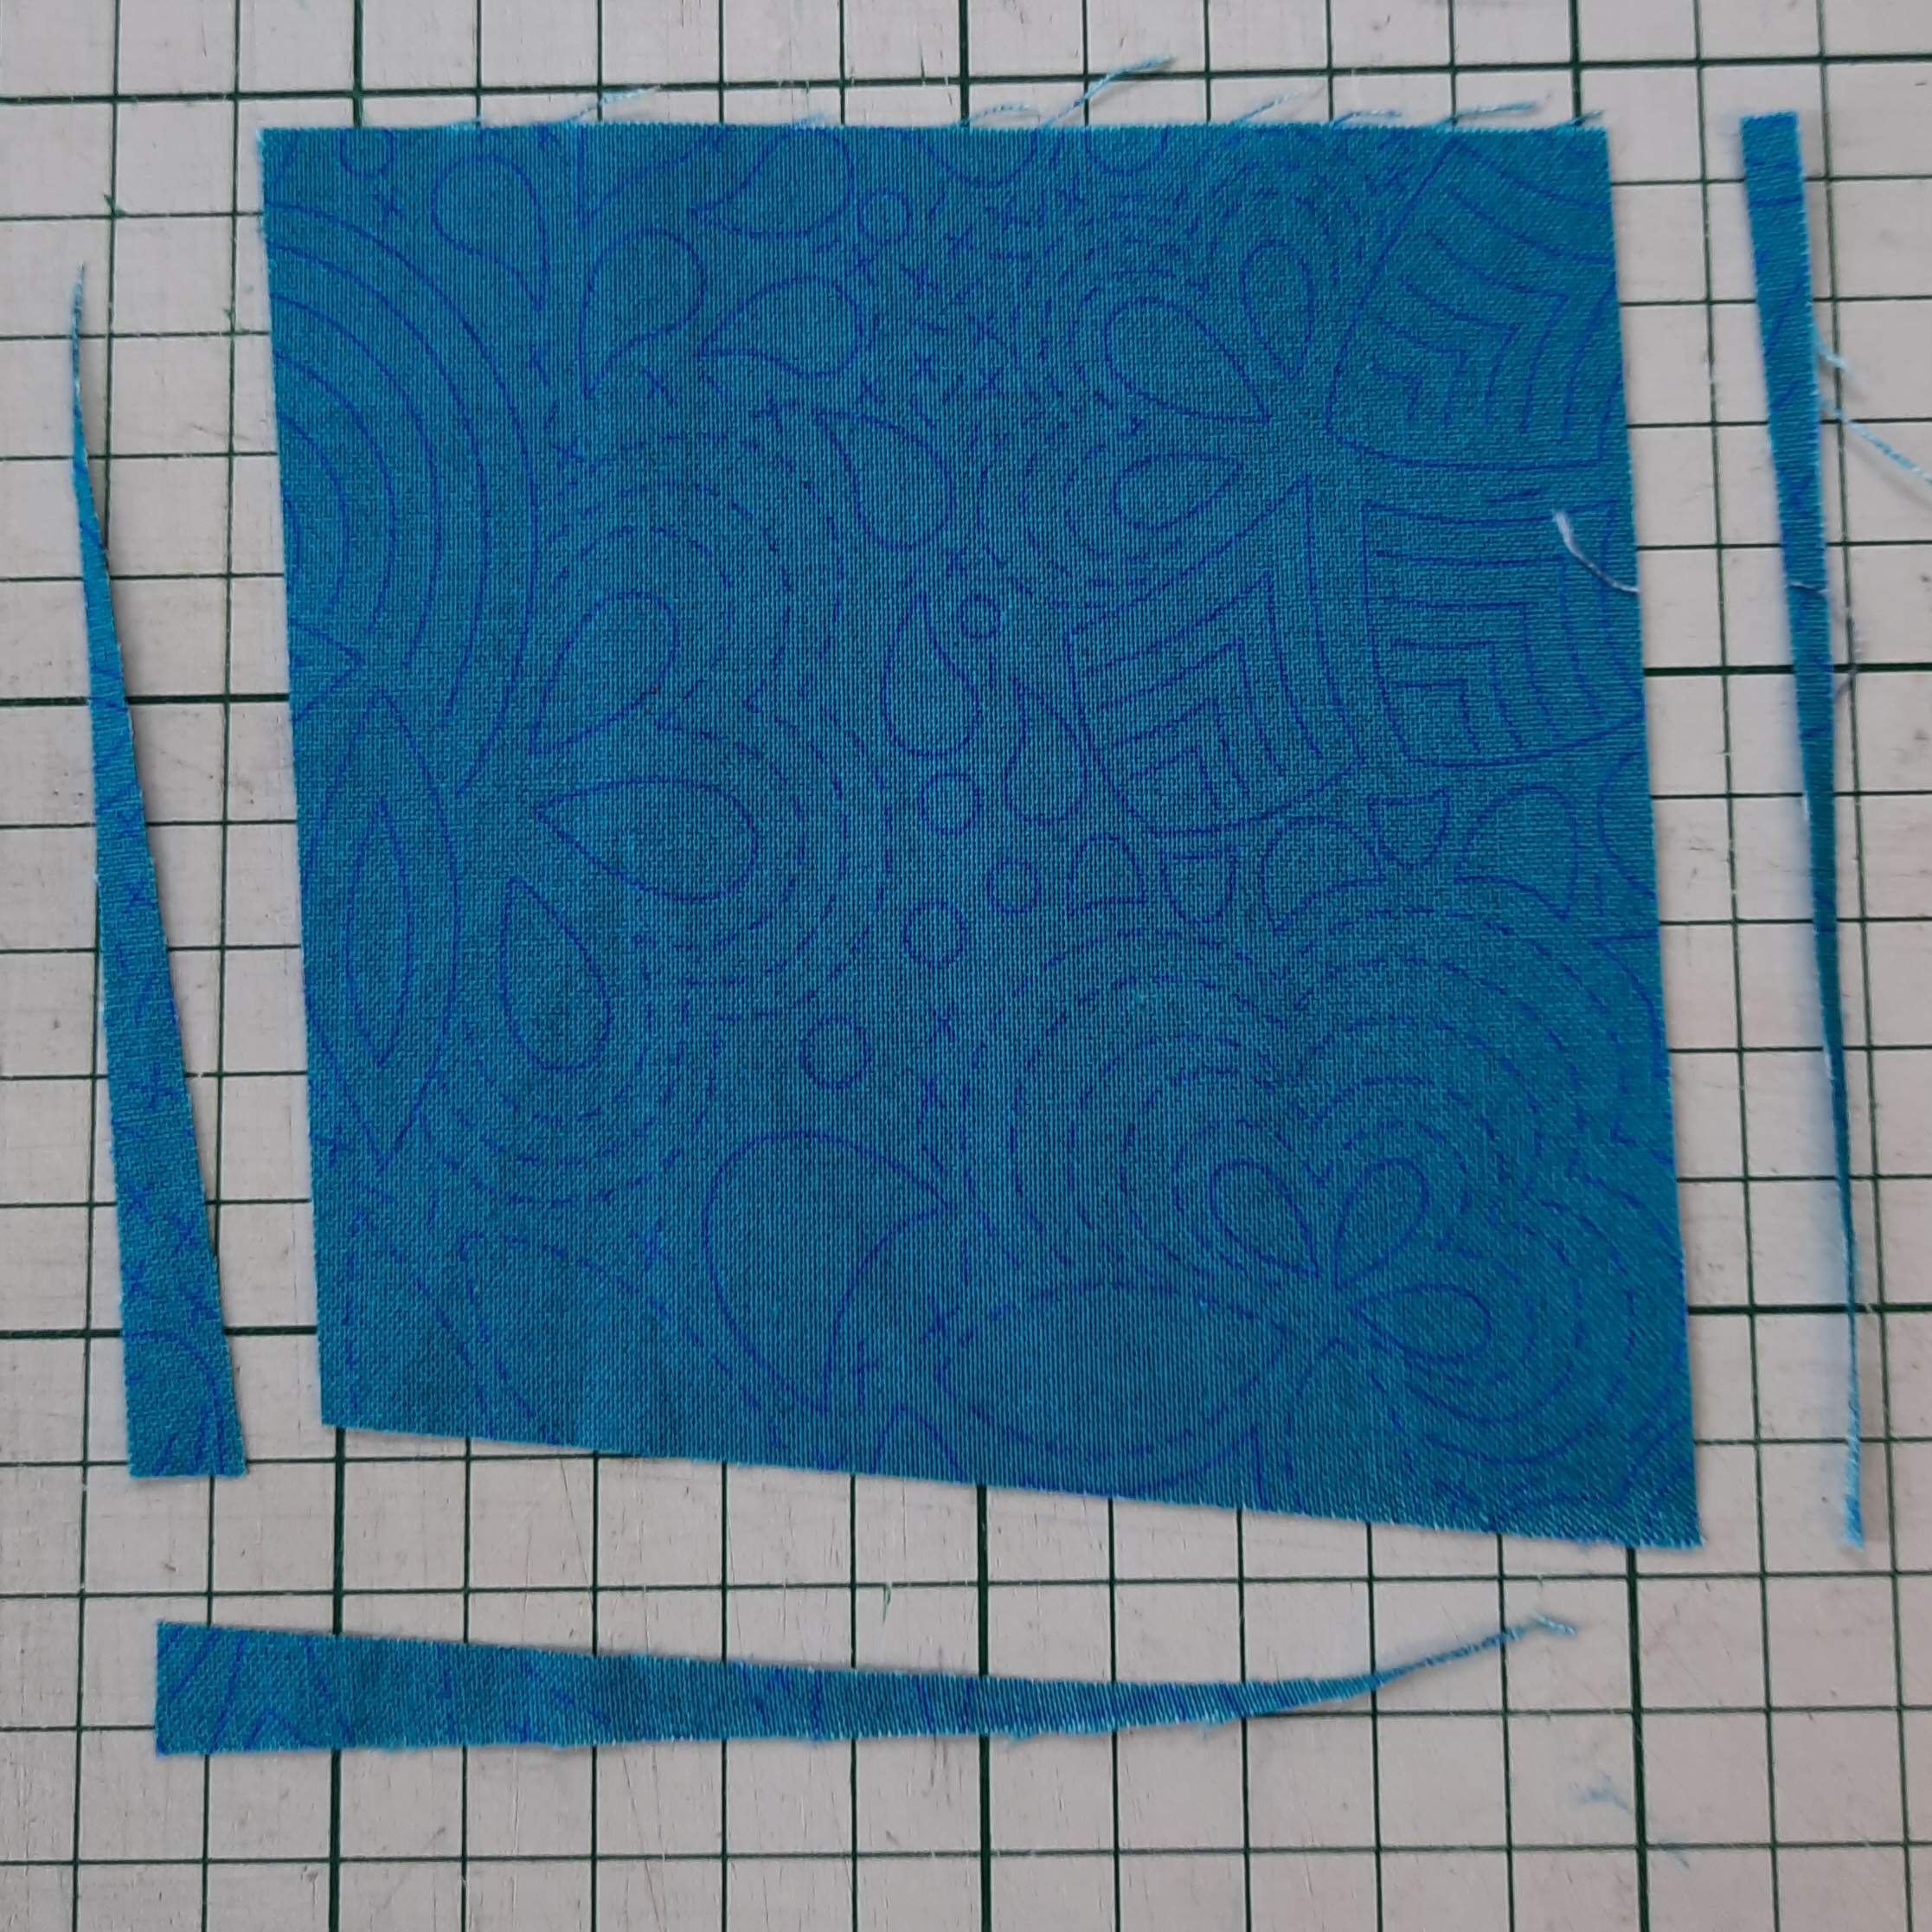
First I cut out all the pieces for each block and laid them out on the design board in my studio. You can see the central four-and-a-half-inch square and the strips needed to make the first stage of the block (these varied between one and a half and two and a half inches wide. On the side is the two-and-a-half-inch square and the two-and-a-half-inch strips for the cross at the centre of the finished block.

Here is how it went for making one of these two blocks.
I trimmed the centre square to make it irregular.
Next the side pieces of the first row went in. Then they were trimmed.

Next, the top and bottom of the first row went in. Then they too were trimmed.

The sides of the second row were stitched and trimmed.

The top and bottom of the second row were stitched and trimmed.
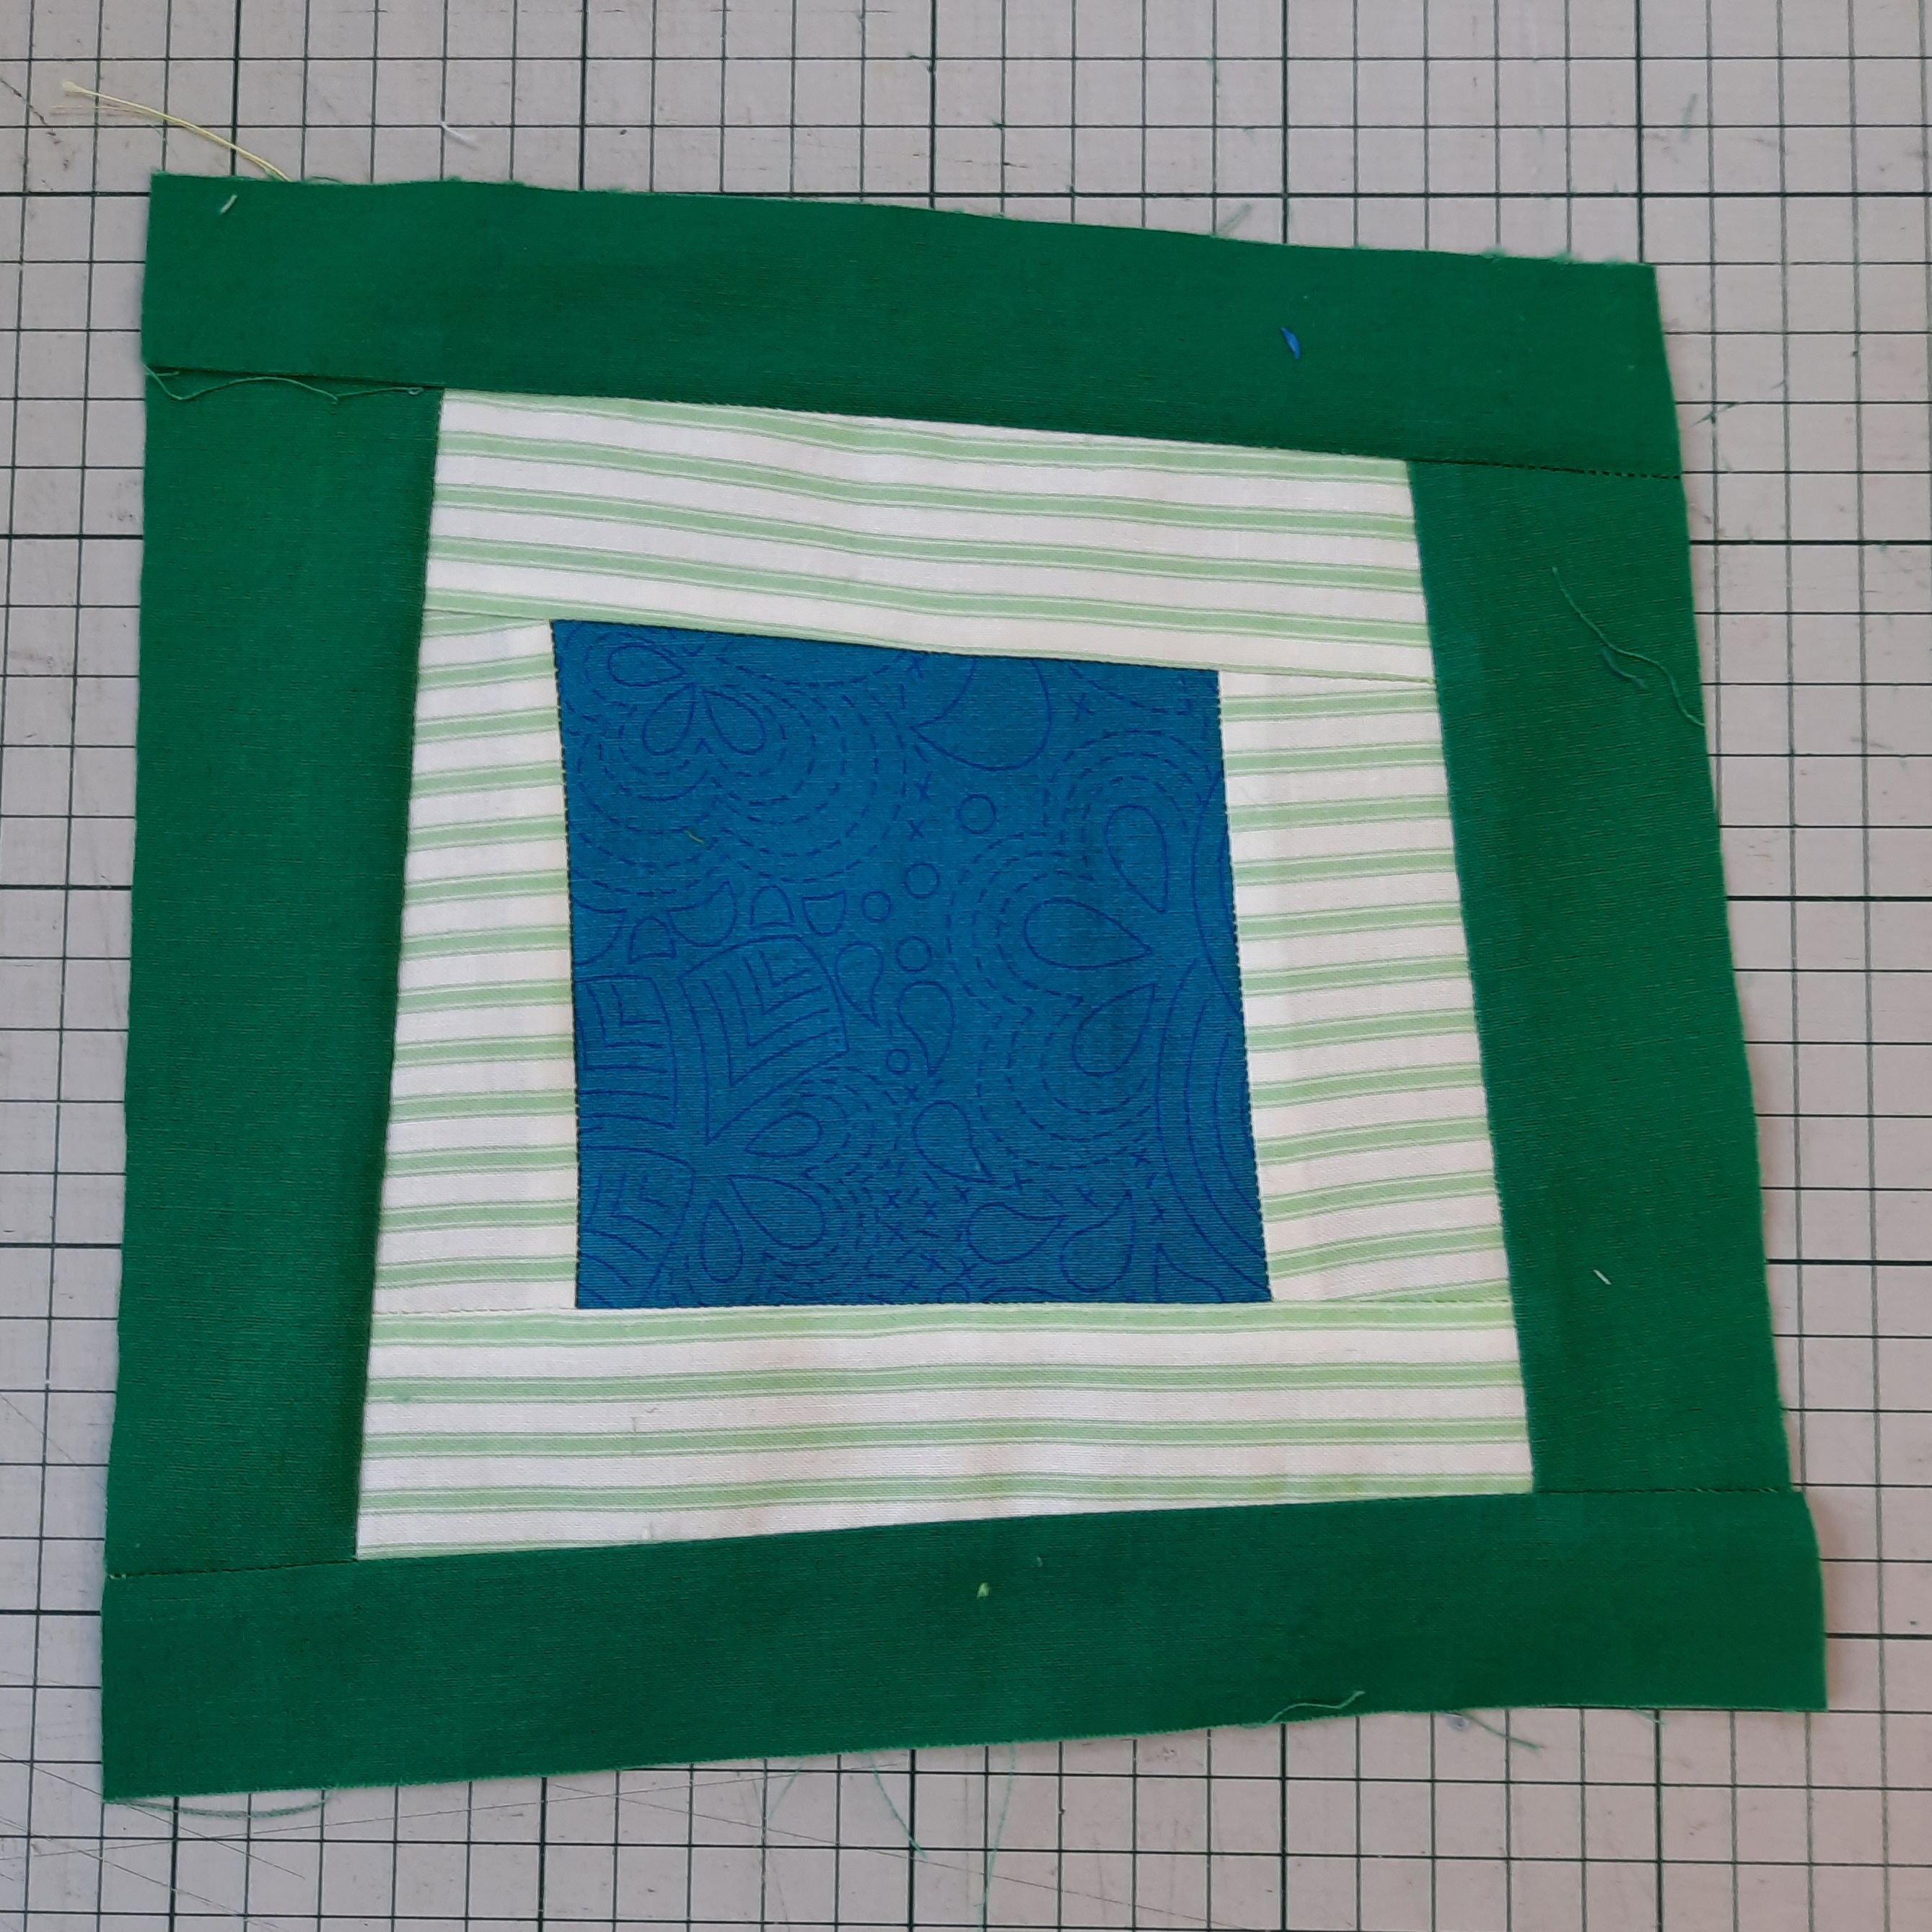
The sides of the third row were stitched and trimmed.

The top and bottom of the third row were stitched and trimmed. Then the whole piece was trimmed to ten and a half inches.

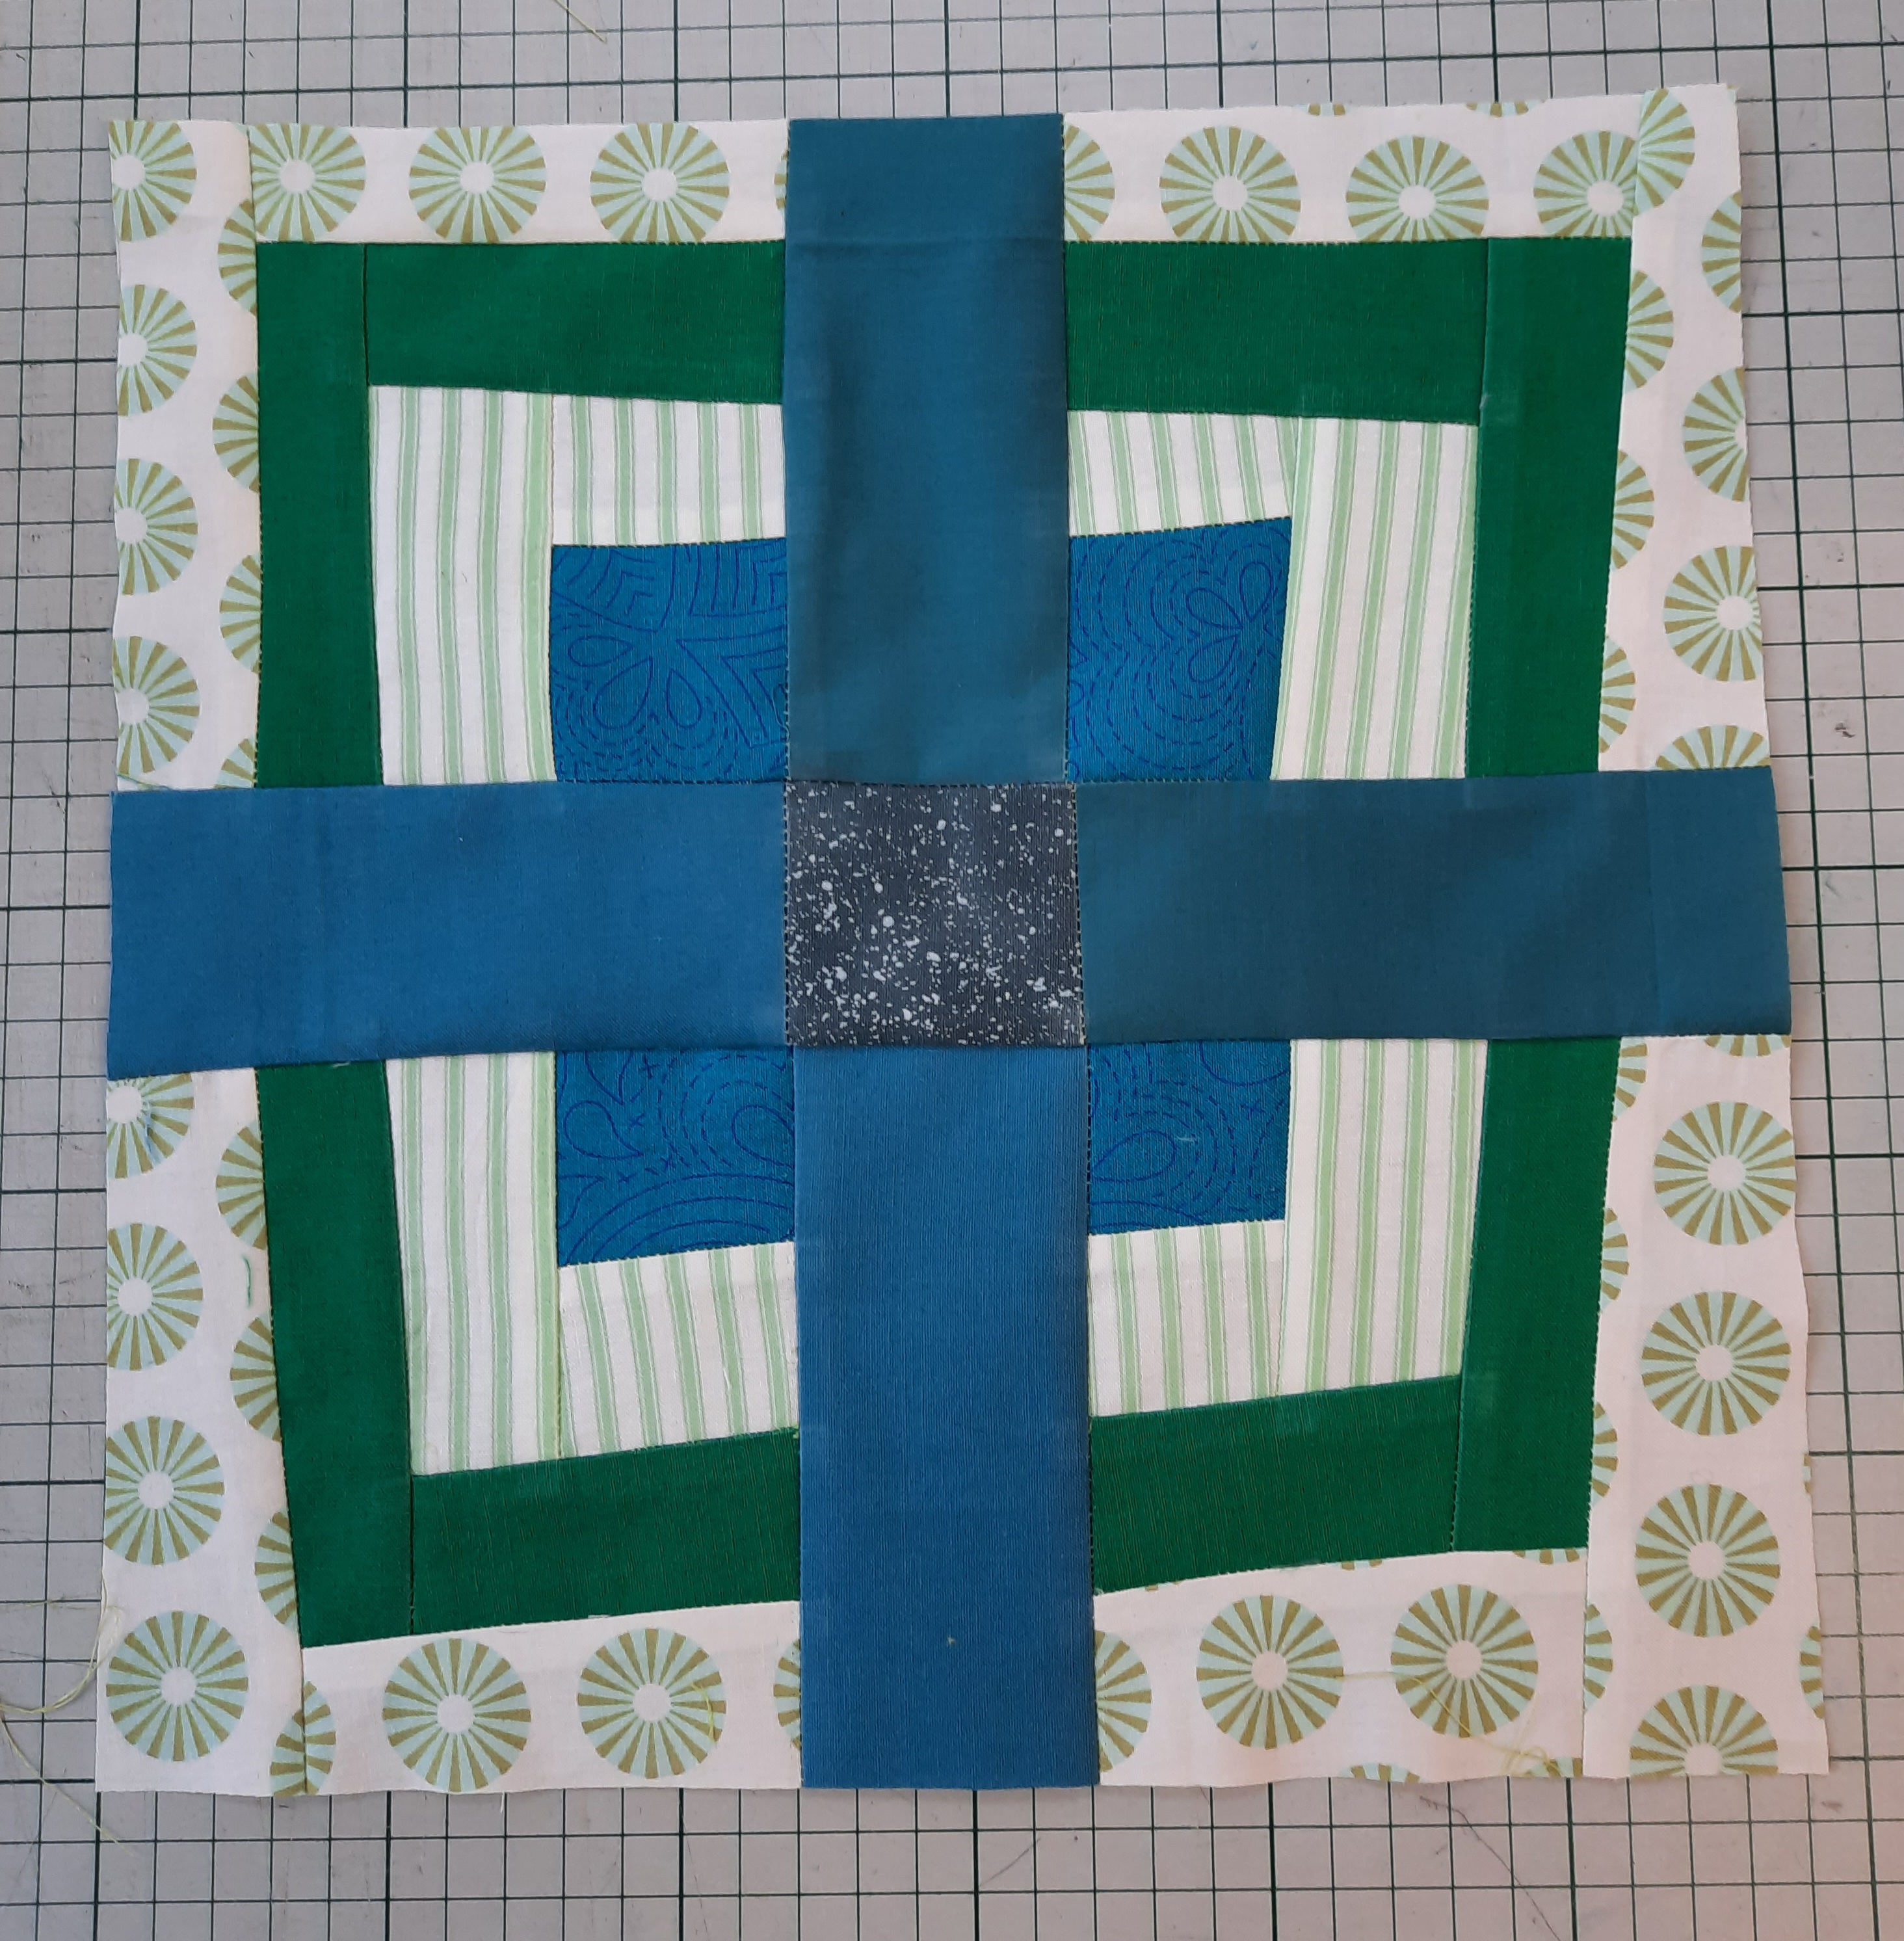
Next, the block was divided exactly into four quarters.

The horizontal inserts were added to the right and the left.

The vertical insert was first joined together and then added down the centre of the block. The block was then trimmed to the finished size of eleven and a half inches.
Here are the two finished blocks. I think they are more ‘wonky’ (‘wonkier’?) than before!

I’d like to thank Stef for presenting the challenge and supplying the instructions for these wonky blocks! You can find her on Instagram here: https://www.instagram.com/stef_andthefabricpieces/
This quilt has a modern look. However, it is not made with ‘improv’ blocks. Instead, the cutting techniques (explained fully in the pattern) give the blocks a modern look. Here, it is made up in green and blue. It would look terrific in teal and gold or in pink and orange! Get the pattern here.

And finally, a ditsy-print fabric full of sheep. This is ‘Leaping Sheep, green’, available here
