
Welcome to part 2 of the 2022 mystery quilt. The introduction to the project is here. The January block is here.
This month’s block is the trail of a shooting star! You need to make twelve blocks, which will make four ‘star trails’. The position of the blocks will only be revealed at the end of the year…
Templates
1 You need to begin by making two templates. First make template A (see photo below).
2 On squared paper, draw a triangle with a base of 6″.
3 Mark the mid-point of the base (3″ across) and then draw a line up from the base, measuring 6″.
4 Join the top of this line to each end of the base.
5 Then use a quilter’s ruler to add ¼” to each side (lay the ¼” line of your ruler on your drawn line on the paper and then draw along the outside edge of your ruler to create the seam allowance).
6 Make template B. Draw a line 3″ across to make the top of a triangle and then a line 6″ down the left side, at right angles to the first line. Join the two lines to complete the triangle. Use a quilter’s ruler to add ¼” all round (as in step 5 above). The top of this triangle will measure 3¾” and the left-hand side will measure 6¾” NB You will be using both sides of this template.

Materials
You need:
½ yard of yellow fabric – I made 3 blocks in each of four different yellow fabrics; to do this, you need a piece of fabric 7 x 15″ in each colour. If you want to make each block different, you need 12 pieces of fabric, each 7 x 7″.
½ yard of navy fabric (I made all the backgrounds for these blocks from the same fabric)
Cutting
Cut 12 triangles of yellow fabric using template A. These shapes tesselate if you rotate the block, as shown below. (I used gold stars on a dark yellow background for one of my fabrics.

Cut the background navy fabric into strips across the width of the fabric, measuring 6¾” in height, then sub-cut the strip into rectangles 7½” across.
On each rectangle, place the template (marked side uppermost) in the top left-hand corner of the rectangle and use your rotary cutter and ruler to cut accurately along the the long side of the template to create the triangle. This makes a ‘left-hand’ triangle.

Then turn over your template to the un-marked side and place it in the top right-hand corner of the remaining piece of your original rectangle and cut down the long side of the template as before. This makes a ‘right-hand’ triangle. (You will obviously need to turn your cutting mat to use the ruler safely – the photo below is to show the position of the template in relation to the one above!) You need to cut 12 ‘left-hand’ triangles and 12 ‘right-hand’ triangles of the navy fabric.

Stitching the blocks
1 Pin a blue ‘right-hand’ triangle to the right-hand long side of the yellow triangle, as shown.
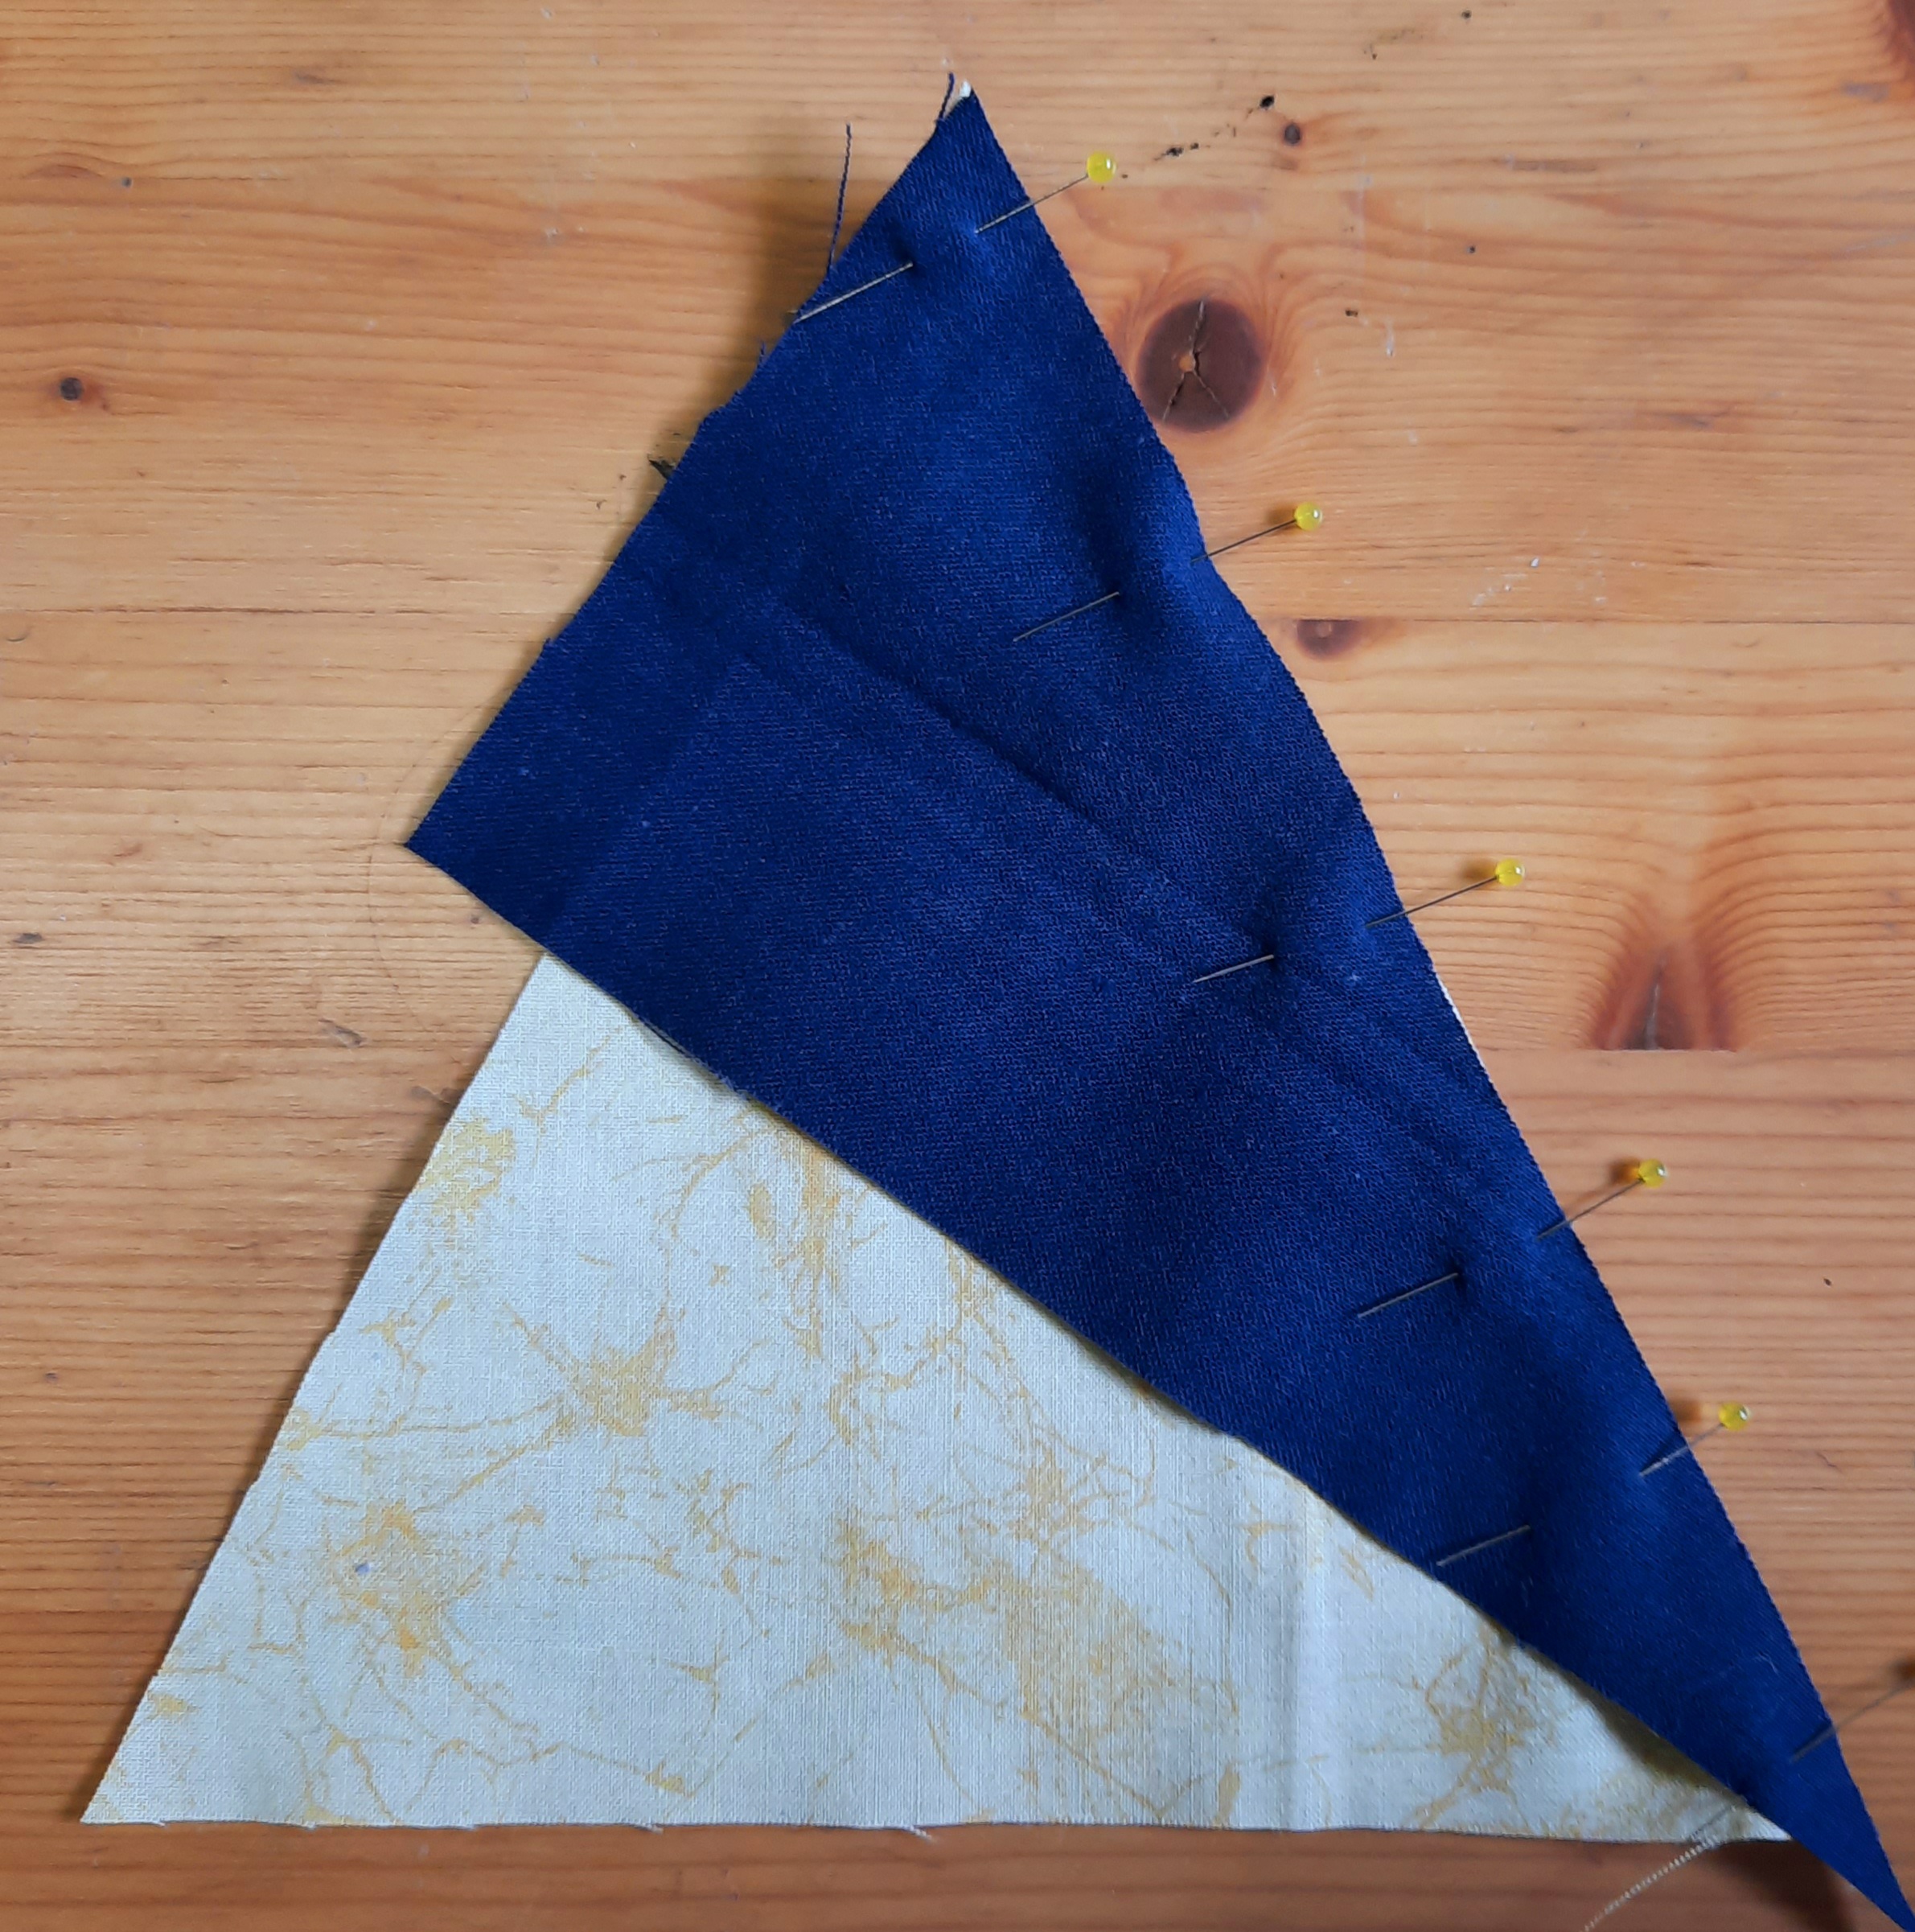
2 Stitch with a quarter-inch seam. Press the seam, then press the seam allowances towards the blue fabric.

3 Pin a ‘left-hand’ triangle to the left long side of the yellow triangle. Stitch and press as before.

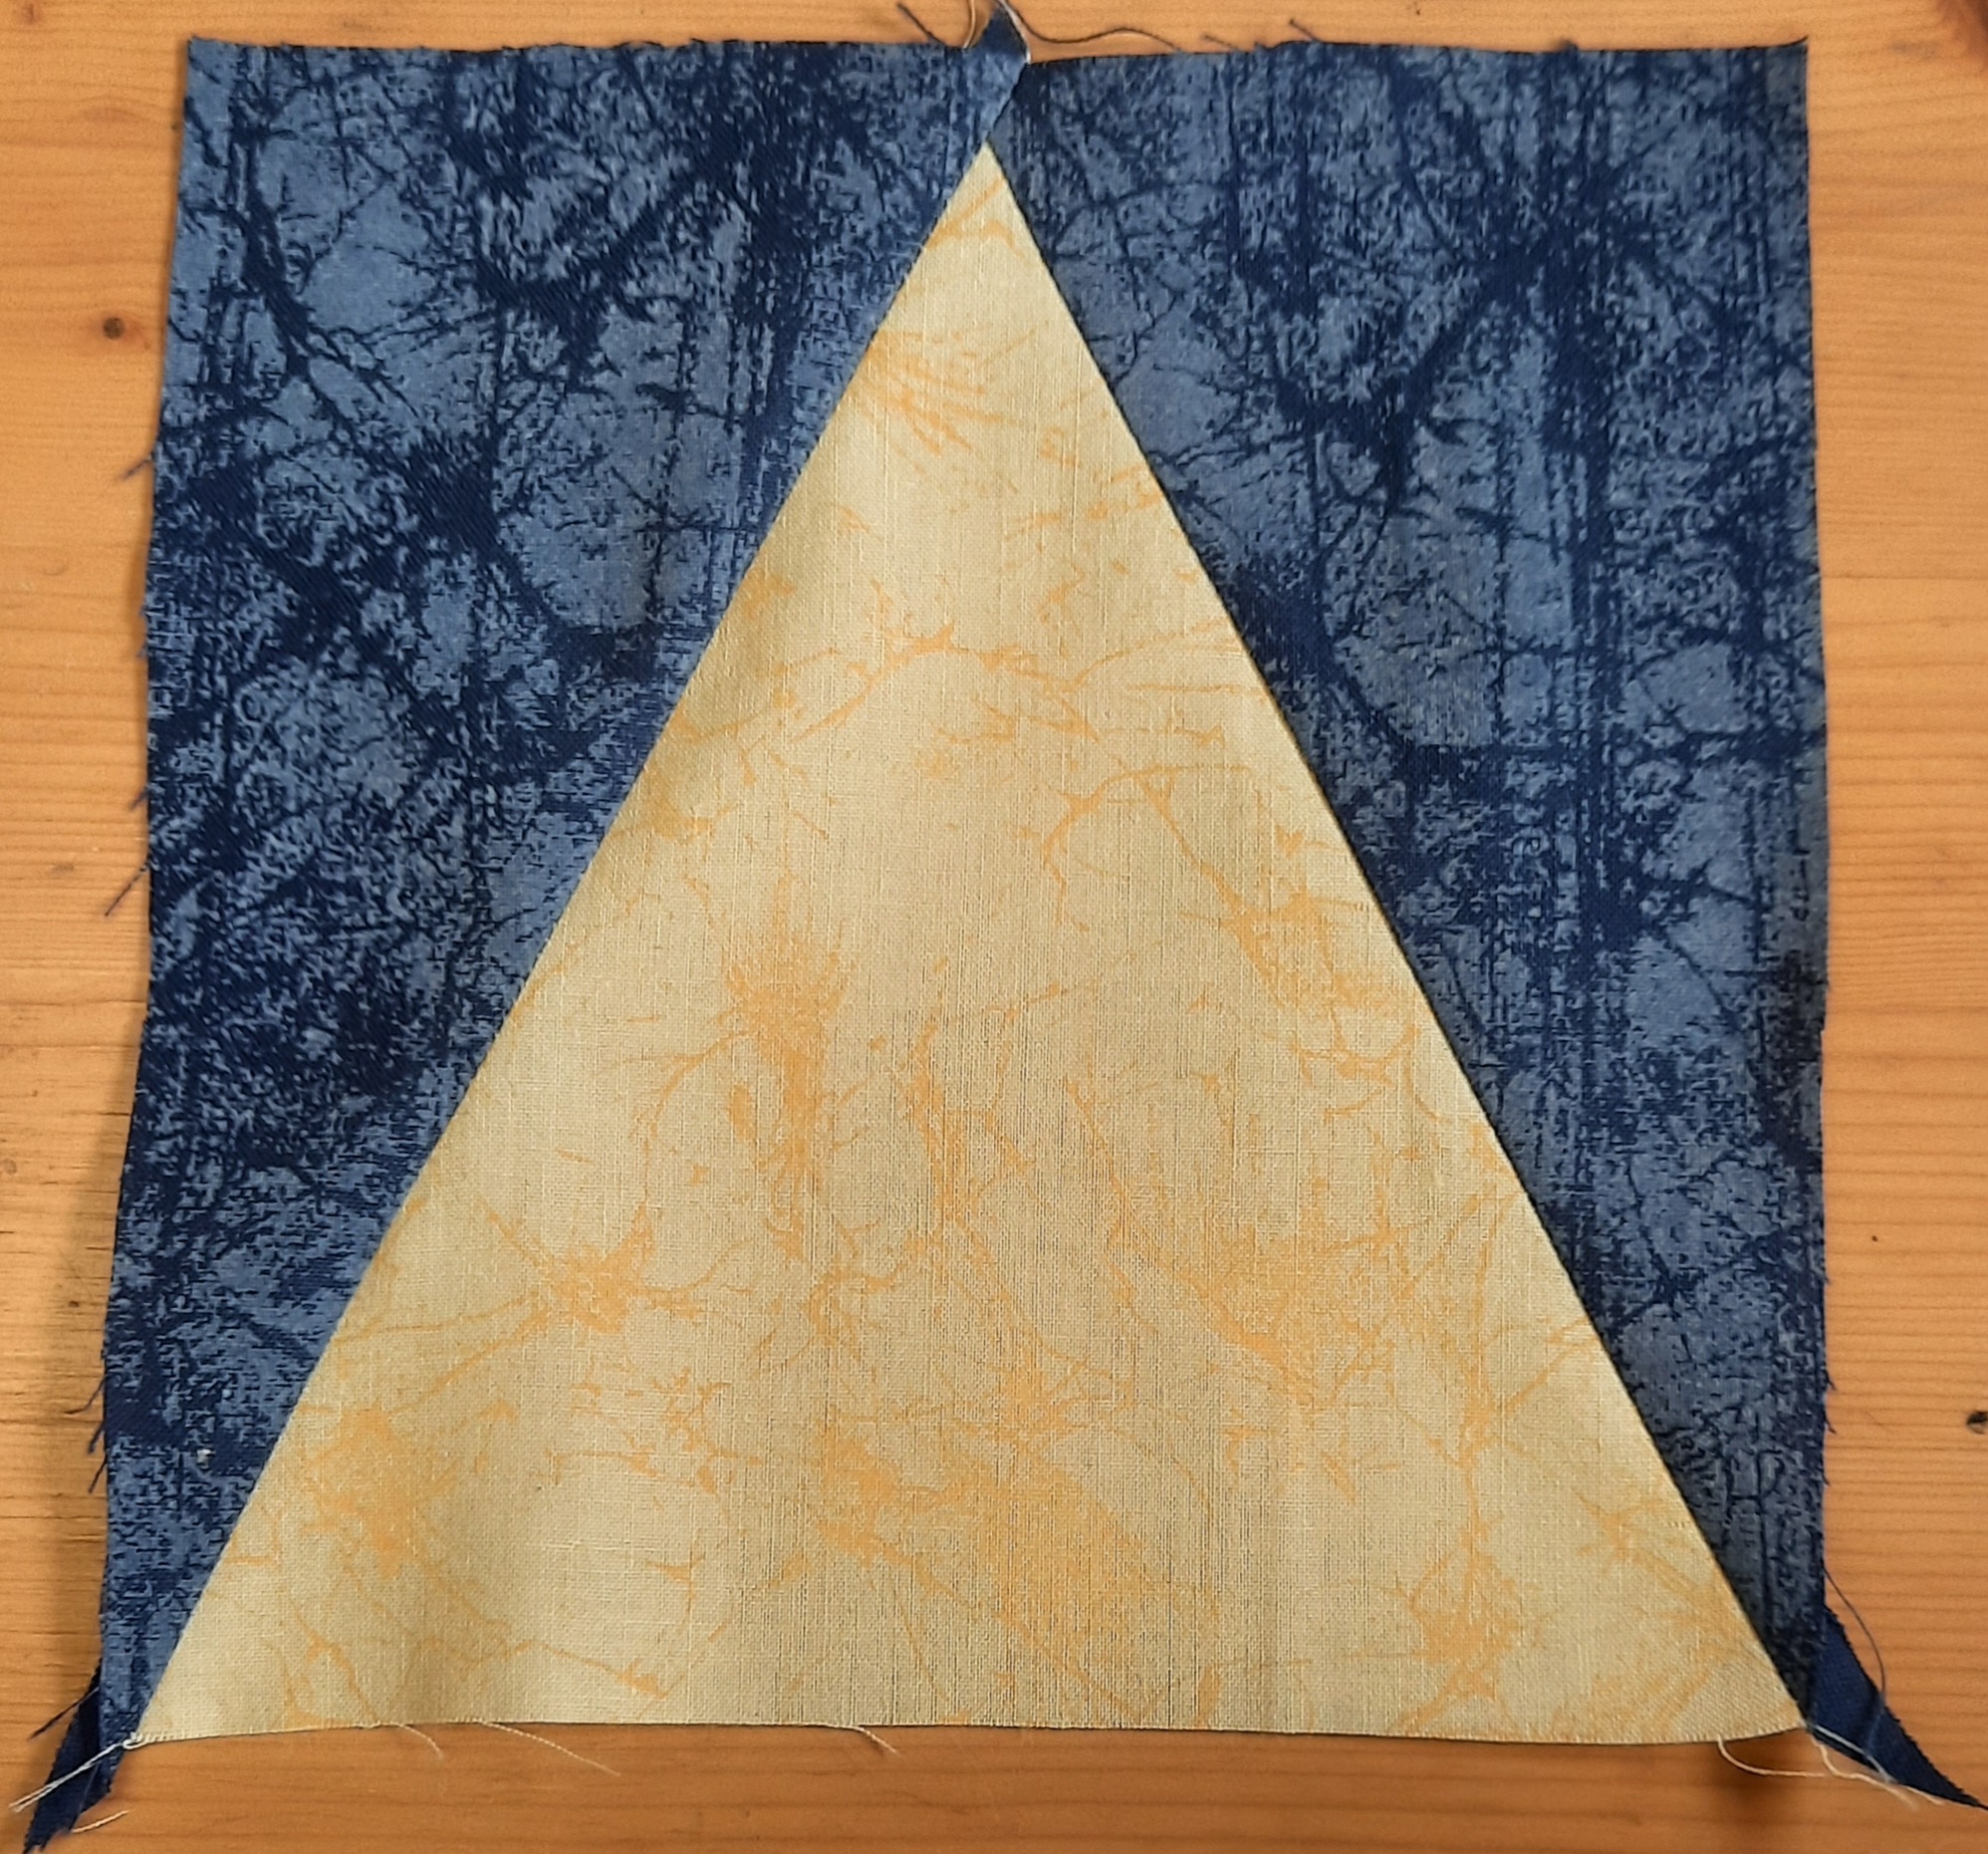
4 Here is a completed block, showing one of the other yellow fabrics.
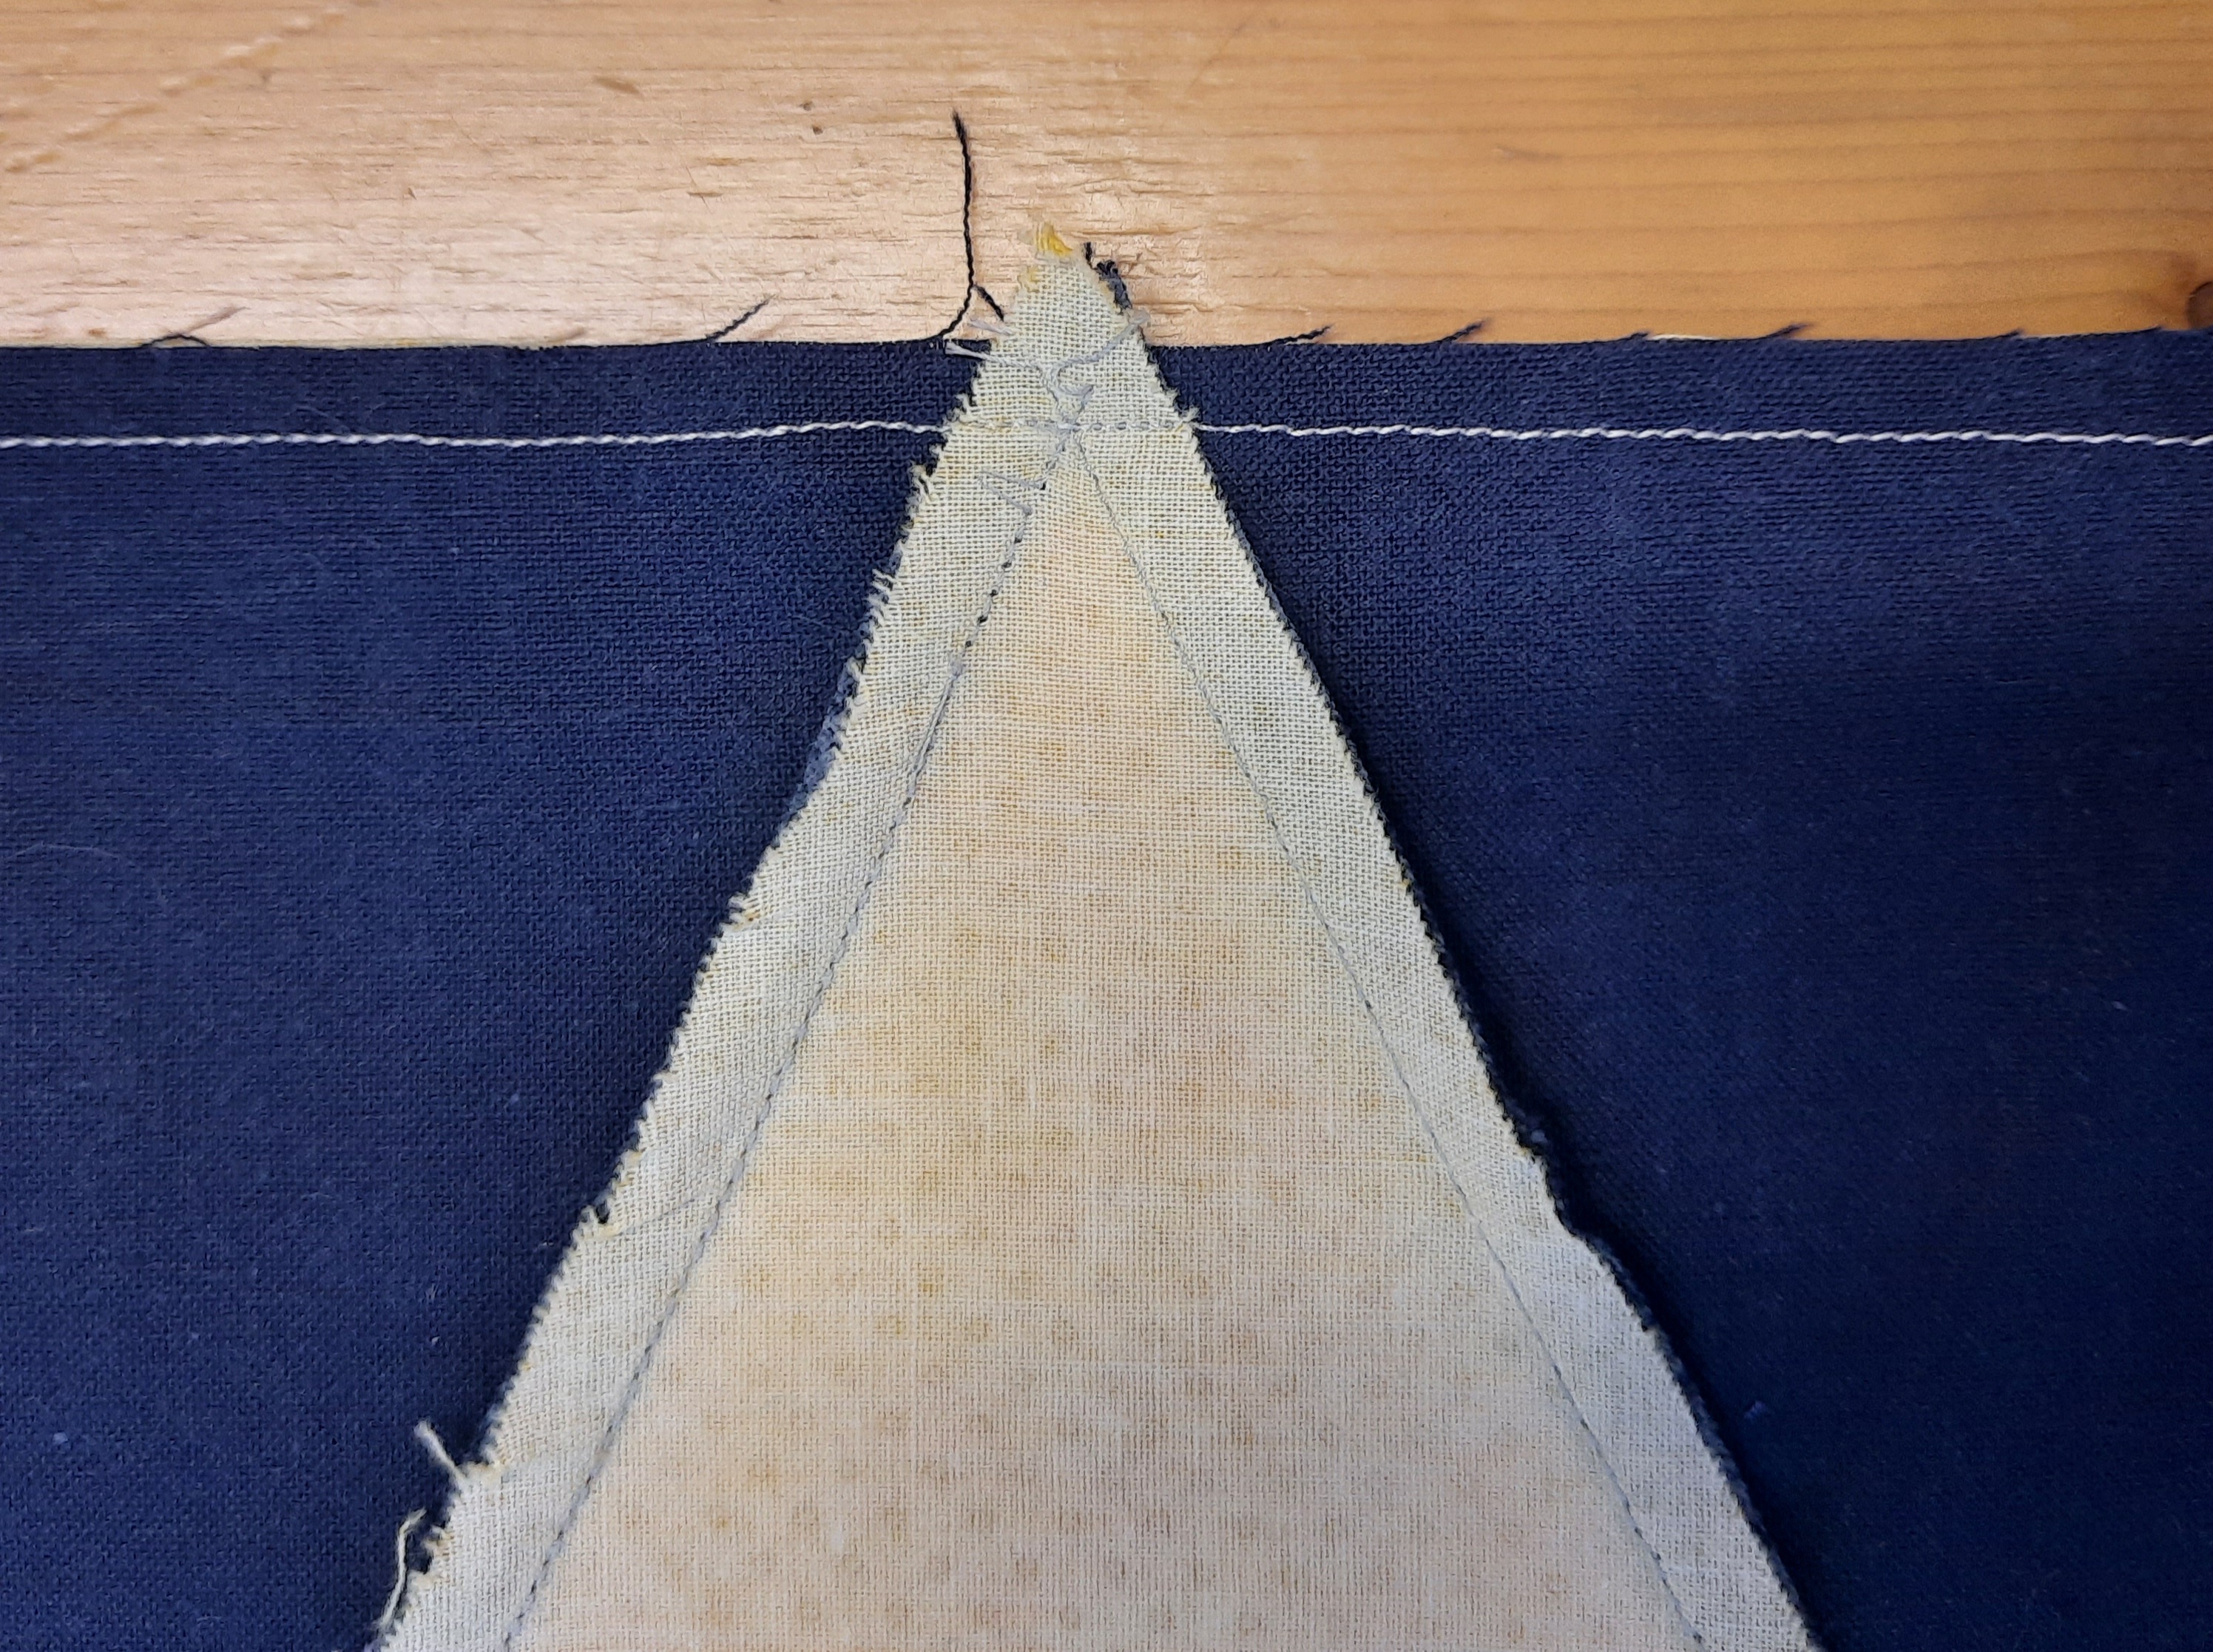
5 Join the blocks in sets of three. Make sure that the seam crosses the tip of the yellow triangle, as seen in the photo.
6 The set of three should look like the photo below. You should have four pieces like this. Press well and keep them in a safe place. Join me at the beginning of March for the next star block.

The next instalment will be poste in March!
Thank you for reading my blog. Quilt patterns are here, Fabrics are here, Classes are here.
Click the ‘Follow’ button to get a blog-post by email each Monday and click here if you would like the monthly newsletter with design and colour inspiration, etc.
If you are keen to get on with completing a quilt, how about the ‘Funky Flowers’ single-bed quilt, available here

