The moment has arrived! The mystery of the ‘Watch the Stars’ quilt is revealed.

The story so far
The description of the mystery quilt project is here
The January block is here
The February block is here
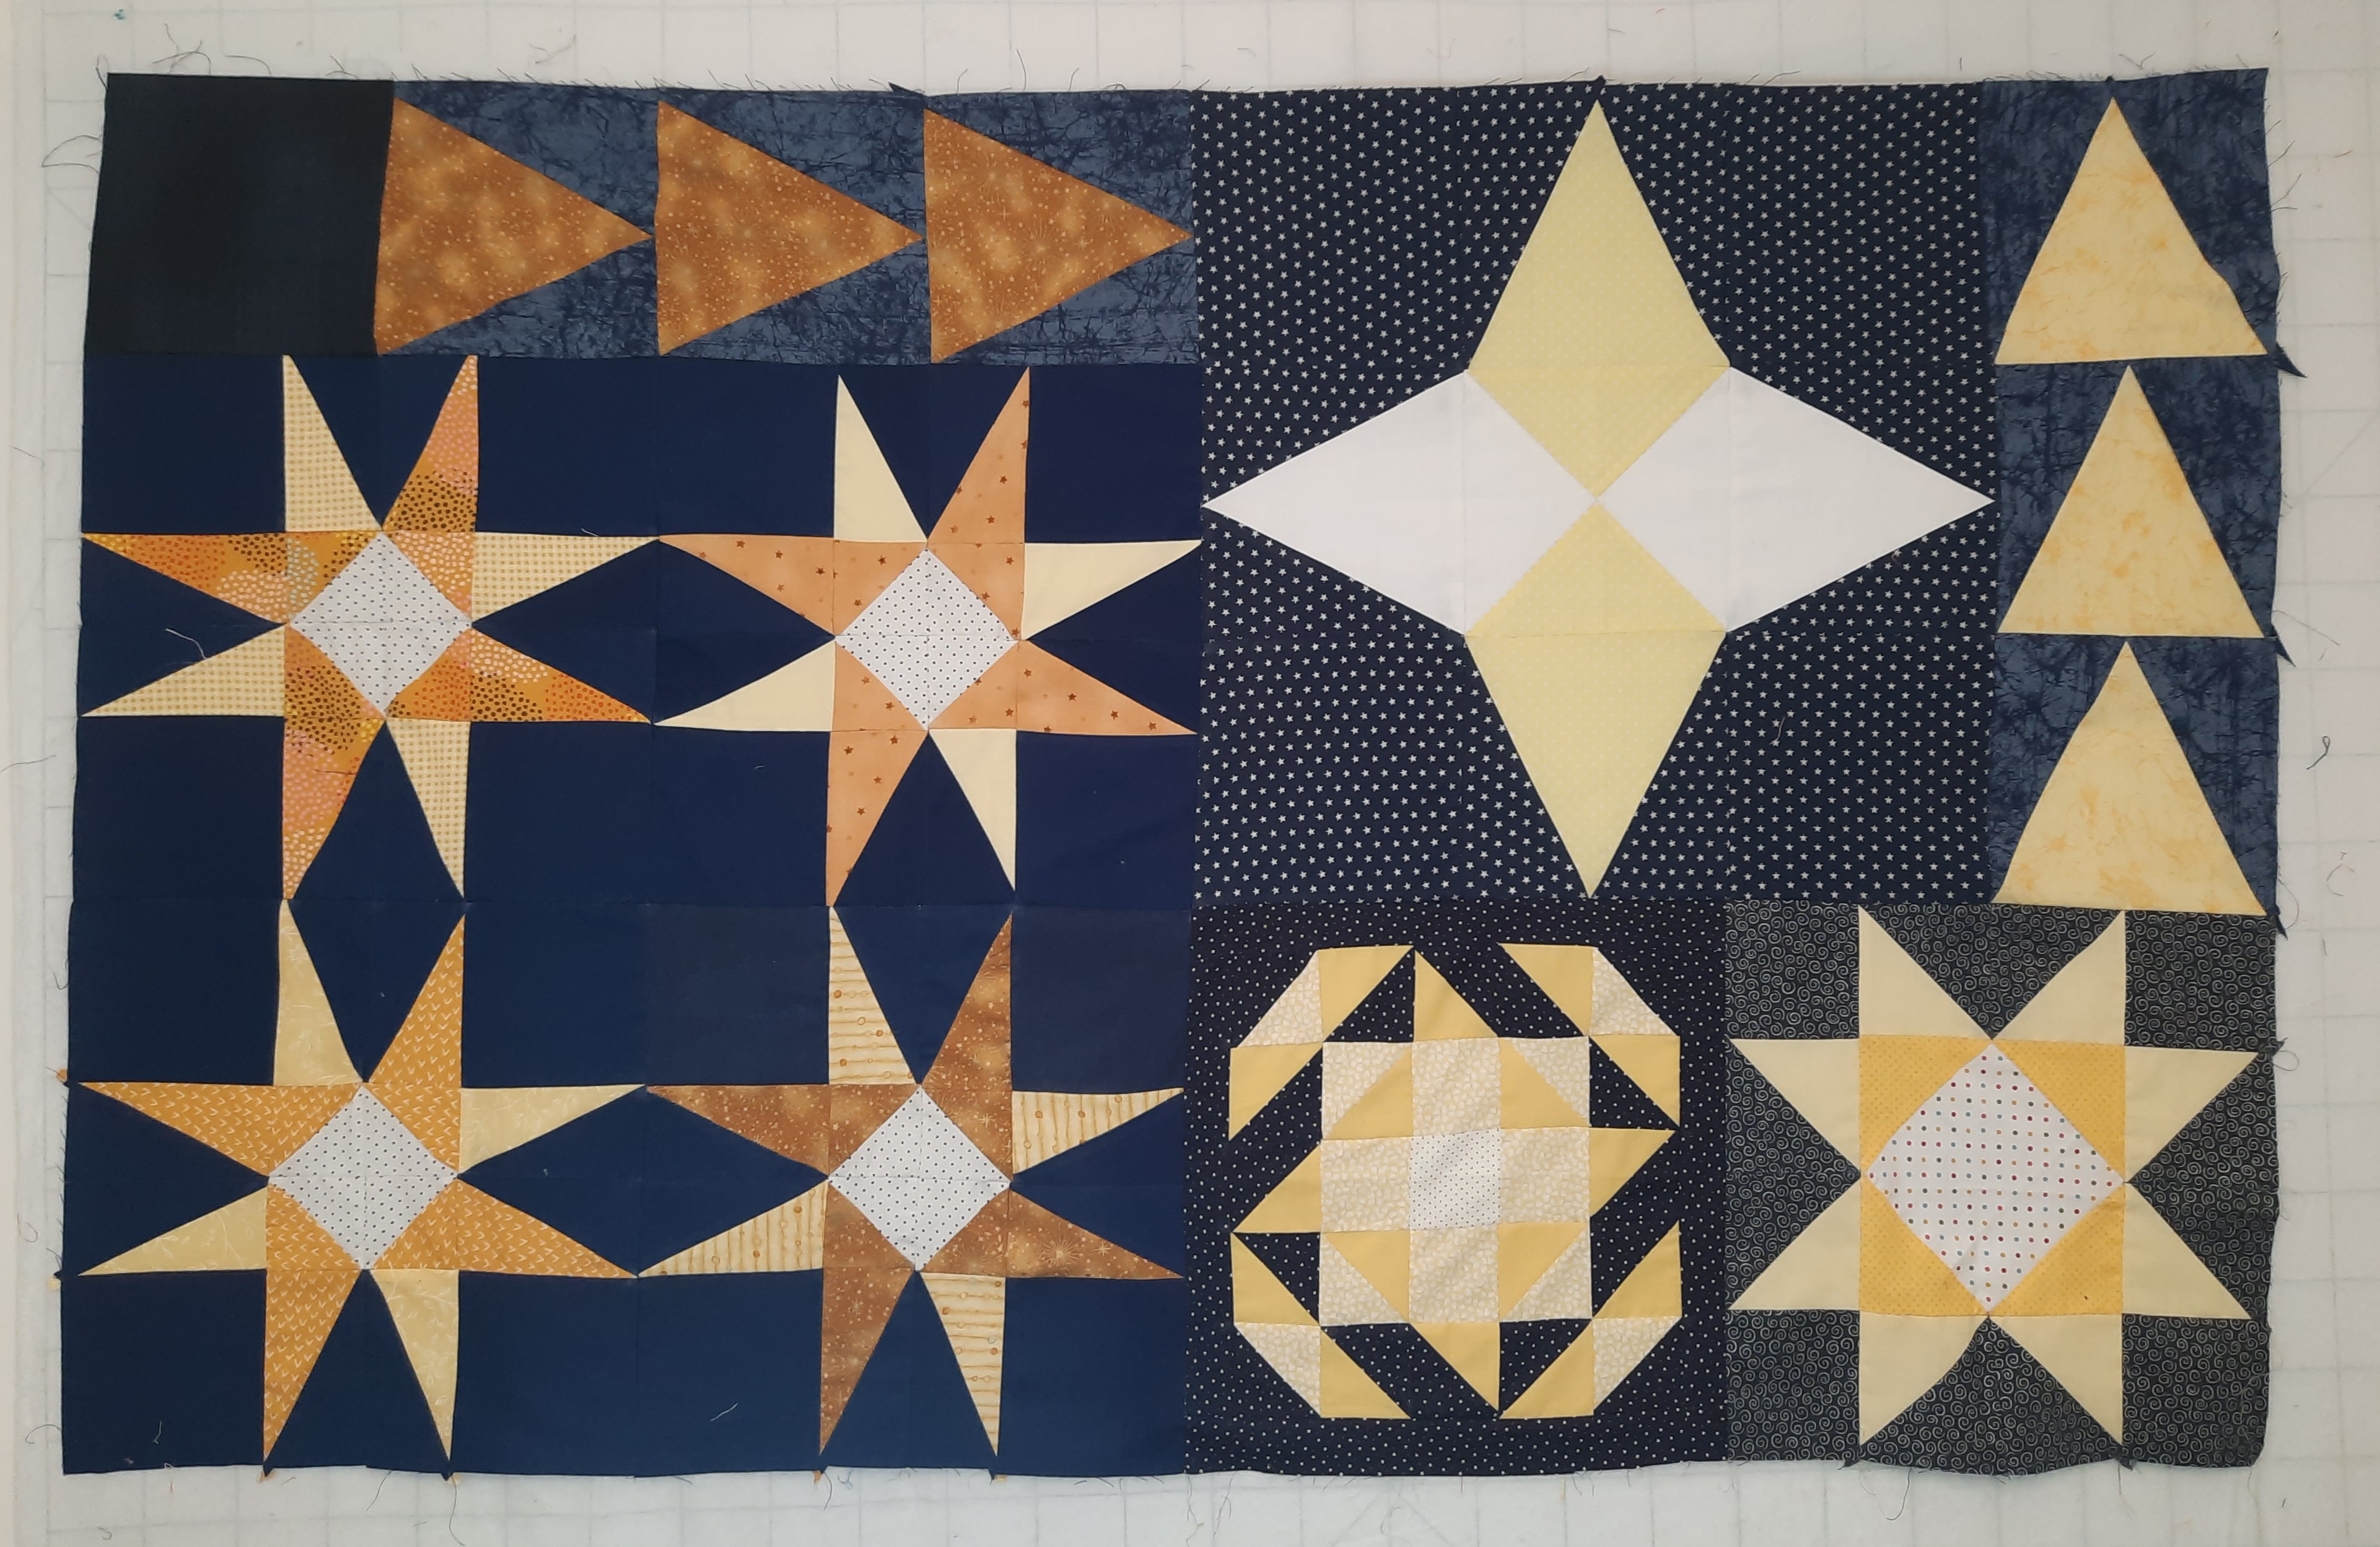
The March block is here
The April block is here
The May block is here
The June block is here
The July block is here
The August block is here
The September block is here
The October block is here
The November block is here
This post tells you how to join all the quilt blocks together. (Next week there will be a post on how to layer up, quilt and bind your quilt. The fabric requirements for backing, wadding and binding will be included.)
This is quite a long post as the assembly is broken down into small steps, each with a photo. To make the instructions simpler, I have divided up the quilt top into two sections which need to be joined at the end.
Materials
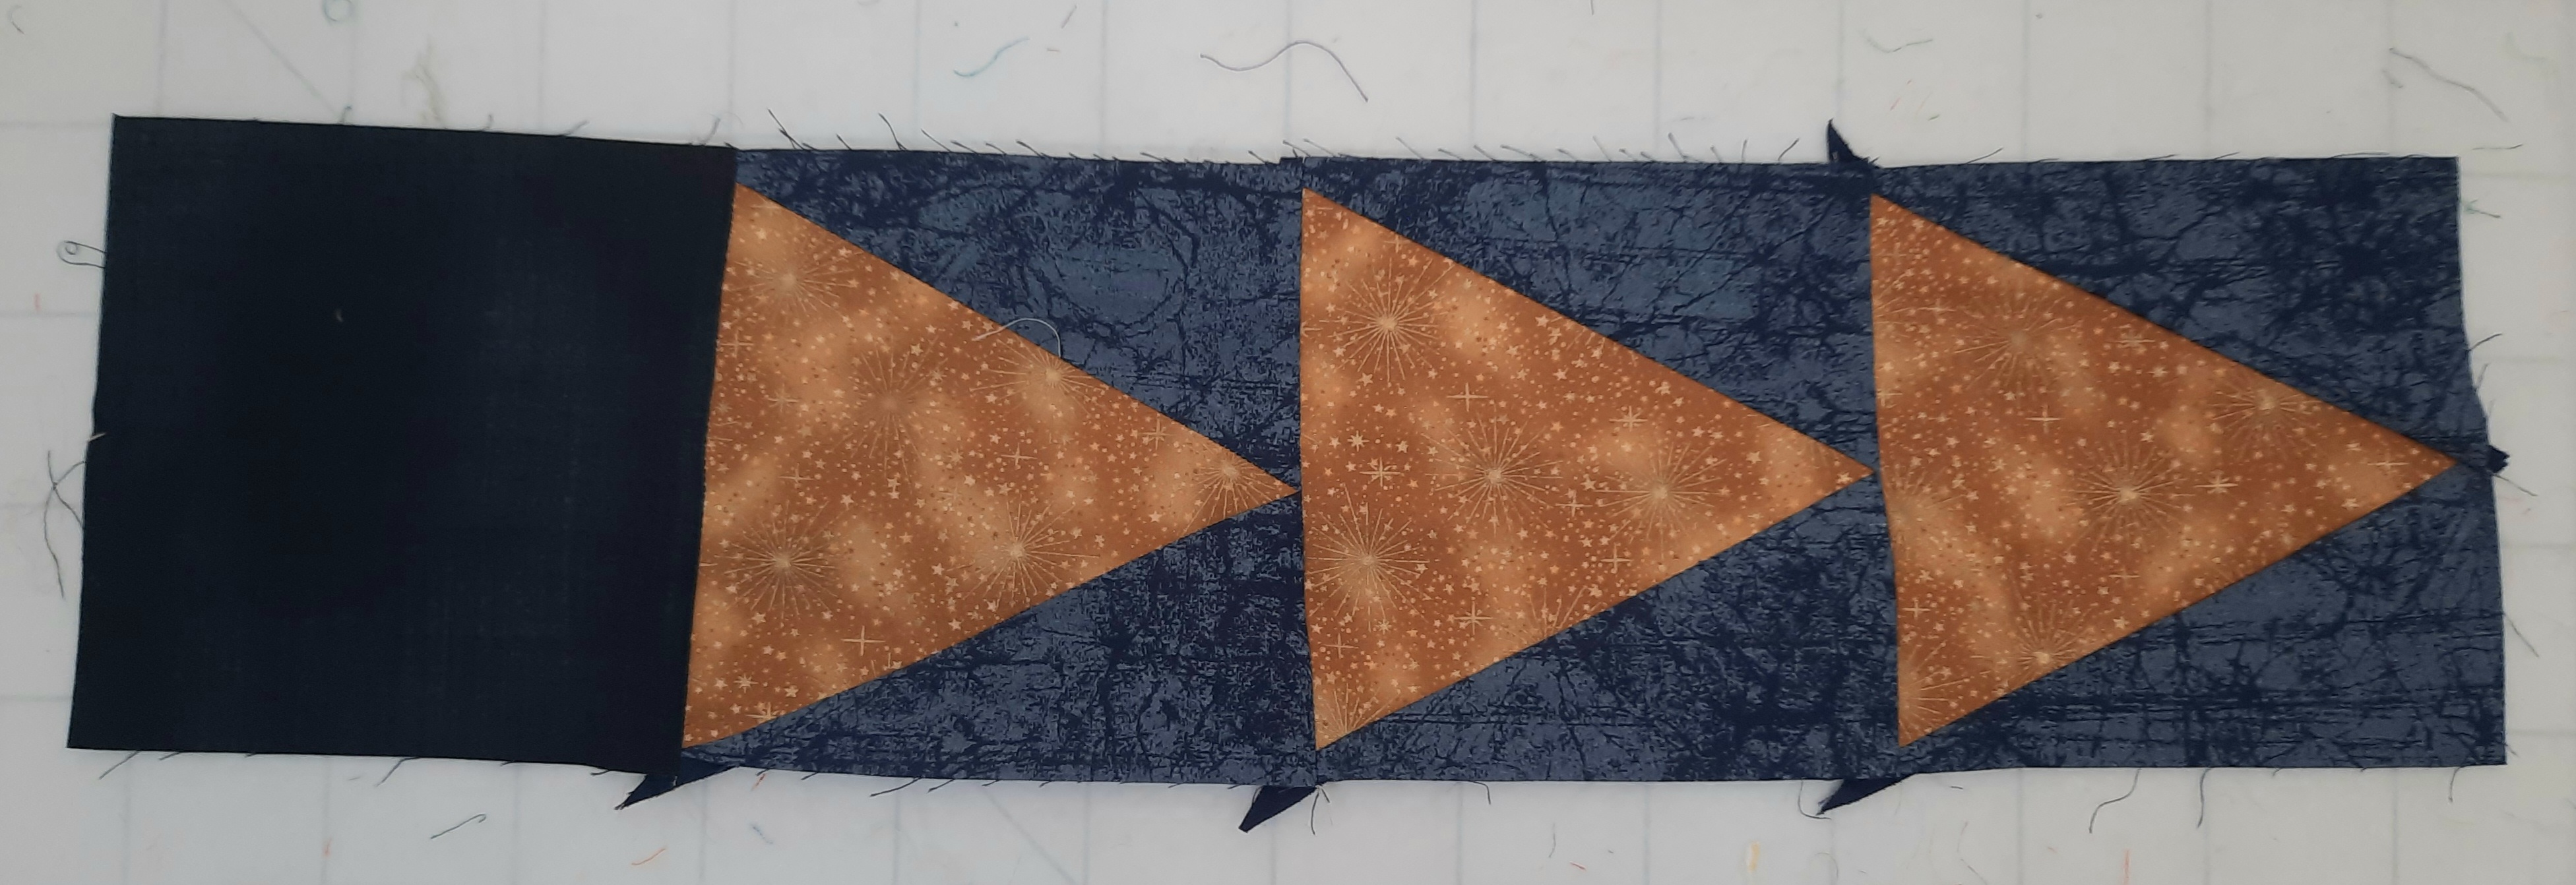
A piece of navy-blue solid fabric 14 x 7″.
From this, cut two 6½ x 6½” squares. You need these as ‘fillers’ in the quilt top, as described below.
Assemble the upper section of the quilt top
A quarter-inch seam is used throughout. Pin the pieces together carefully before stitching, aligning vertical seams and ensuring that seam allowances face in opposite directions wherever possible at those points.
1 Join the eight January blocks together in a row.

2 Join two of the May blocks together to make a row. Join the remaining two May blocks to make a row. Join the rows.
3 Join the October block to the left of the August block.

4 Join three of the February blocks together, end to end.

5 Stitch the piece made in step 4 (with the arrows pointing downwards) to the left of the April block.
6 Join three more February blocks together, end to end, with the arrows pointing left. Add a 6½ x 6½” square to the right of them. Then join this piece at the bottom of the piece made in step 2.

7 Join the piece made in step 3 above the one made in step 5.
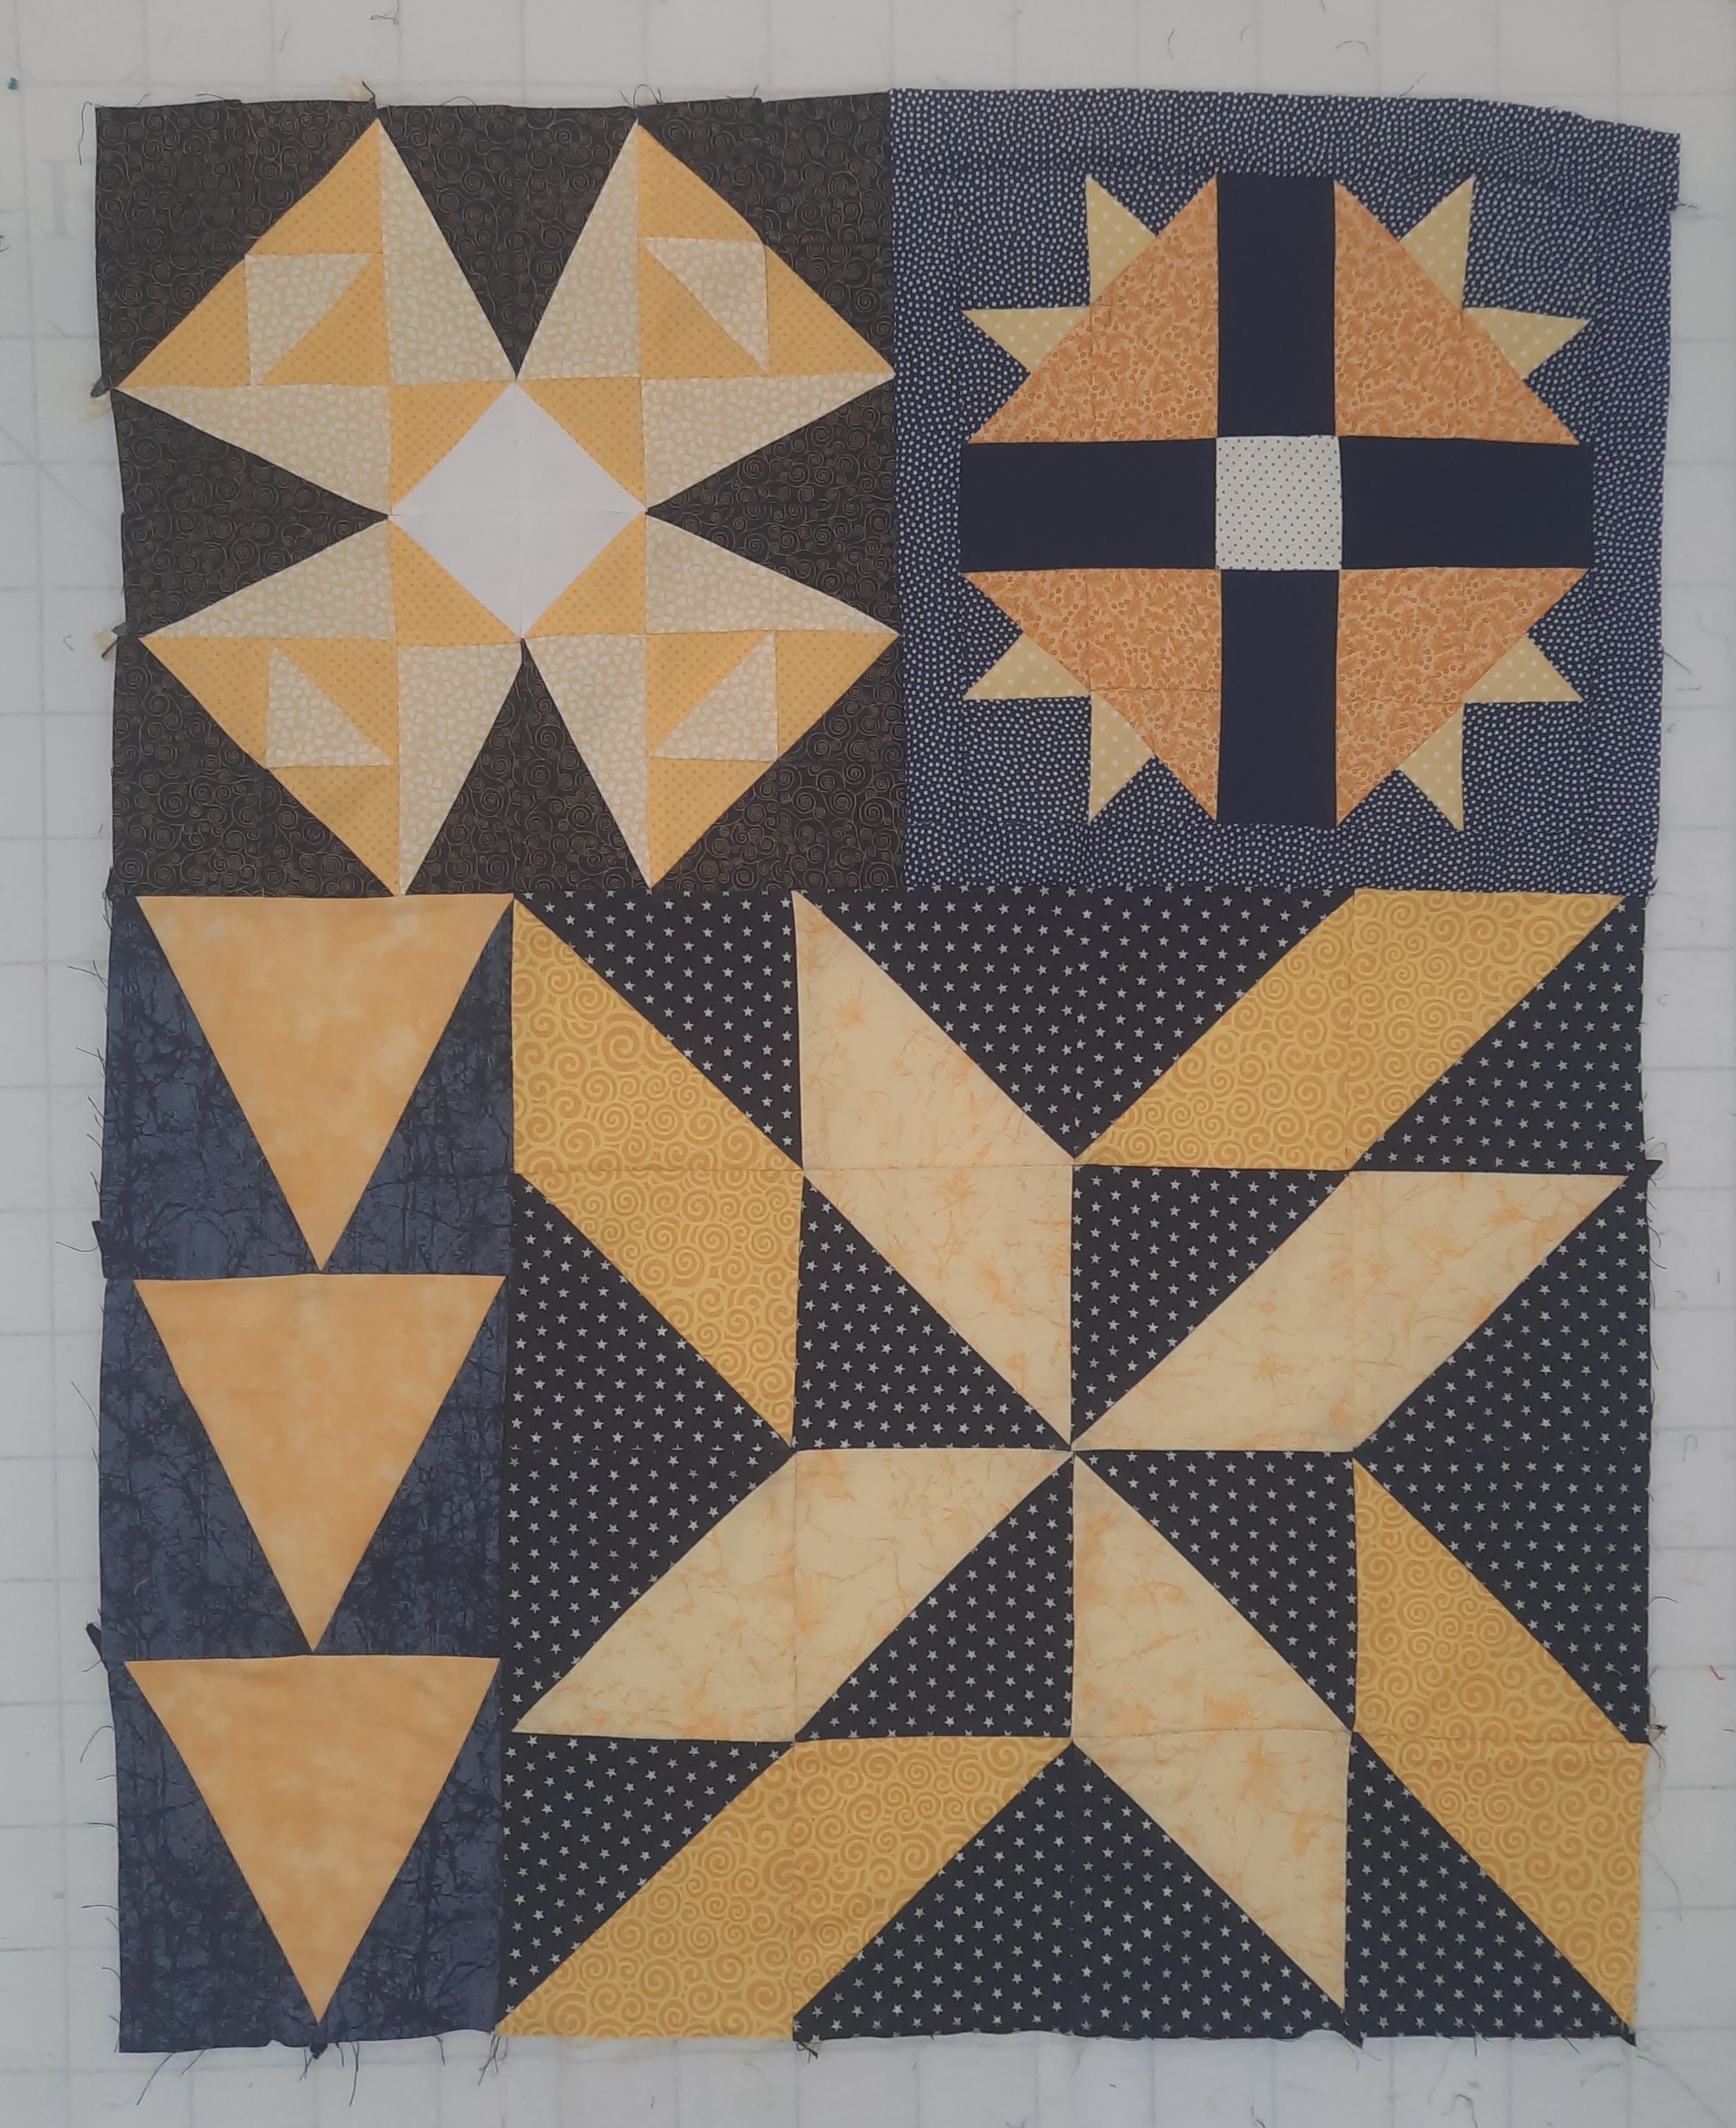
8 Join the piece made in step 6 to the right of the piece made in step 7.
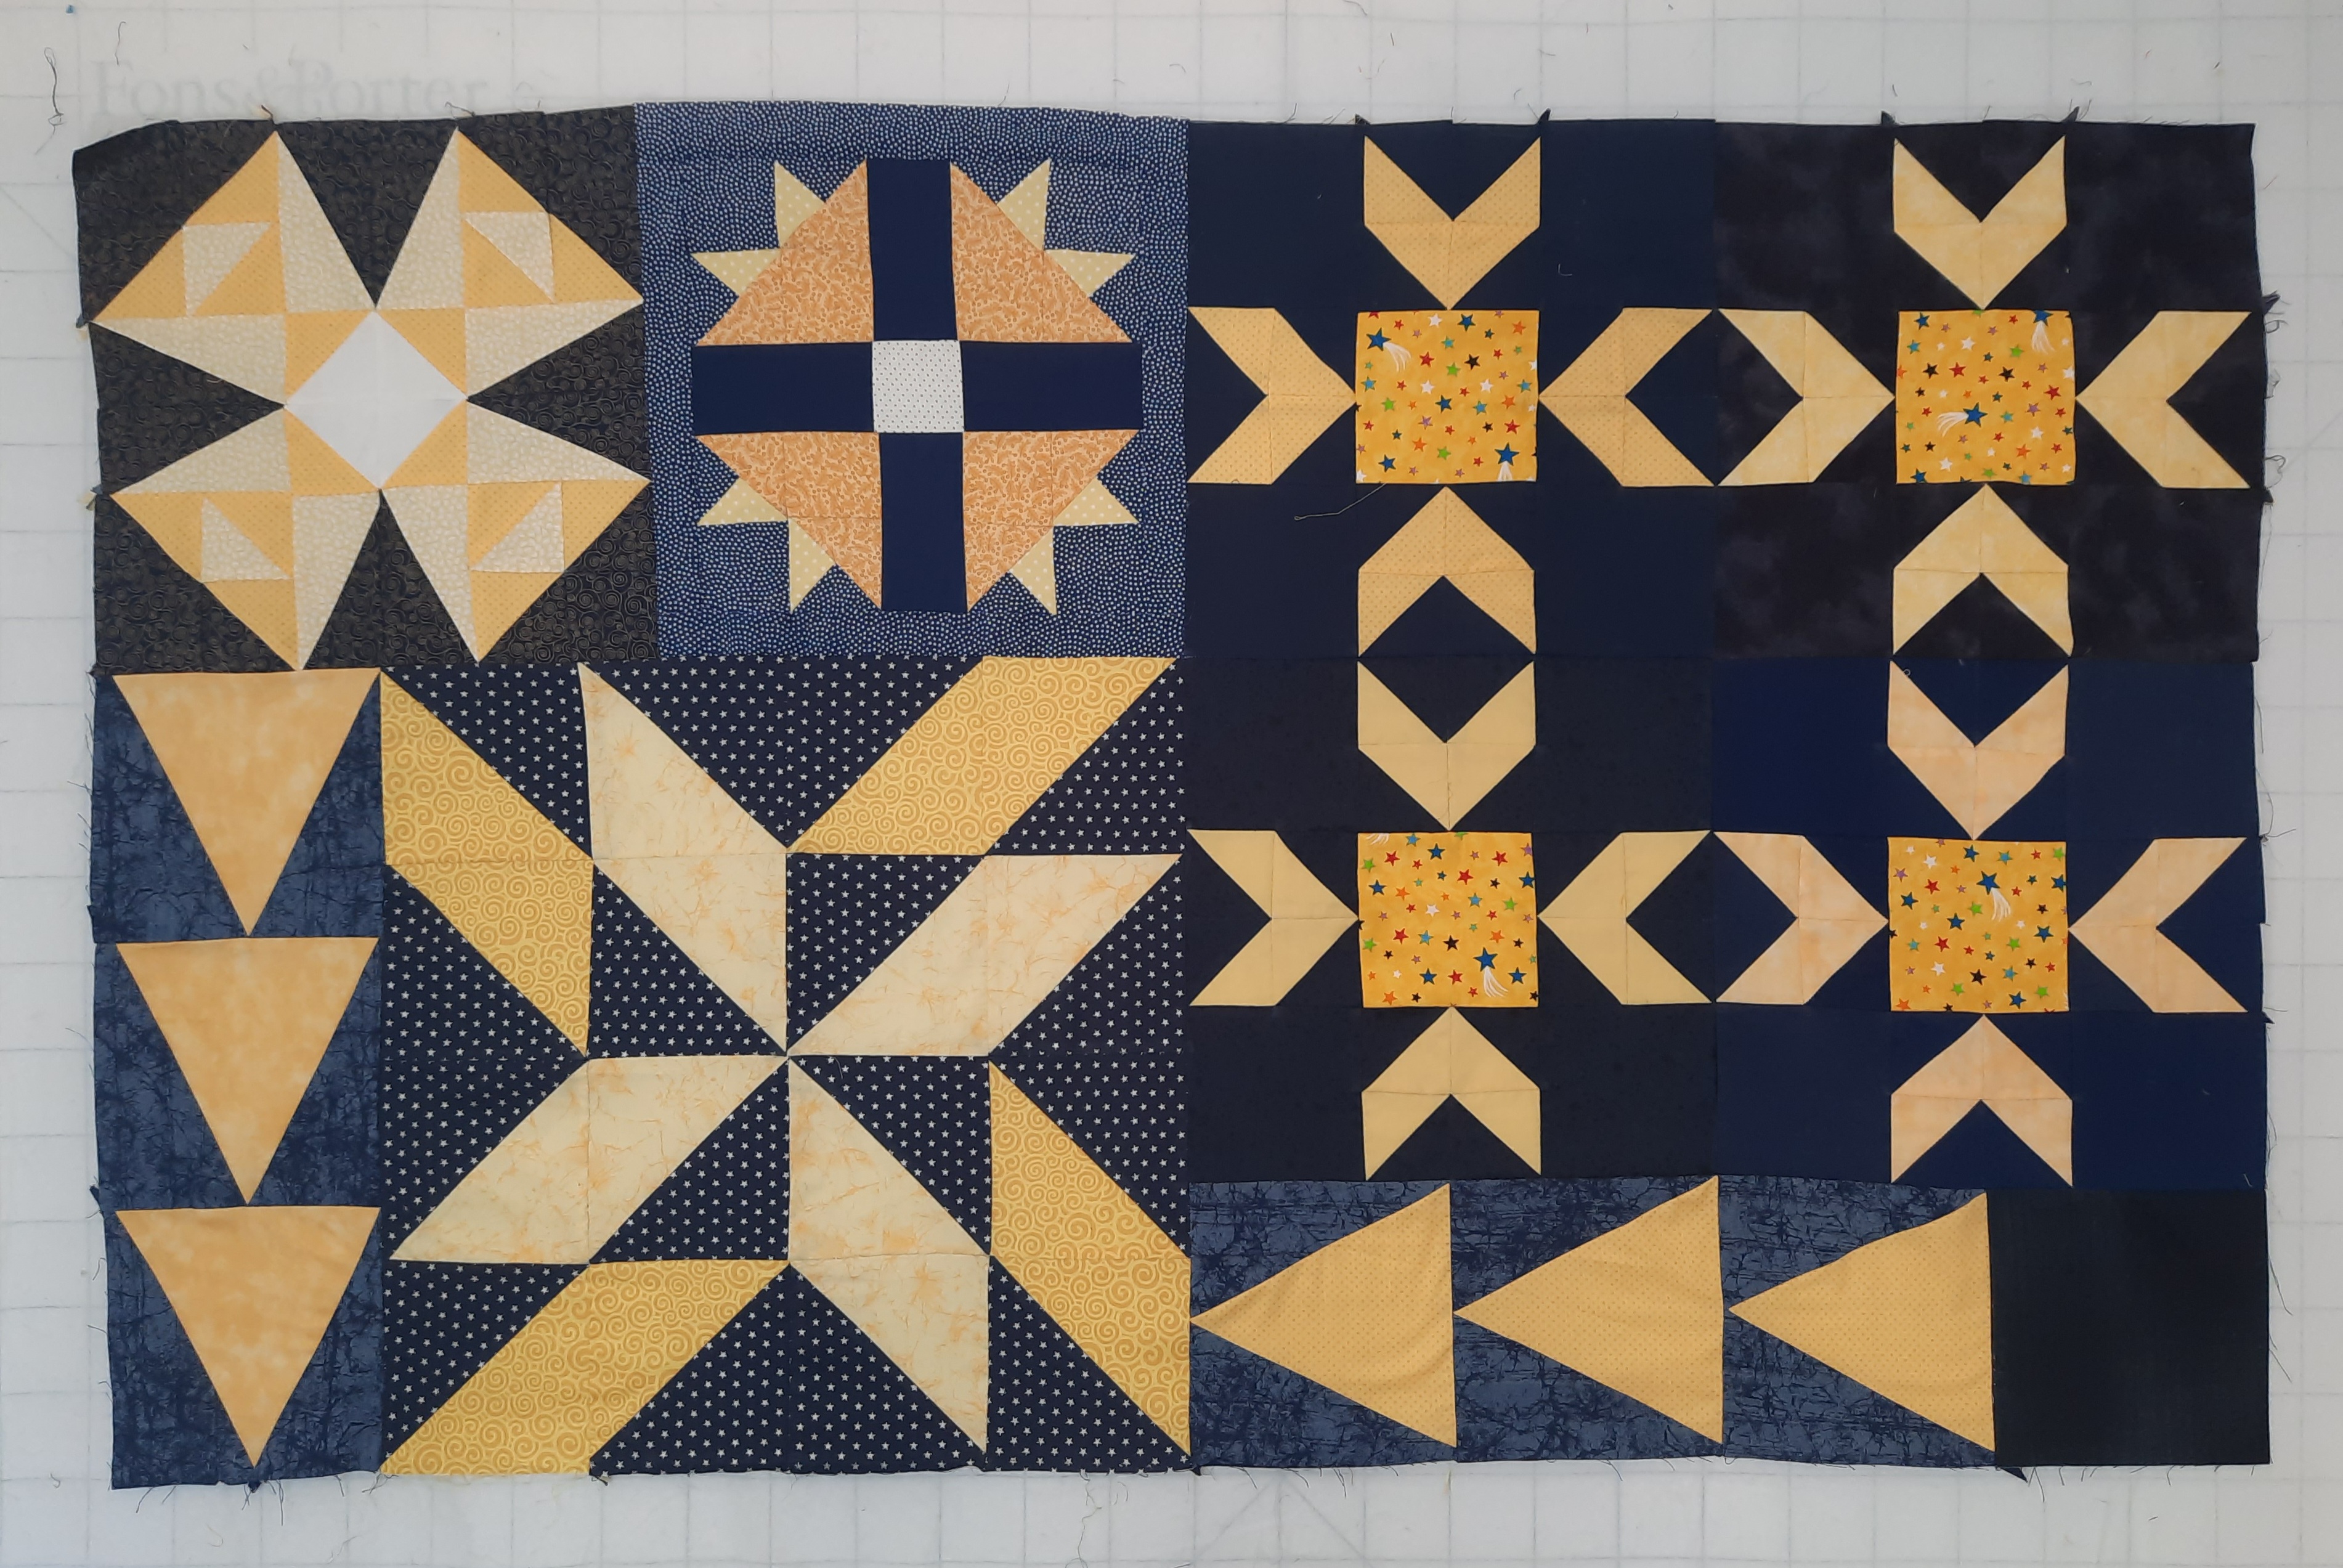
9 Stitch the piece made in step 1 along the top of the piece made in step 8.

The upper part of the quilt top is complete. Press and set aside.
Assemble the lower section of the quilt top
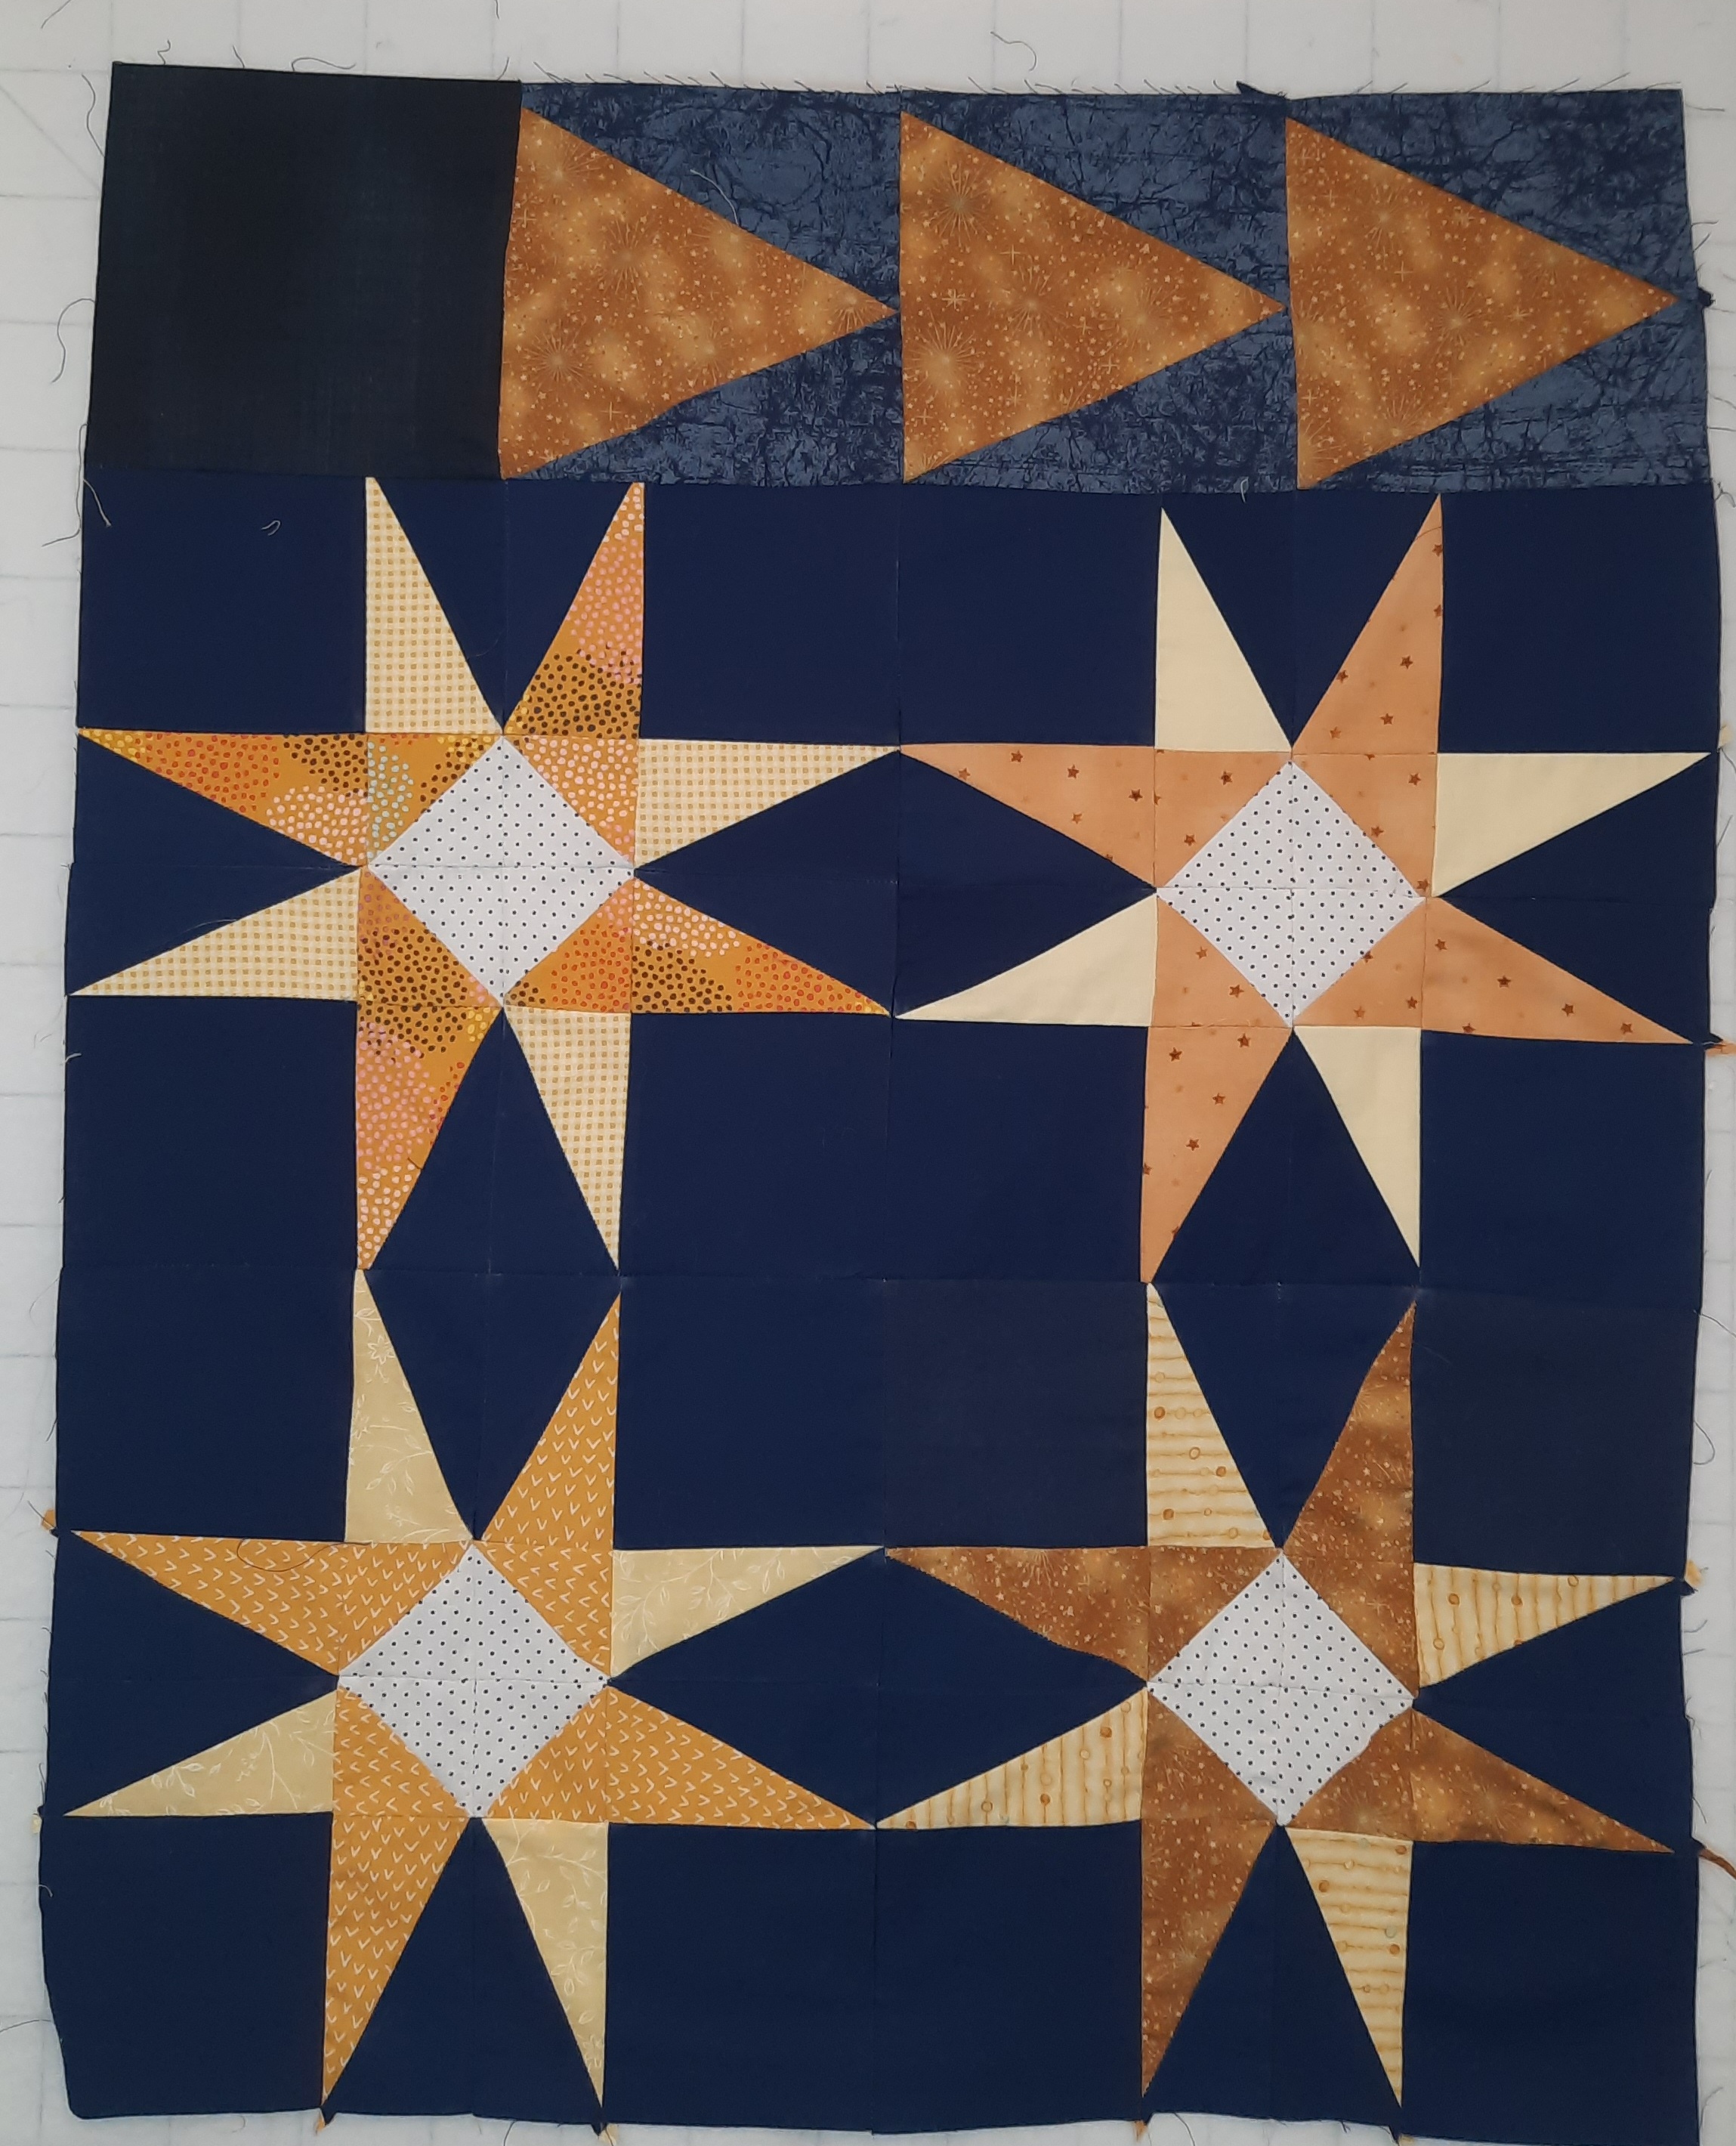
10 Join another set of three February blocks with the arrows pointing to the right. Add a navy-blue block to the left of these.
11 Sew the two November blocks together to make a row. Sew the remaining two November blocks to make a row. Sew the two rows together.

12 Add the piece made in step 10 above the piece made in step 11.
13 Stitch the last three February blocks together in a row with the arrows pointing upwards. Join this piece to the right of the March block.

14 Join the July block to the left of the June block.

15 Join the piece made in step 14 under the piece made in step 13.

16 Join the piece made in step 15 to the right of the one in step 13.
17 Join the eight August blocks in a row and add them below the piece made in step 16.

The lower section of the quilt top is complete. Press.
Joining the two sections
18 Pin the top section to the bottom section and sew them together. The quilt top is complete.

Thank you for reading my blog. Quilt patterns are here, Fabrics are here, Classes are here and quilts for sale here
Click the ‘Follow’ button to get a blog-post by email each Monday and click here if you would like the monthly newsletter with design and colour inspiration, etc.
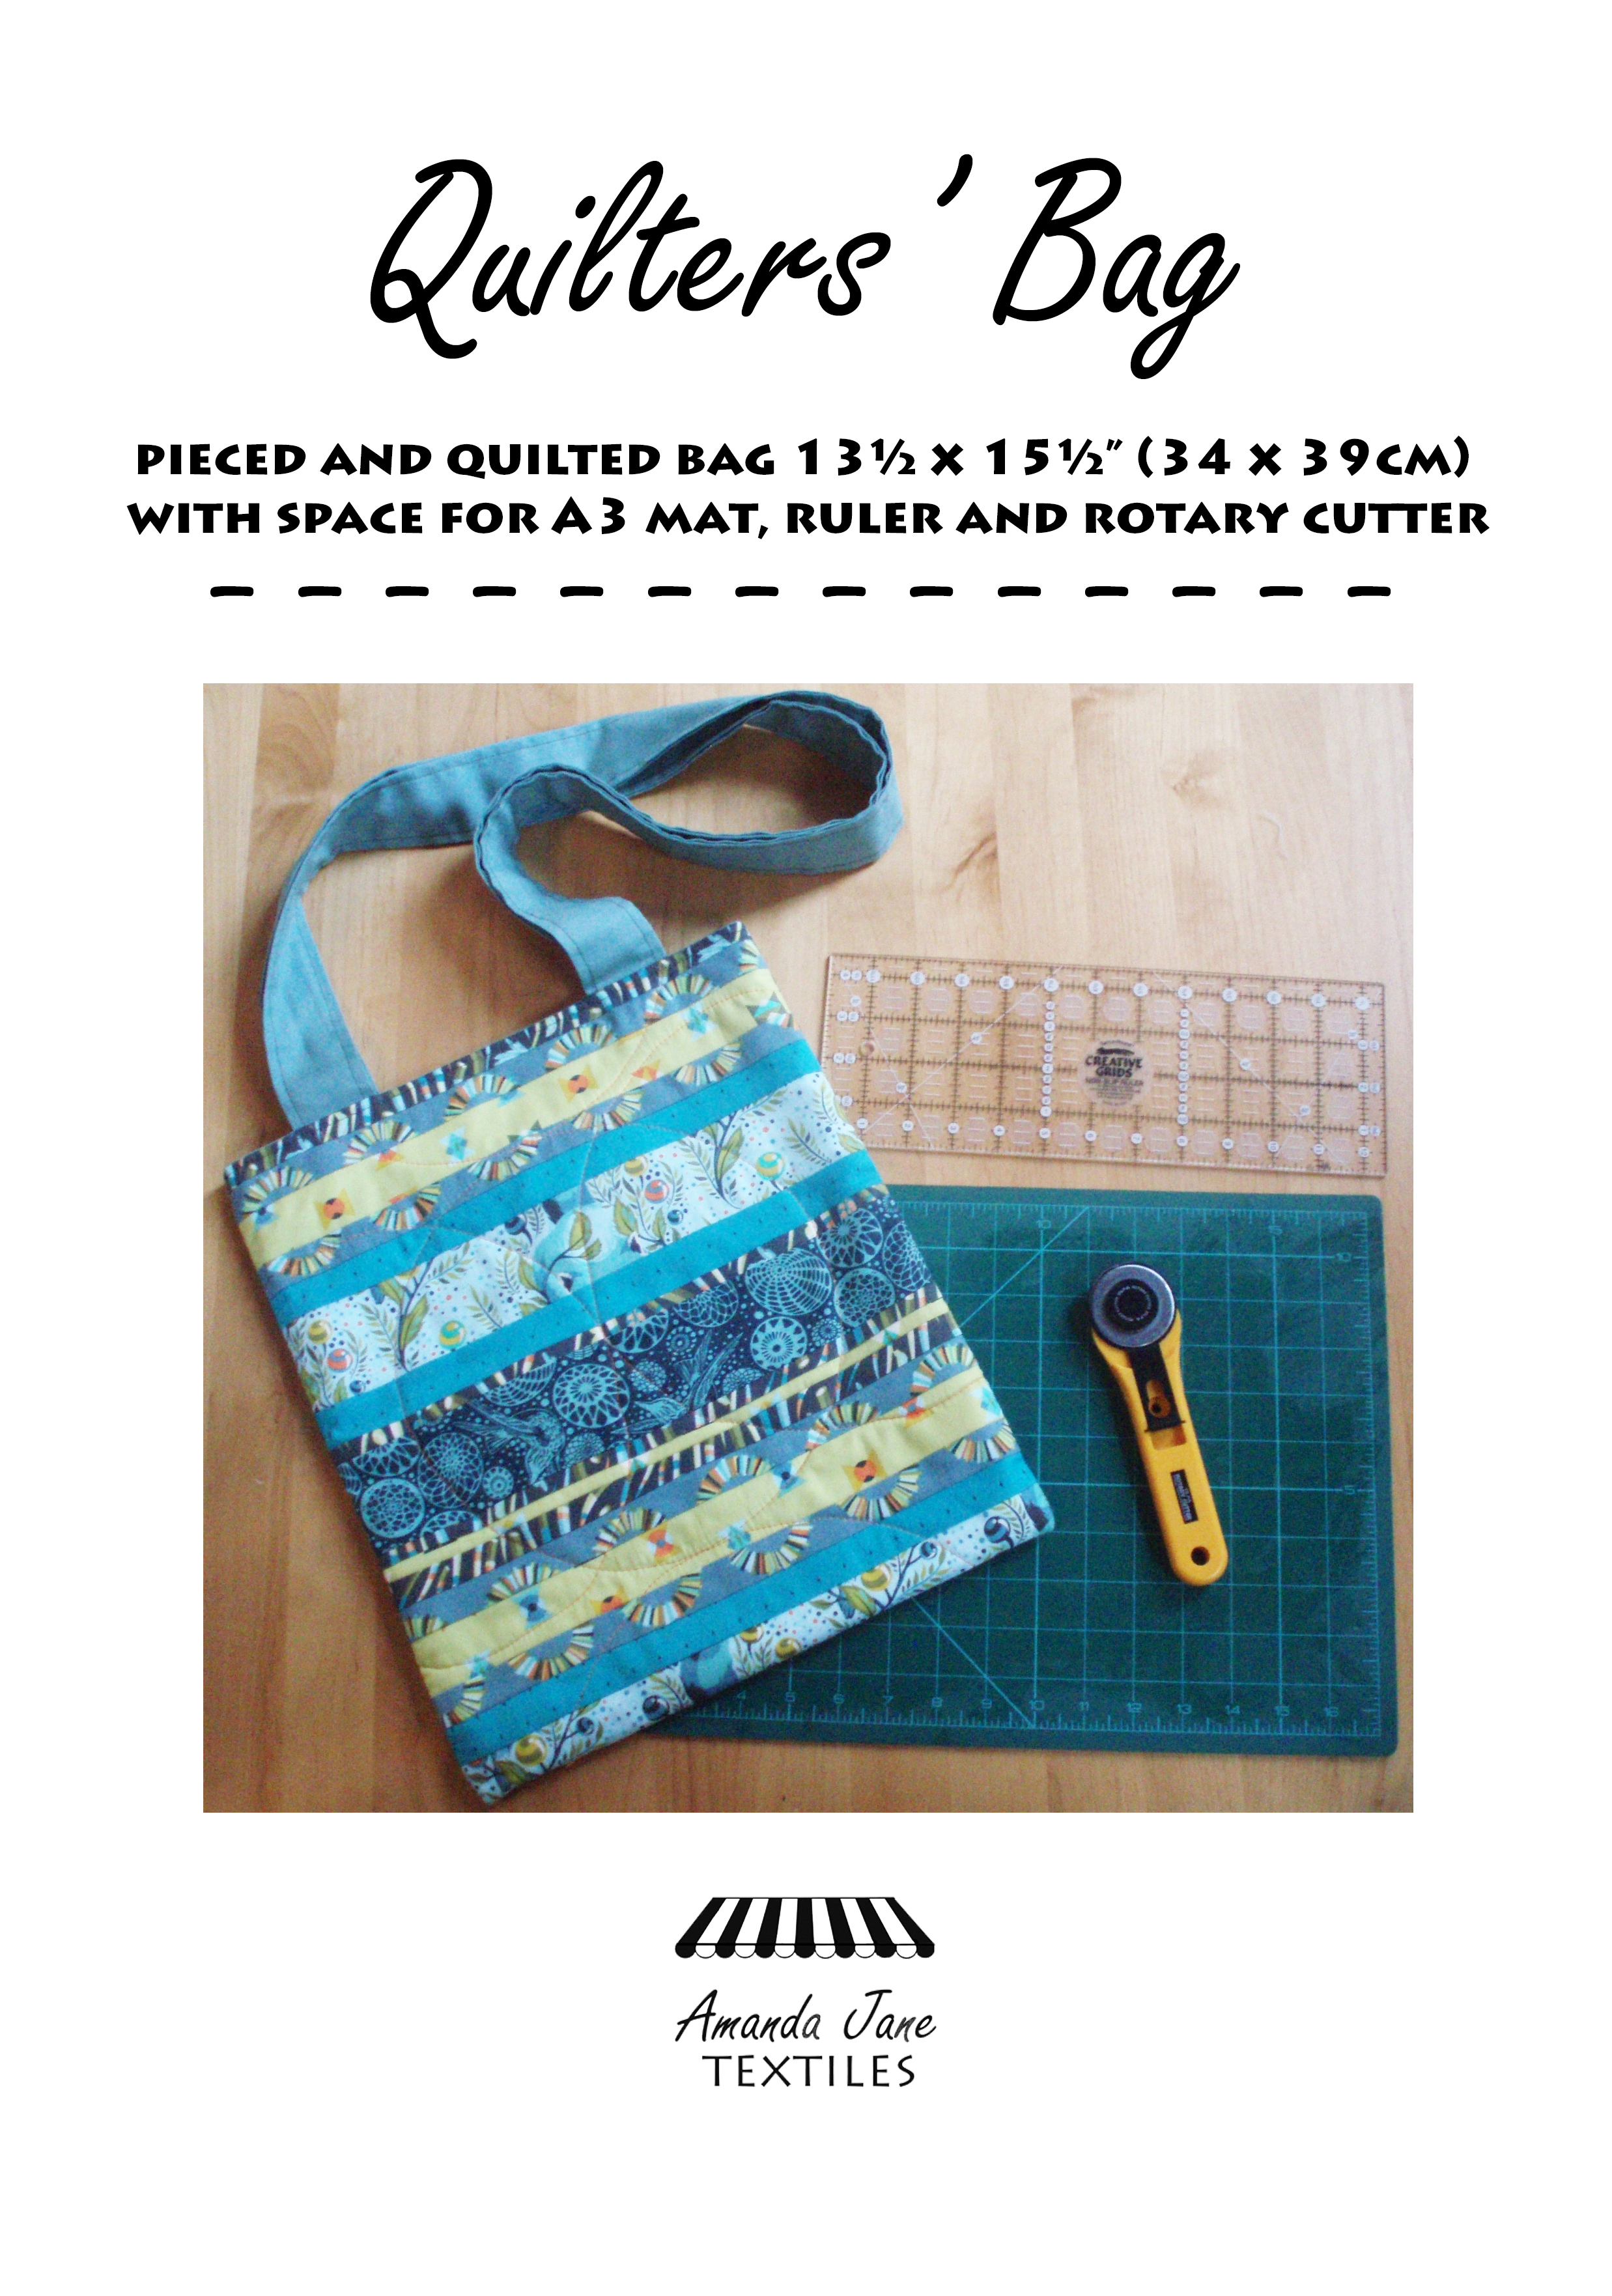
This bag is designed to carry an A4 cutting mat, rotary cutter and a ruler – just right for going to a quilt group or class. It is a fun project and it would make a great gift for a quilting friend. Get the pattern here