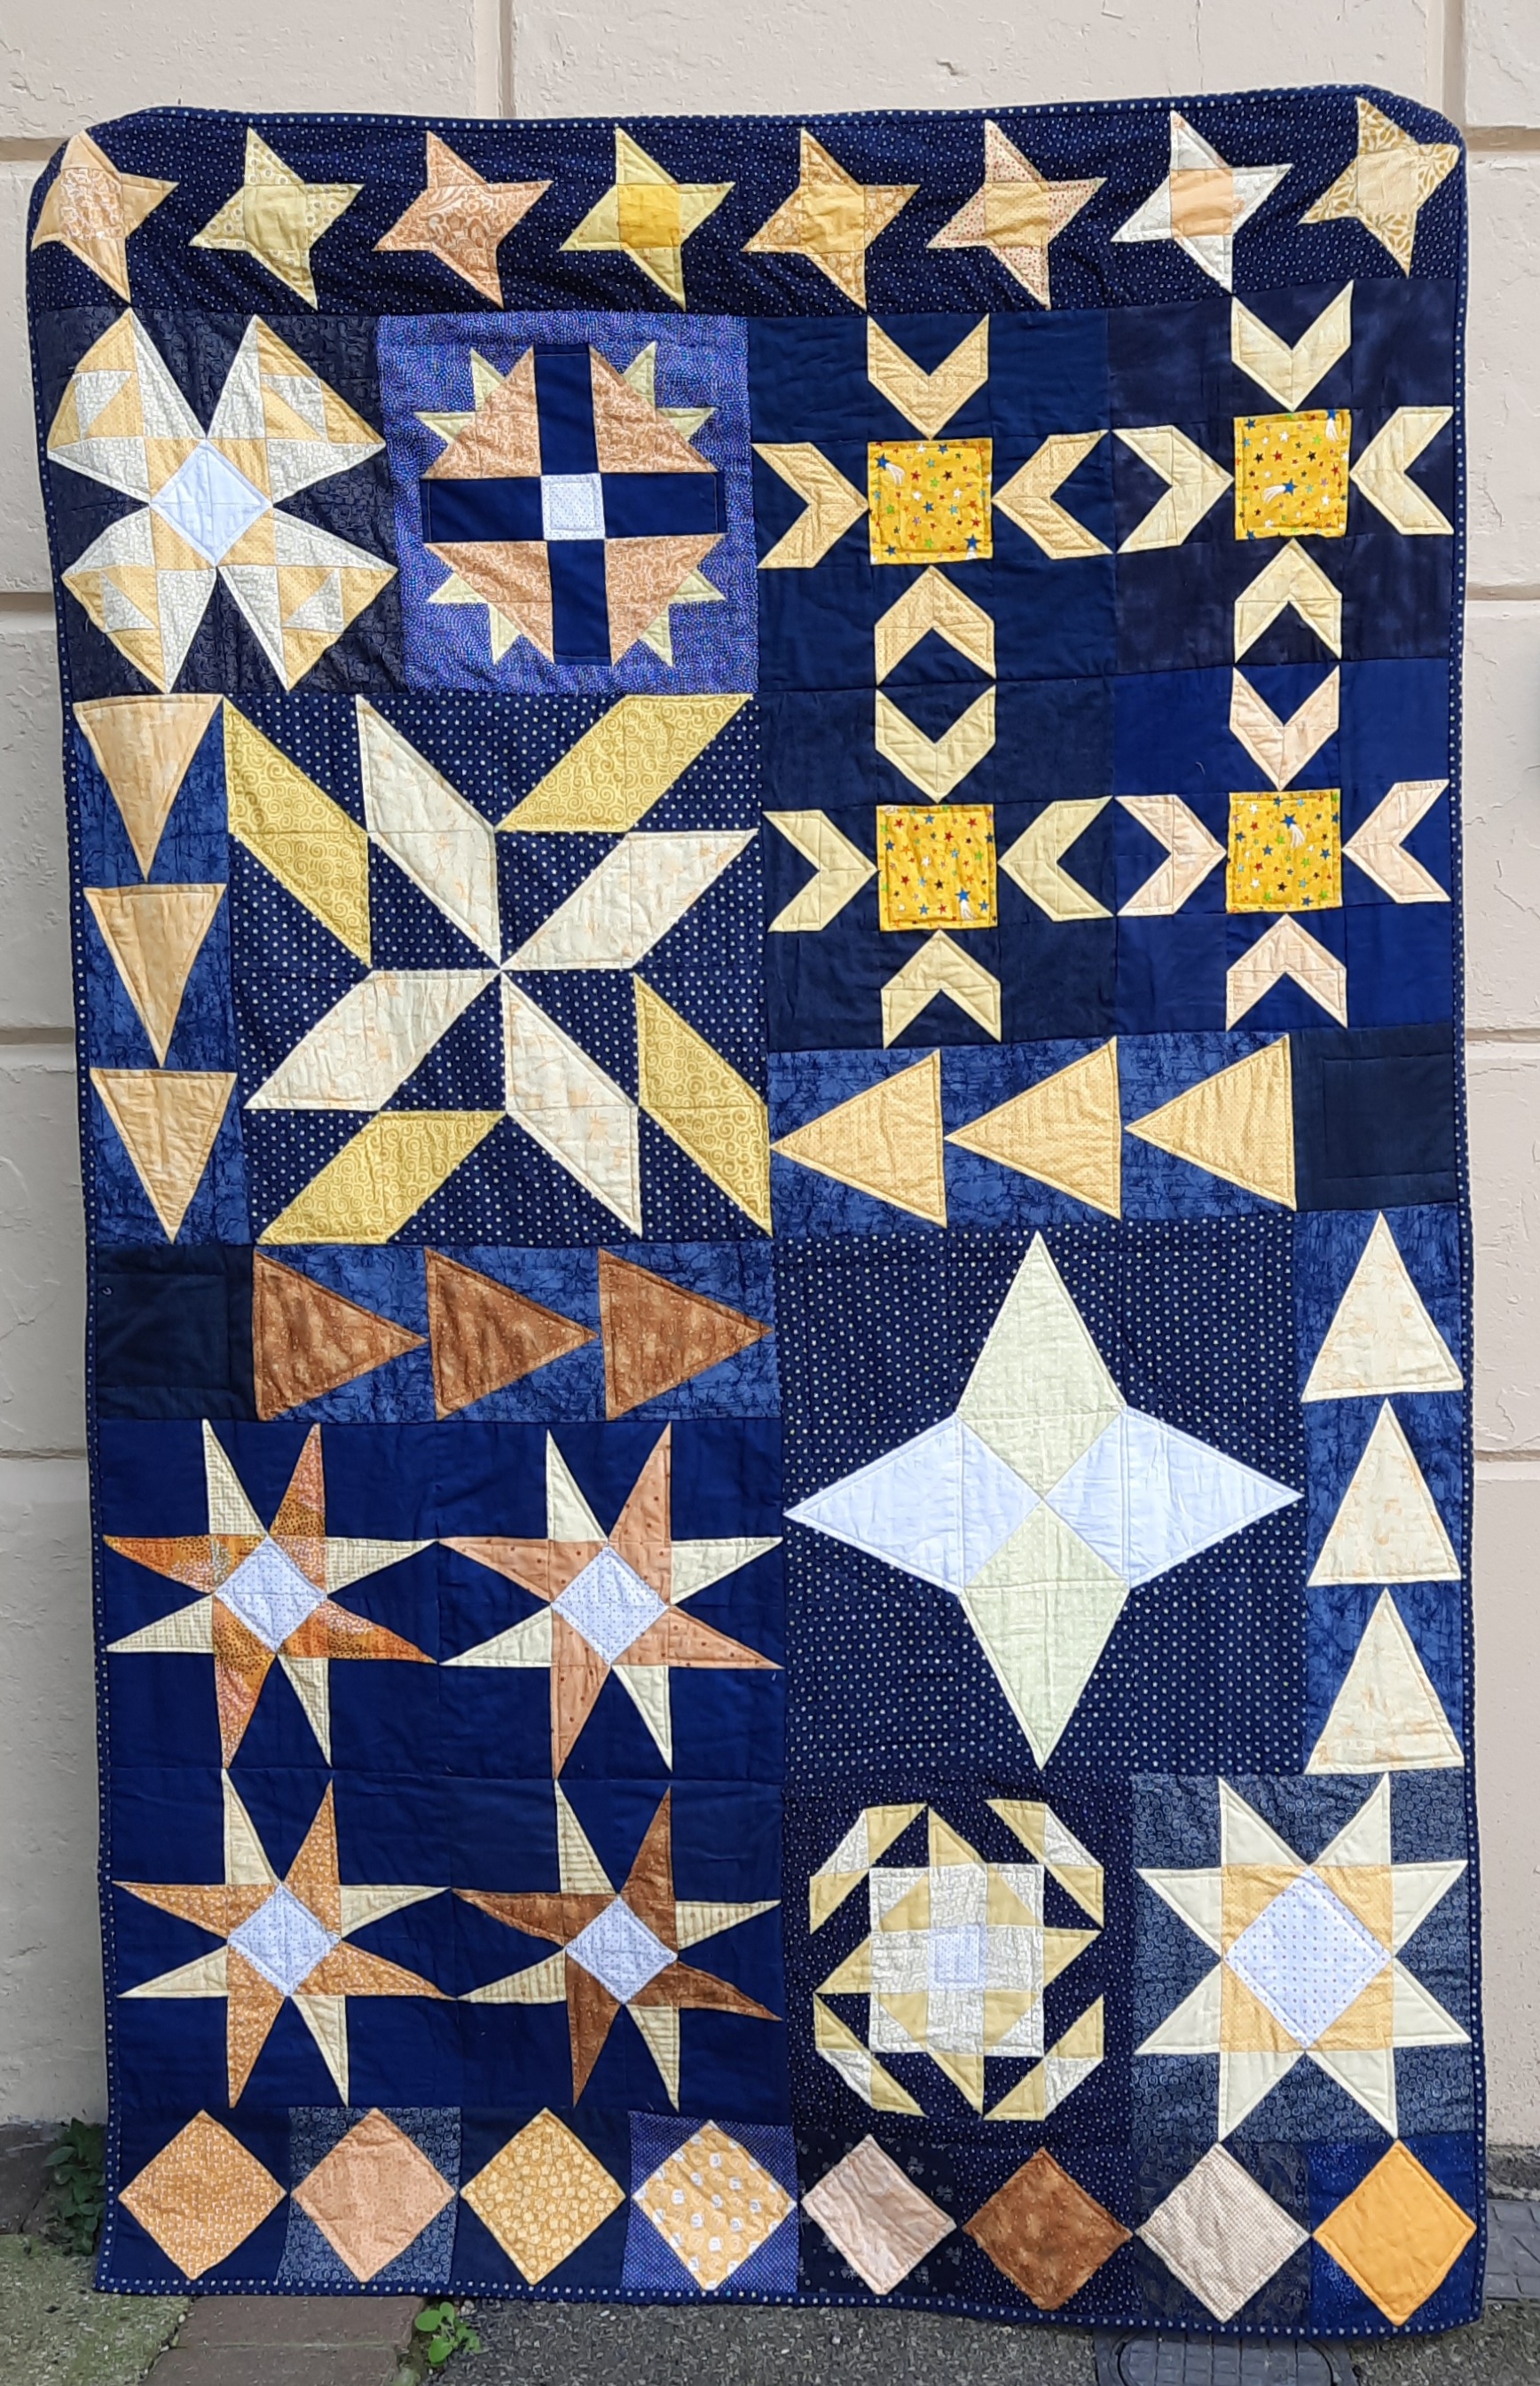
The finished size of the quilt top is 48 x 72″
The Story so Far
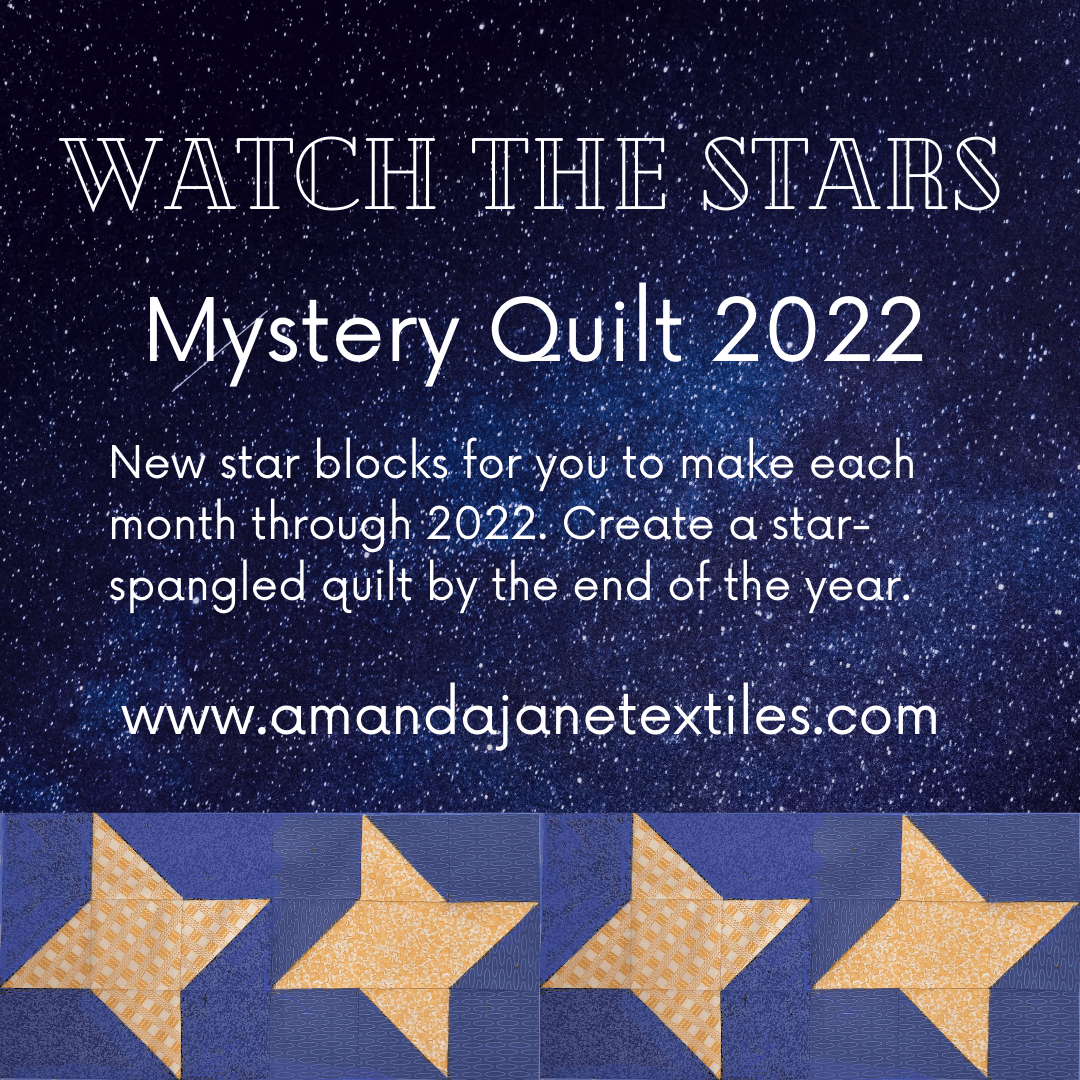
The description of the mystery quilt project is here
The January block is here
The February block is here
The March block is here
The April block is here
The May block is here
The June block is here
The July block is here
The August block is here
The September block is here
The October block is here
The November block is here
How to assemble the top is here
Materials
You will need:
4½ yards (4.20m) of fabric 42″ (107cm) wide for the backing [I actually used 1.5m of extra wide backing fabric, which is 274cm wide and used the fabric running widthways across the back of the quilt. The fabric is a golden yellow low-volume print]
wadding at least 54 x 78″
½ yard (40cm) fabric for the binding [I used navy-blue fabric printed with silver stars]
thread for quilting and for sewing
Layering up the quilt
1 Press the backing fabric. Cut off the selvedges. Join, if necessary, to make a piece at least 58 x 82″.
2 Press the backing fabric. Mark the centre of each side by folding the fabric gently and inserting a pin at the mid-way point. Lay the backing on the floor right side down. Secure the corners with masking tape.
3 Mark the centre of each side of the wadding in the same way and lay the wadding on top of the backing aligning the pins in the wadding with the pins in the backing.
4 Mark the mid-point of each side of the quilt top in the same way. Lay the quilt top right side up on top of the batting, ensuring that the pins in the top are aligned with the pins in the wadding and backing.
5 Join the three layers together, either by using a specialist adhesive spray, or by tacking the layers together in a grid of lines 4” (10cm) apart, or by using quilters’ safety pins.
Quilting
Now quilt the quilt however you choose. I recommend using quilting gloves with non-slip tips, which will help you keep the fabric steady under the presser foot.
Binding and finishing
1 Cut six strips 2¼” wide across the width of the fabric. Cut off the selvedges and join the pieces end to end with a quarter-inch seam. Press the seam allowances open.
2 Fold the strip of binding in half lengthways and press.
3 Place the folded binding on top of the right side of the quilt, against the right-hand edge, part-way down one side so the raw edges of the binding line up with the raw edges of the quilt.
4 Leaving a 5” ‘tail’ of binding at the beginning, machine stitch the binding in place ¼” in from the raw edges.
5 Insert a pin ¼” in from the first corner.
6 Stitch as far as the pin, then take out the pin and make the final stitch at the spot where the pin was inserted. Then lift the presser foot lever, swing the work round on the needle and stitch straight out to the corner at a 45 degree angle to the previous line of stitching.
7 Now fold the long free end of the binding upwards as shown.
8 Next, fold the long end back down again on itself, enclosing the 45-degree angle fold. The top fold should align with the raw edges of the previous side.
9 Beginning at the fold, stitch down the next side of the quilt. In the photo, you can see the second binding strip lying neatly on top of the first binding strip. Repeat steps 6-9 three more times.
10 On the final side, stop stitching down the binding at a point about 6” from where you started. Take the quilt out of the machine and fold back the two loose ends of binding so that the folds meet. Mark the folds with pins. Trim the ends to about 1” (25mm) beyond the fold.
11 Finger–press the folds. Open the ends and pin them together, inserting the pins at right angles.
12 Re-fold the binding and check that the fit is right. If it is, trim the seam allowances to ¼” .
13 Re-fold the binding again and stitch the final piece of binding into place.
14 Turn the binding to the back of the quilt and slip-stitch the binding to the quilt.
The ‘Watch the Stars’ mystery quilt is finished!
My own version of the ‘Watch the Stars’ quilt has already gone to its new home. I hope you enjoy using or gifting your own ‘Watch the Stars’.
Thank you for reading my blog. Quilt patterns are here, Fabrics are here, Classes are here and quilts for sale here
Click the ‘Follow’ button to get a blog-post by email each Monday and click here if you would like the monthly newsletter with design and colour inspiration, etc.
The ‘Dancing Tools’ fabric is brocade-style design made up of woodwork tools. I made it up into a dress and I think it would make a great shirt, too! Find it here